How To Sew Hexies – An English Paper Piecing Tutorial
Hands up if you have noticed that English paper piecing is everywhere right now? The ‘hexie’ craze is taking over, and I love it! I can’t stop making them! This tutorial will provide you with all the basic information you need to learn the GLUE BASTING method of creating HEXAGONS.
What is English paper piecing?
Hexagons (which are affectionately referred to as hexies) are made using a process called English paper piecing (or EPP). Each hexagon (or EPP shape) is made individually by wrapping fabric around a paper shape, then securing it in place using either stitch basting or glue basting.
And then the shapes are stitched together to form a new ‘fabric’.
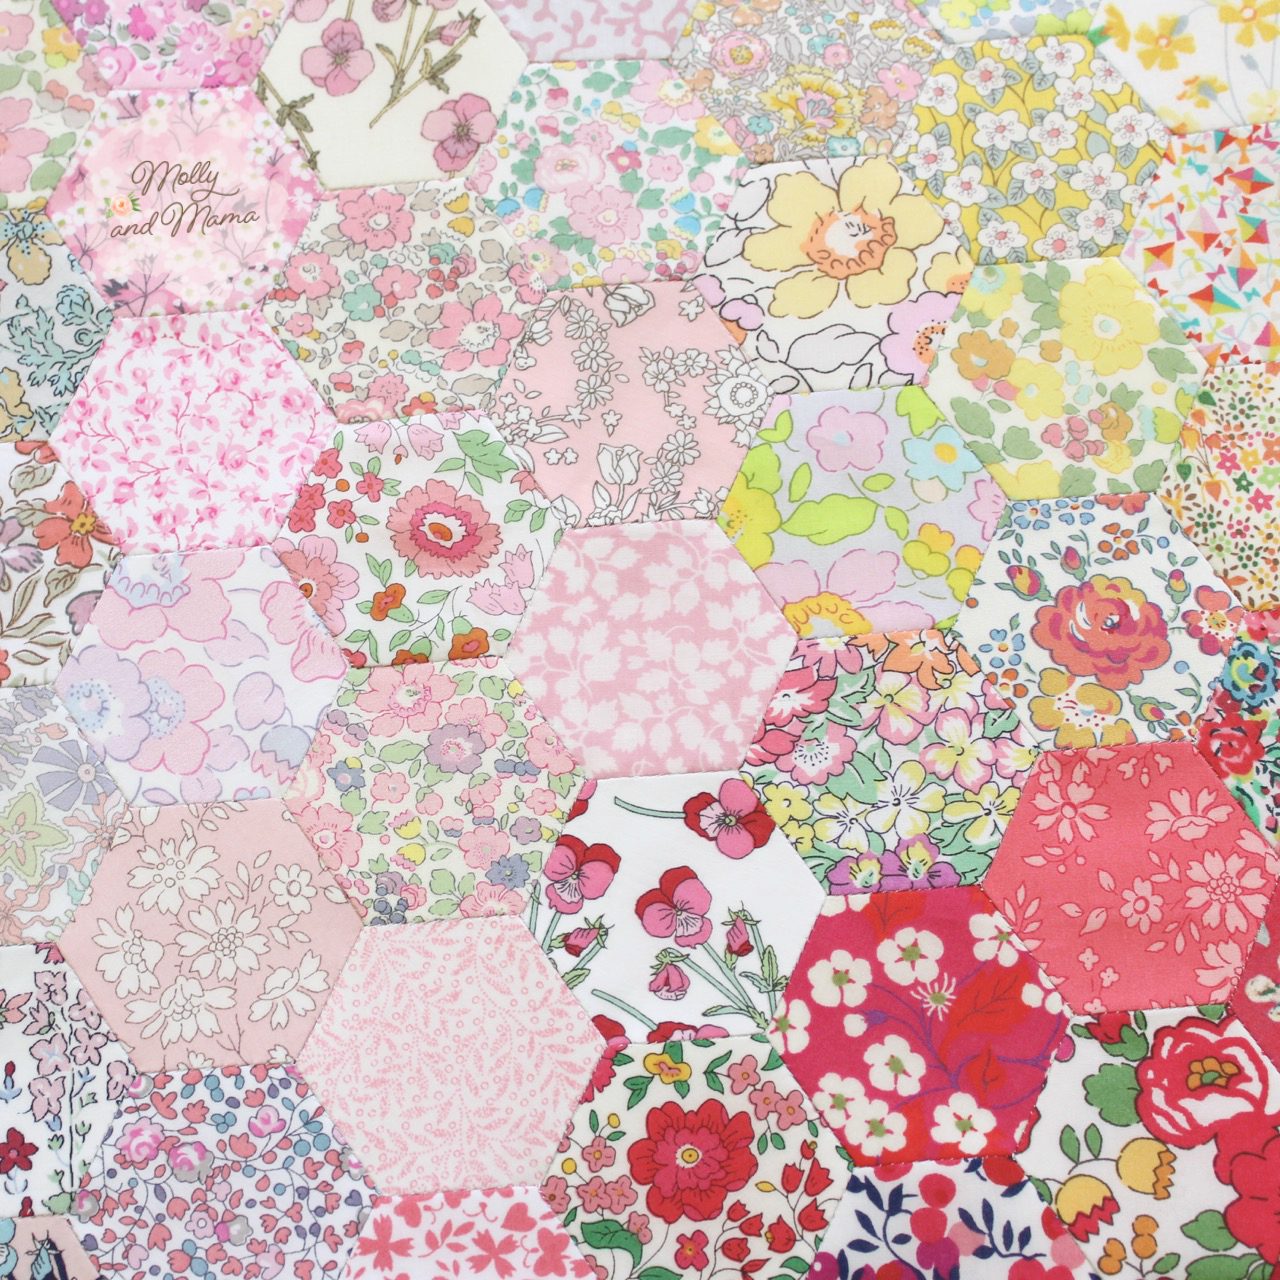
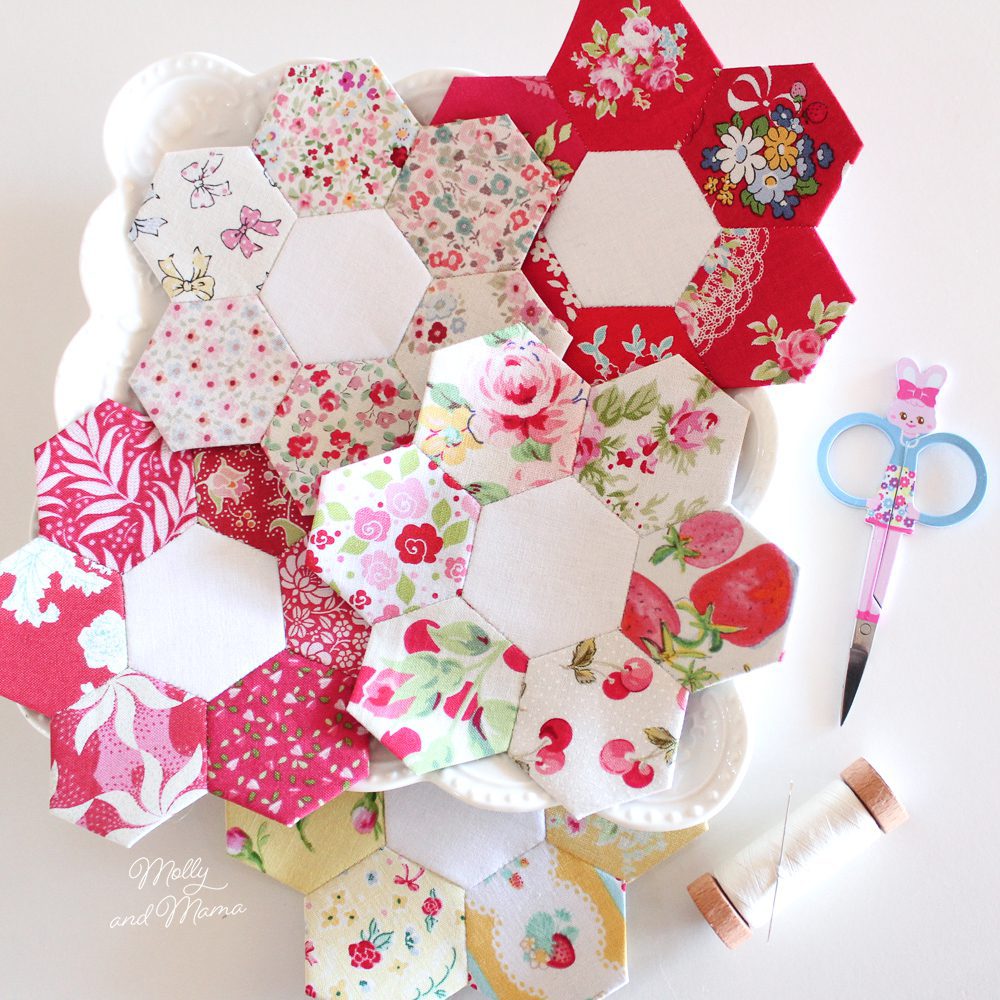
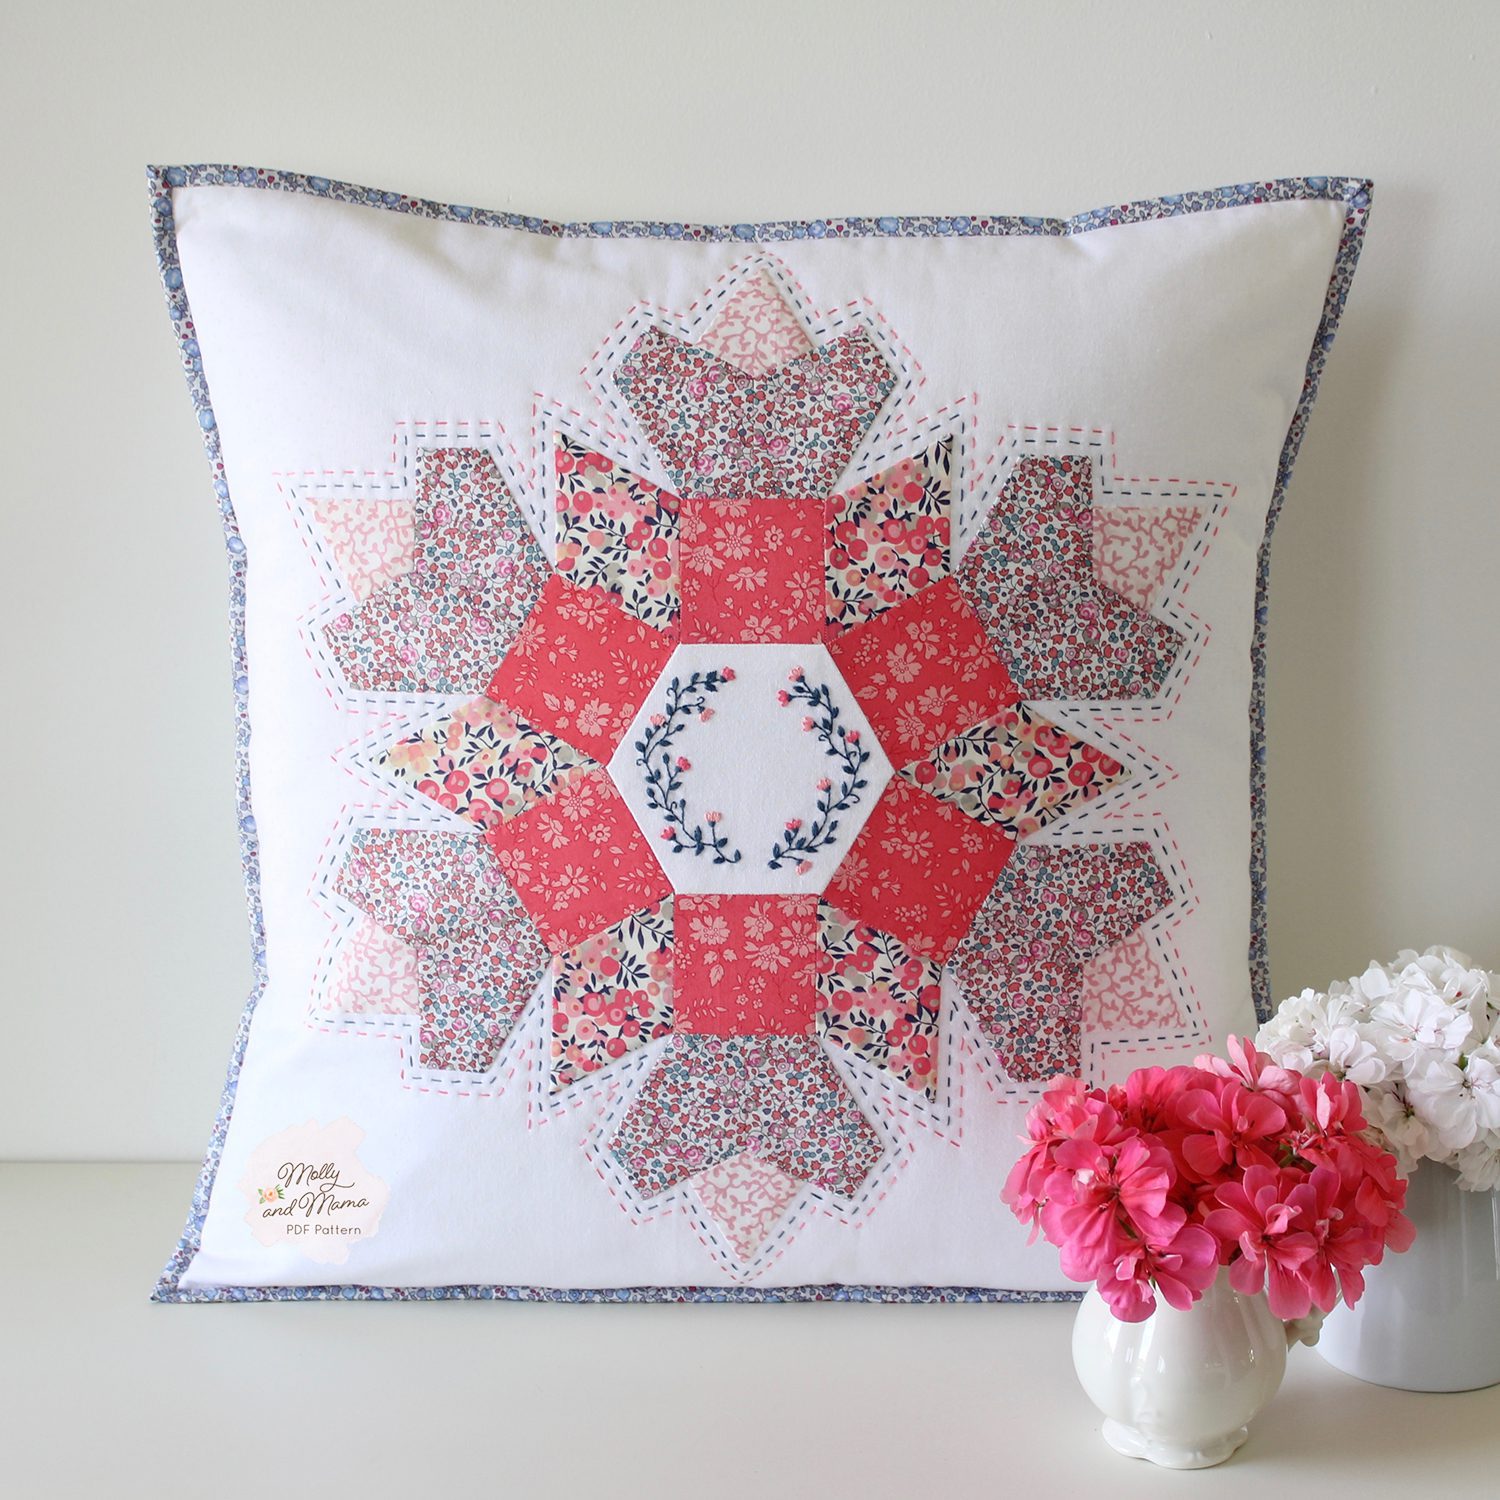
Hexies can be used alone to create lovely patterns and shapes like flowers.
You can also use other shapes like triangles, squares, diamonds, jewels, kites, elongated hexagons and half hexagons. The shapes can tessellate together in endless combinations to create truly beautiful designs.
If you’re just getting started, then hexagons are a nice easy introduction.
What you need to get started
Read on to find out about all the materials and supplies I use for basting English paper piecing shapes. You might also like my YouTube video.
Hexagon shaped papers. Hexagons are measured by the length of their sides. 1” side hexagons are a great place to start. You can cut out your own hexagons or other shapes for English paper piecing, using printed templates. If making your own, it’s great to use light weight cardstock. Card that has a semi gloss finish is also especially good.
If you’d like to make some 1 inch sided hexagons at home, I have prepared a simple template for you to make a hexagon flower. Print your hexagons onto light weight cardstock with your home printer, being sure that the page is set to print at 100%, full size, without any scaling or cropping. Once the template has printed, measure the one inch test square to ensure the template printed at the correct size. Carefully cut your papers out, following the lines exactly (accuracy is key).
If you’re making large projects, or especially concerned about accuracy, you can purchase paper shapes in bulk, from patchwork or quilting stores, or from online suppliers. I like to try different designs and shape combinations.
You can also cut your own templates with a cutting machine like a Cricut. I show you how at this tutorial.
Wherever your EPP shapes come from, the key here is accuracy. You really need the shapes and their sides to be uniform so that they fit together nicely.
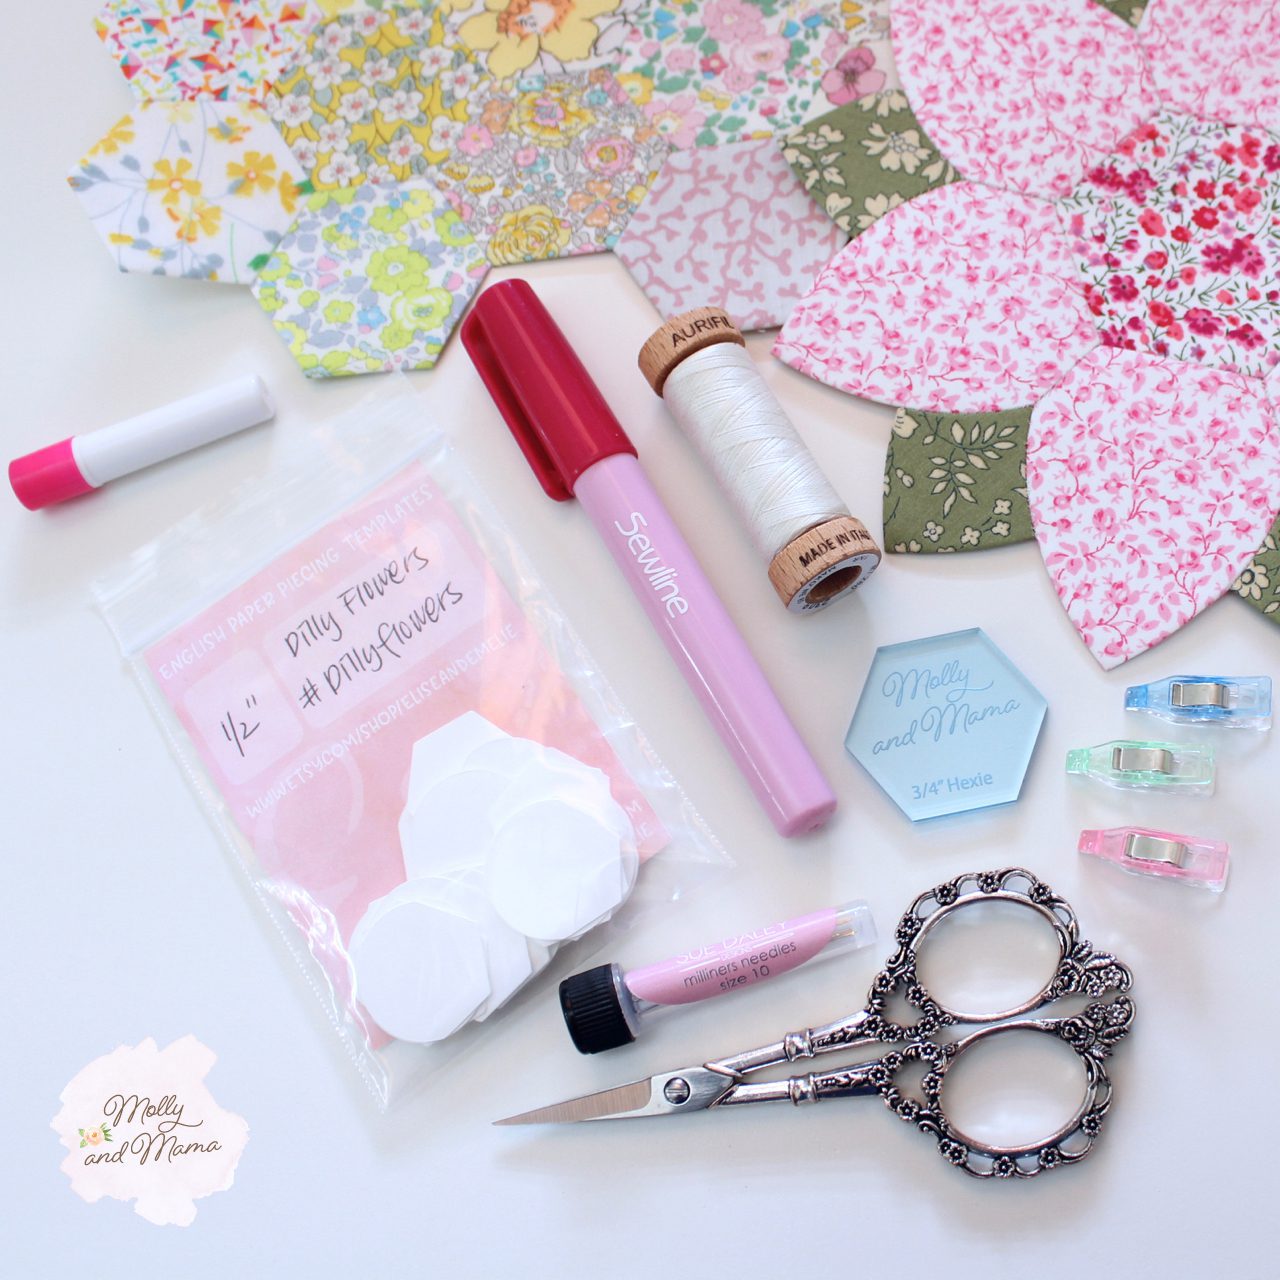
Sewline Glue Pen. You can baste your fabric to your paper with needle and thread, but I really prefer glue basting. Some people use an everyday glue stick, but I like to use a Sewline glue pen, with glue specially formulated for EPP. The tip of the glue pen is fine enough to ensure you don’t end up with glue all over the place. The glue is strong enough to hold the fabric in place, but also easy to remove after stitching your hexagons together. And it’s so much quicker than sew basting. Just be sure you have glue pen refills on hand. They come in very handy! And here’s a quick tip; if you live in a warm climate, keep the glue pen and refills in the fridge. It’ll save you using too much when the warm weather softens the glue.
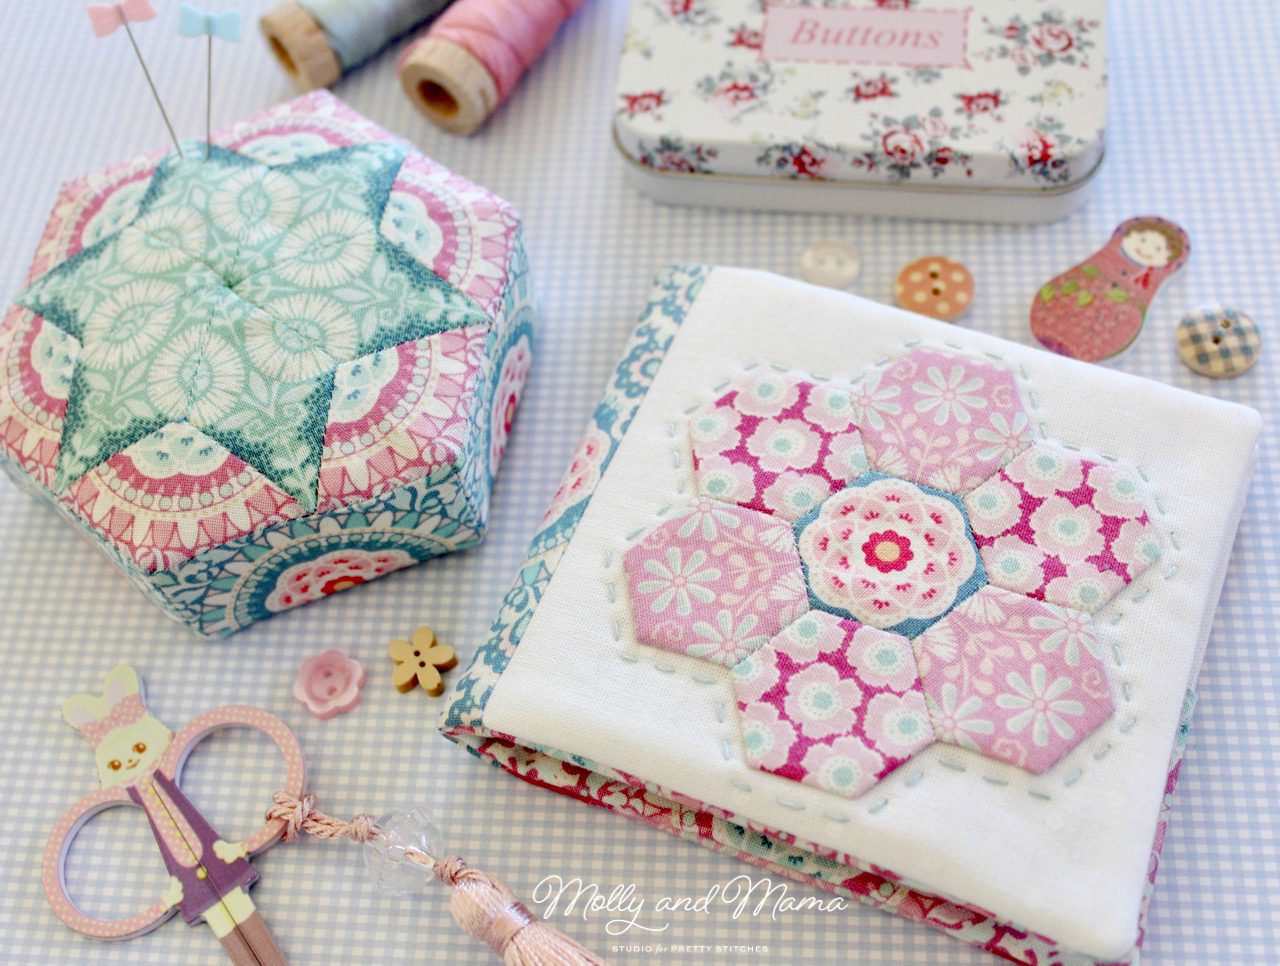
Fine embroidery needle and thread to stitch the hexagons together. I use a milliner’s needle in Size 9, 10 or 11 (as shown in the tube above). They have a long thin shank and a long thin eye. I like to sew with 60 weight polyester thread (known as bobbin thread) as it glides through the fabric. It can be a little slippery though, so I also use 80 weight cotton thread from Aurifil (as shown on the timber reel above).
Embroidery Scissors for cutting your thread. Small, sharp scissors work best.
Quilting Clips to help hold hexies together when you are stitching them.
Acrylic Templates so that you can trace your EPP shapes onto your fabric before cutting them out.
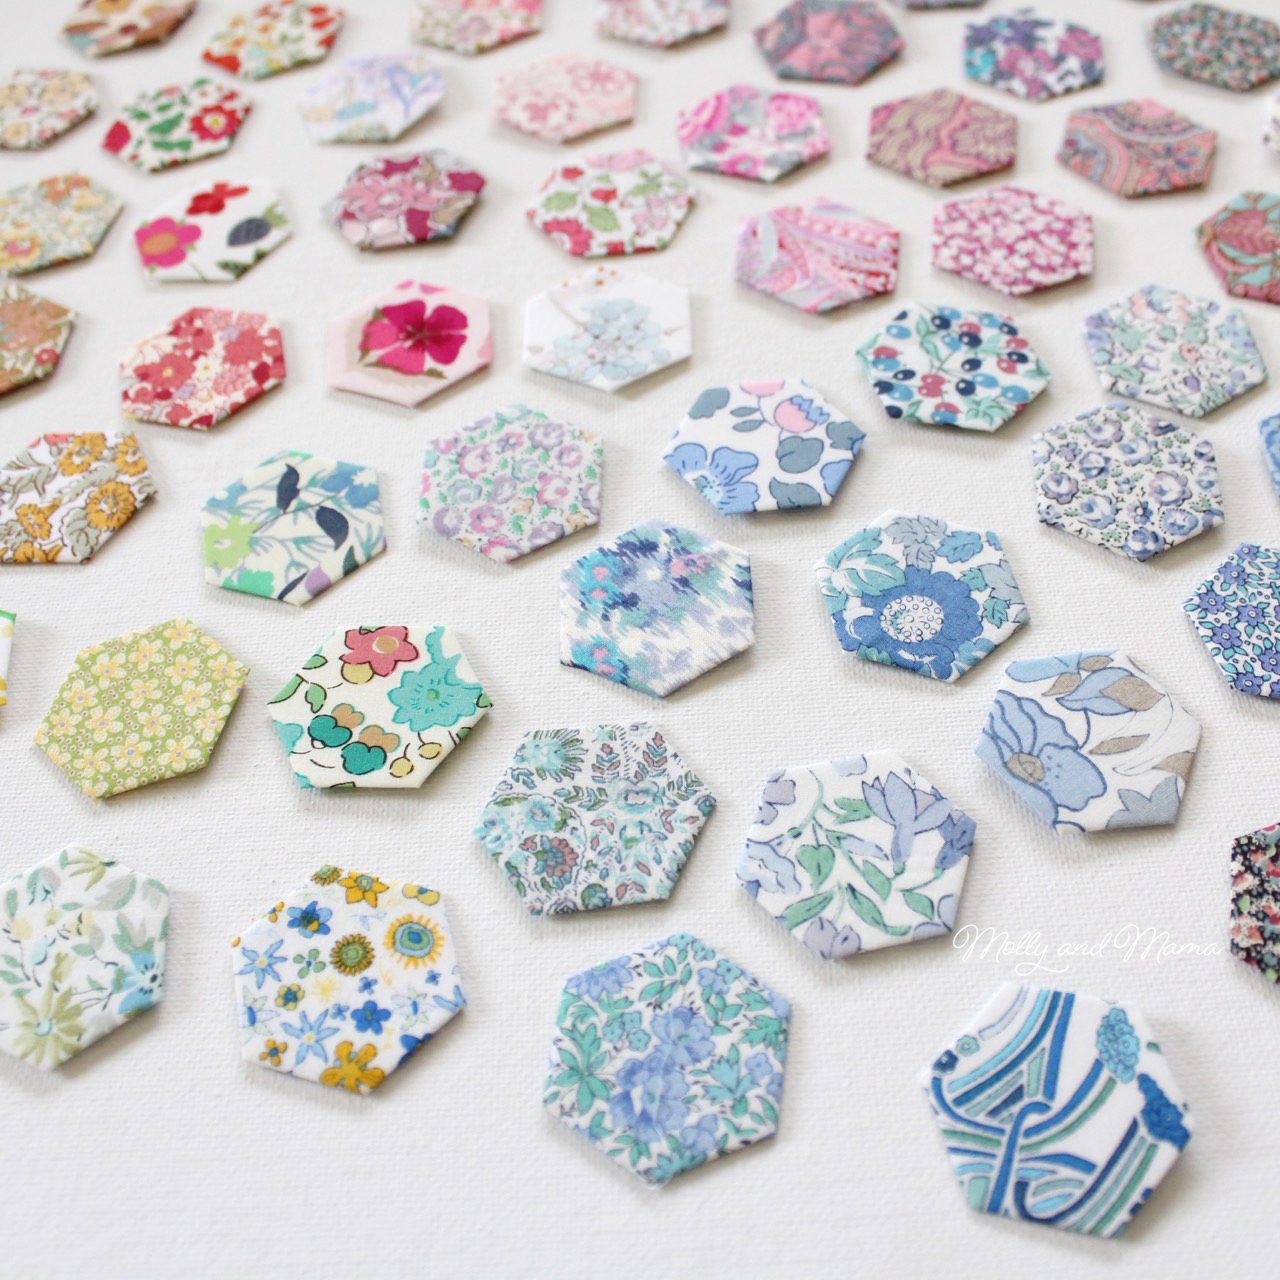
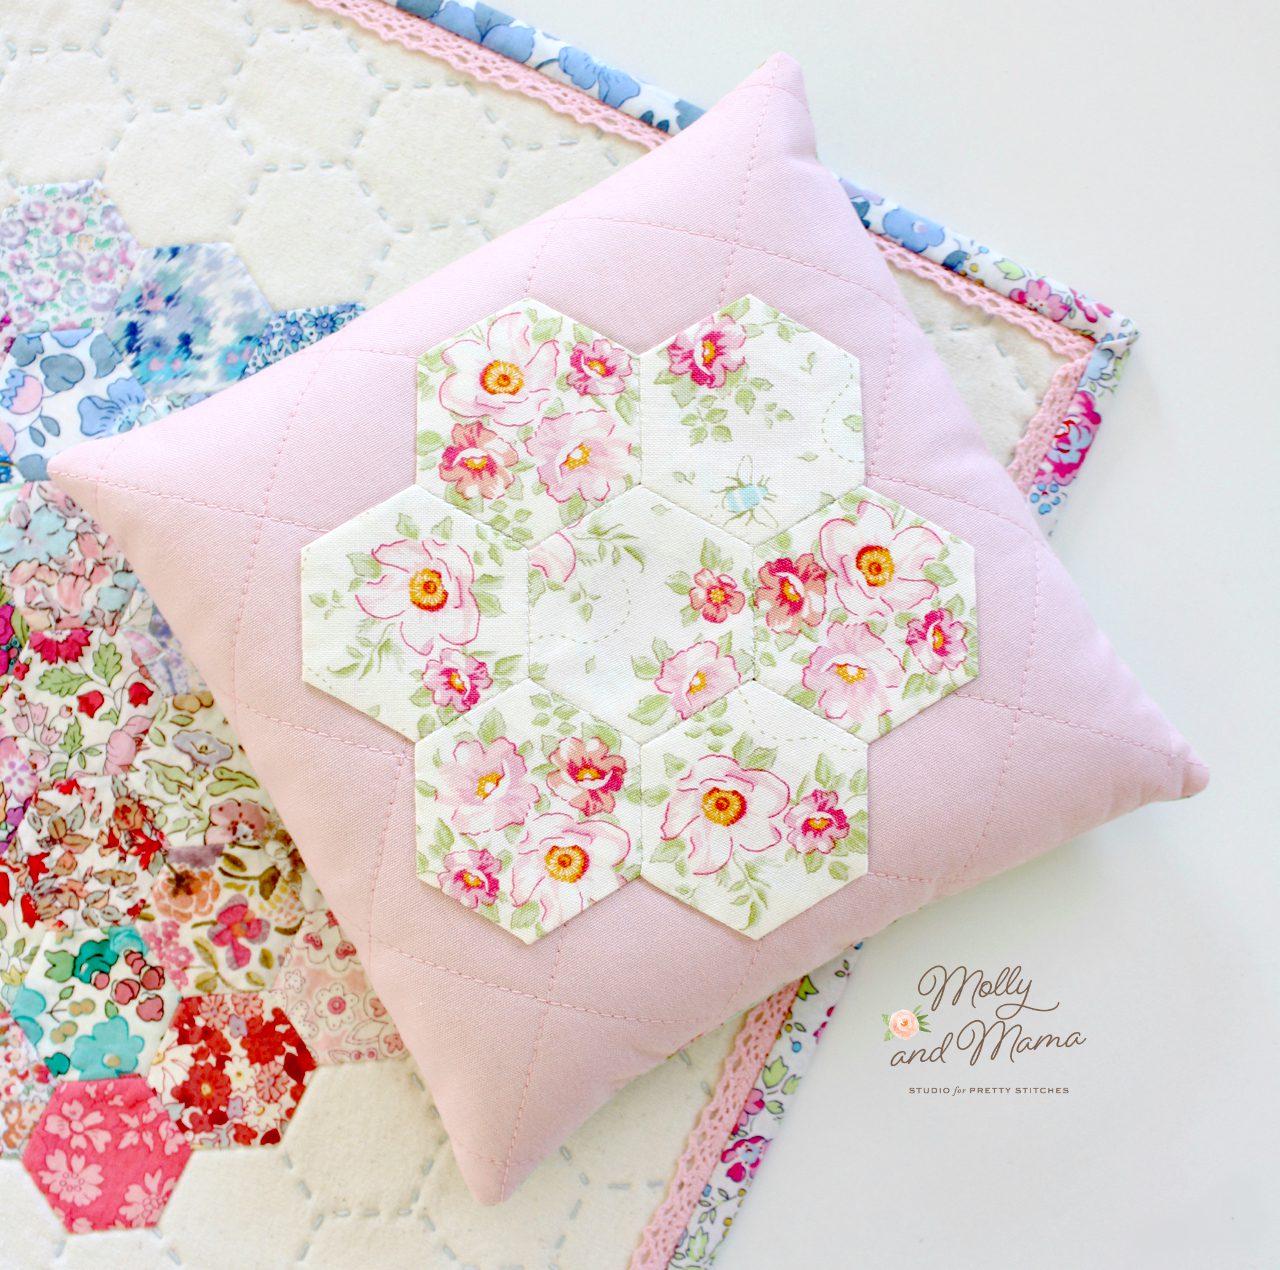
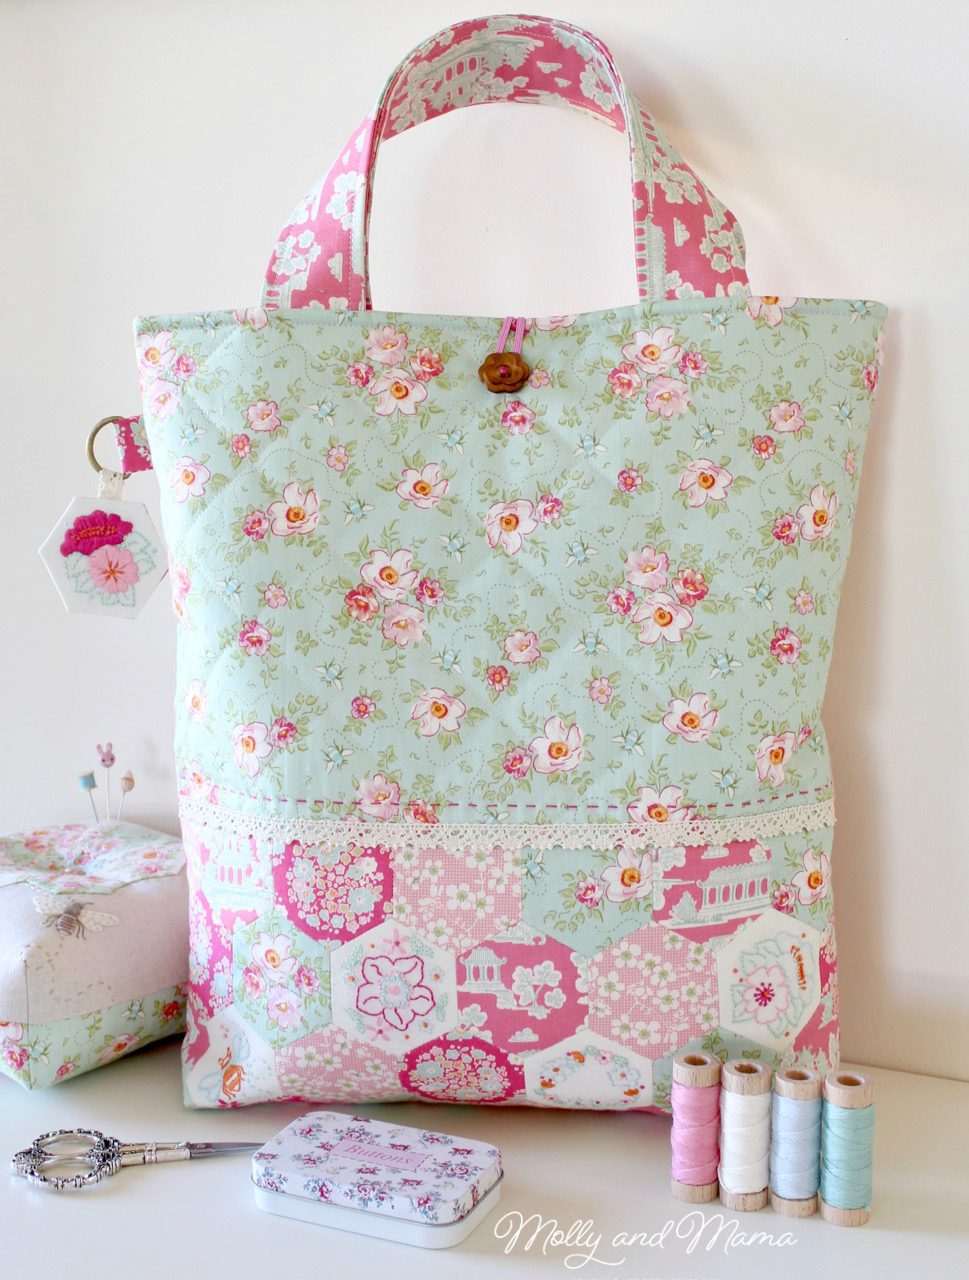
Fabric for your hexagons. Quilter’s cotton is ideal. But I love using fabric as fine as Liberty tana lawn. You can choose to use a couple of different prints for a hexagon flower, or a different print for every hexie. It’s up to you. I also like to fussy cut my fabric. This is where you select an image or print from the fabric that you would like to highlight in your EPP shapes. It might be something simple like these sweet treats.

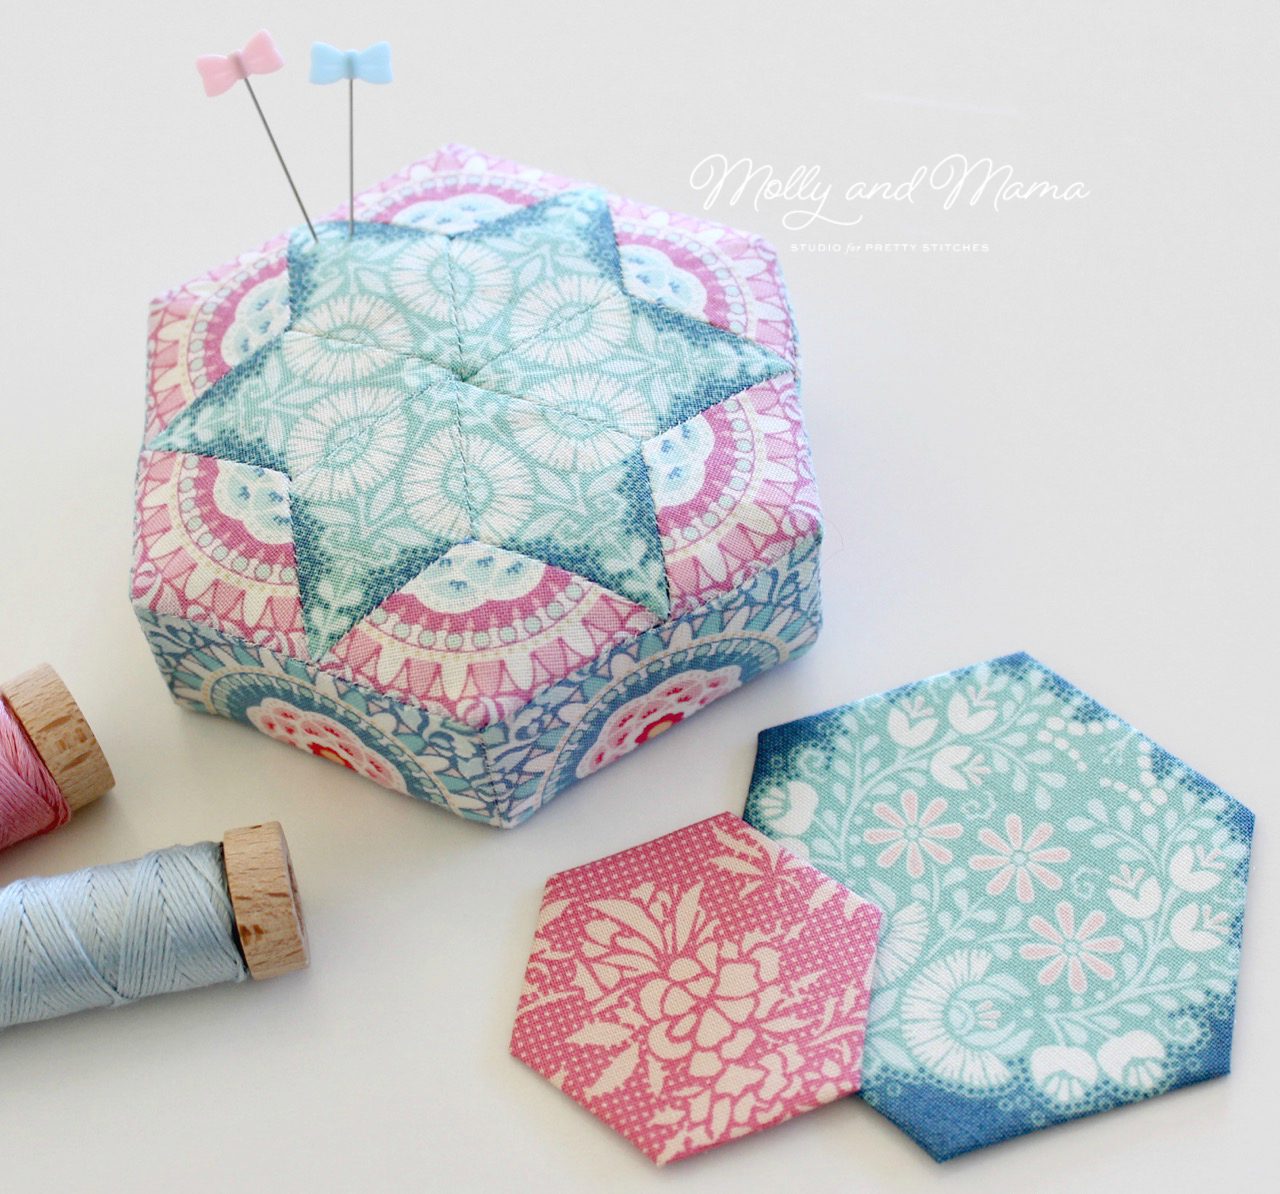
But you can also repeat fabric print designs to create a repeating pattern like I have done here in this pin cushion. This is where the acrylic templates can come in handy.
How to Glue Baste Hexagons
Once you have your hexagon (or other EPP shape) papers, you can start basting.
If you’d like to make a 1 inch hexagon flower using the method below, you can download your template page HERE.
Here is my method for glue basting. Read on to see detailed photos or watch the video tutorial below.
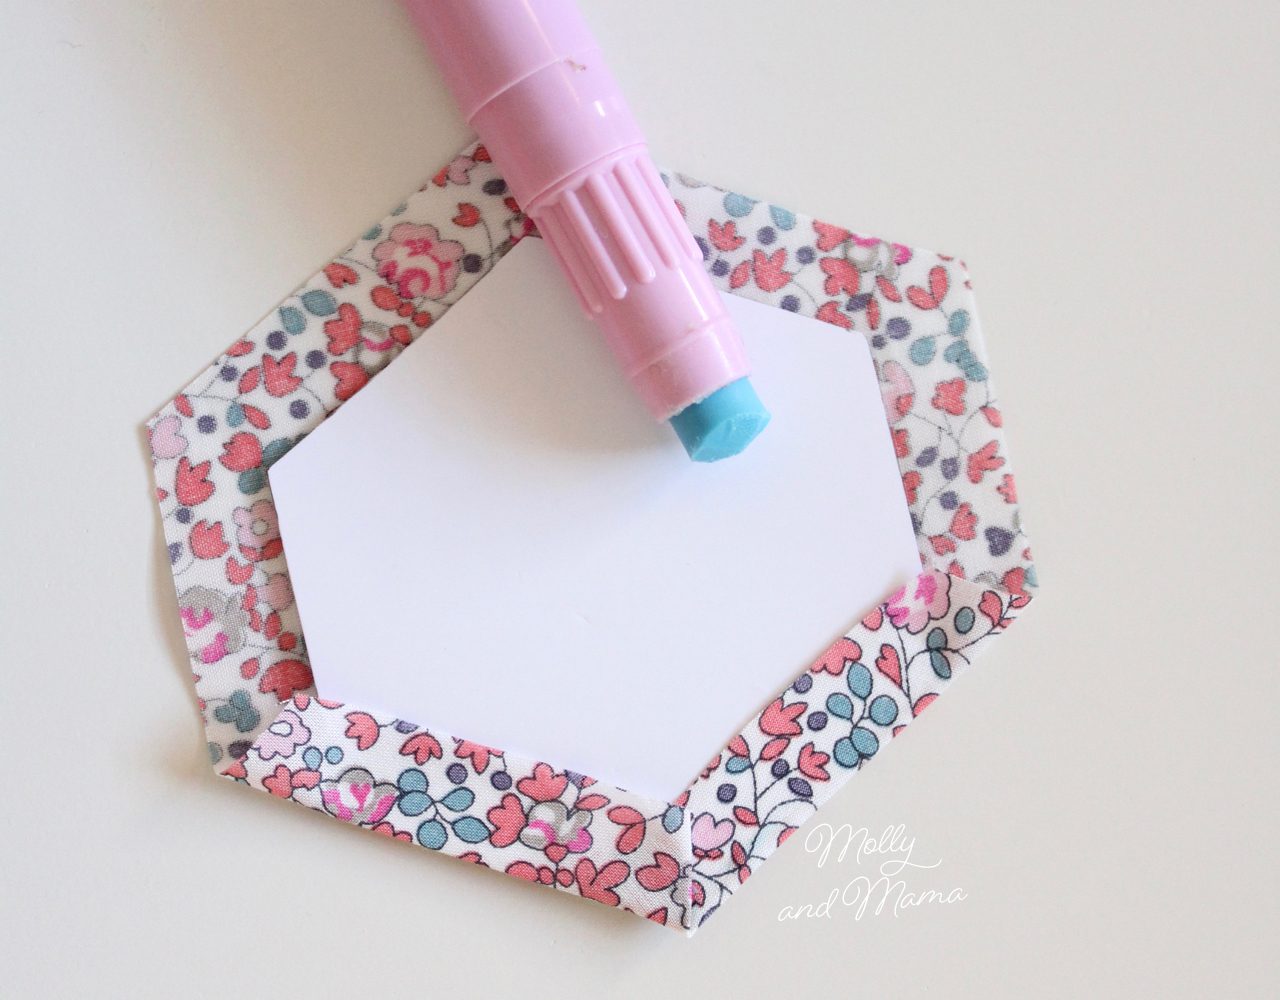
- Place your hexagon paper on the wrong side of your fabric and hold in place. Cut around the hexagon shape leaving at least a ¼” or 0.5cm seam allowance (more if you are using bulkier fabrics or want more wriggle room). If you have a die cutting machine then you can get it to cut your fabric hexagons for you first! I cut 1.5″ hexagons from fabric, for my 1″ hexagons.
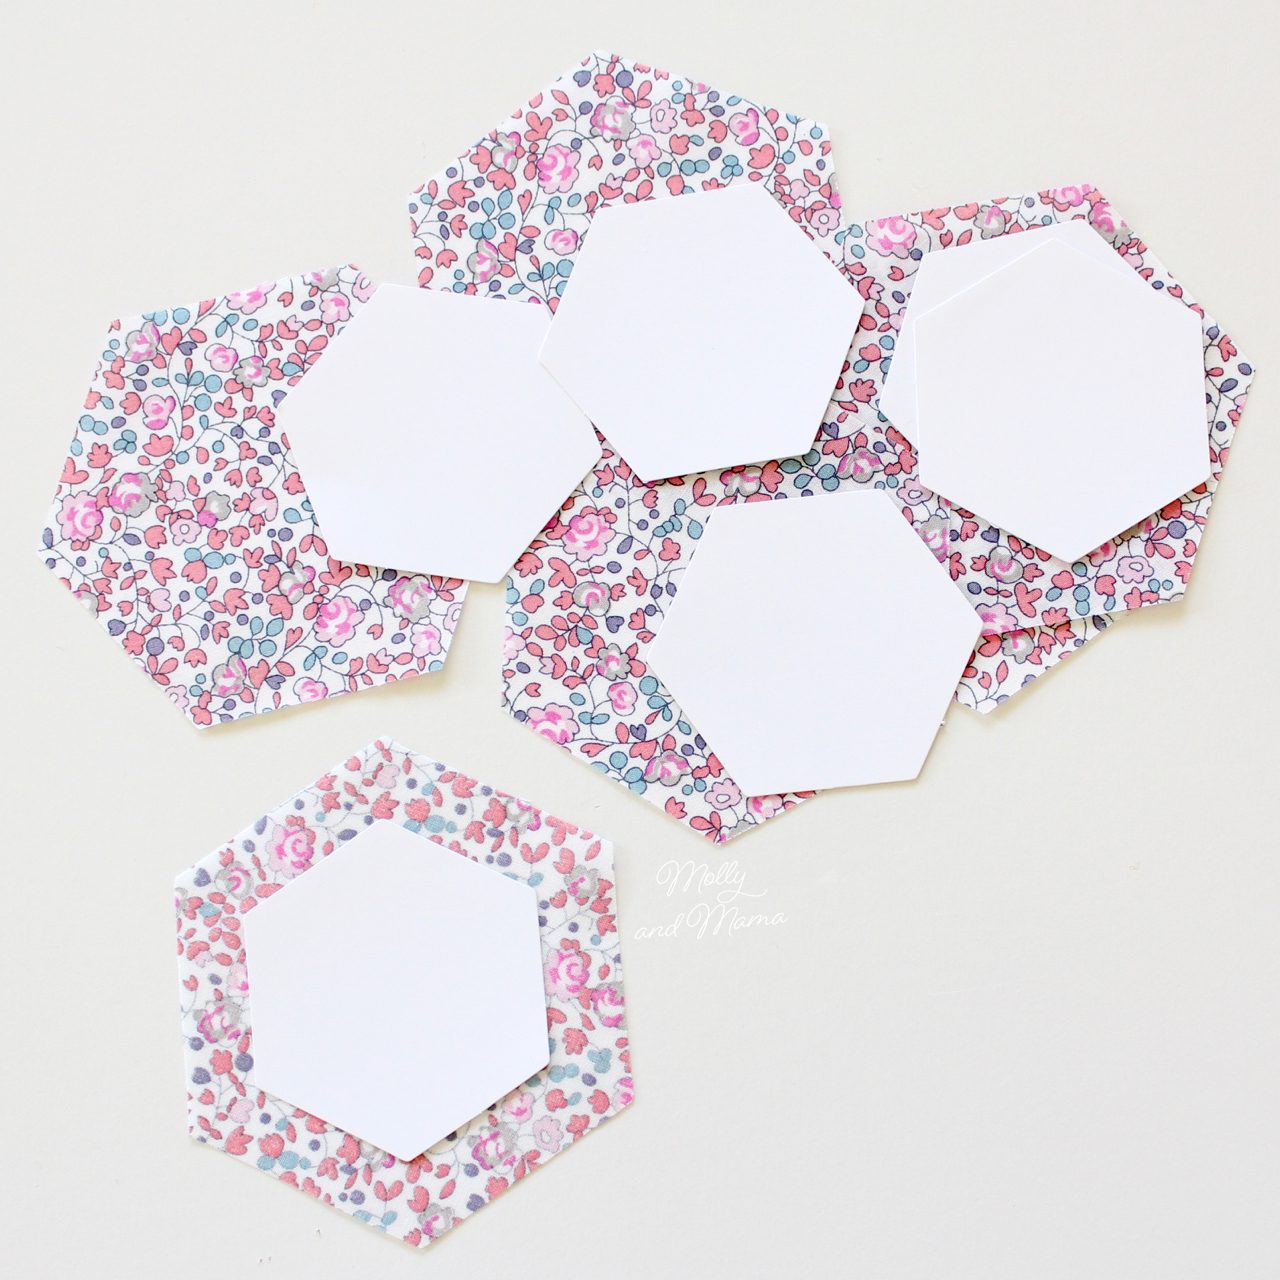
- Using the glue pen, run a small amount of glue along the edge of one side of the hexagon paper (being careful not to use too much glue, or to glue too close to the edge of the paper). Fold the fabric over firmly and secure.

- Repeat this process to fold over all 6 sides of the fabric. Be especially careful to keep the fabric folded firmly near the points or corners.

- Repeat this process until you have made the quantity of hexagons required for your project. For a hexagon flower, that’s 7 hexies.
- Press each of your hexagons with a warm, dry iron. This helps to crisp the edges and set the glue. Glue basted hexies will then remain basted for many months (even years – I can speak from experience!).
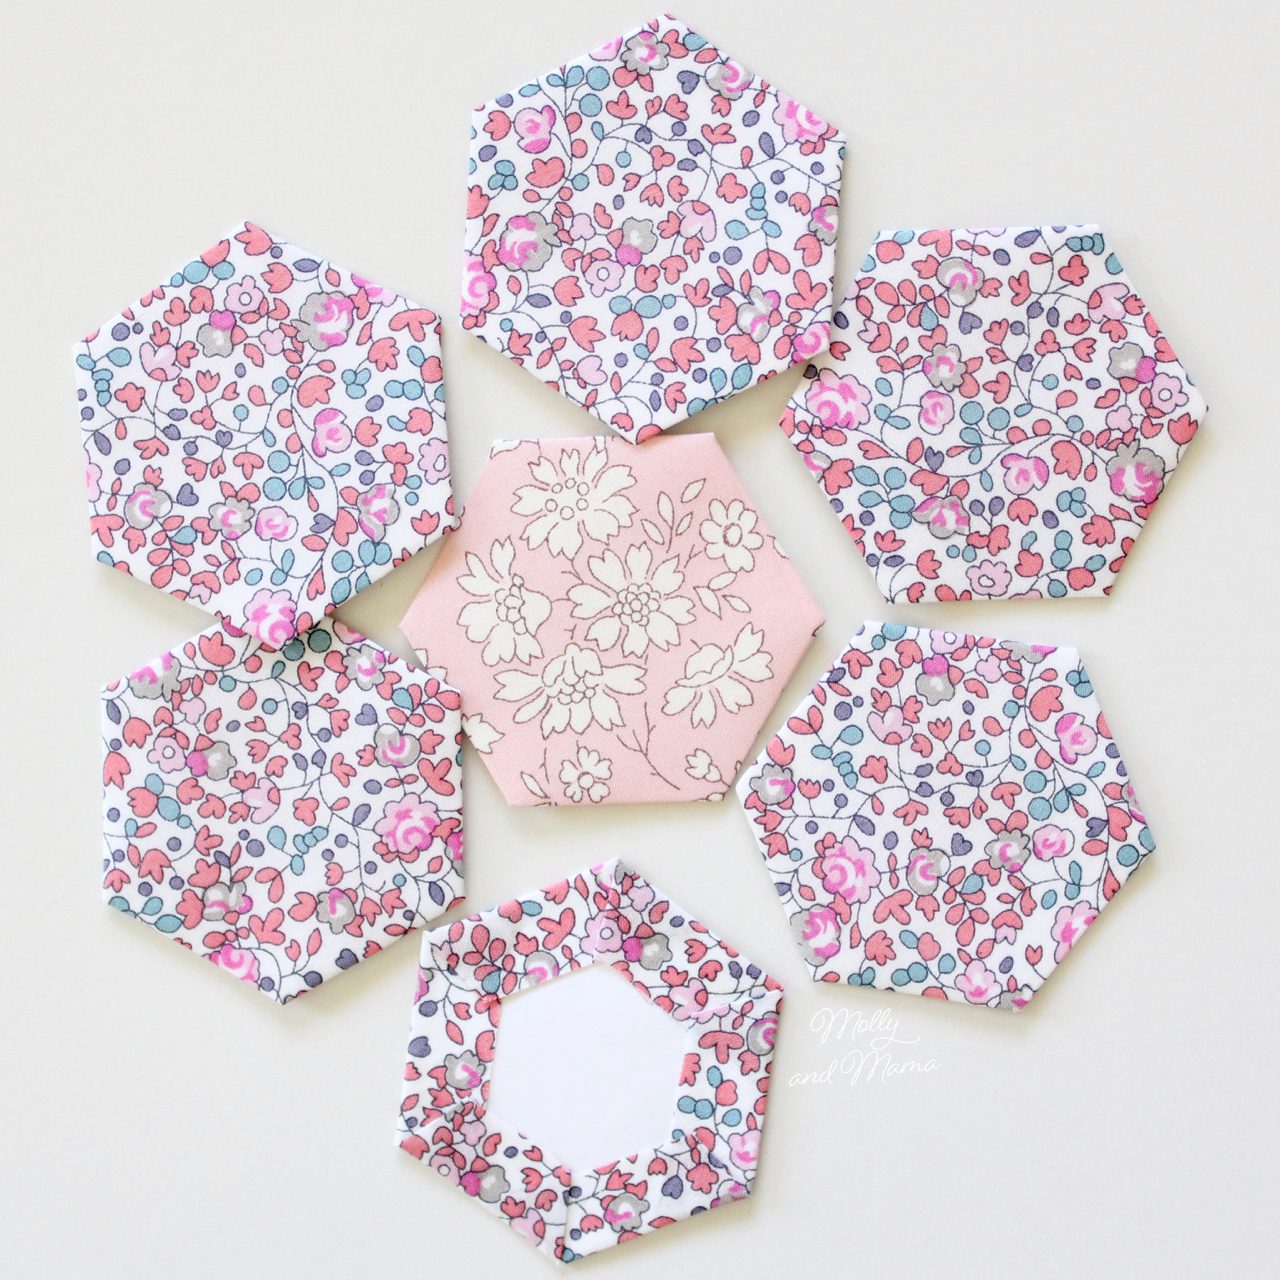
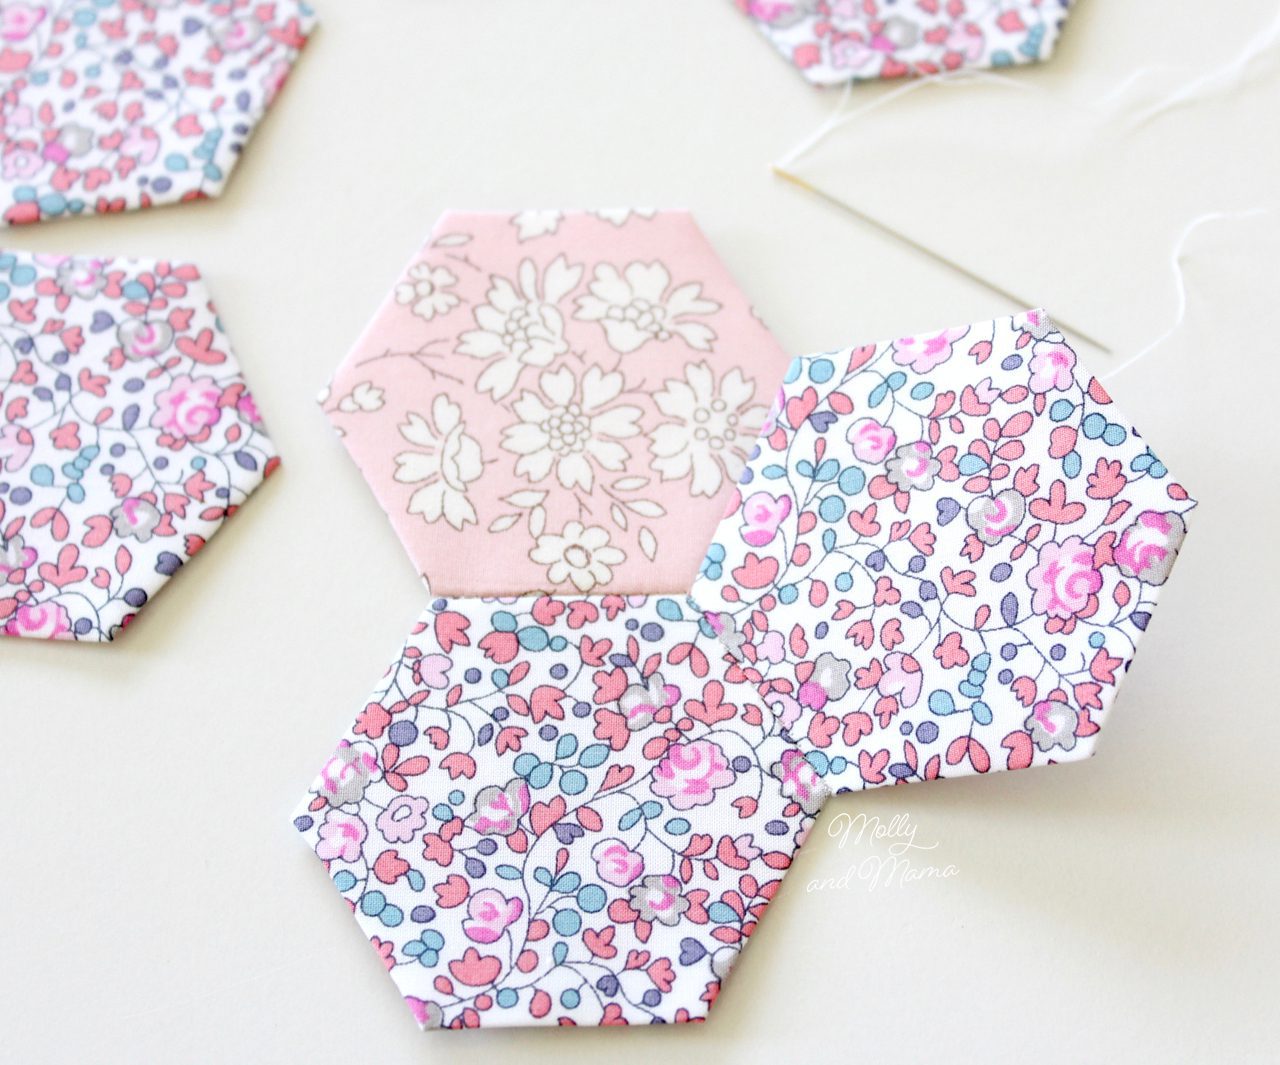
Arrange your Hexagons
- Lay out your hexagons in a balanced arrangement, just like you would with patchwork. You can choose to make flower shapes where six hexagons are sewn around a central hexagon. Or you can join the hexagons in rows to create a large square or rectangle shape. This can then be used for the centre of a quilt.
Here’s how to put them together!
Sew the Hexagons Together
Read on for detailed instructions and watch the quick overview video HERE.
- Stitching the hexagons together is the time consuming part of the process. But the effect at the end is well worth the effort!
- Photograph your arrangement if you wish, so that you can refer to it as you sew.
- Choose two hexagons, and identify the sides to be joined. Hold them right sides together, being sure to line up the edges and corners of the side you wish to sew.
- Thread your fine milliner’s needle with a single strand of fine thread (choose a colour that will blend nicely) and knot one end.
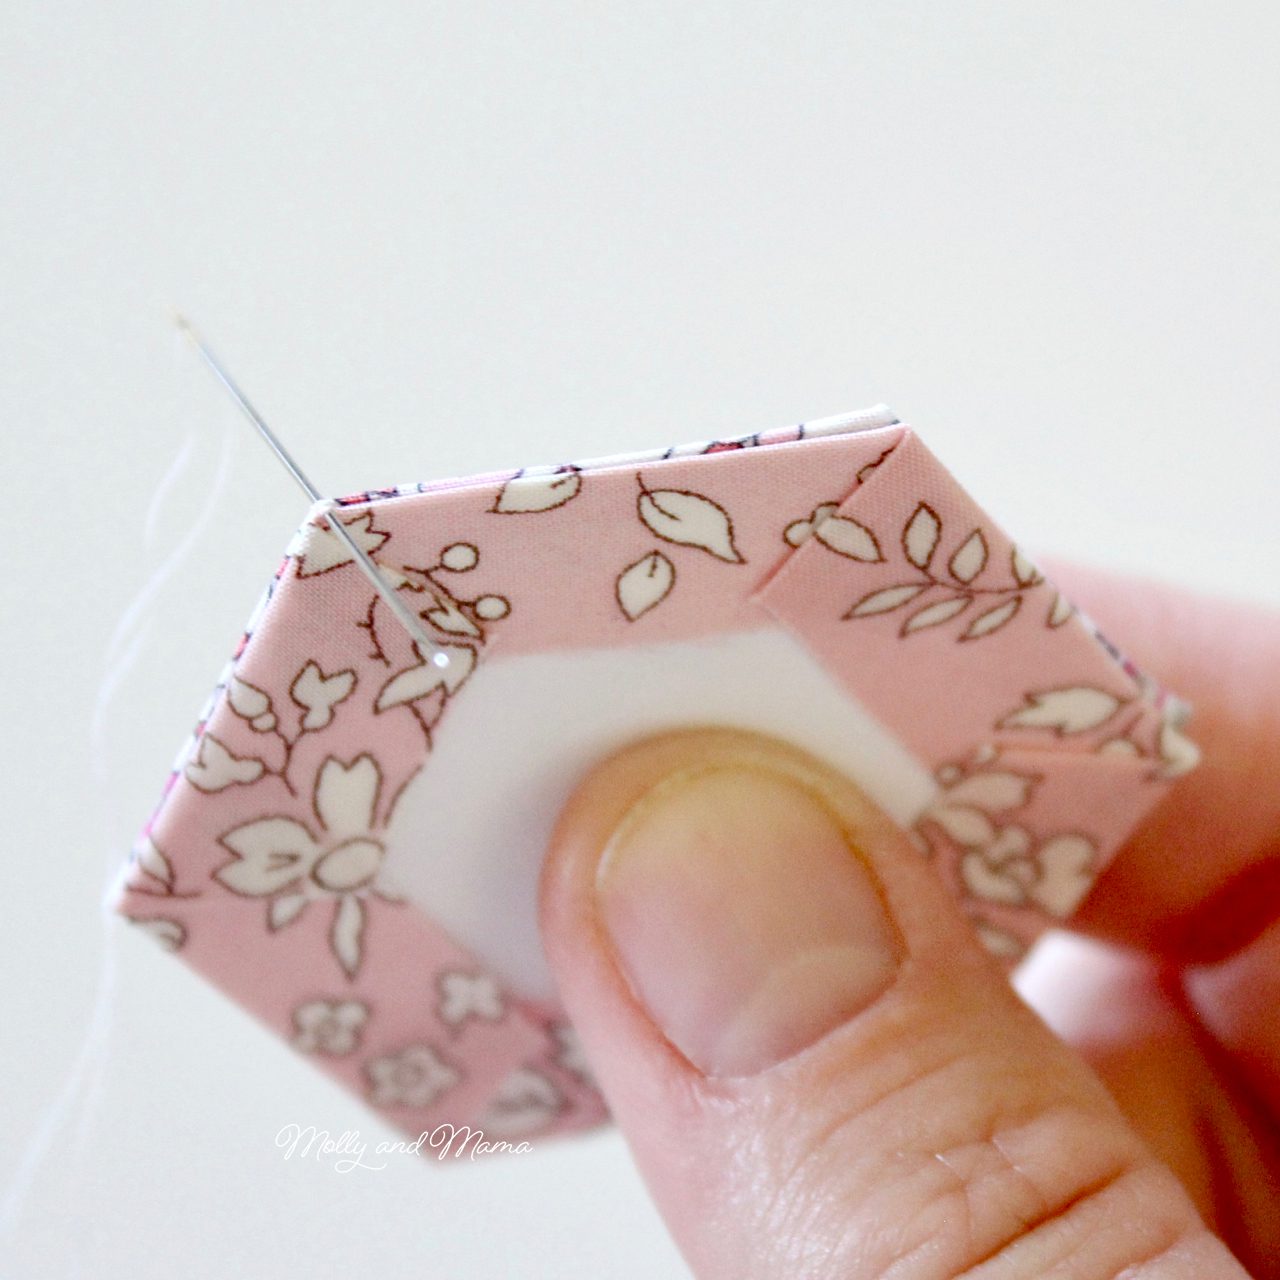
- Use very fine, and small, whip stitches to sew the two sides of the hexagons together, starting at one corner and stitching along the edge to the next corner. When you start, sew a couple of stitches in the same place, to secure the start of your stitching.
- As you stitch, catch 2 – 3 threads from the folded edge of both pieces of fabric, being careful not to stitch through the actual paper. Small, closely spaced stitches sewn straight across the fabric top are best.
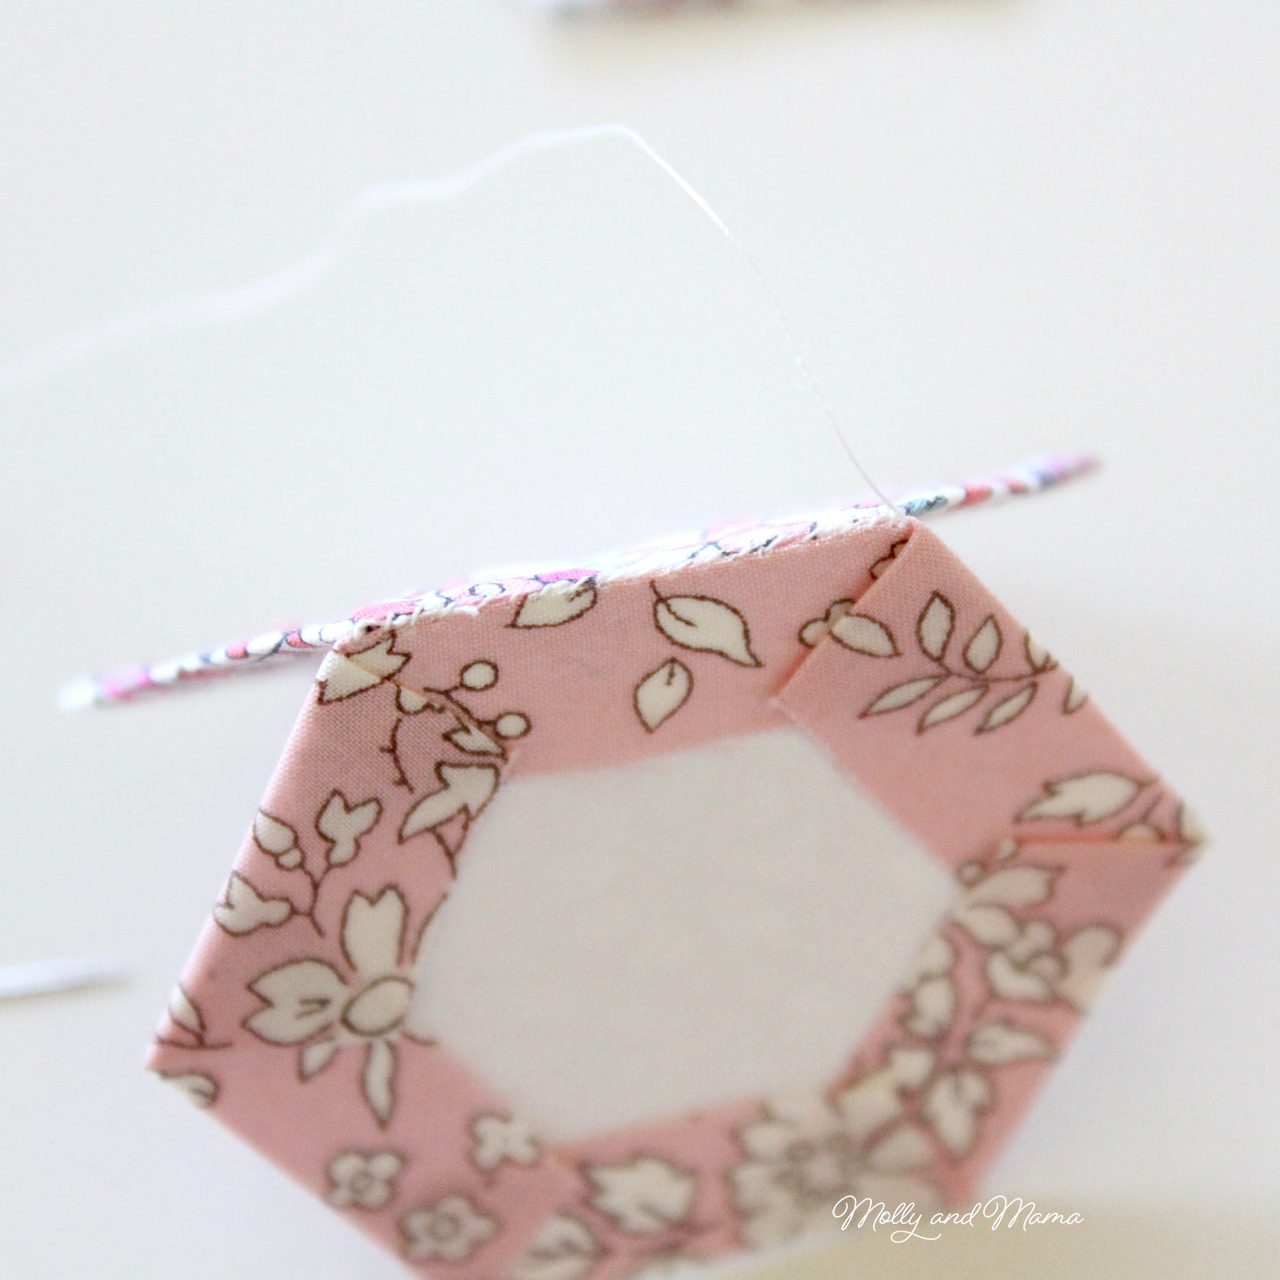
- When one edge is sewn, secure your stitching with a couple of stitches repeated in the same place, at the end of your hexagon side. This keeps the stitches tight and the seams (for each side of the hexagon) neatly intact. Next, fold the hexagons out flat and identify the next hexagon to be added to the design.

- Repeat the method as described above to join all the hexagons together. You will find that you can join many sides together with one single strand of thread, if you sew them continuously. You can also run your needle and thread up the back of the seam stitches (on the wrong side of the hexagon) to move the thread to another spot to start stitching a new seam (seen in the image below).

- But at times, the only option will be to secure your stitching with a few back stitches on the wrong side of your hexagon, and cut your thread. Then start your sewing again at a new place. You’ll discover you need to fold the paper hexagons at various times in order to stitch certain sides together. It can be a fiddly process, but the finished effect is lovely!
If you sew hexagons into a flower shape, the back of your finished hexagon flower will look like this;
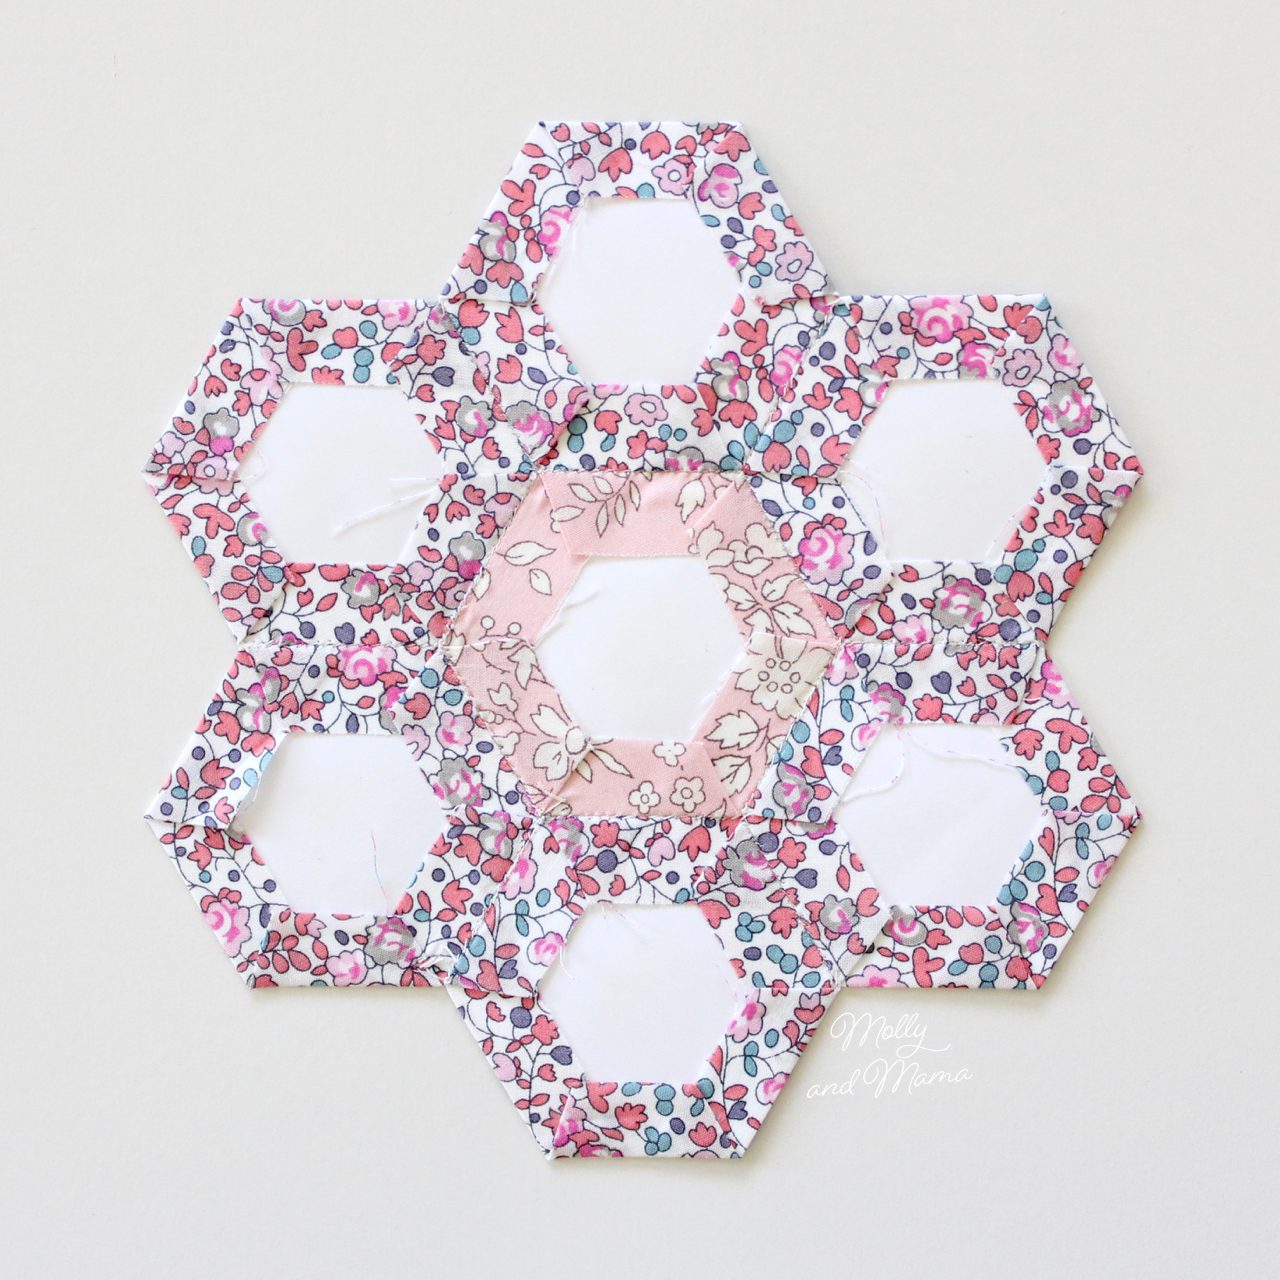
- When all the sides in the interior of your chosen design are sewn together, you can begin removing the papers. Remove the papers from the centre of the design first and then work your way out to the edges.

- Carefully remove the papers by lifting up the fabric on one side of the back of the hexagon and sliding your finger along to tease the fabric from the glue. When you find the corner of the paper, you can carefully manoeuvre the rest of the paper out. Keep the papers though, as you can reuse them many times!
- You may like to press the back of each hexie with a warm iron as you go. This will help the hexagons retain their shape.
- When finished, you will have a hexagon design that can then be used as a panel for patchwork, or as an appliqué shape for a pretty quilt design.

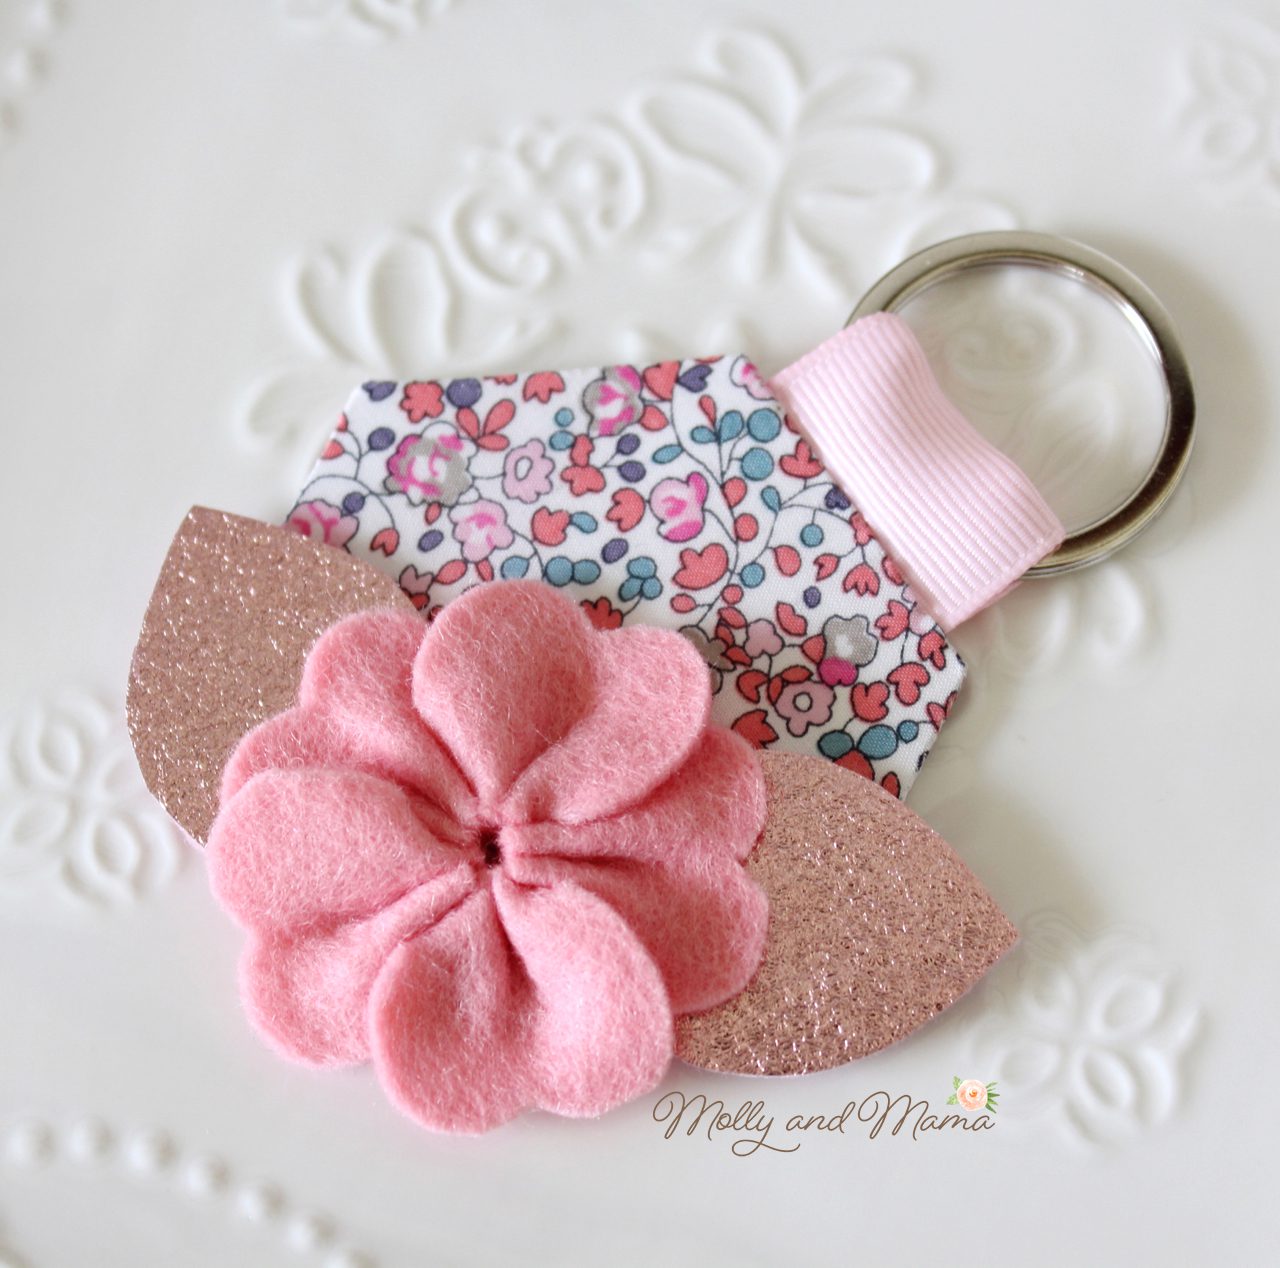
Once you’ve made a few hexies, you won’t be able to stop. I have tutorials and ideas for lots of hexie and EPP projects. Just click on the image to go to the tutorial or pattern.

Have you caught the EPP bug yet? I hope you’ve been inspired. Head to Pinterest for lots of beautiful English paper piecing and quilting ideas.
Instagram is also a great place to go for inspiration. I cohost a weekly English Paper Piecing party with my friend Larisa from Stitching Notes. Check out hashtag #sipteaandepp for all things relating to EPP. You can also search the hashtags #hexies, #hexagons or #englishpaperpiecing.
I hope you’ve found this tutorial helpful. If you’ve got a tip to share, feel free to leave a comment.
Happy stitching, Lauren x
This post was written by Lauren Wright and appeared first on Molly and Mama http://www.MollyandMama.com.au


Hi Lauren,
Great tutorial and such pretty photos!
I find that thread basting works better for me when I take my hexies on the road, and don’t have a flat surface to use for gluing.
That’s a really great tip Michelle. Thanks for sharing!
You mentioned using lawn for the hexies. I received a bundle of Liberty lawn fat quarters for Christmas. I’d like some pointers on how to use this fine, light fabric. Can you get me going in the right direction. Love your hexies, such a variety of fabrics.
Hi Gail, Hooray for your new Liberty! I use lawn just like other fabric. In fact, I prefer to sew hexies with lawn over quilting cotton. I use the same method explained in this tutorial. I find it really easy to sew, just keep your stitches very small and fine. Have fun!
I see that most of the hexies shown are applied to something, rather than standing alone. While this discussion has been about the hexies, does the lawn get used in other ways in piecing? It seems so light and fine that using it for larger pieces might be a strain on the fabric. And adding quilting, again a strain. Can you comment , please. Thanks.
I’ve used hexies to adorn other projects like pin cushions, so I have backed the hexie panel with fusible interfacing for added strength. But I have done this to strengthen quilting cotton too. I have also used hexies for larger quilts and I love the look and feel of the finished product. Lawn is easy to hand quilt too. I think the only way to really understand how the fabric will respond to English paper piecing or other piecing, is to give it a go yourself. There are lots of beautiful lawn quilts that have been hand pieced and quilted out there. Please have a look at avaandneve.com.au, http://www.lilabellelanecreations.com and http://www.cuttingcloth.com.au. Their instagram feeds are very inspiring!
Thank you for your responses, Lauren. I will check out the websites. And give the lawn a whirl. You’ve been very helpful.
G.
I have followed you on IG for a while but just to look and *sigh* and tell myself I’m going to try this soon! I am a card designer (one of a kind greeting cards). I love using felt and love to hand stitch as well, so it seemed natural to me to start looking at my die cuts as templates for creating something new. Many companies within the paper crafting industry have come out with dies that can be used with felt, fabric, etc for hand stitched projects. I have a number of them. These dies already have holes placed for easier placement for backstitching or blanket stitching. I love the idea of the EPP and glue basting and would really like to try one of the mini quilts. I found your Bitty Bunnies in their carrot sleeping bag pattern yesterday and purchased it. I am so excited to begin and will definitely tag you on IG when I’m finished. I was so excited when I stopped long enough to really have a look and read that I tagged several card designers I knew would be interested. Right now I’m finishing a stuffed felted heart. Once I’m finished you can bet those little bunnies are next up. Thank you so much for the beautiful inspiration, your delightful blog, IG feed, and Facebook page.
Hi Beverly, thank you for taking the time to write this message, and for your kind words. I’m always so thrilled to hear when others develop a love for hand sewing. EPP and felt are two great places to start! And I often use die cutting machines to cut felt and fabric shapes too. So that’s a terrific tool to be using. Please do share the projects that you make. I’m really looking forward to seeing them. Happy stitching and best wishes x
I am totally new to paper piecing. I am trying to make a hexagon star quilt block with triangles between hexagons. I have tried to do these by machine and have given up because I can’t get triangles points to match. I’ve decided to use paper piecing for the hexagons. Then, will I need to paper piece the triangles to insert them in the pattern as well? The pattern I am trying to copy is called Morris Hexagon 16. It is an old pattern. I am just trying to figure out how to put it together.
This quilt is a request of my sister-in-law from a quilt she remembers from being a child. We drew it out and I finally found a pattern similar but can’t find the instructions. I am guessing paper piecing is the only way I am going to get the pieces to fit together. Any help you can give me would be very much appreciated.
Thank you
Hi Jane, It would definitely make sense to use English paper piecing for the design. I would suggest starting with the centre hexagon, and adding the triangles to each side and then adding the next row of hexagons, and so on, until your block is the size that you want. As shapes are measured by the length of the side, if you used a hexagon with a 2 inch side (for example), you’d also need 2 inch triangles. Buying pre cut paper shapes will ensure accuracy with your piecing. I hope that helps. Happy stitching, Lauren.
I have a question. Now that I have a lot of flowers made, can I use the sewing machine to sew them together to make a quilt? I would appreciate any tips you might have. I have arthritis in my hands and can only do a small amount of hand sewing.
The easiest way would be to appliqué the hexie flowers you have already made onto fabric squares (using the sewing machine) to form blocks, and then machine sew the blocks together to make a quilt top. Best wishes!
Love the glue idea. I have a box full of these that my mom started years ago for a quilt but never finished before passing away. I need to finish it now. Its overwhelming 🥺
I hope that you find the tutorial useful Beth, and that glueing makes it quicker for you. Your hexies will be a labour of love, that’s for sure! Best wishes, Lauren.
If you glue the papers to the fabric using the hexagons, how do you remove the papers?
Hi Deb, thanks for your question. You only glue the seam allowance of the fabric to the back of the hexagon paper. Once all the hexagon shapes are sewn together you remove the papers by teasing the fabric away from the papers. I use glue specially formulated for EPP which helps. Thanks, Lauren.