Making Hexagons with the Cricut Maker
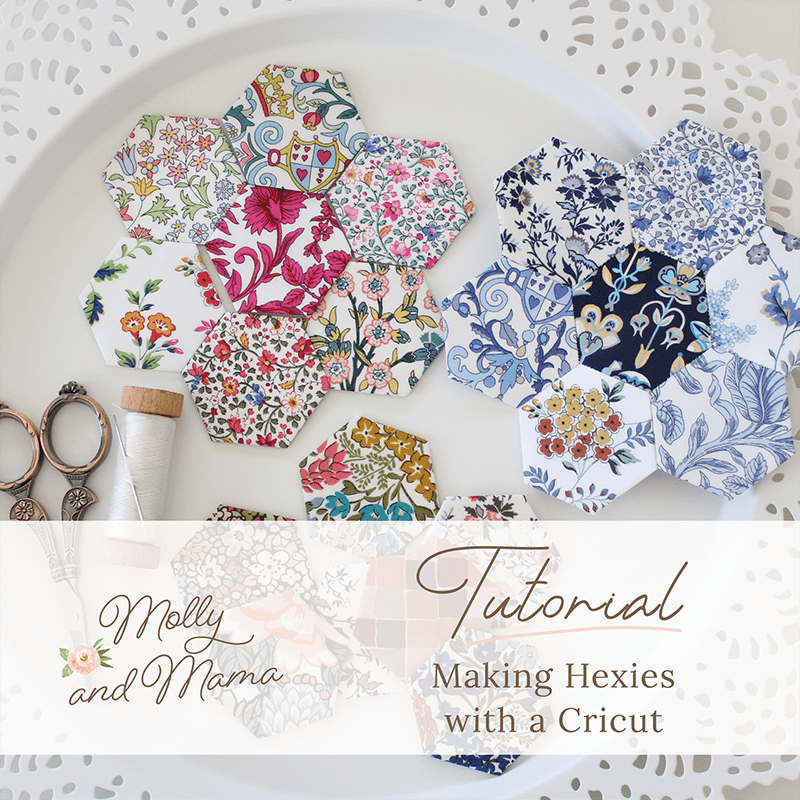
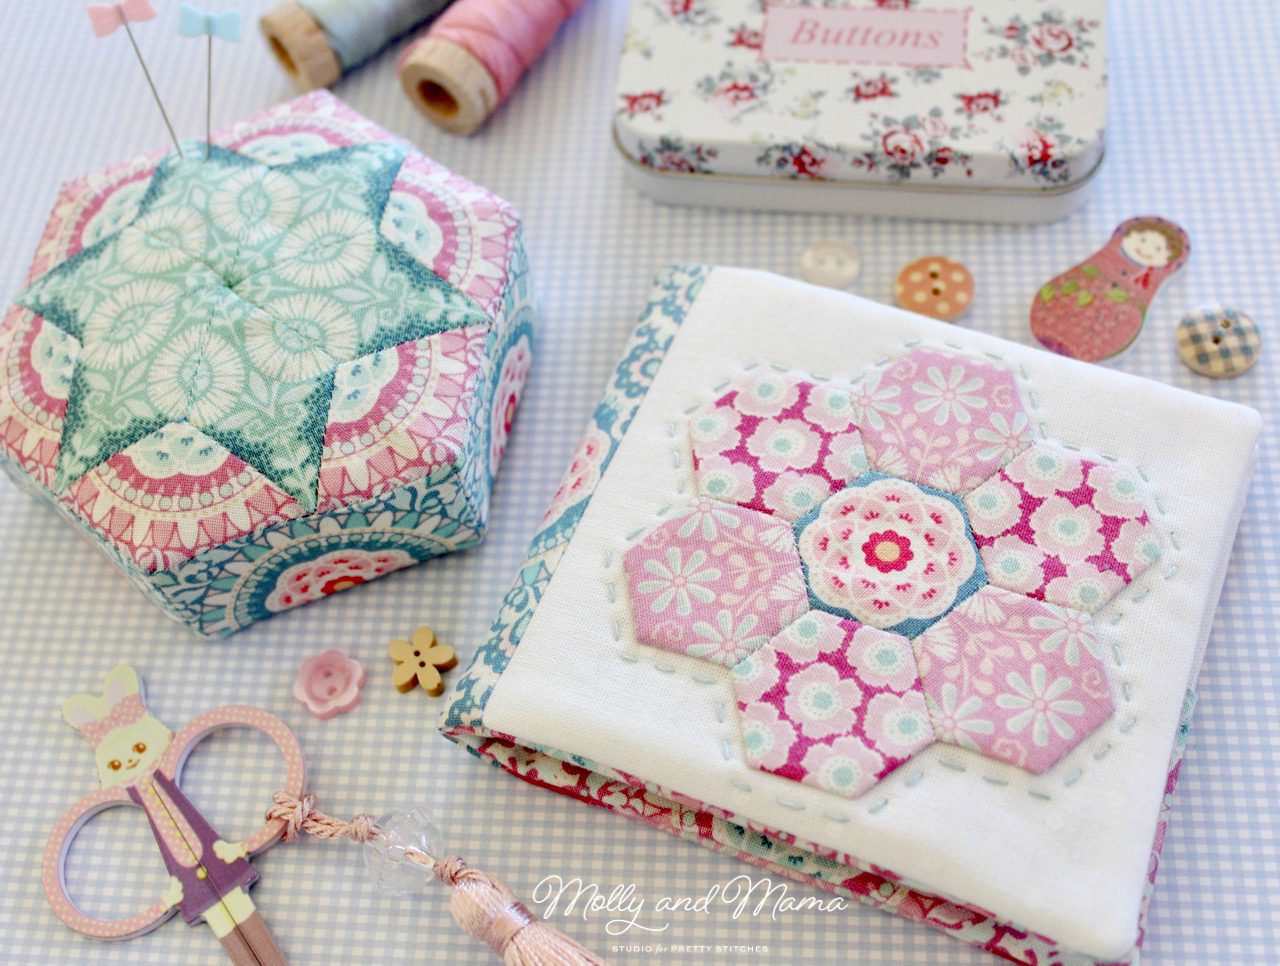
You know how much I love English paper piecing, right? Well today I want to show you how I created some hexagon papers, and also cut out my fabrics (including the seam allowance) for EPP, using the Cricut Maker machine. I’ll walk you through creating a hexagon flower made with 1″ hexies. Then I’ll share links to some gorgeous projects to use them with!
Cricut sent me their Maker cutting machine and an Easy Press to play with. While I’m still new to it, I’ve been loving exploring the machine’s capabilities and all the project options available to me. After making the little sample card that came with the machine, I then tried my hand at cutting paper shapes to make gorgeous flowers, cutting vinyl to make stickers for the kids, and cutting fabric too. It’s been lots of fun so far!
The Cricut Maker comes with all the basic supplies you will need to get making. I also received the ‘Applicator and Remover Set’, which I would consider essential tools. Ideally, the ‘Ultimate Tools Set’, a ‘Standard Grip Cutting Mat’ and a ‘Washable Fabric Pen’ would also be amazing if you’re a sewist like me.
According to Cricut, the Maker will “handle a wide variety of popular crafting materials, including paper, cardstock, vinyl, iron-on, faux leather, fabric, and more! All Cricut machines come with Design Space®, our free, easy-to-learn design software, featuring thousands of images, ready-to-make projects, and fonts for inspiration. Or you can upload your own images and fonts for FREE.” Sounds great, right?
Sew A Hexagon Flower
Would you like to create a hexagon flower using 1″ hexies? I’ll show you how, using Design Space on Cricut.com
You will need;
- 200gsm (light weight) card stock, or your preferred paper for English paper piecing templates. (Card with a slight gloss finish works especially well).
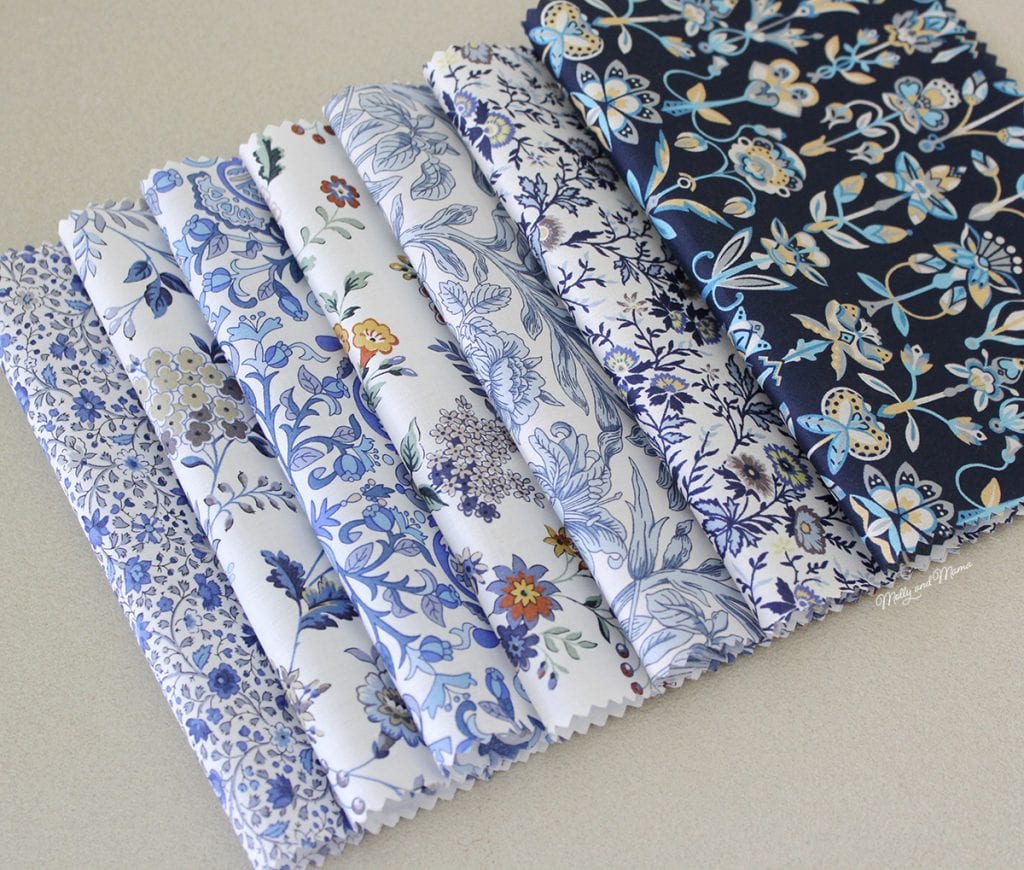
- Seven 4″ squares (minimum size) of fabric for the flower – I used Liberty lawn
- EPP glue pen for basting hexagons
- Fine bobbin thread and milliner’s needle for stitching the hexagons together
Let’s Get Started!
Open the Cricut Design Space app (mine’s on my iPad) and turn on your Maker machine.
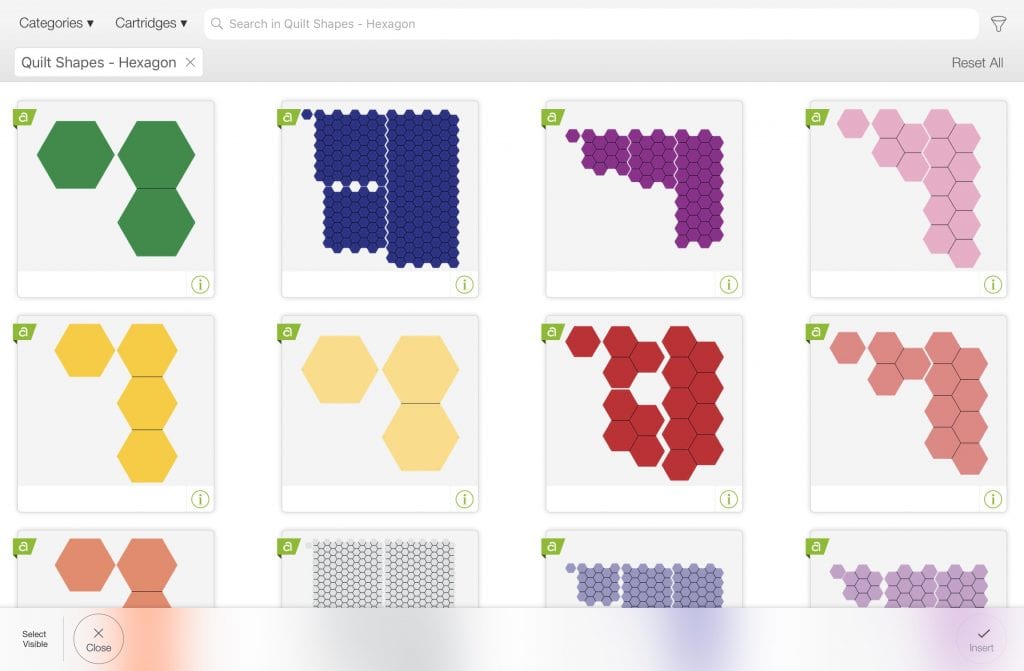
From the ‘Canvas’ screen, you can add hexagon shapes to the Design Board by adding an image (in the bottom left of the screen) and searching for Hexagon in the Cartridge drop down menu. It will bring up a range of hexagons (and other shapes for EPP) for you to choose from. However, these shapes weren’t exactly what I wanted so I decided to create my own template.
Design and Cut the Hexagon Papers
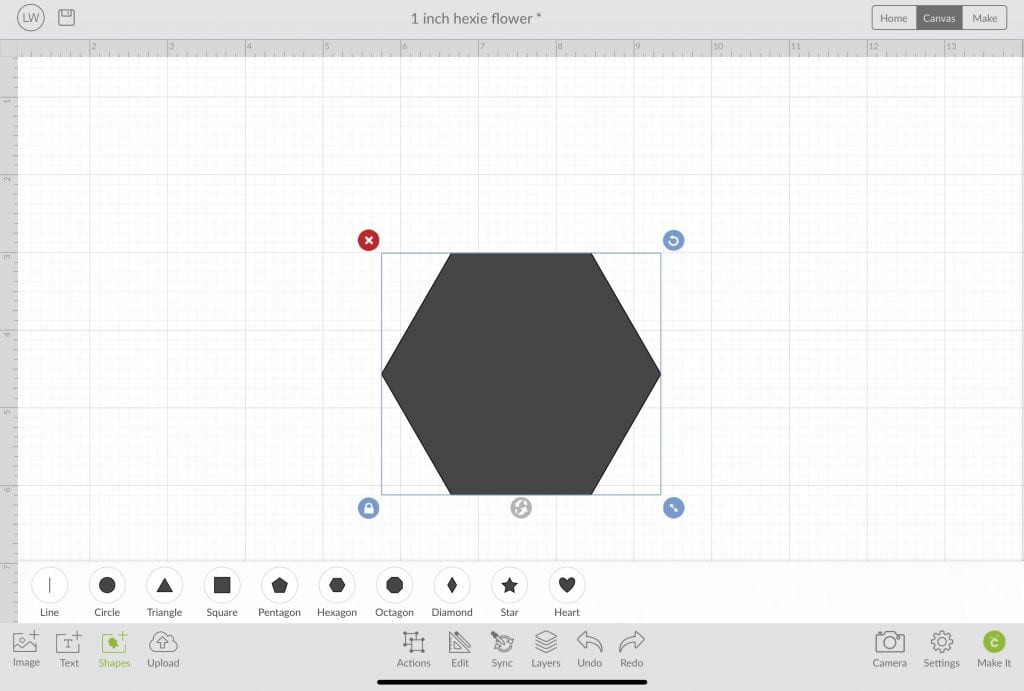
On the ‘Canvas’ screen, click on the ‘Shapes’ icon and then on the ‘Hexagon’ icon to add a hexie to your design canvas. Click on it to ensure it has a border around it, as shown below.
Press the ‘Edit’ button and click on the ‘Cut’ button on the bottom left. Ensure the Linetype is set to ‘Cut’ and change the colour of the shape to ‘White’. Press ‘Apply’.
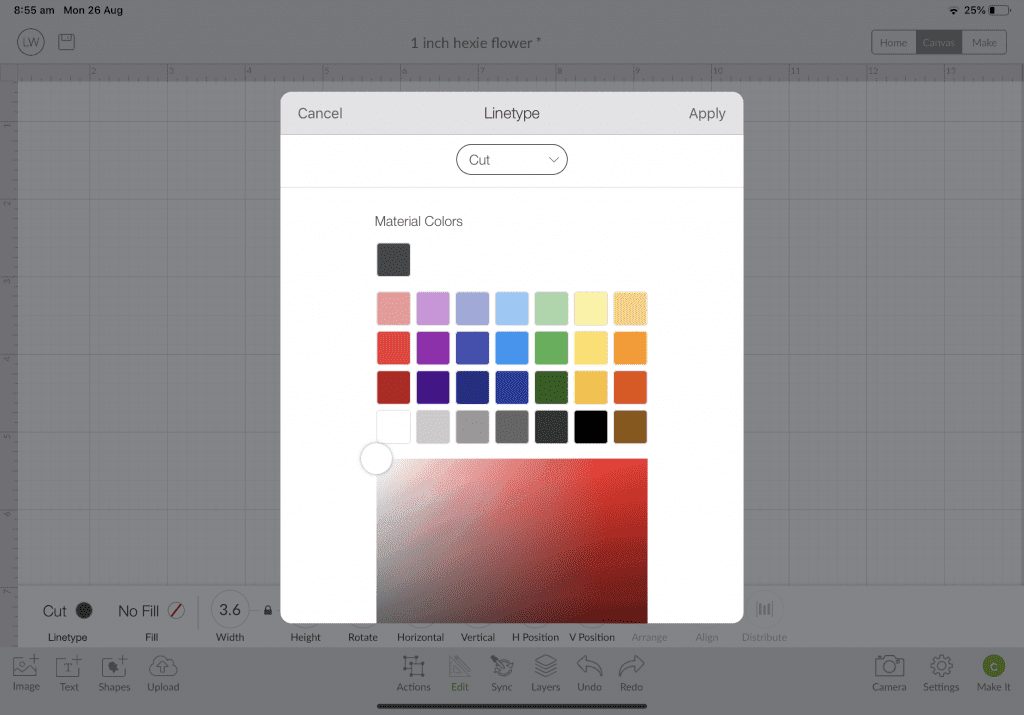
Resize the shape by changing the width measurement to 2 inches. This will give us a hexie that has a 1 inch side measurement. Reposition the hexie towards the top of the design space. You can zoom out to create more space on the screen.
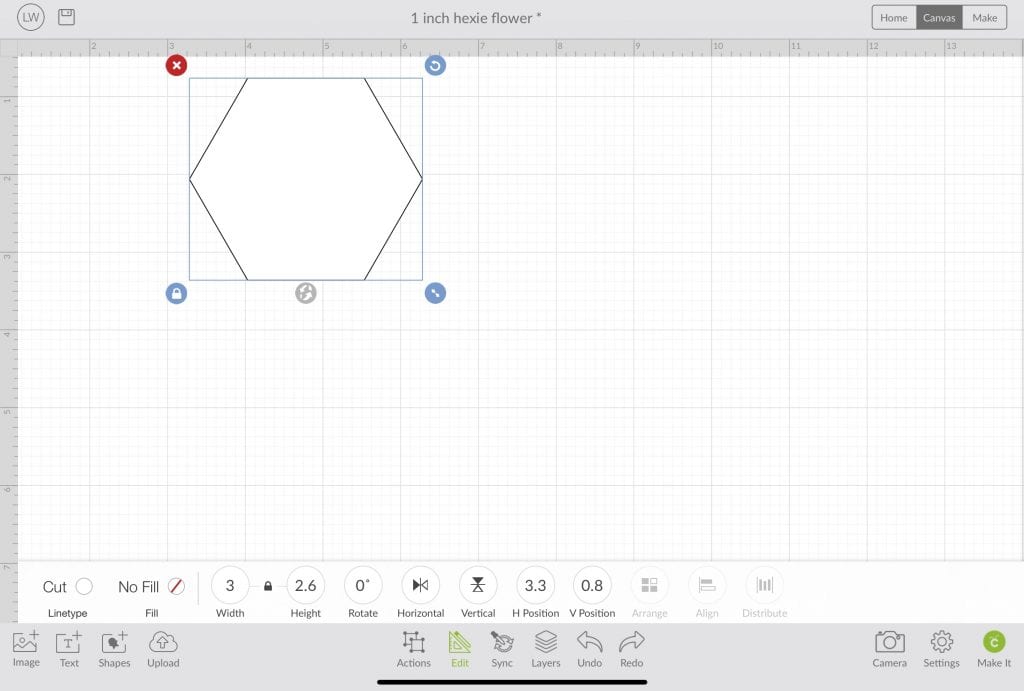
In the ‘Actions’ menu, select ‘Duplicate’.
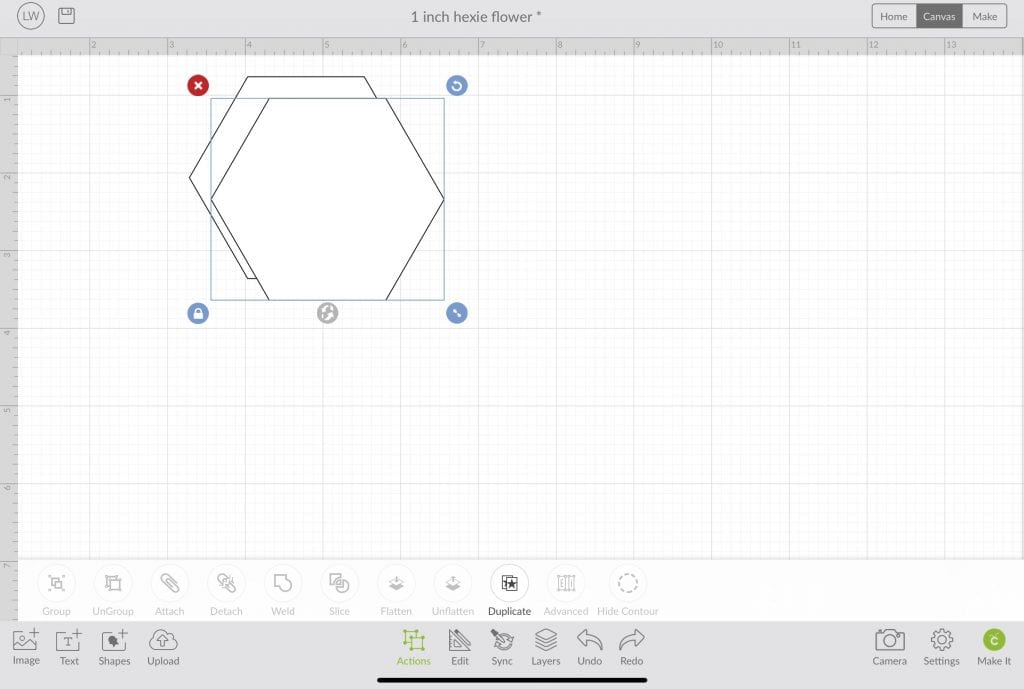
Using your finger, rearrange the hexie so that it is positioned directly below the first one. Yellow guide lines will appear to show you that the shapes are aligned. Duplicate again to create a third hexie to align below the second.
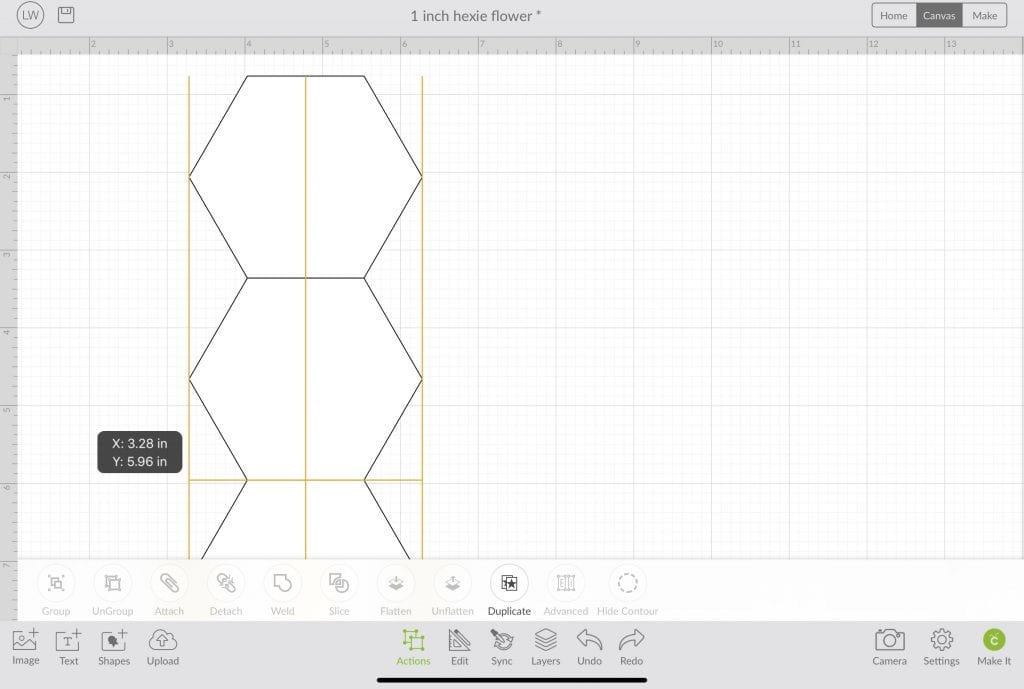
Continue to duplicate and rearrange hexies until you have seven shapes arranged in a flower pattern.
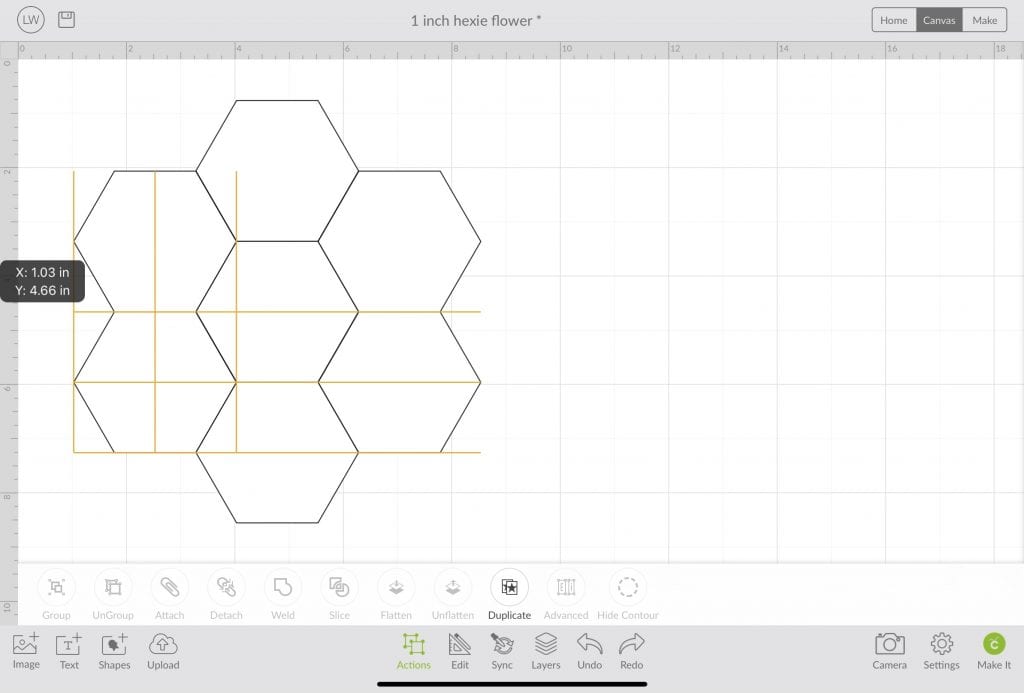
Create a border around the whole shape and click ‘Attach’. This joins the shapes together.
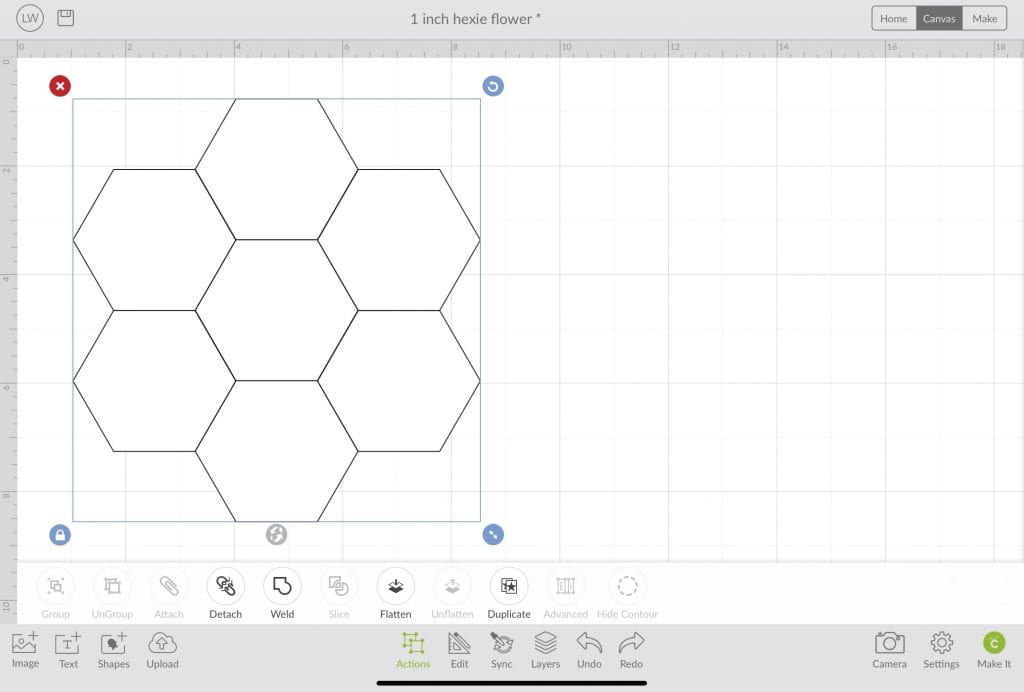
You can press the little disc shape in the top left corner to save your shape file. I called mine ‘1 inch hexie flower’.
Hit the ‘Make It’ button in the bottom right corner to cut out your shapes. Your screen should look like this;
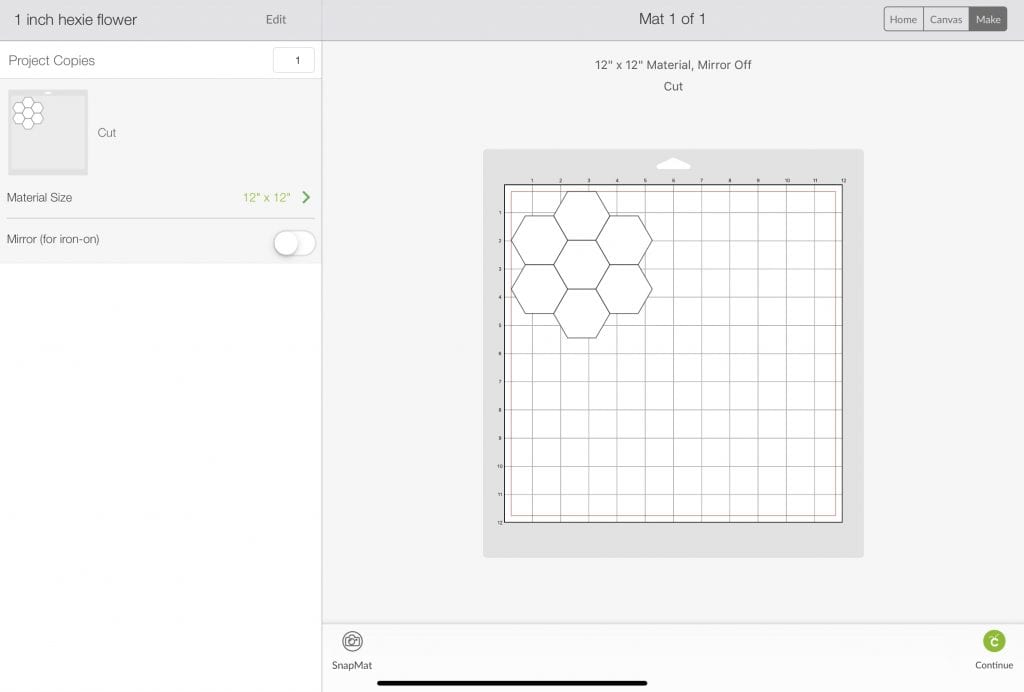
If it looks correct, hit ‘Continue’ and set your material by clicking on ‘Light Cardstock’. Ensure your ‘Fine Point Blade’ is loaded in Clamp B.
Position a piece of card stock in the left hand corner of the blue ‘Light Grip’ mat. Use the roller tool to remove any air pockets. Load the mat into the machine by pressing the arrow button that will be flashing. When it’s ready, press go.
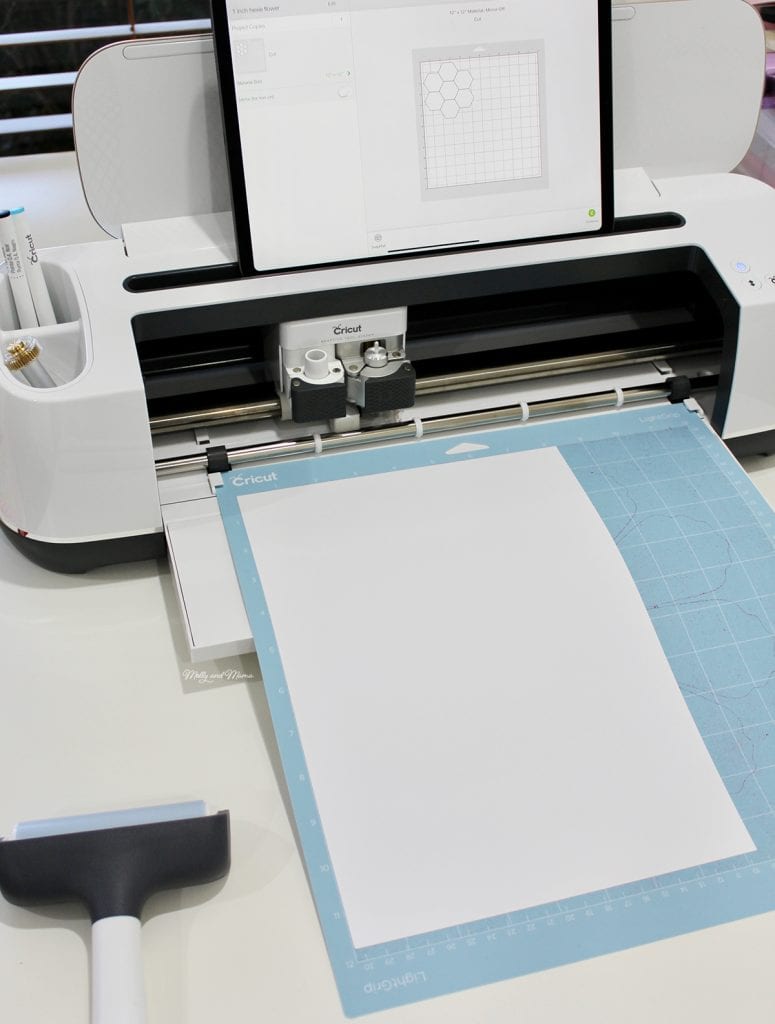
When the cutting is complete, unload the mat and carefully remove the seven hexagon paper shapes. Set these aside.


Design and Cut the Hexagon Fabric
Using the same technique as last time, create a single hexagon shape with a 3″ width. This will create a fabric hexagon with a 1.5″ side (which includes a 1/4″ seam allowance).
Cut each hexagon separately if you’d like to use different fabrics for each one. (You can also use the Snap Mat to locate different fabrics on your mat and cut multiple shapes at once, but I decided to stick with simplicity for my first projects.)
Don’t forget to change your blade to the rotary one.
I individually applied fabric scraps onto my pink ‘Fabric Grip’ mat and used the roller or brayer to secure the fabric.

Be sure to set the right ‘Materials’ from the list. Because I used Liberty lawn fabric which is really lightweight, I chose the ‘Light Fabrics’ option.
Load the mat and watch the Cricut work its magic.

Unload the mat, peel away the excess fabric and remove your beautifully and accurately cut 1.5″ fabric hexagon.

With seven fabric hexies and paper templates cut, it’s time to glue baste the hexies and whip stitch them together using a single strand of fine bobbin thread. If you need further instruction for basting and sewing hexies and other English paper pieced shapes, please see my beginner’s tutorial below.
I cut out enough paper templates and fabric to create three different hexie flowers!

Free Hexagon Tutorials
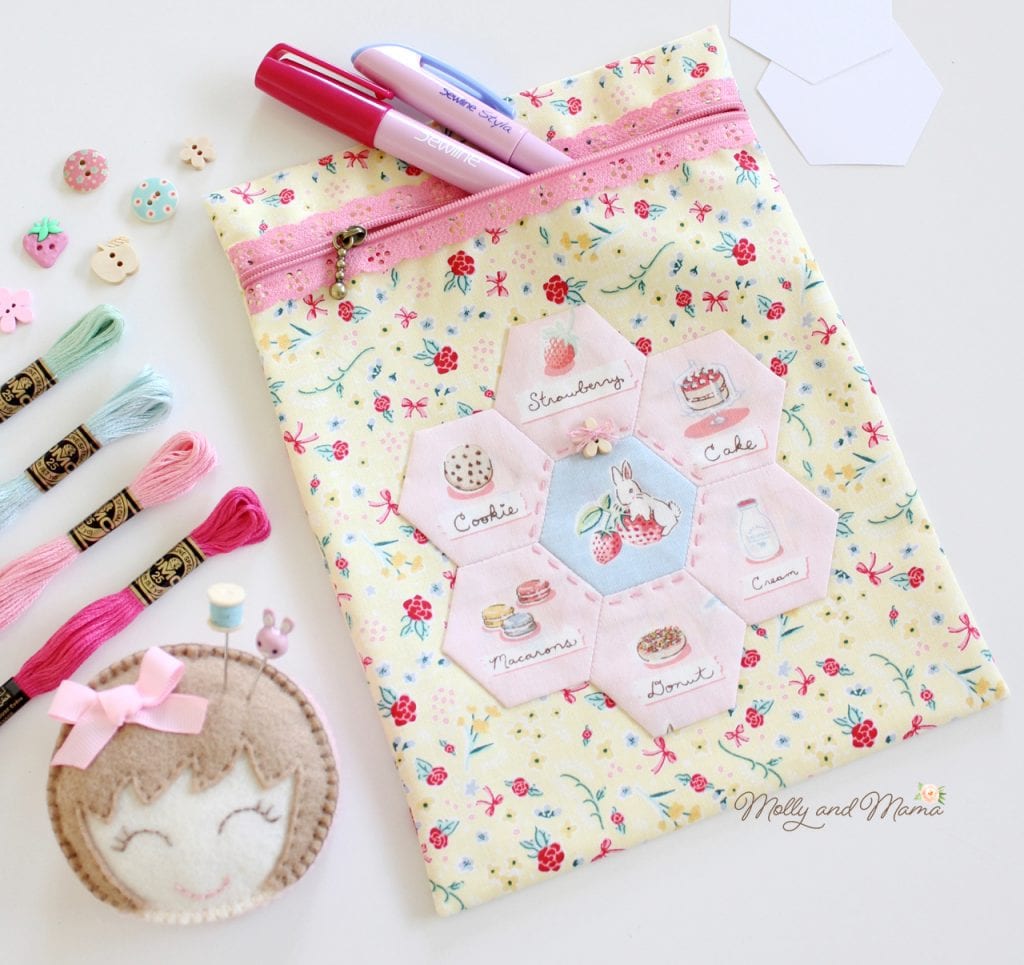
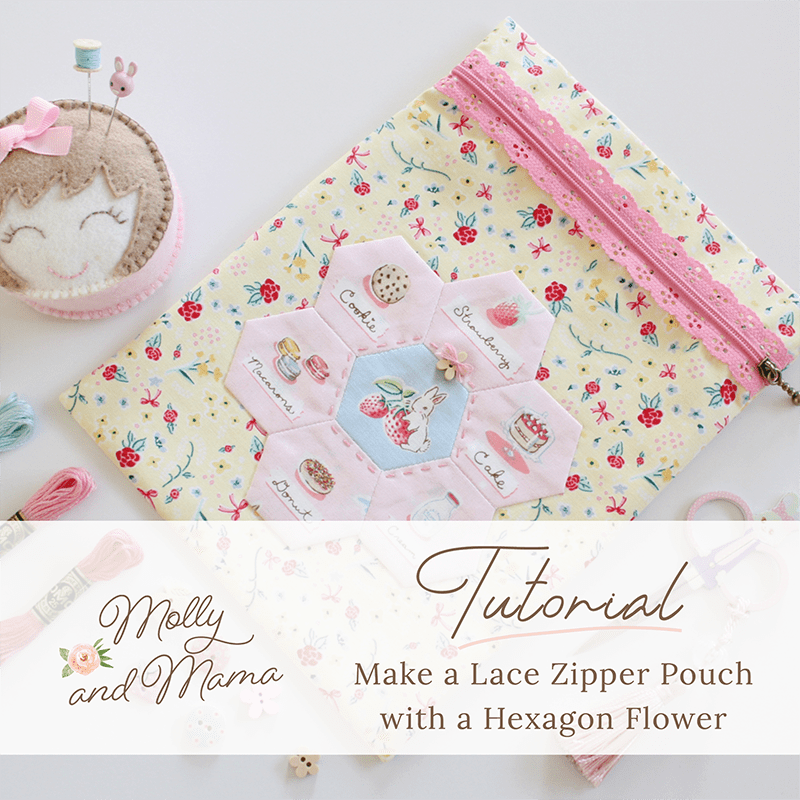
Once you’ve sewn a hexie flower, you might like to try one of these free tutorials! This simple pouch tutorial also teaches you how to insert a lace zipper.
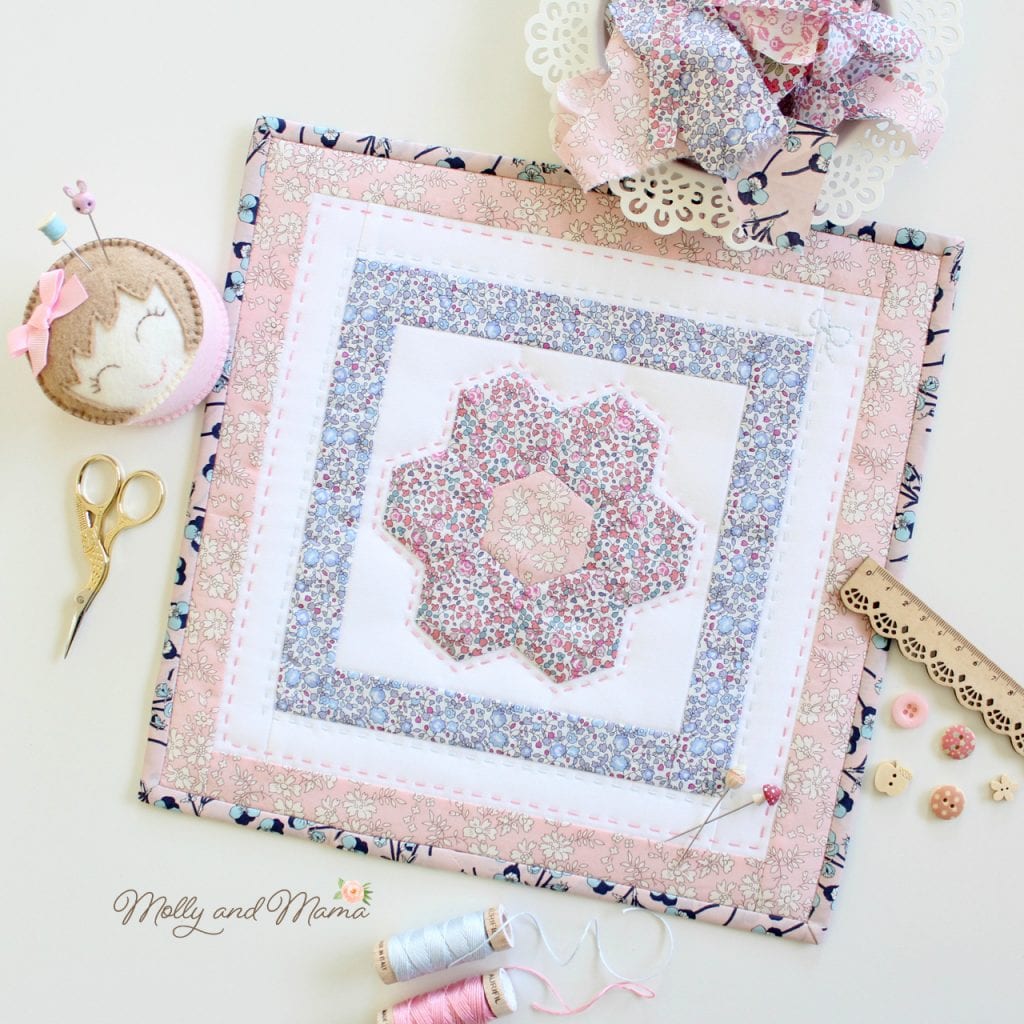
Here’s a sweet mini quilt tutorial that I wrote especially for Sew Can She. Download the pattern for the Flora Mini Quilt HERE. Learn how to assemble a mini quilt and add quilt binding too.
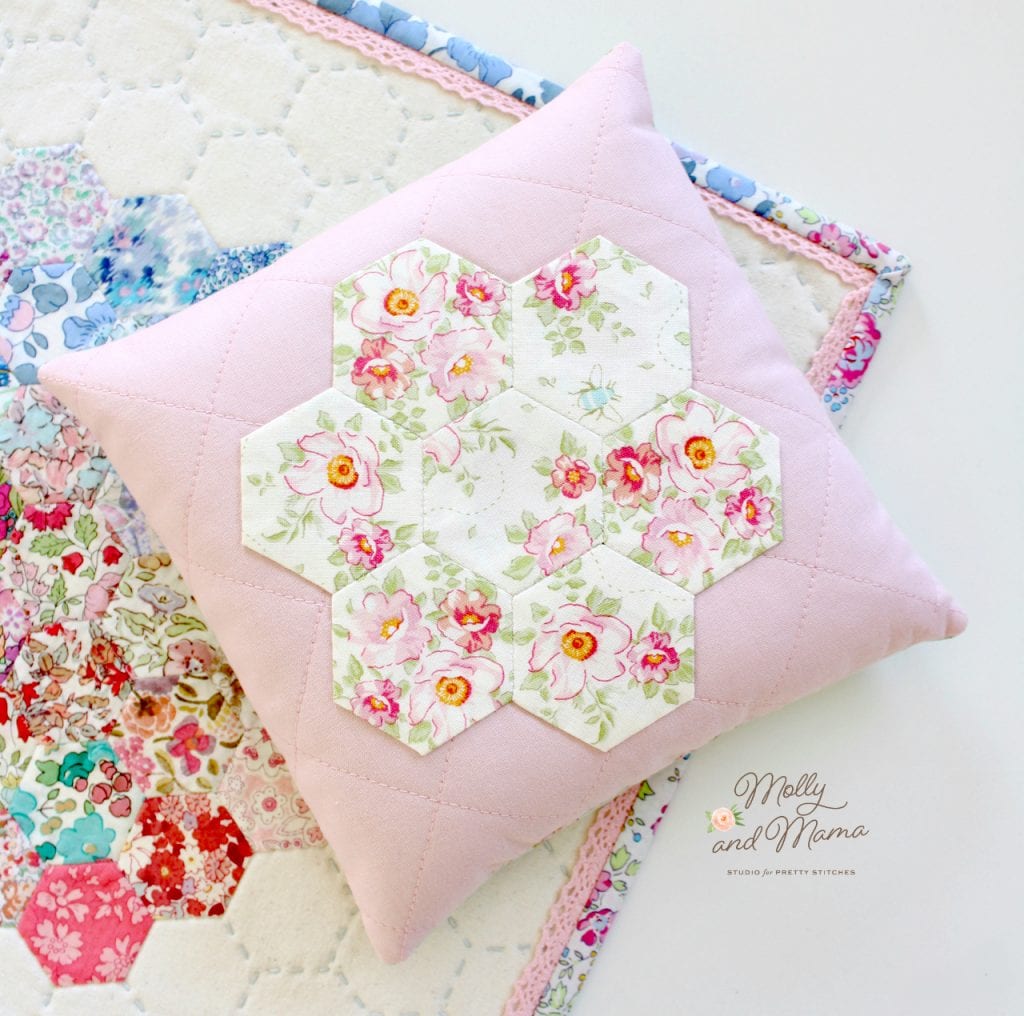
You might also like this simple Heat Pack Tutorial. It’s a quick and easy make!
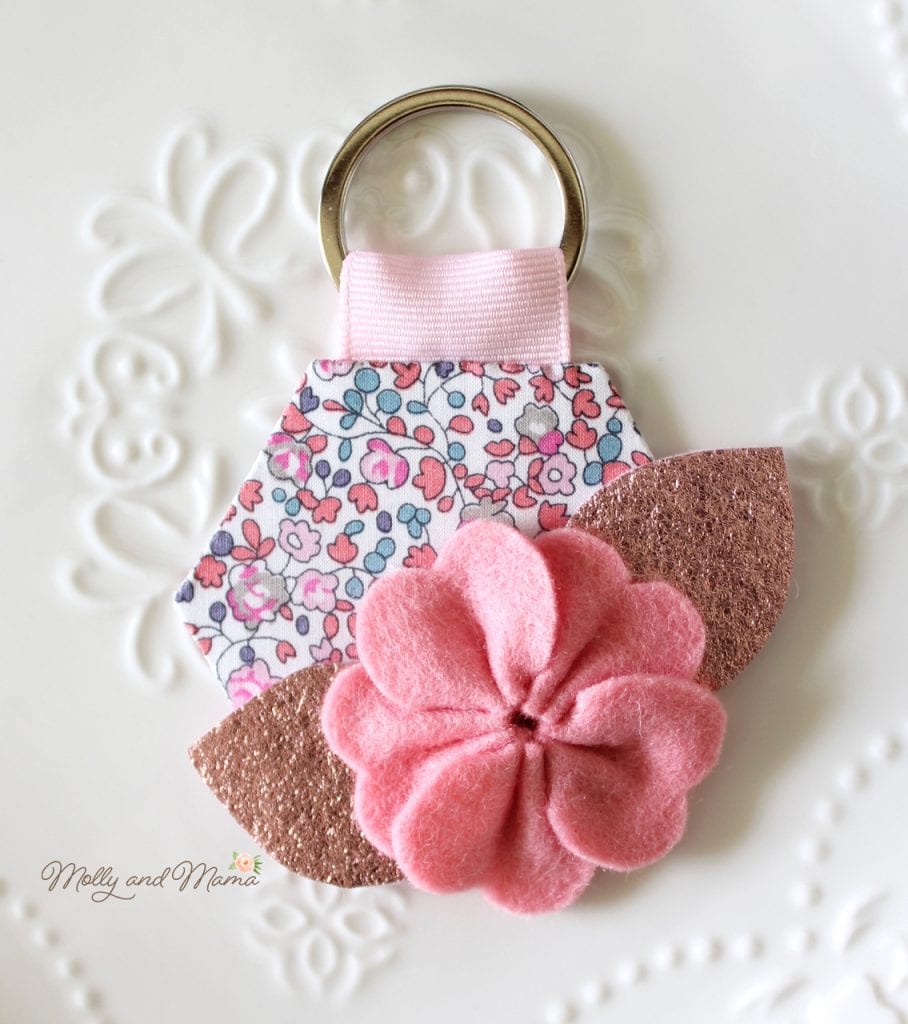
Hexies can be used for all sorts of projects. I love this cute key ring project which makes a lovely gift for a quilty friend.
I can see that the Cricut will be so useful for creating accurate EPP paper and fabric shapes. And in English paper piecing, accuracy is really important. So overall I am really happy using the Cricut for this task. And I’ll look forward to learning even more time saving tricks (which I will be sure to add here!)
Thanks for joining me. Happy stitching, Lauren x
This post was written by Lauren Wright and appeared first at www.MollyandMama.com.au


I am trying to find a really good cutter as I make lots of smaller hexies, ranging from half inch to 3 or four inches.
I have watched your tutorial and find this one the best.
Before I purchase can you let me know if this is the one I am after. I rarely make the larger hexies.
Many thanks
I love my Cricut Maker Michelle and prefer it to other cutting machines I have used. They’ve also recently brought out a smaller machine called the Cricut Joy, which would also be terrific.
Ive fallen for hexagons in a big way too. love em, as does a Granddaughter of mine, Baylee, she gets me motivated with a project thats been around for a few months now, a table cover.
And i like to read about these machines to know how suited it may be to me, if i relent and buy one, Id hate it to become a White Elephant.
Regards Julie from Australia.
P.S. Your Blog is great, thank you so much.
Thanks for your lovely comments Julie. I think if you were going to use the Cricut often, for other paper and fabric projects, it would be a great investment. Otherwise, there are other cutting systems that work just as well. Or if you’re only looking for help with English paper piecing, it might be more economical to buy the precut hexie papers and even fabric (depending on how many projects you’d be making, and their size). I hope that helps. Hi back from Australia too! x
How did you get your hexies to print side by side? I keep nesting them together but when I go to “Make It” it adds separation and puts my hexies on multiple mats.
Hi Shelly, From memory I think they were just grouped together as one shape? Thanks, Lauren.
Thank you! I have a circut but haven’t cut fabric or anything for quilting. I have never made Henie. Got the files ready to do. Going to watch your tutorial and try it!
Best wishes Mary. Have lots of fun!