Make a Lace Zipper Pouch with a Hexagon Flower
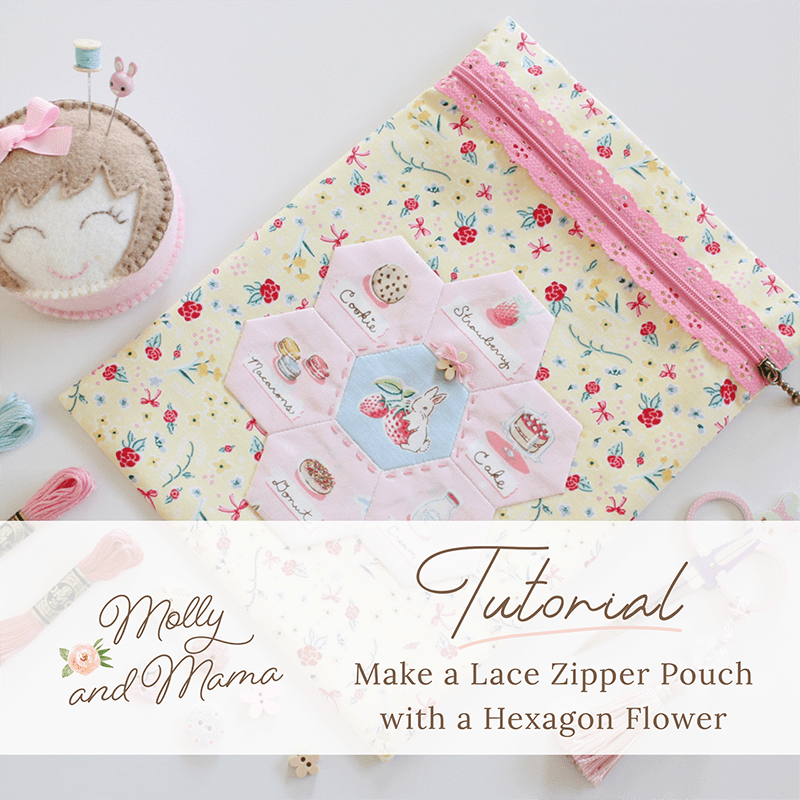
It’s been a little while coming, but I have finally stolen a few moments to write up a quick tutorial on how to sew this sweet little lace zipper pouch. It’s a simple sew, but it has some beautiful features that take it from basic to beautiful! I’ll be describing how to sew the hexagon flower, how to appliqué it to fabric, how to assemble the pouch and how to sew in a lace zipper. So there’s lots of beginner’s skills to explore. And each of these skills can be transferred to other projects. So let’s get started!
Finished Size: approximately 7 1/4″ (18.5cm) across and 9 3/4″ (25cm) tall.
To make pouches that are larger or smaller, simply use a different sized zip, and change the dimensions of the fabric to the width of the zip (remembering to add at least 1/2″ to the length and width to account for a 1/4″ seam allowance).
YOU WILL NEED
- 9 1/2″ (24cm) long (and 1″ or 2.5cm wide) lace zipper, measured end to end
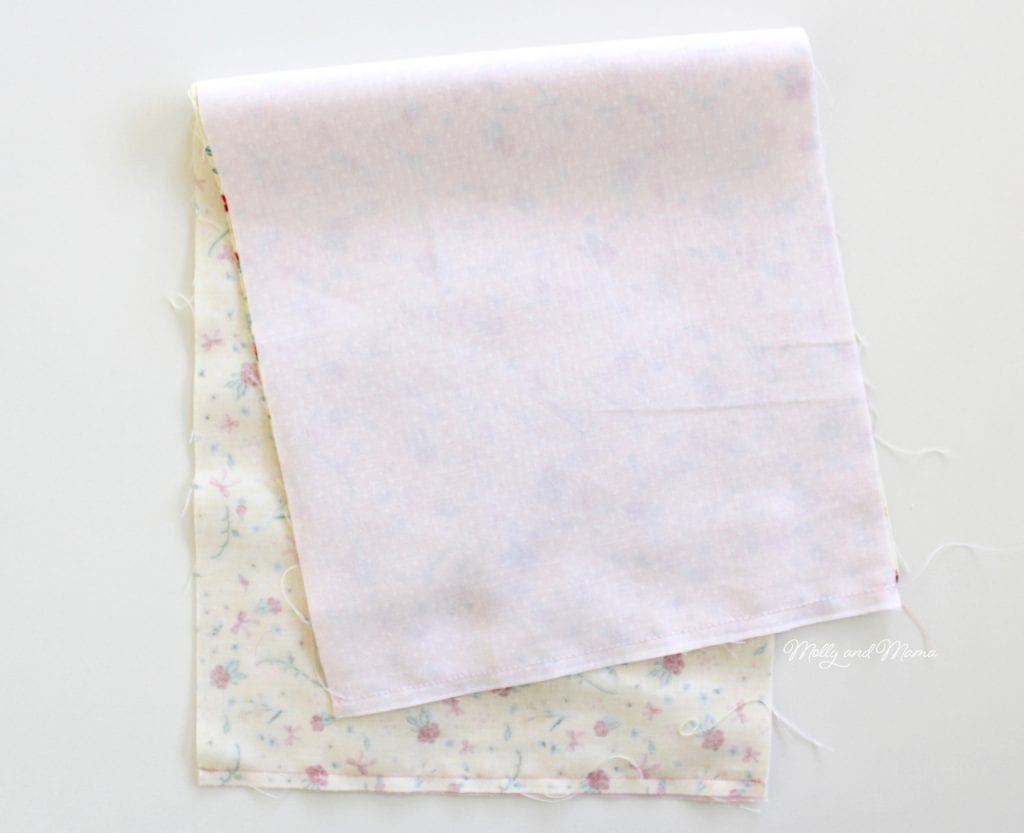
- 20″ (51cm) x 8″ (20cm) of quilting cotton for the pouch
- 20″ (51cm) x 8″ (20cm) of quilting cotton for the lining
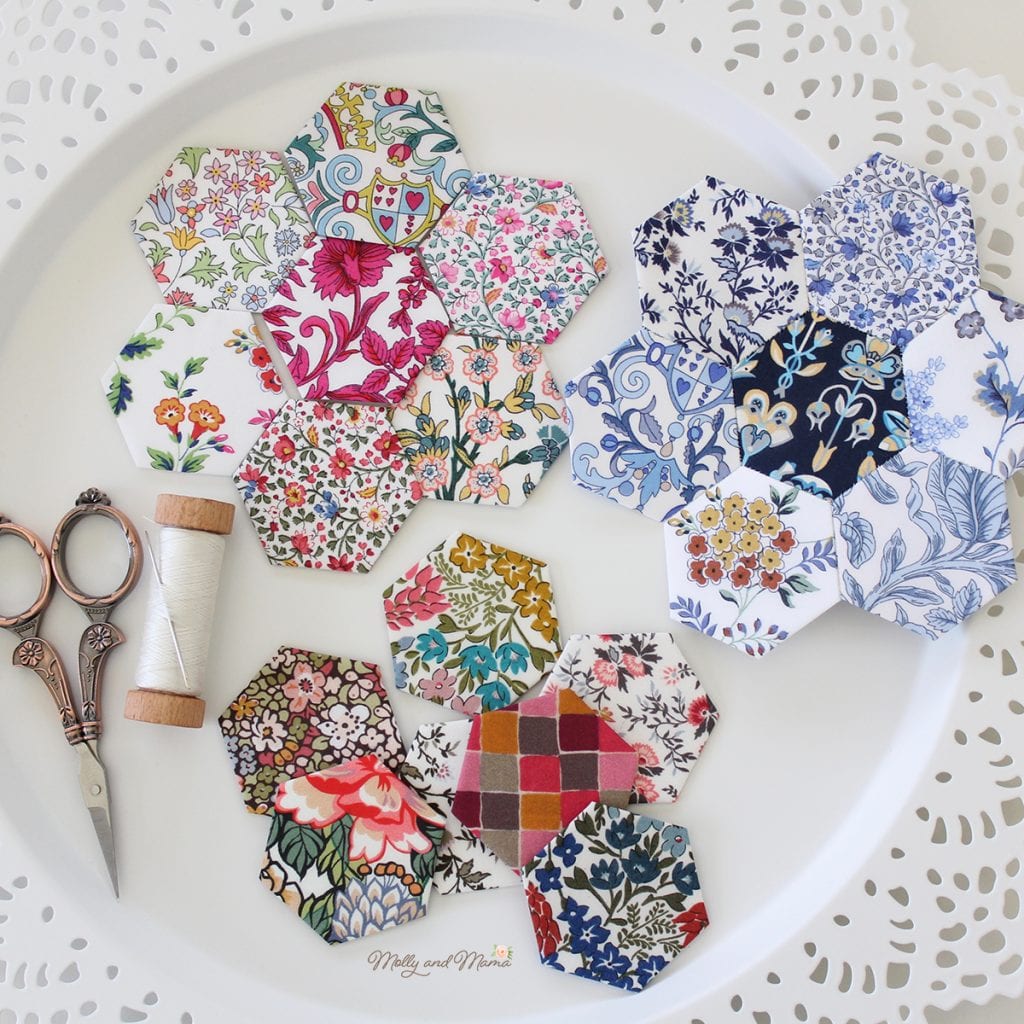
- 7 x 3″ fabric squares for the hexagons
- 7 x 1″ hexagon papers or print and cut out your own using this TEMPLATE
- glue basting pen for hexagons
- milliner’s needle and fine thread for sewing hexagons together (there’s more information about this here)
- optional extras like embroidery floss for hand quilting and pretty buttons for extra details
- acrylic 1.5″ hexagon template (optional)
- 2.5″ (6.5cm) of lace trim or braid for tab (optional)
- zipper foot for sewing machine (makes zip sewing a lot easier)
NOTE: This tutorial is for personal use only, for sewing at home and/or teaching another person or child to sew FOR FREE. Reusing or repurposing free Molly and Mama tutorial instructions, templates and images for paid classes, or distributing the materials in classes, to groups, or for commercial purposes, is strictly prohibited. For clarification, or to seek a commercial arrangement, please contact Molly and Mama.
LET’S GET STITCHING!
Make the Hexagon Flower
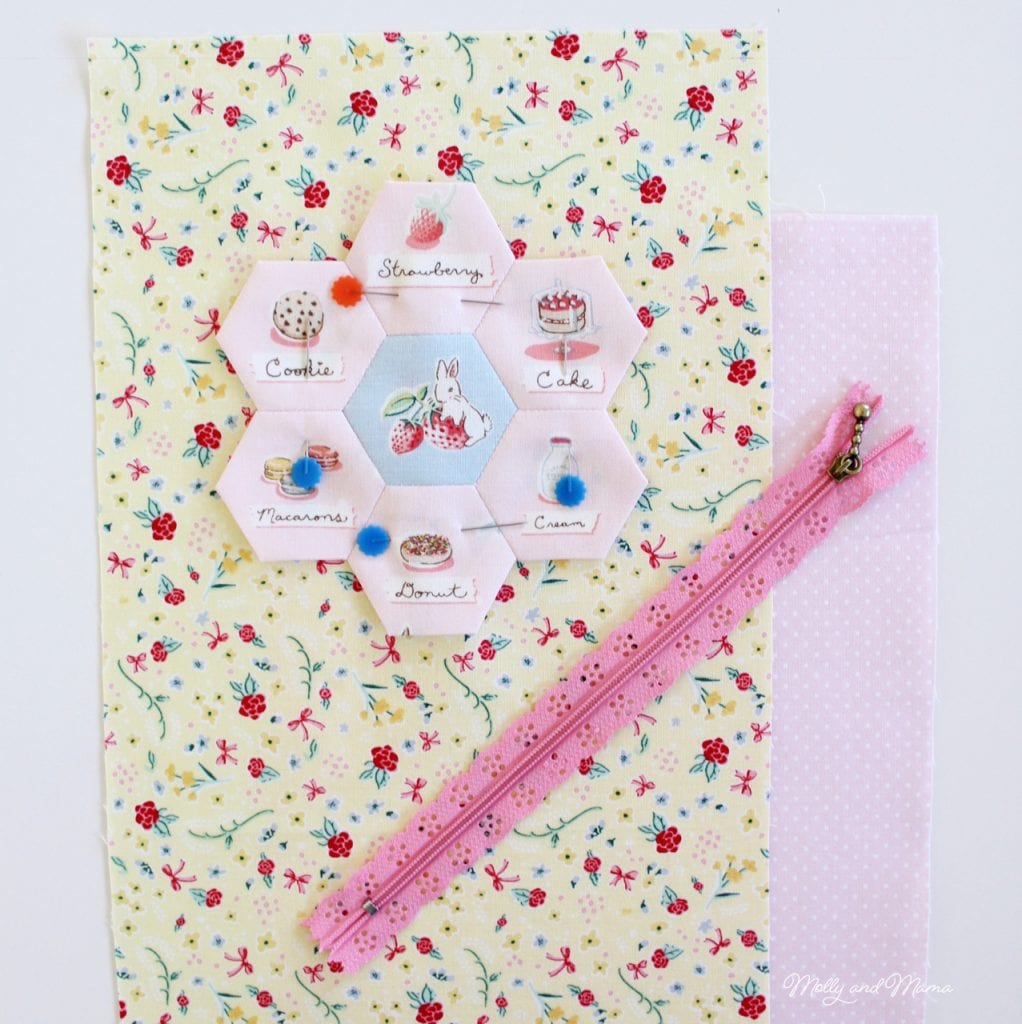
Use your favourite method to baste your chosen fabrics onto the seven paper hexagon templates. You can save and print a copy of the 1 inch hexagon shapes HERE.
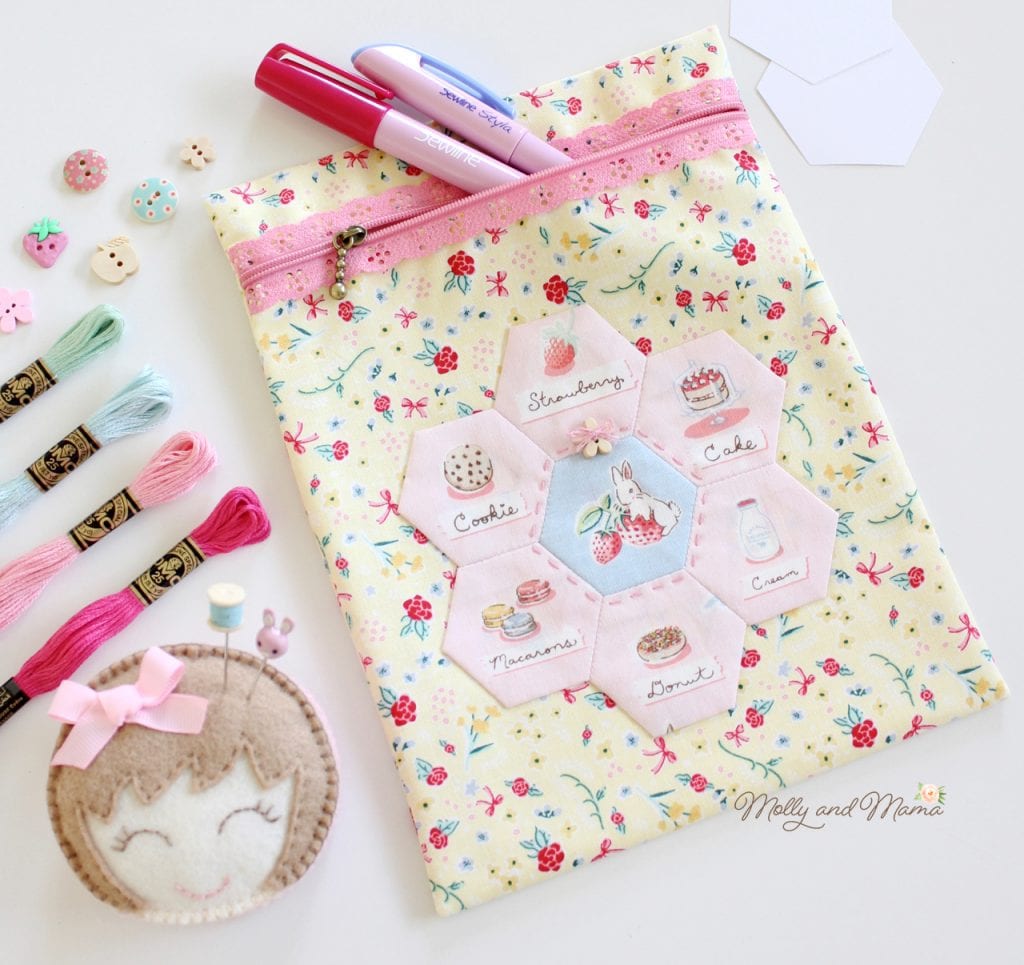
You could use a different print for the flower centre and for each of the ‘petals’. However, to create the pictured flower, I fussy cut seven different designs from this sweet Bunnies and Cream fabric designed by Lauren Nash. I positioned an acrylic 1&1/2″ hexie shape (which already includes the 1/4″ seam allowance) over each individual design, traced around it using an erasable marker and then cut it out to highlight each design. I then glue basted each fabric shape to the papers. I use the glue basting method which I describe in full detail at my beginner’s tutorial for English Paper Piecing. If you haven’t tried EPP before, I strongly recommend starting there first! If you prefer stitch basting your hexagons, there are lots of great online tutorials which are easy to find, thanks to our friend Google.
Once you have stitched your hexie flower, it’s time to appliqué it to your pouch fabric. Follow the instructions in my beginner’s tutorial to remove the hexie papers from the flower shape. Then press the hexie flower and pouch fabrics in preparation .
Assemble the Pouch
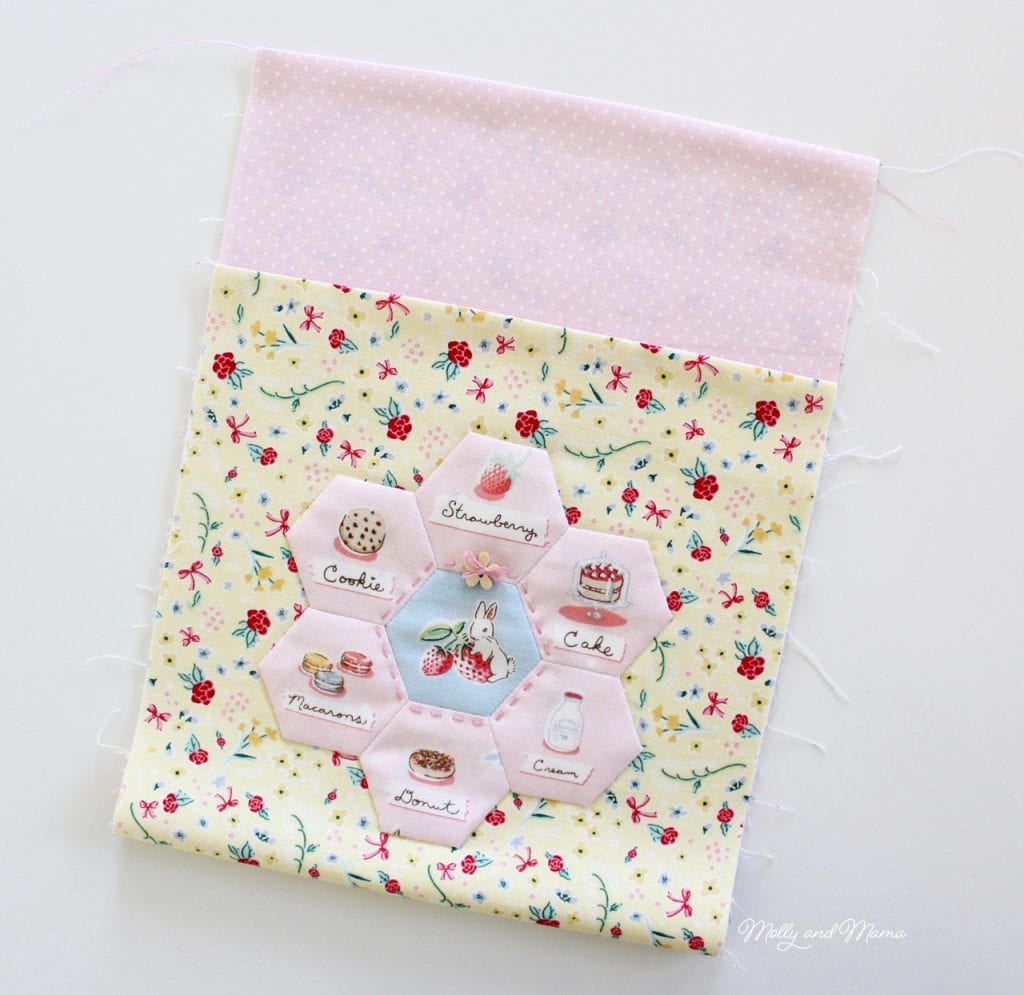
Position the hexie flower 2″ (or 5cm) from the top of the pouch fabric and ensure it is centred. Pin in place.
Using a single strand of fine thread, stitch the flower in place, using small invisible stitches (like a blind hem stitch).

If you’d like to add extra details (like hand quilting) now is the time! For this project I added a single line of running stitch around the central hexagon, using three strands of embroidery floss. I also stitched a flower button to the top and added a bow, tied with the floss.

Place the pouch fabric and the lining fabric together, with right sides facing. Sew along the top and bottom of the fabric (the short sides) using a straight stitch and a 1/4″ seam allowance.
Turn the fabric right way out and press.
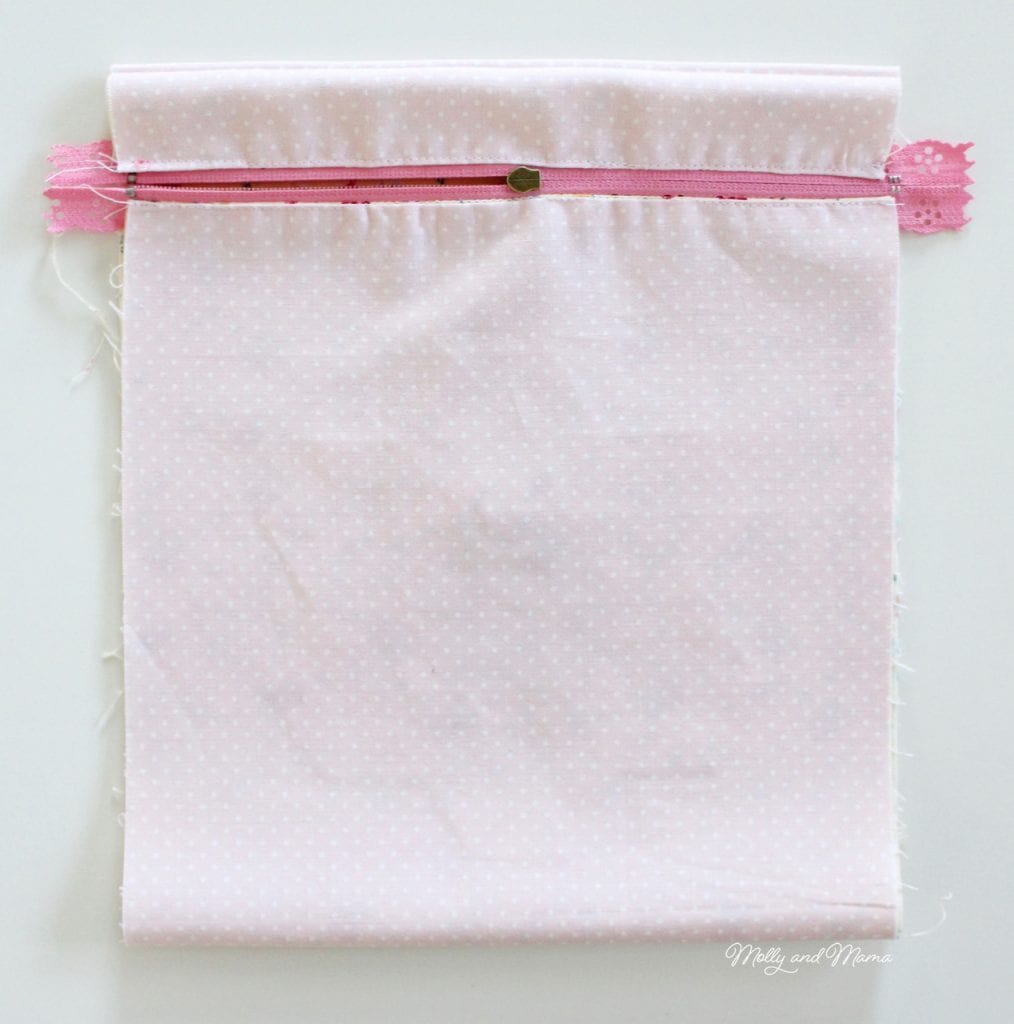
Position the closed lace zipper over the top of the fabric edge, so the zip opens on the right. Be sure the length of the zip is centered and the metal ends of the zip are not sitting on the fabric, but as close to the fabric edge as possible. Ensure the zip is closed before pinning in place.
Using a zipper foot, stitch the base of the zip in place along the lace edge, about 1/8” (3mm) below the zip teeth. Be sure to catch the fabric seam in this stitching.
Bring the bottom edge of fabric up behind the hexie front, and fold it over to meet the top of the zip. Use the same method to sew the top of the zip in place over the other fabric edge. You may need to change the zipper foot to the opposite side. Check that the zipper opens and closes freely.


Open the zip half way and turn the fabric right way out. Position the fabric so that the distance between the top of the zip and the top folded fabric edge is about 1.5″ (4cm). Press flat and then pin the edges.
NOTE: If you’d like to add a little tab to hang a bag charm from, fold the 2.5″ length of trim in half to form a loop. Pop the loop inside the seam so that it is positioned over one of the ends of the zip (and so that the raw edges of the trim are aligned with the raw edges of the fabric edge).
Stitch down each side of the pouch, reverse stitching over the area where the zip (and optional loop of trim) is (for extra reinforcement). Use a 1/4″ (6mm) to 3/8″ (1cm) seam allowance.
Trim the extra length of the zip away, being careful to avoid the metal zip ends. If possible, you can remove the metal altogether, or cut around them as I have done here.
To finish the raw edges of the pouch, you may choose to bind each edge. Alternatively, you may wish to use a serger or overlocker. Just be sure not to hit the metal zip ends with the machine.
Turn the pouch right way out, via the gap you left with the half opened zipper. Press and she’s all ready to use!
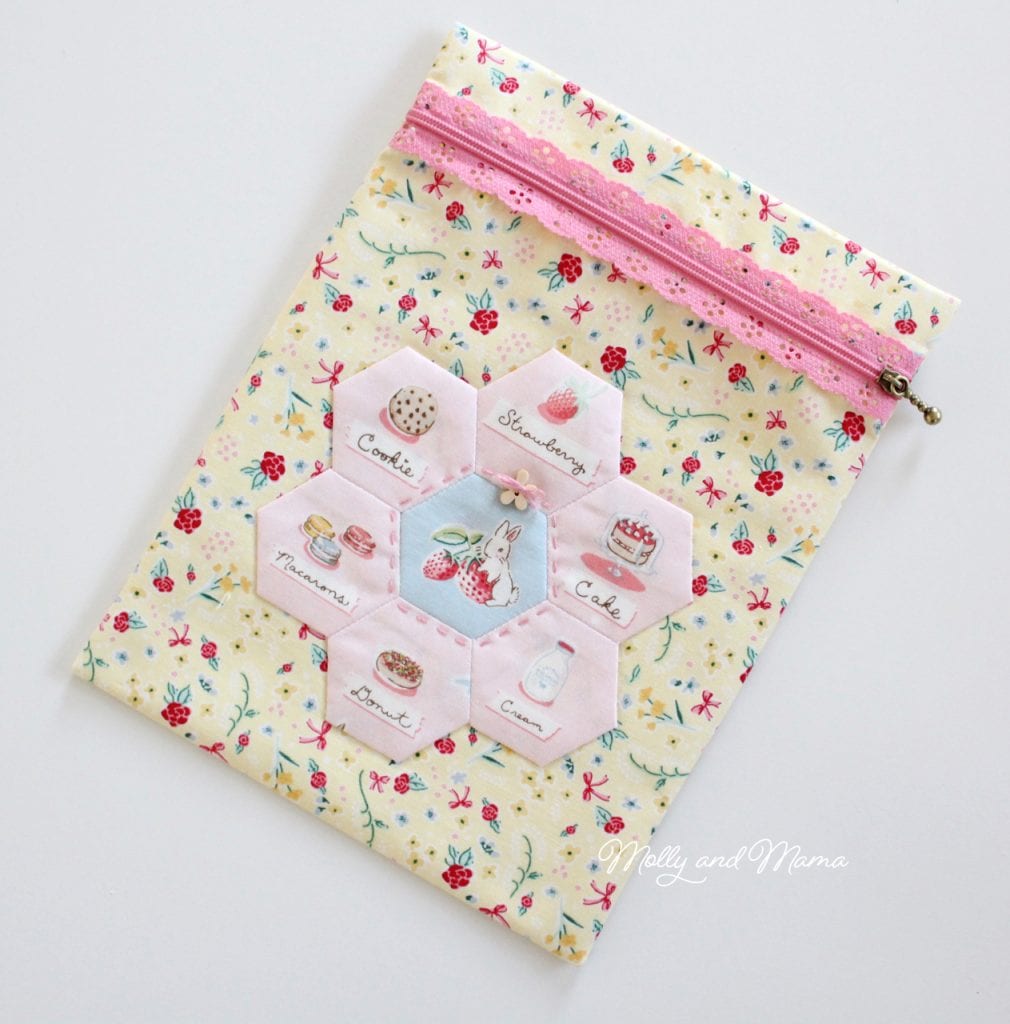
Here’s another version I made using Liberty tana lawn and linen. It includes a lace tab for the simple hexagon charm I made. You can find instructions to make the charm by following the same method as my hexagon keyring tutorial.
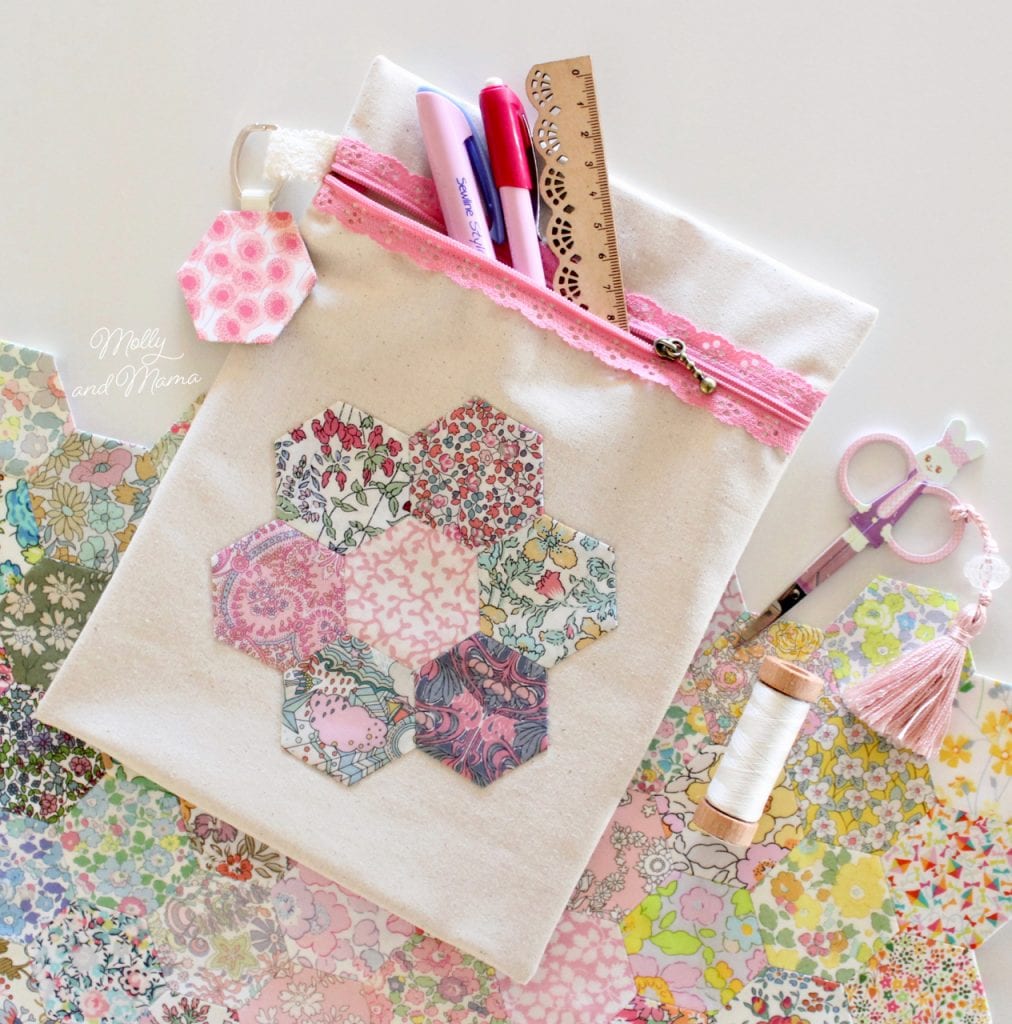
Here’s an example of the hexagon charms.

And if you’ve enjoyed this hexagon project, you might enjoy my Hettie Hexie Mini Quilt pattern. It’s the perfect introduction to English paper piecing and quilting too.
Do you have a Cricut Maker cutting machine? I have also written a post to show you how to cut out hexie papers and fabric. It’s a great time saver and terrific for ensuring accuracy.
And you can also create this easy heat pack from my Tutorials page too.

I hope you’ve found this tutorial useful. Leave me a comment if you have any questions.
Happy stitching, Lauren x
This post was written by Lauren Wright and appeared first on Molly and Mama https://www.mollyandmama.com.au

Thank you very much for this sweet tutorial.
You’re very welcome Anne.
Thank you so much for taking the time to write up this tutorial. I just love this lace zipper bag. So cute.
You are so welcome Carol. I hope you enjoy it!
This is fabulous, thank you of sharing such easy instructions. I will be coming back to this to make some Christmas presents. x
Thanks for your feedback Kay! I’m glad you like it!
Hello Lauren!
I know this post was from last year but I’m taking a chance in writing.
I’ve been trying to locate the fabric you used for the petals in this project.
I have purchased your Bunnies fabric but have yet to find the “bakery” print.
Will you help me, please.
Thank you so much!
Lacy
Hi Lacy, the bakery pieces were fussy cut from the main pink print in the Bunnies and Cream range. I hope that helps! Best of luck, Lauren.
I sent myself the link to this tutorial February of 2020. I finally finished making it today. I put some fusible fleece on the outside. I also used two 10” squares joined together to make the outside as well. I love how it turned out!
Well done. It sounds wonderful!
Thank you for this wonderful tutorial on making the little pouch . It is beautiful 👏
Thank you Joyce. I hope you enjoy it!