How to Cut Out Felt Shapes
![]()
Sewing with wool felt with is such a joy! But how do you precisely cut out felt shapes, especially when the templates are really small? Today I’m sharing my favourite tips.
Cutting Felt
The best way to ensure you have a beautiful felt creation, is to start with 100% merino wool felt. If you’d like to read more about this beautiful material, head over to my Tips for Working With Wool Felt.
To give your project a really professional finish, precision and accuracy when cutting is key. Use small, sharp scissors with a short blade and pointed tip, to get a neat finish and those wonderfully crisp edges.

Transferring Designs
When cutting shapes from a pattern, there are several methods you can use. Traditionally, we print or trace out paper templates. This won’t necessarily give you the best finish, but there’s some special tricks for ensuring that even this simple method has accurate results.
The Paper Template Method
- If you can avoid it, don’t cut out the paper template on the line before you start. Leave a small border around the template edge.
- Pin the paper template to your felt using small pins with flat heads.
- If the template is too small for pins, secure it in place with some low-adhesive sticky or cello tape.
- Cut out your shape on the drawn line, using small scissors with sharp blades. Then remove the pins or peel off the sticky tape.
- If you need to cut more than one shape from the same template, use the piece of felt you just cut as a template, rather than reusing the paper template. You’re more likely to get more uniform shapes that way.
- Don’t forget to save and label your templates for reuse, if you can.
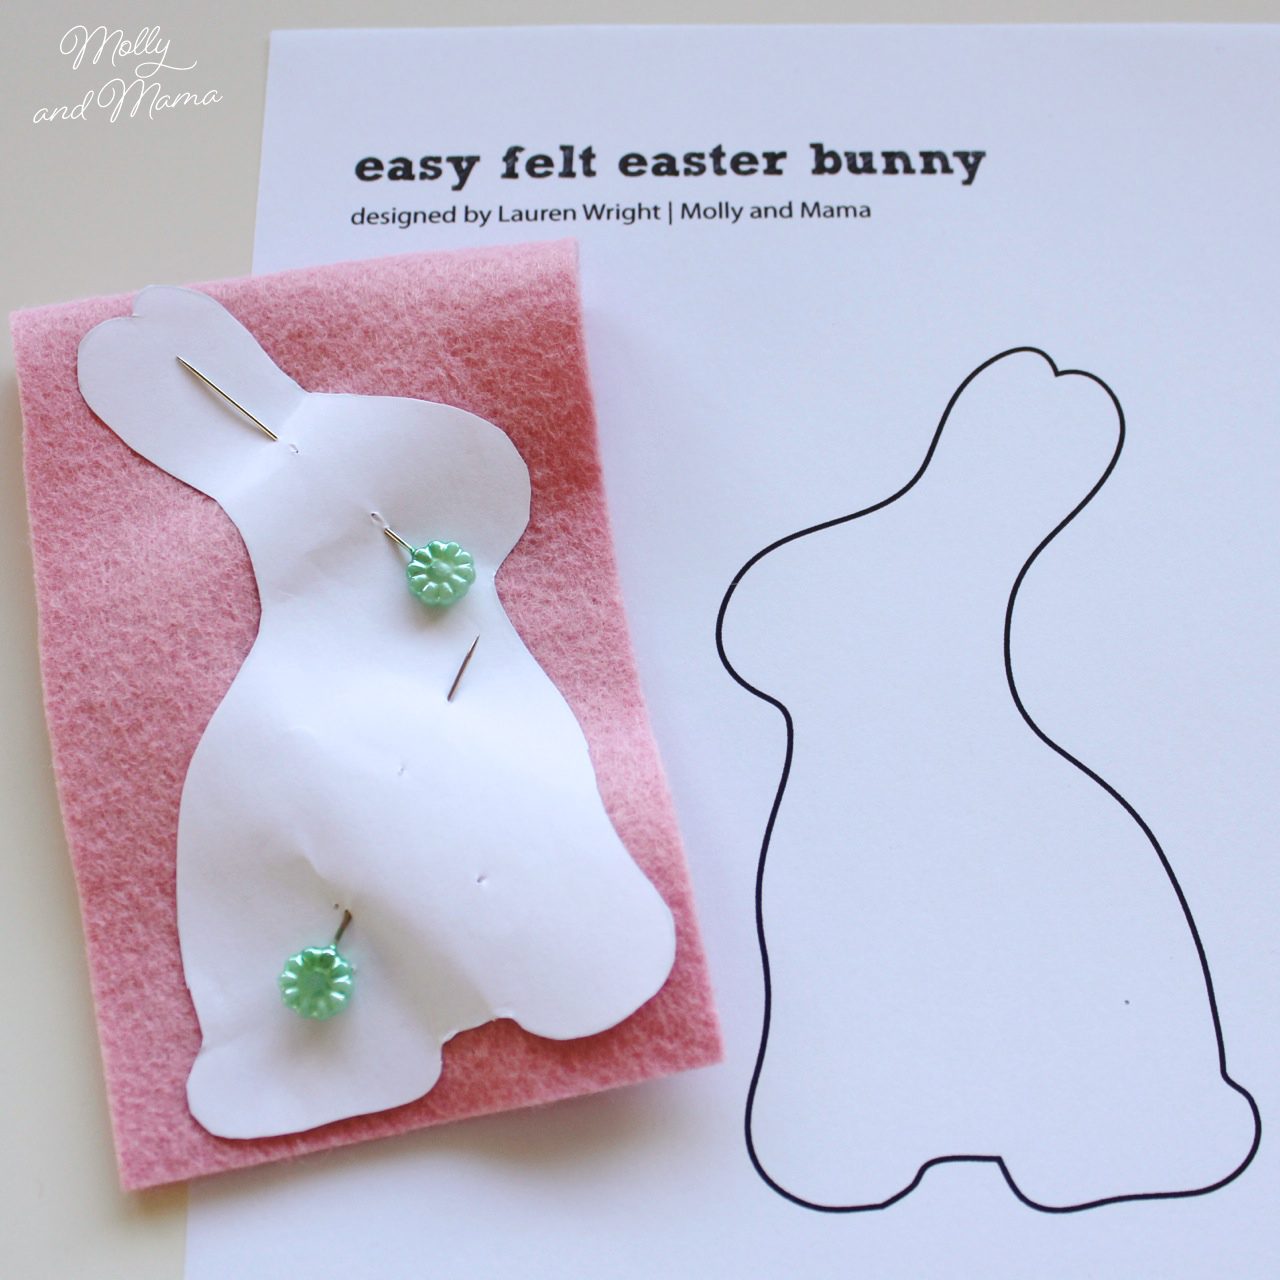
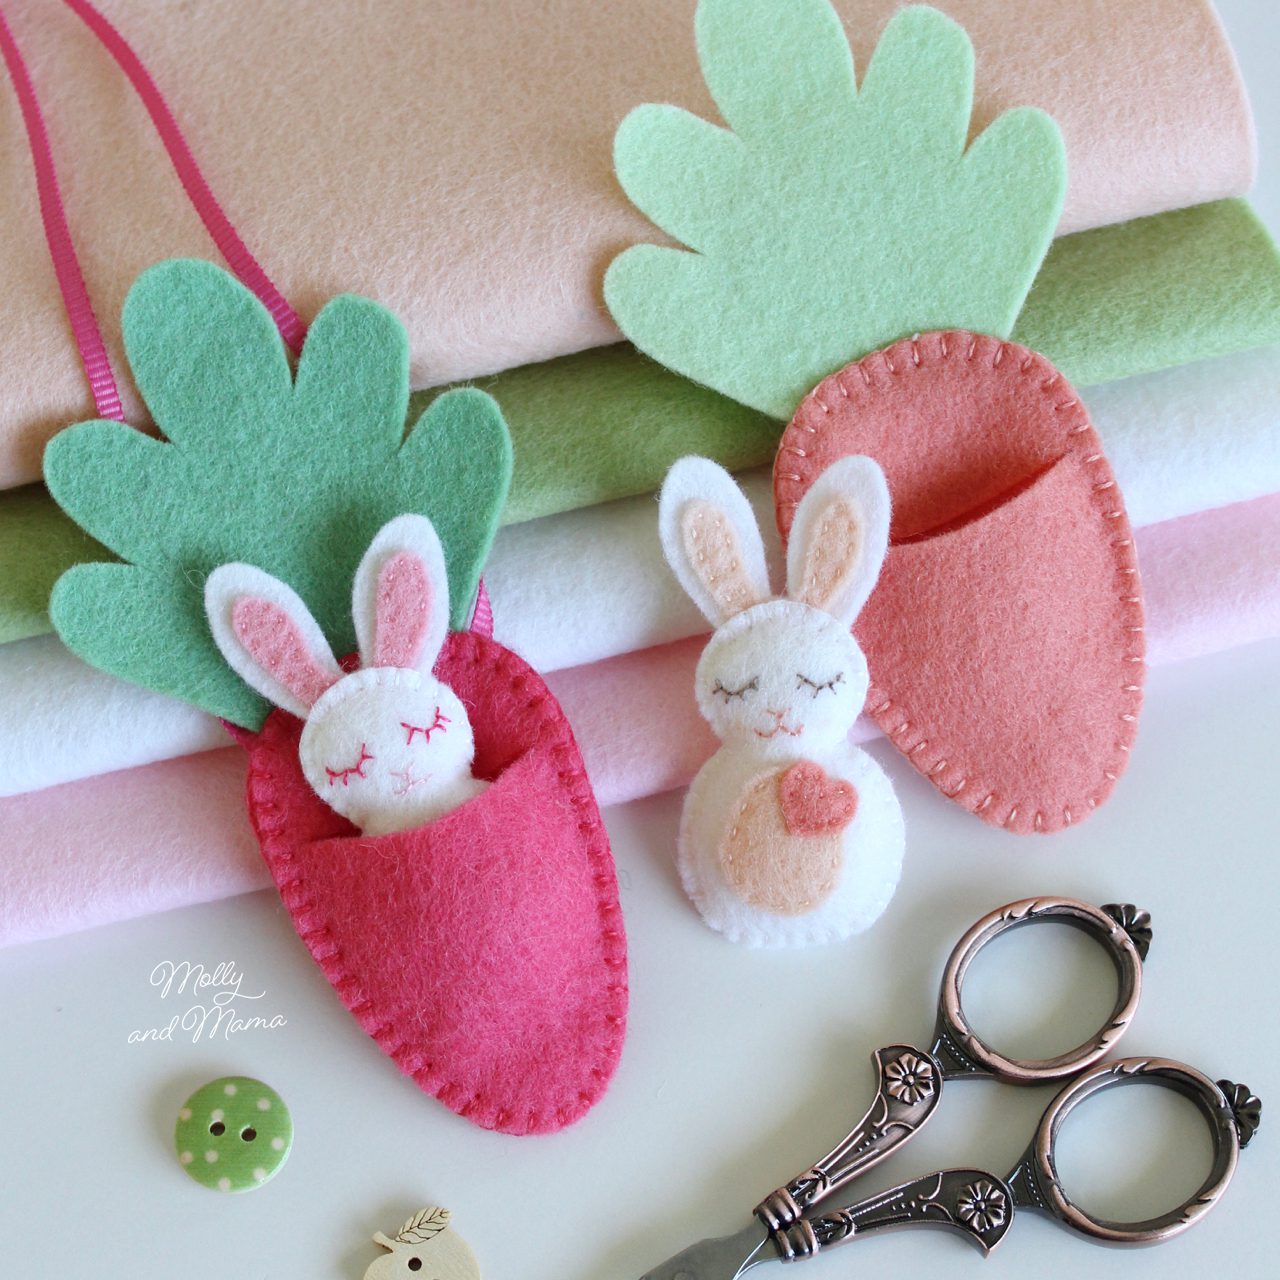
This image shows a paper template pinned to felt. It’s from the Easy Felt Bunny Tutorial.
The Freezer Paper Method
The Freezer Paper method is my preferred technique for accurately cutting shaped felt pieces. You can purchase freezer paper on a roll or in sheets. It’s a terrific product!
- Copy or trace your template onto the paper side of the freezer paper.
- Roughly cut around each template piece and lay it on the felt.
- Using a warm iron, run it over the paper side of the template. The heat will help the plastic underside of the freezer paper to adhere to your felt. Please note that this method is best suited to wool felt. Test a small area of your felt with the iron and paper before commencing. Please be sure to cover your felt with a press cloth (or scrap piece of cotton fabric) so as not to damage the felt (especially if it is not 100% wool).
- Cut out the template pieces on the drawn line and then simply peel the paper away. It comes away easily and leaves no residue.
- Keep the freezer paper templates as these can be reused a number of times. So be sure to label and store them well after use.
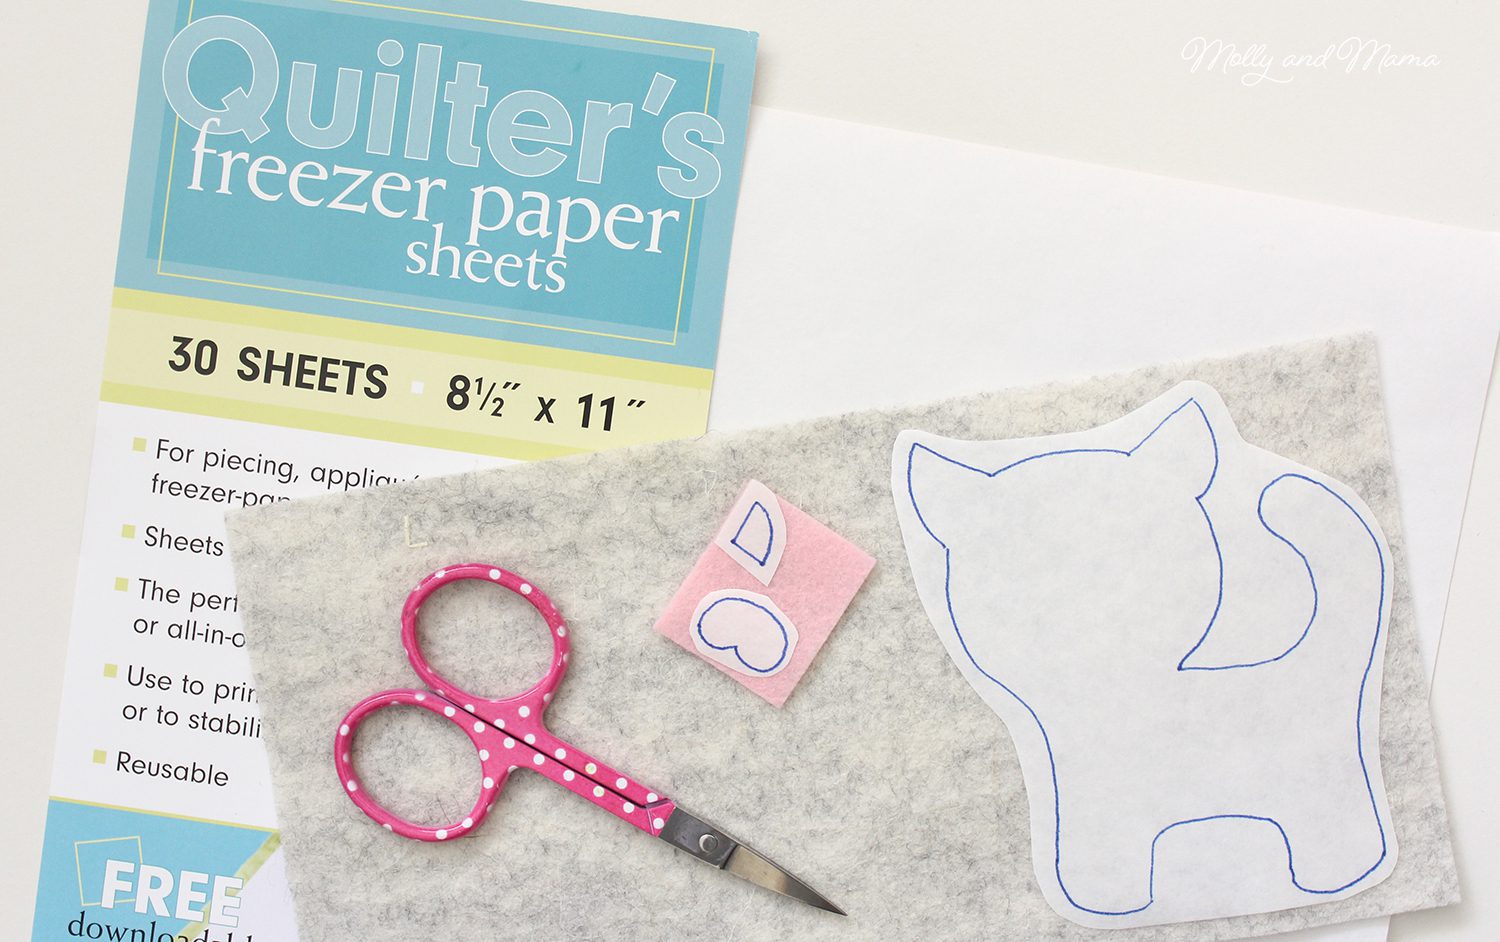
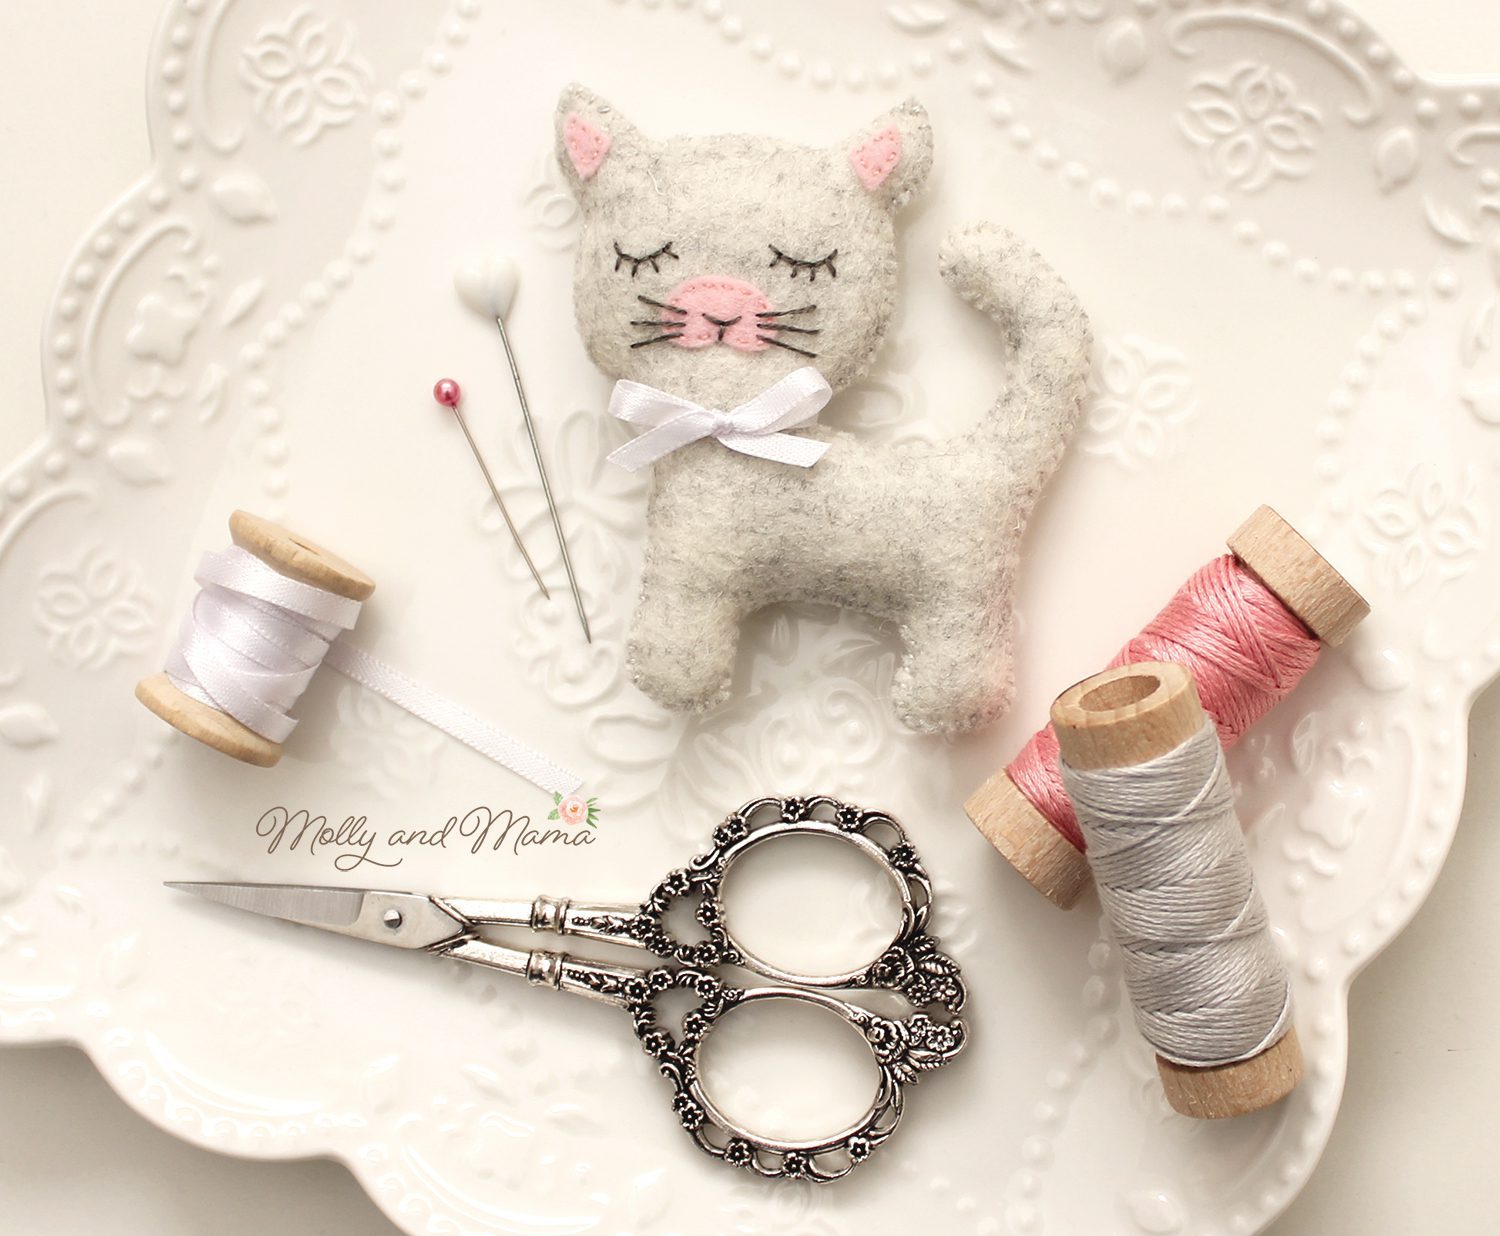
The freezer paper pictured above is for my Cinnamon Kitty tutorial. She’s a fun and sweet project to sew!
Other Methods for Accuracy
If you need lots of felt shapes cut accurately in exactly the same size, don’t forget that some stores stock pre-cut felt shapes. There are also machines that make quick work of cutting using shape dies.
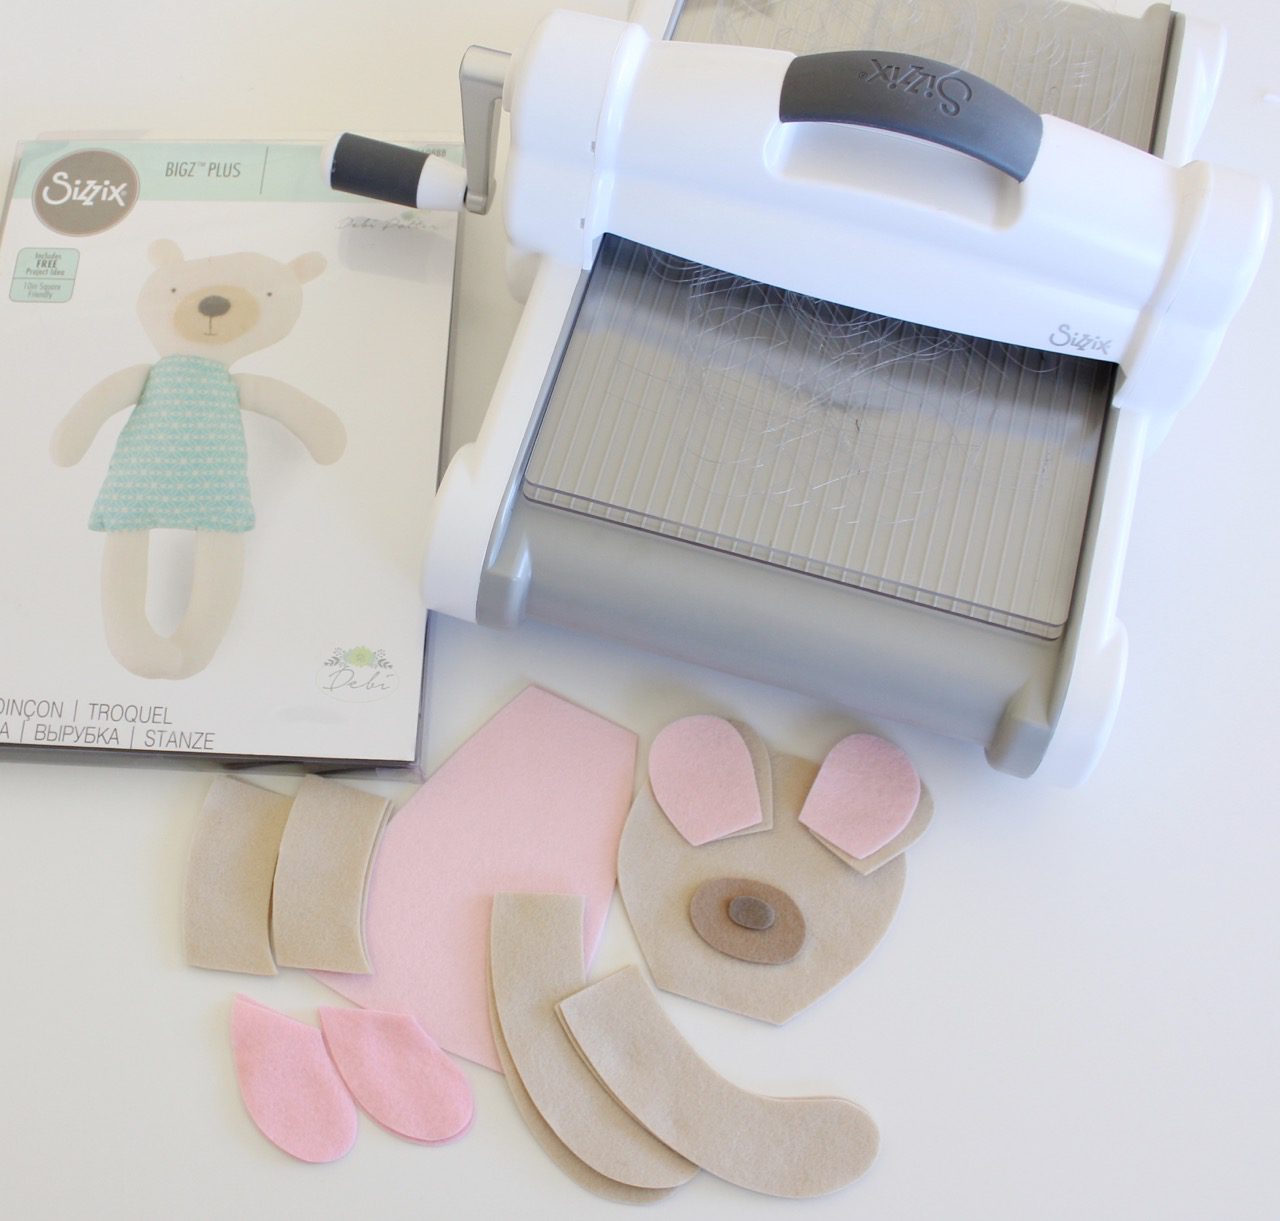
And finally computerised cutting machines can cut out your own shapes in any shade of felt you own.

There’s lots of options.
Just remember that accuracy is the key to great results.
Here’s some felt projects you might enjoy;
You might also mike my tutorial on Embroidering Details onto Felt.
Happy stitching, Lauren x
This post was written by Lauren Wright and appeared first on Molly and Mama http://www.MollyandMama.com.au

Thanks so much for this wonderful and useful tips…
Thank you Ayda!
Thank you so much for explaining how to make embroidery easy on to felt. It’s such a breeze now so I will be racing now.
You’re welcome Joy. I am glad you found it helpful!
I came across your website yesterday, the post with the Easter bunnies, and followed the link to this blogpost. Awesome tip on using Freezer paper! I bought a rol about 17 years ago and I finally know what to do with it. I made 4 bunnies yesterday and will make 3 more today. Love the pattern. Thank you for sharing.
Hi Eveline, I’m so glad you enjoyed the tutorials and have found some useful tips! Thanks for your comment, Lauren.
Hi, you mentioned not using pencil to trace your pattern onto freezer paper. What do you use instead? Do I have it right that you trace the pattern onto the paper side of the freezer paper but then lay it on the felt waxy side down and then press with a iron? Also I am confused by the instructions on ironing the freezer paper onto felt but to cover the felt with another fabric, so how does the pattern get onto the felt? I am a total newbie at this. Do you have a you Tube reel showing the process? Thank you for your assistance! Regards Janice
Hi Janice, thanks for your questions. I prefer to use an ink pen or a felt tipped pen and wait until the ink is dry. Yes, you trace the pattern onto the paper side. If the freezer paper is smaller than the surface of the iron, the heat from the iron straight onto the felt may cause damage. A press cloth can help avoid this. Once the freezer paper ironed in place and is ‘stuck’ to the felt, you can follow the pattern line to cut out the shape. Then you can peel off the remaining paper on the inside of the shape. I hope that helps, Lauren.