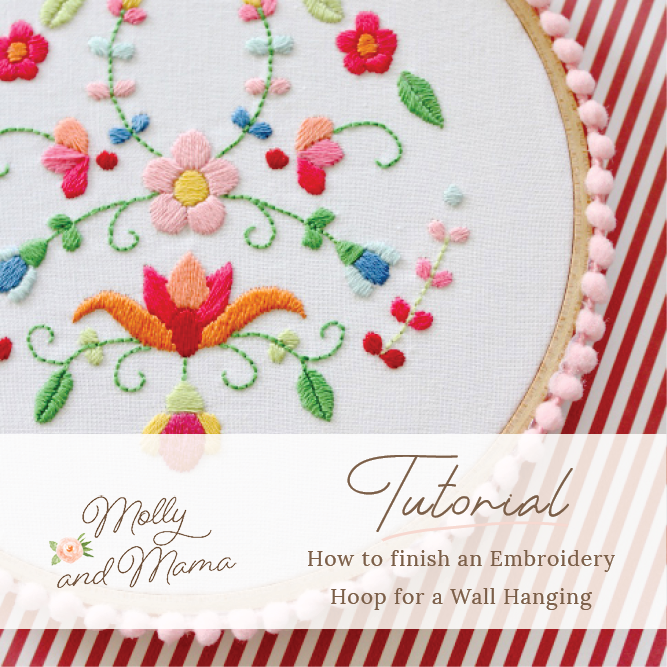
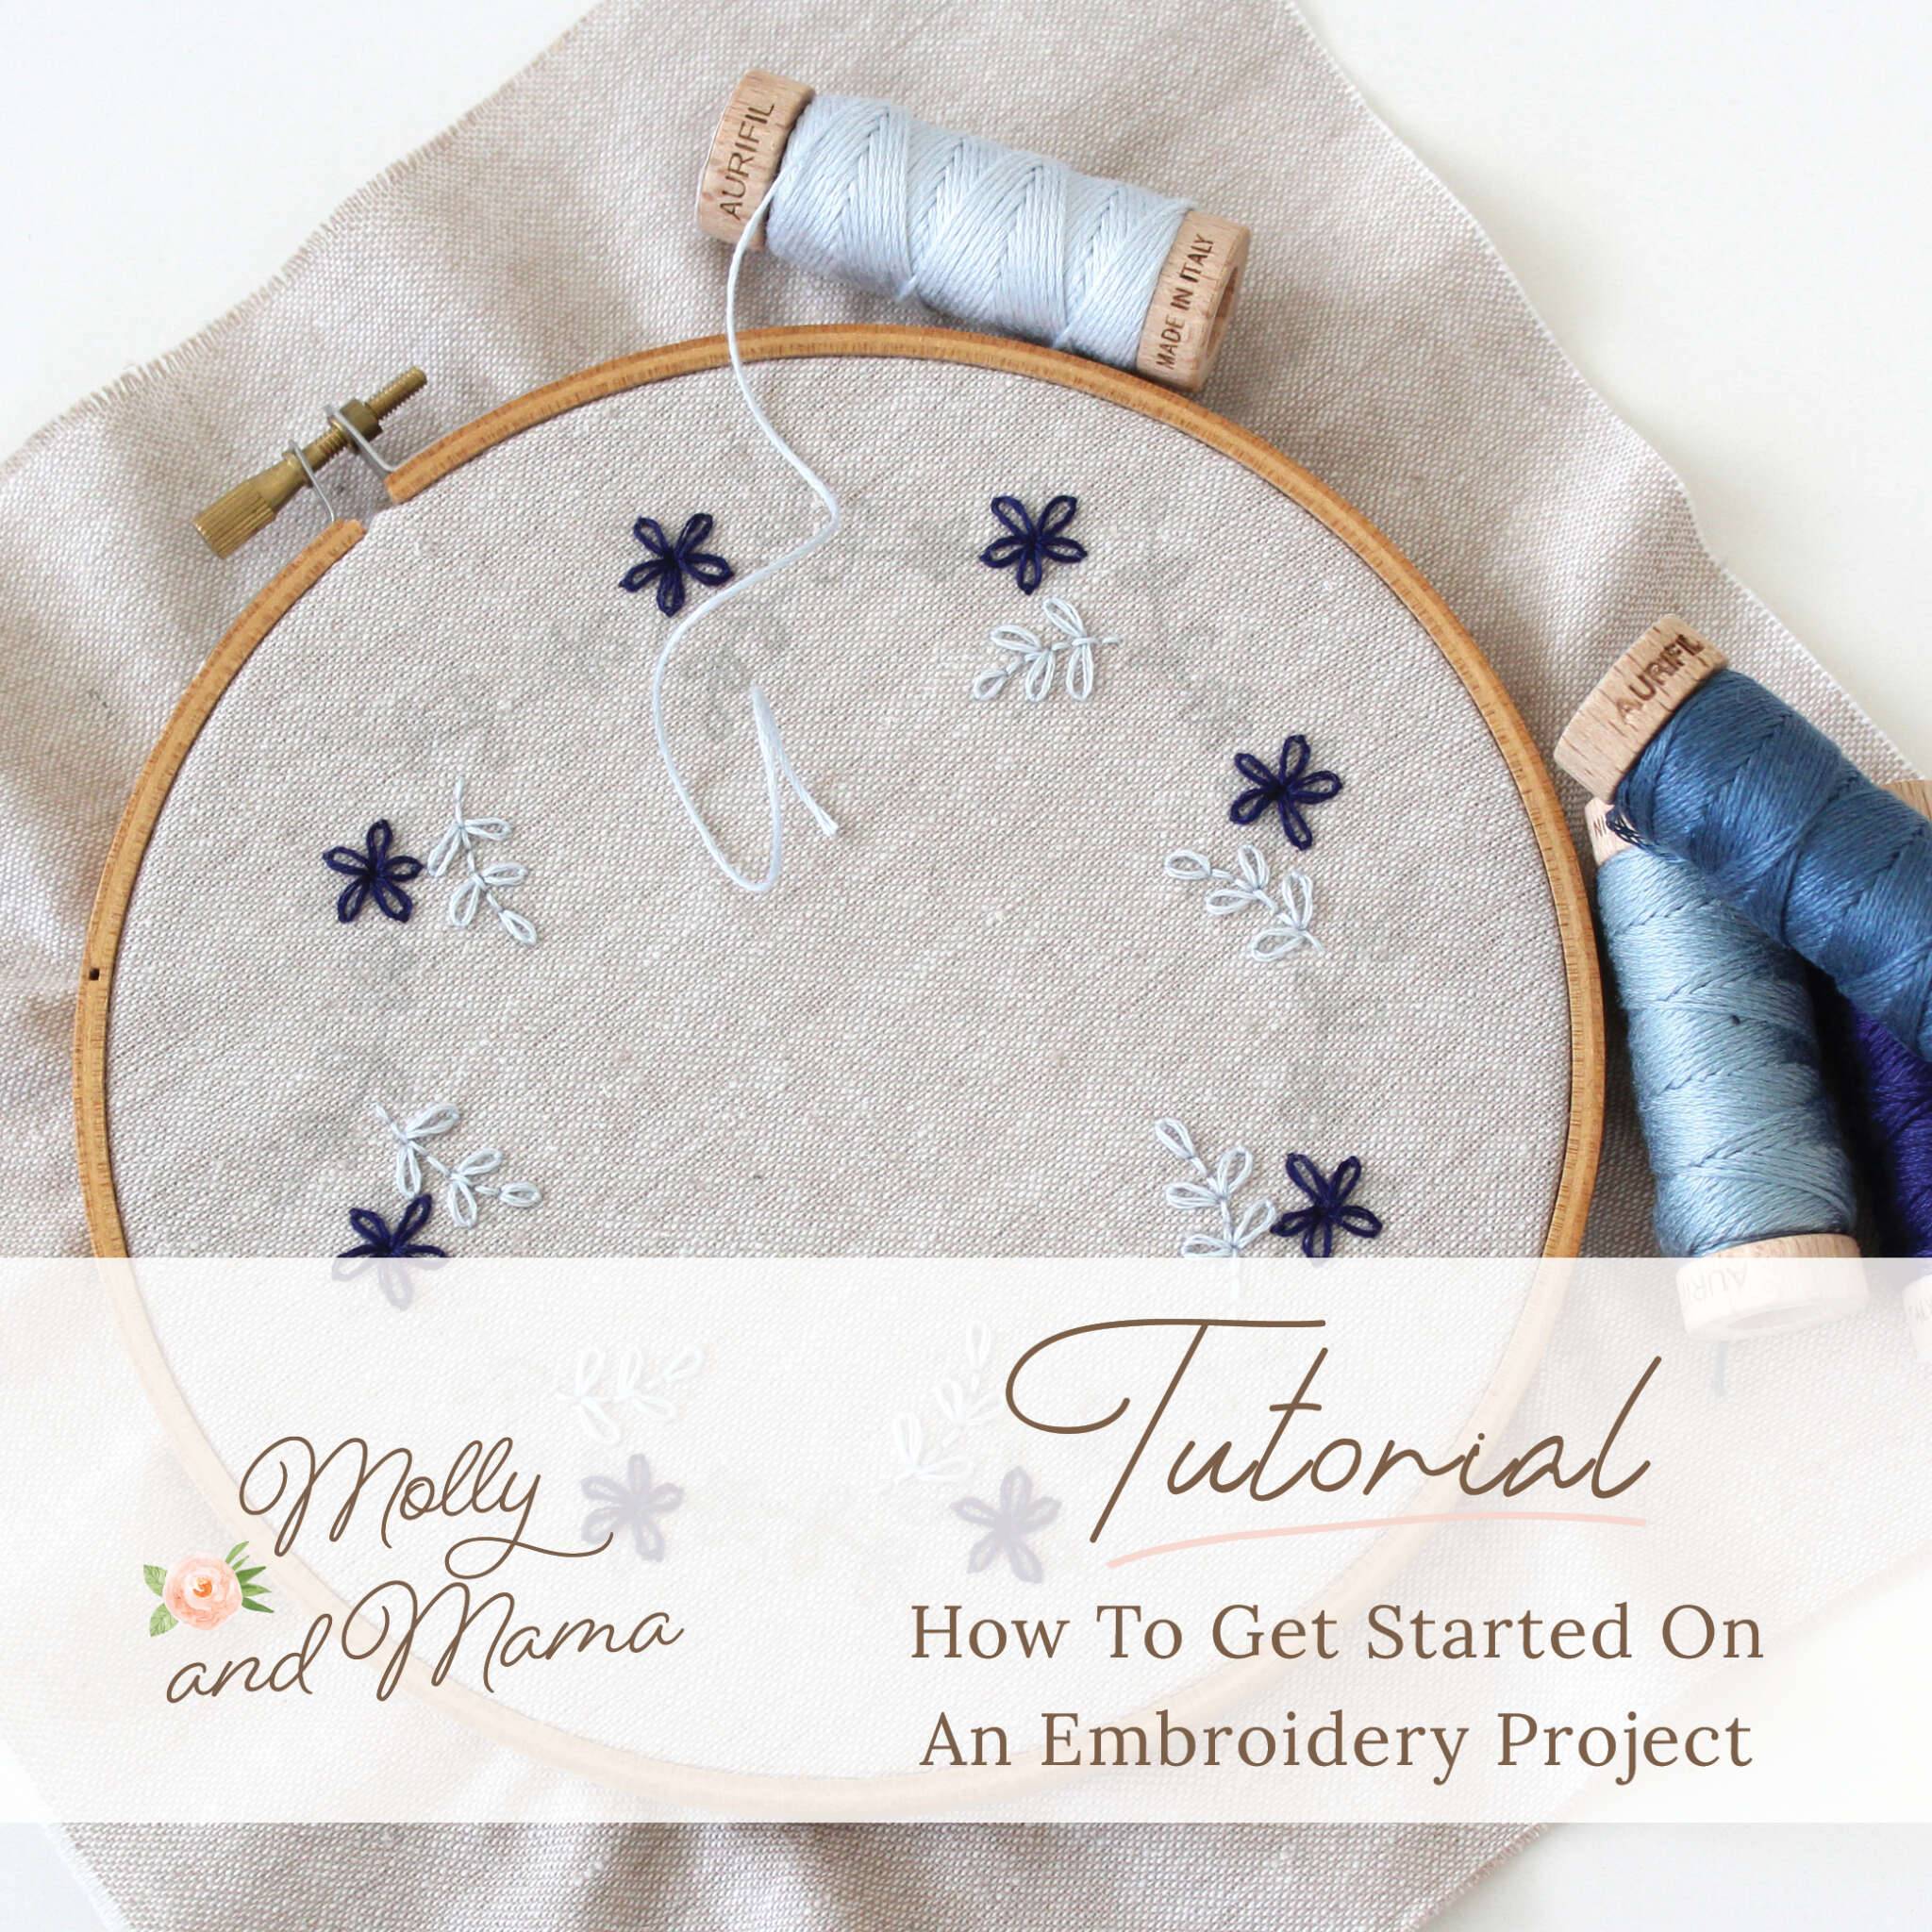
How to Finish an Embroidery Hoop for Wall Hanging
Welcome to the fifth and final post in my Embroidery For Beginners series that outlines the Supplies You Will Need, How to Transfer an Embroidery Design to Fabric, How to Get Started on an Embroidery Project, and the Basic Embroidery Stitches you will need to know.
So you’ve embroidered a beautiful design and you’re so thrilled with it, you can’t wait to hang it on the wall! But how exactly do you display it in a timber embroidery hoop so that the back looks as great as the front? There are a couple of different methods that I’ll describe below.
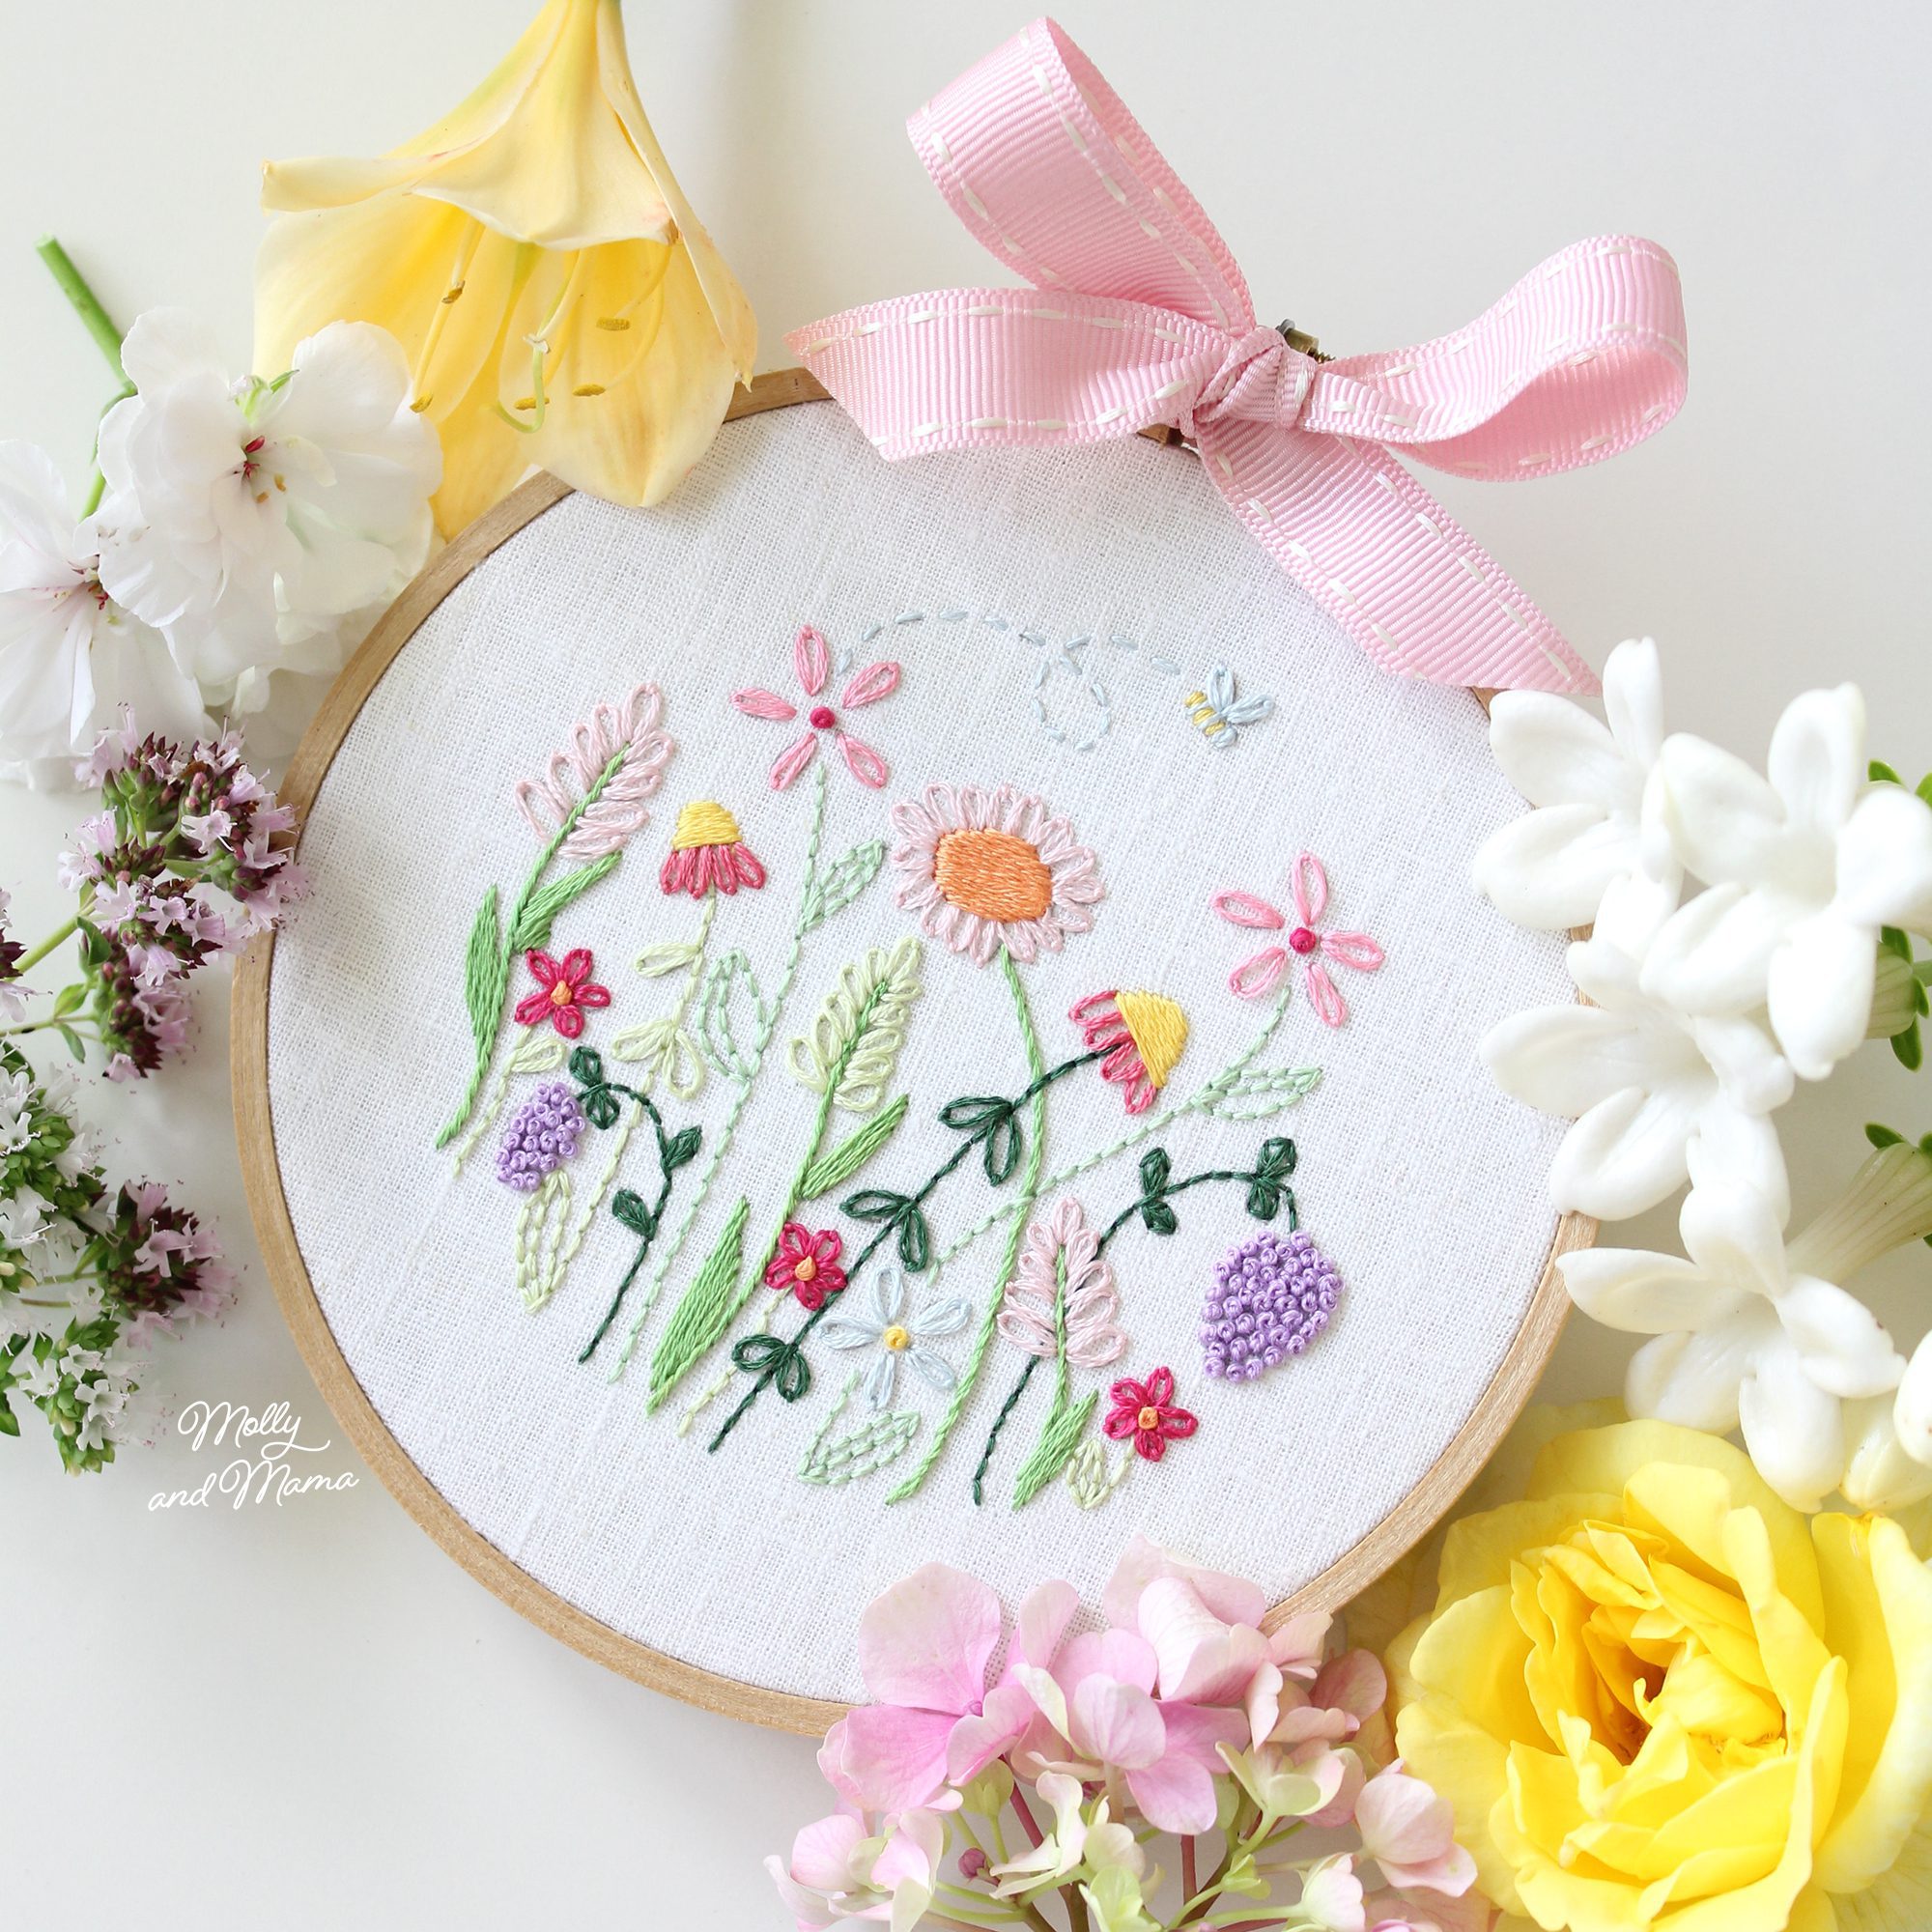
The images used to illustrate this process are of my Flora Fiesta Embroidery Design.
YOU WILL NEED
- timber embroidery hoop with top tension screw
- pressed fabric project, ready for framing
- pinking shears (optional)
- sewing thread and large needle
- circle of wool felt measuring slightly less than the circumference of the hoop
- optional hot glue gun
NOTE: This tutorial is for personal use only, for sewing at home and/or teaching another person or child to sew FOR FREE. Reusing or repurposing free Molly and Mama tutorial instructions, templates and images for paid classes, or distributing the materials in classes, to groups, or for commercial purposes, is strictly prohibited. For clarification, or to seek a commercial arrangement, please contact Molly and Mama.
LET’S GET STARTED!
When you have finished your embroidery, stitchery, or project to be framed, make sure it is pressed well and ready to go in the hoop.
Place the inner circle of the embroidery hoop on a flat surface. Position your fabric over the inner hoop so the design is facing you and well centred. Put the outer hoop over the fabric. Press down on the inner hoop to pop it into place, ensuring that the design is centred in the frame and that the screw is centred at the top.
Tighten the screw, pulling the fabric taut as you go. Make sure the fabric is firmly held in the hoop.
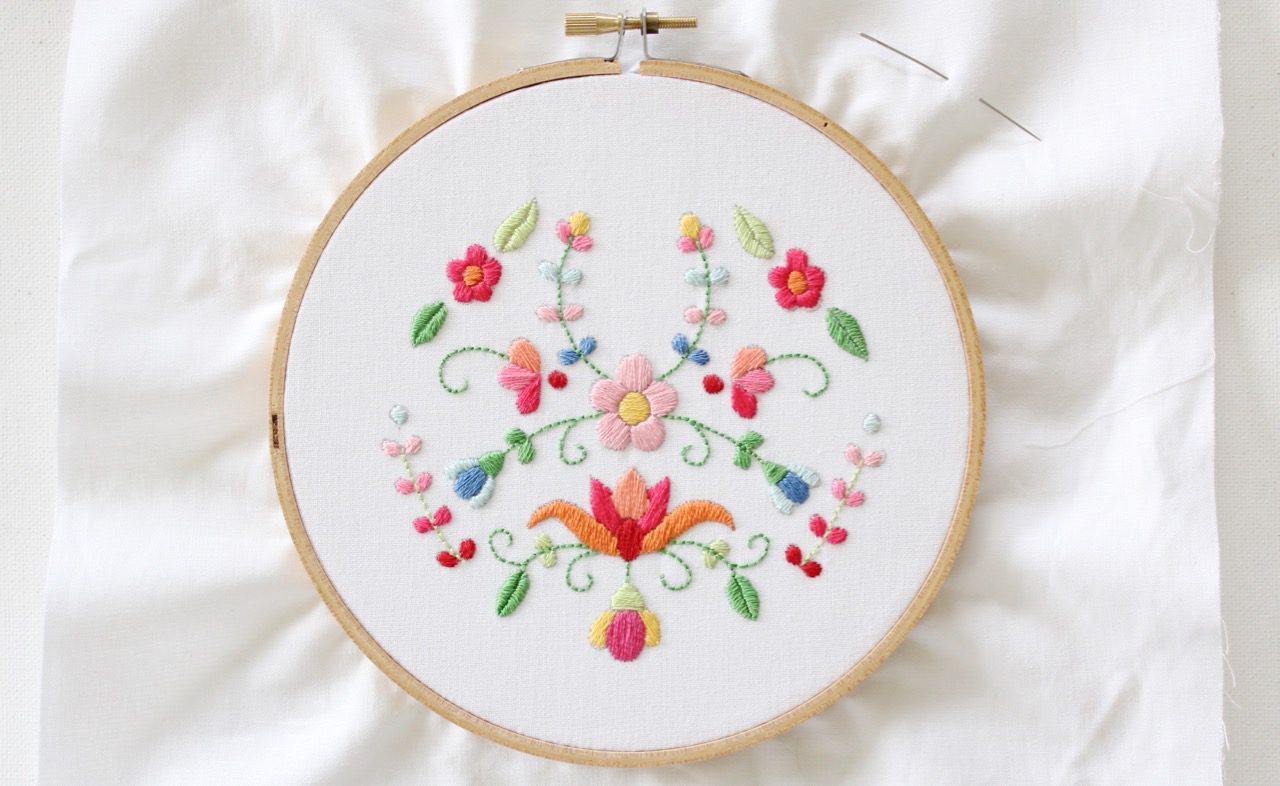
Trim the fabric approximately one to two inches (2.5 – 5 cm) from the outside edge of the hoop. Using pinking shears will help ensure that the fabric doesn’t fray.
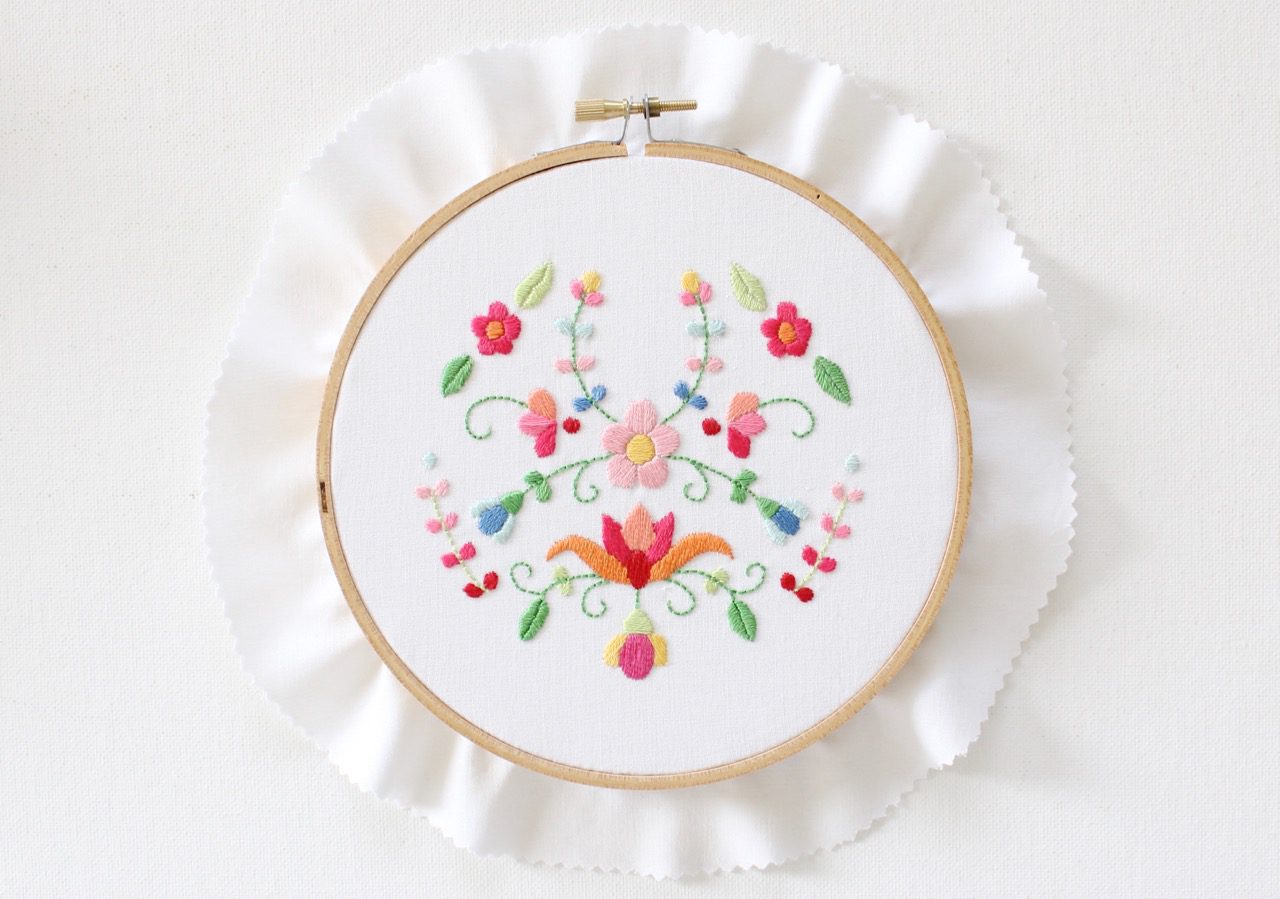
Thread a needle with a very long doubled over length of sewing thread. Starting at the top of the hoop, stitch a loose running stitch (about ½” (12mm) from the fabric edge), all the way around the outside edge.
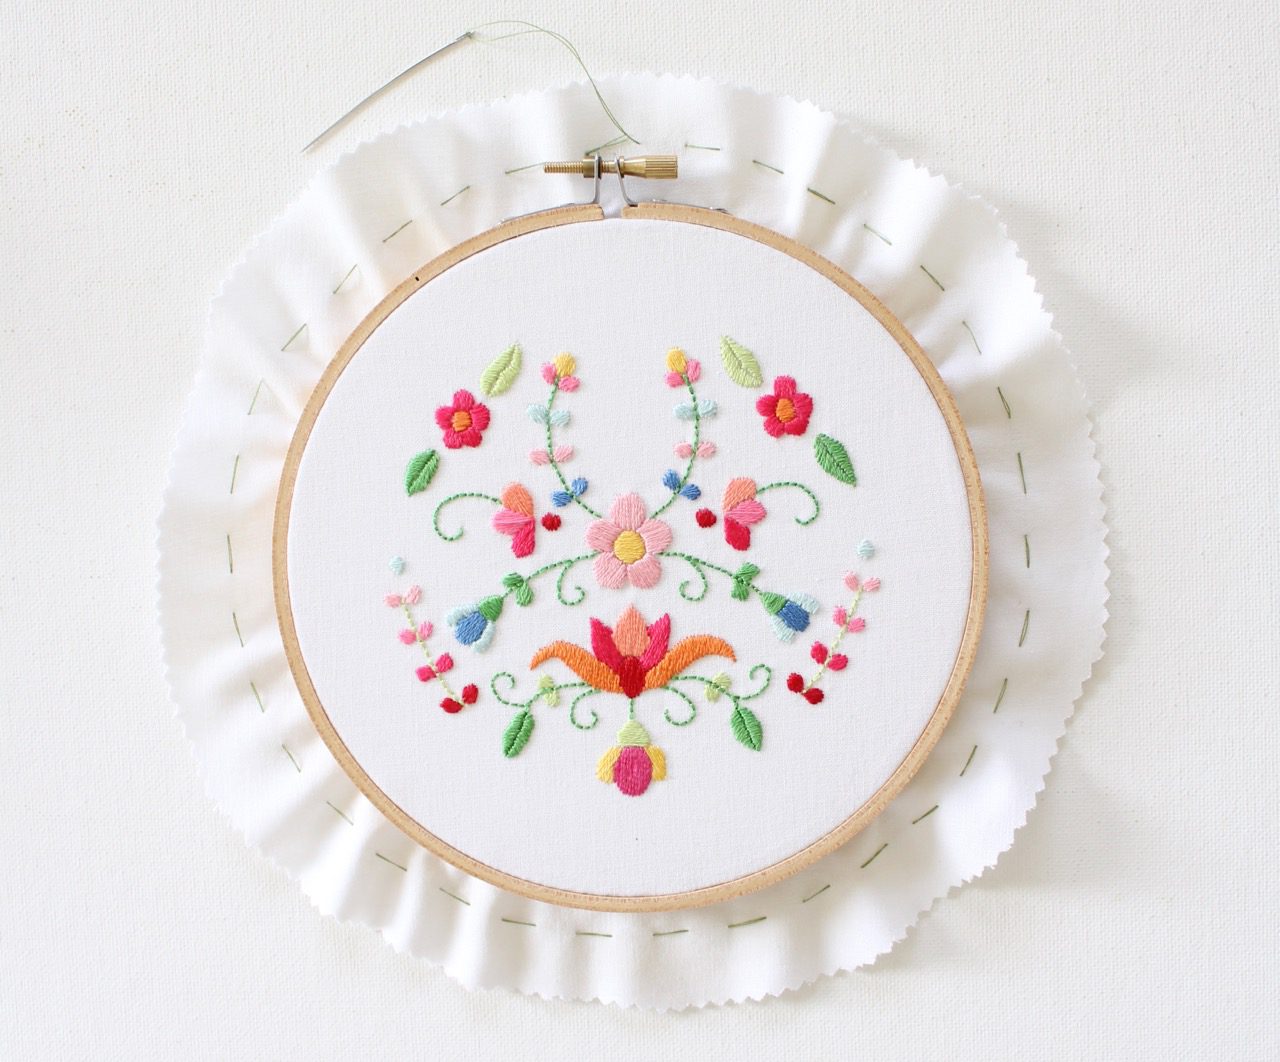
When the stitching meets at your starting point, pull the thread to gather the fabric in firmly behind the hoop.
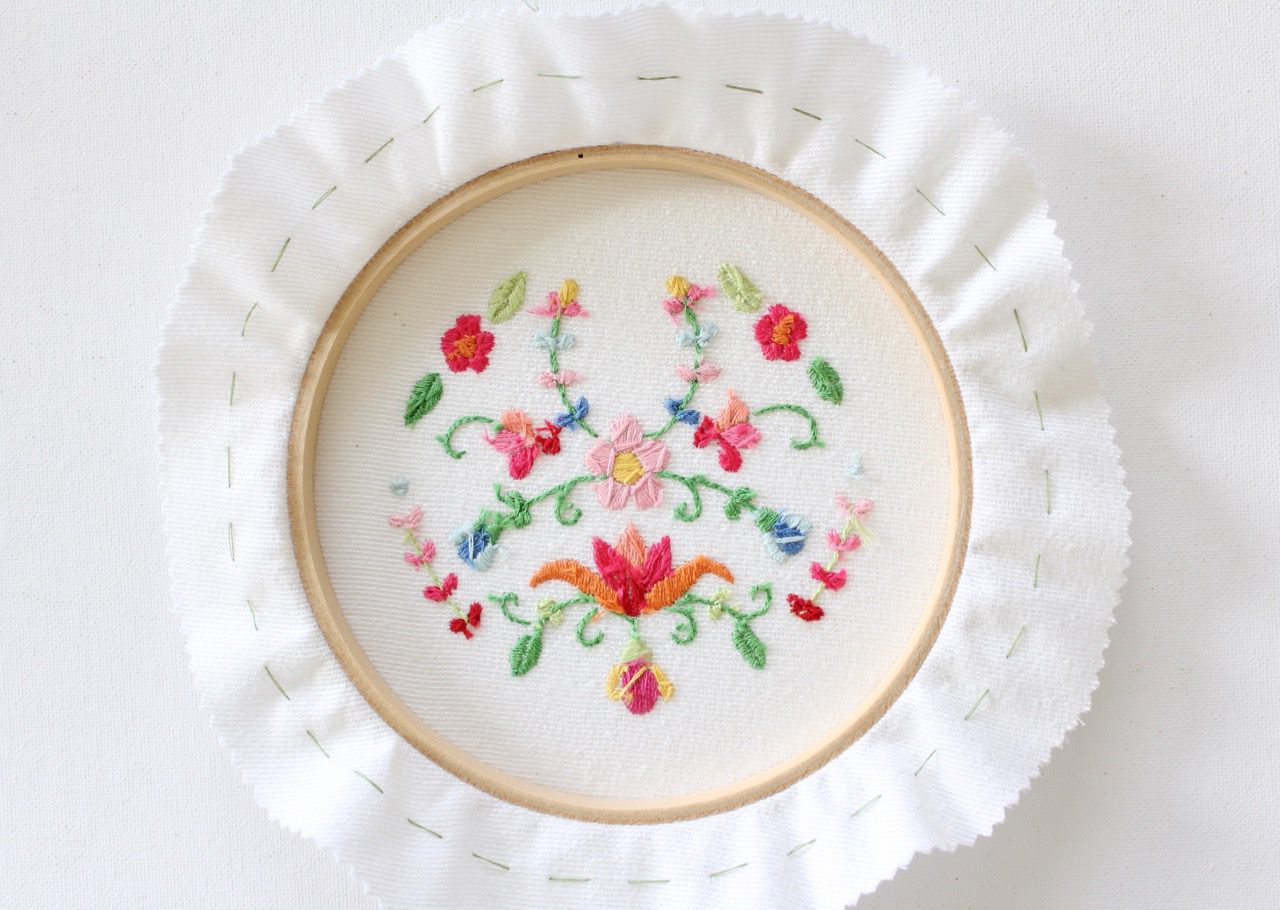
Secure the thread with a few stitches or tie the thread into a knot.
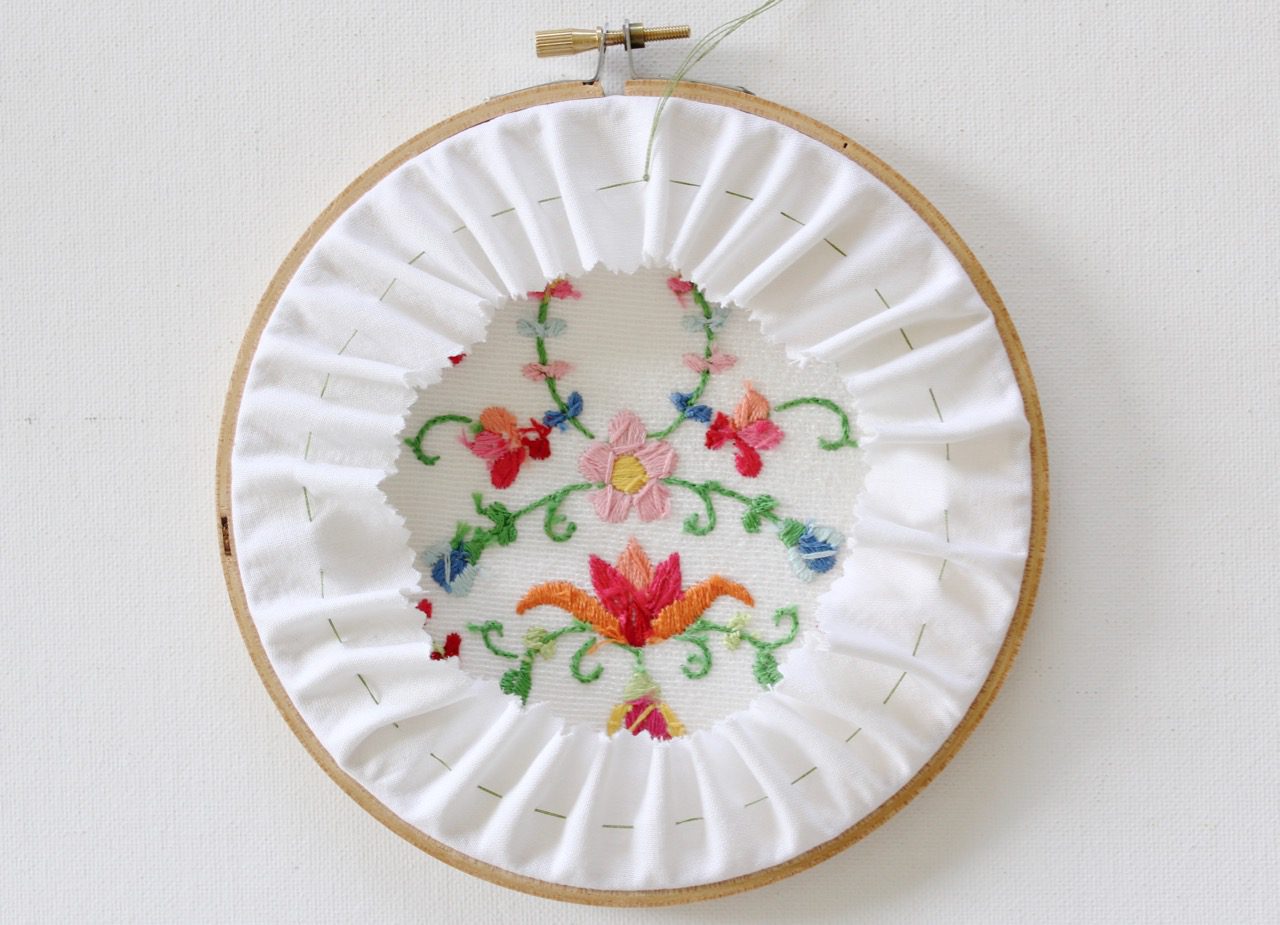
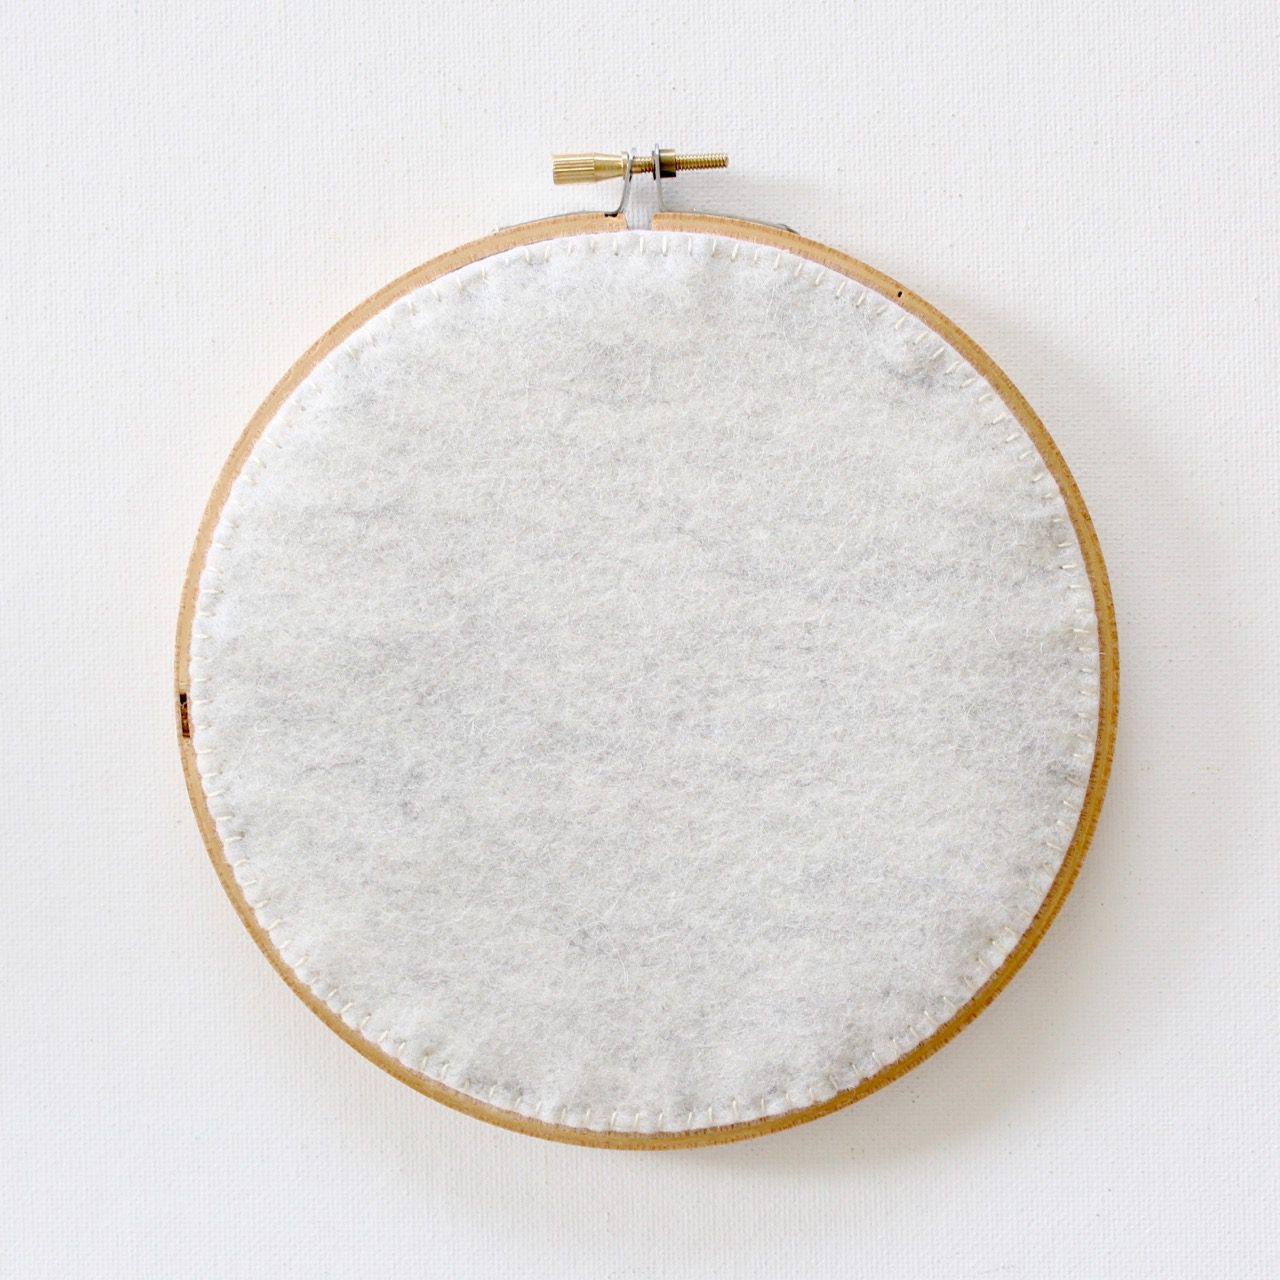
You could leave the hoop like this, but you may want to completely cover the back for a neater finish.
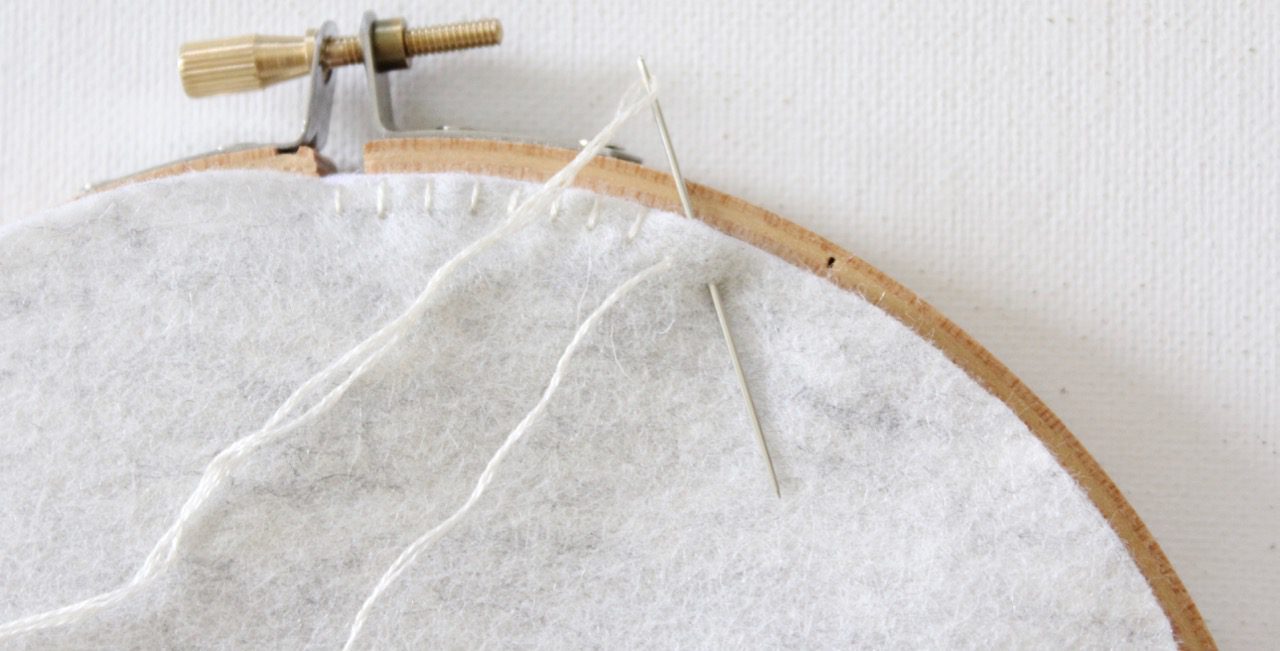
To cover the back of the hoop, secure a circle of wool felt to the back (that measures slightly less than the actual size of the hoop). First, centre the felt over the back of the hoop.
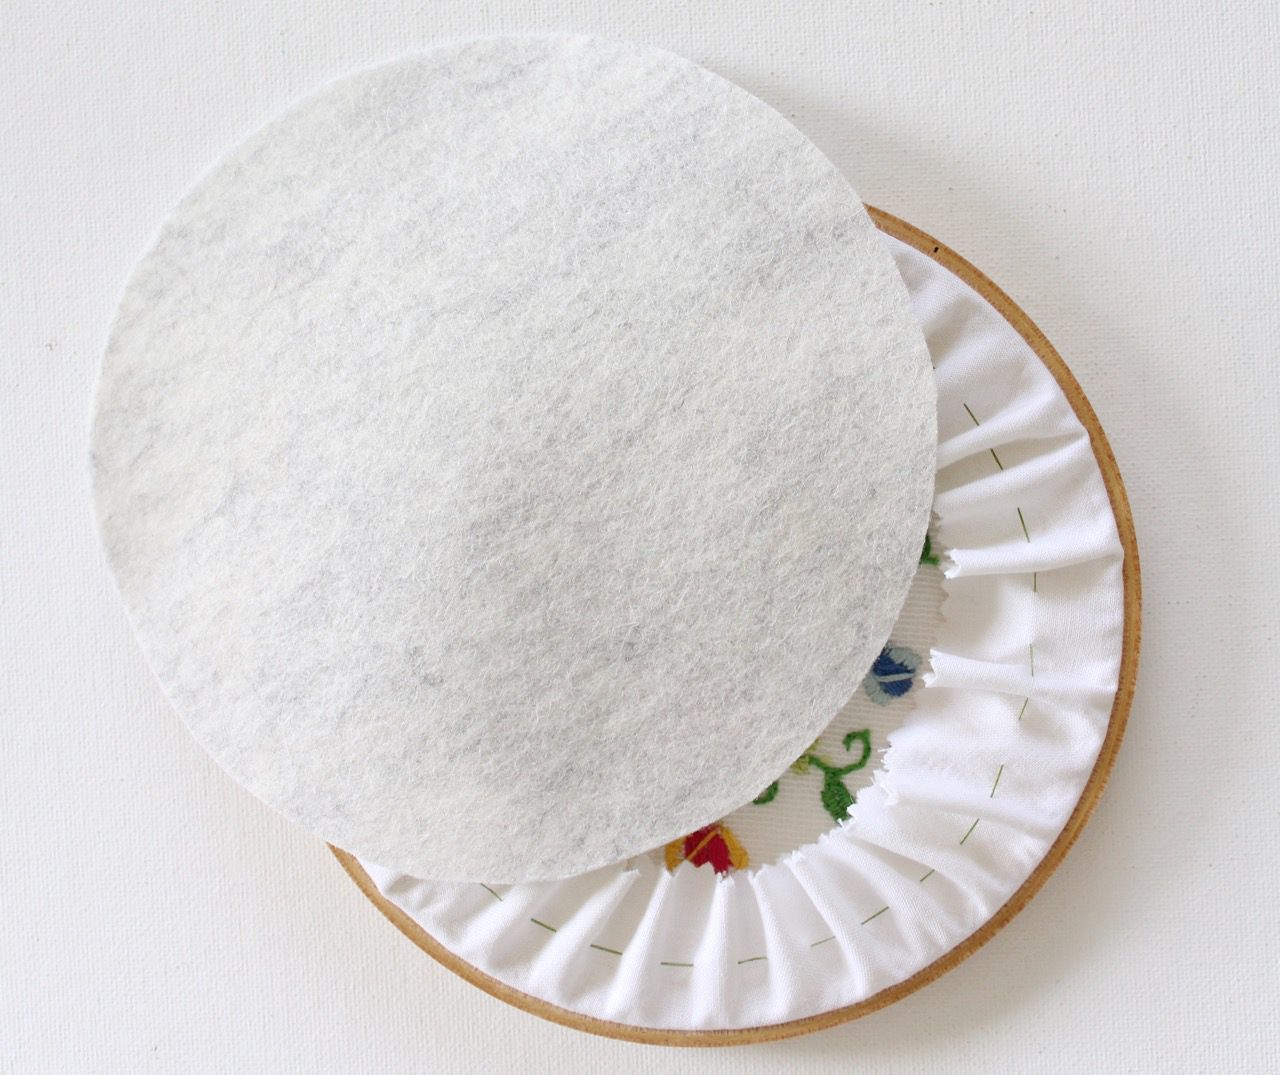
Whip stitch or blanket stitch in place with evenly spaced stitches.
For an alternative ‘no sew’ finish, run a line of hot glue along the inside edge of the inner hoop and press the trimmed excess fabric down to secure it in place. Then cover the back of the hoop with a circle of light card, secured in place with hot glue.
How easy is that?
You may also like to add a bow and a hanging loop to the top of the screw. You can decorate the outside edge of the hoop by wrapping it in ribbon or strips of fabric before you place it over the sewn project. Or hot glue on a trim like pom pom ribbon when the hoop is complete.
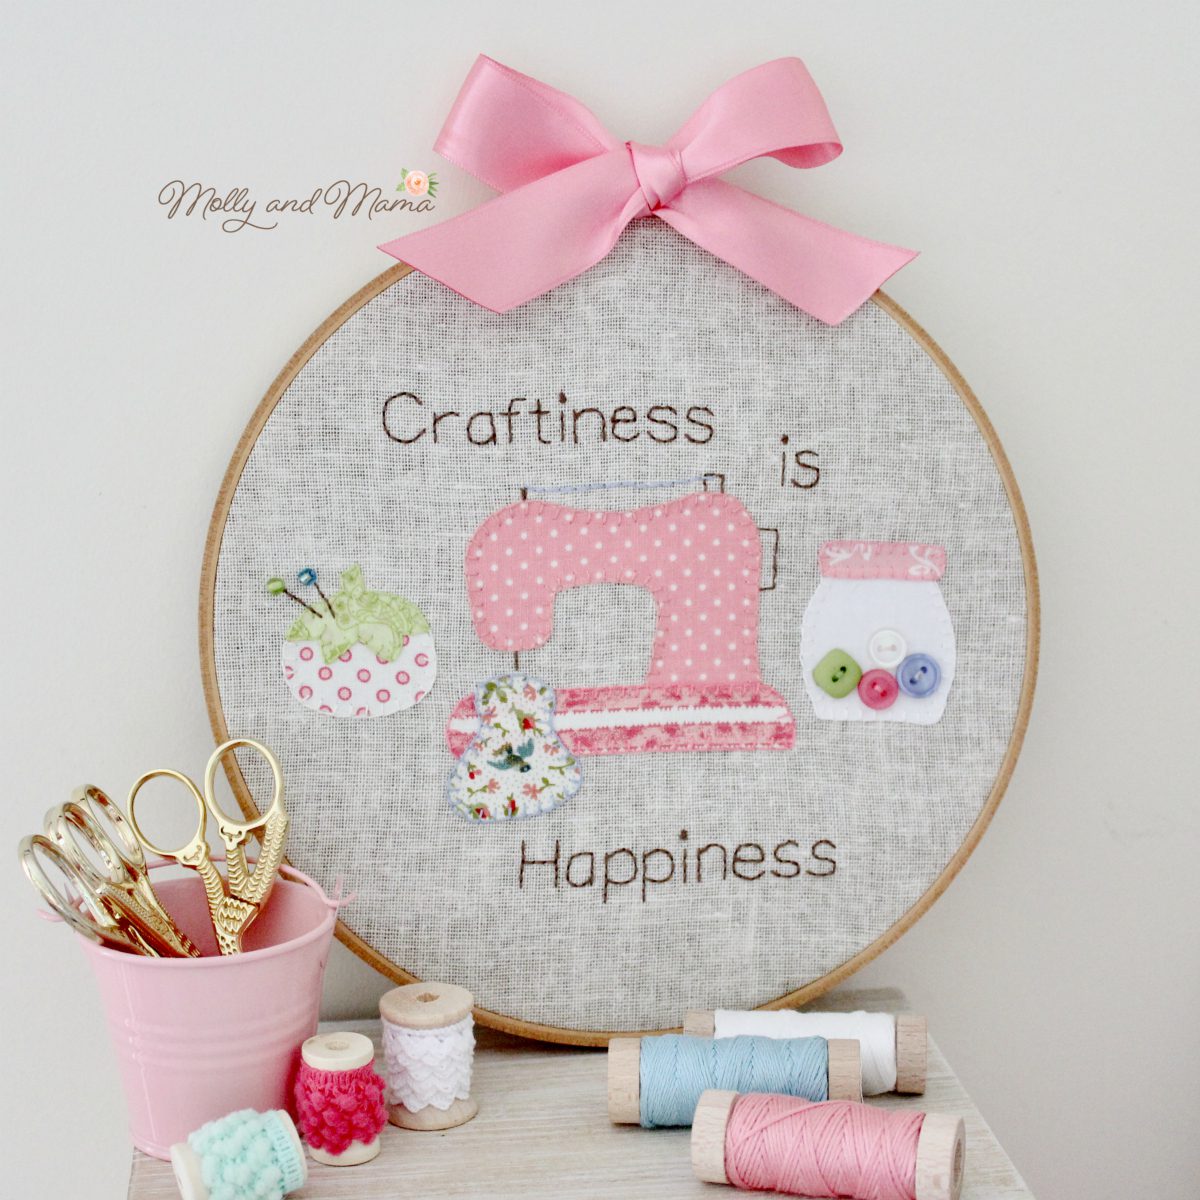
I have used the felt circle method to back most of the hoop designs that I have created, including the Craftiness is Happiness Hoop pattern.
I hope you have found these tips useful. For more Molly and Mama embroidery designs, and beginner friendly quilty projects, please visit the store!
Happy stitching, Lauren x
This post was written by Lauren Wright and appeared first on Molly and Mama http://www.MollyandMama.com.au
Great idea about how to finish the edges and blanket stitching the round felt to the back! I just finished an embroidery, and this will be what I do. Thank you!
I’m so pleased to hear that you found the tutorial helpful REgina. Thanks for letting me know, Lauren.
This looks great, thanks so much! I have some designs done with my embroidery machine that I would like to give as gifts. I do believe you have answered my questions
That’s wonderful to hear Lisa. Happy stitching, Lauren.
Thanks, you should have a like button!
You are welcome!
These are lovely, and I am just coming across the finishing of the backs now.
How do you then hang them on your walls please? I have a number, in a lot of different sizes 🙂
Thank you Maria. I use wall hooks and hang the hoops by their top screws or by a ribbon loop.