Sew a Simple Felt Swan Softie
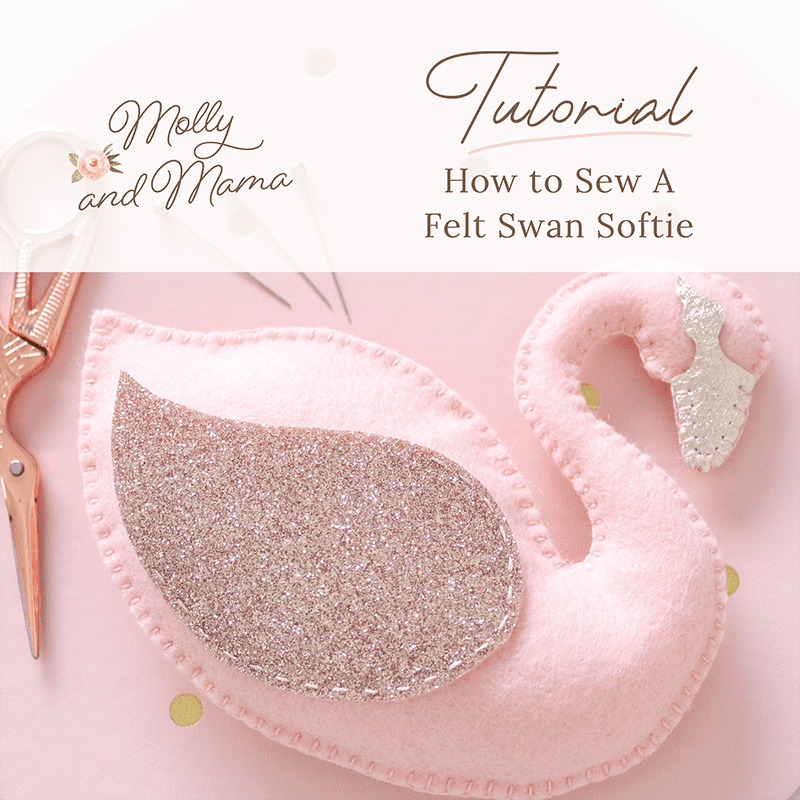
In July every year, Trixi from Coloured Buttons hosts Sew A Softie. This month-long event is aimed at encouraging kids to learn new skills and develop a love for hand stitchery. This is really important to me, so I am thrilled to be involved again this year!
Trixi has links to more information and tutorials on her blog, on instagram and also in the dedicated Facebook Group (you’ll find me there too).
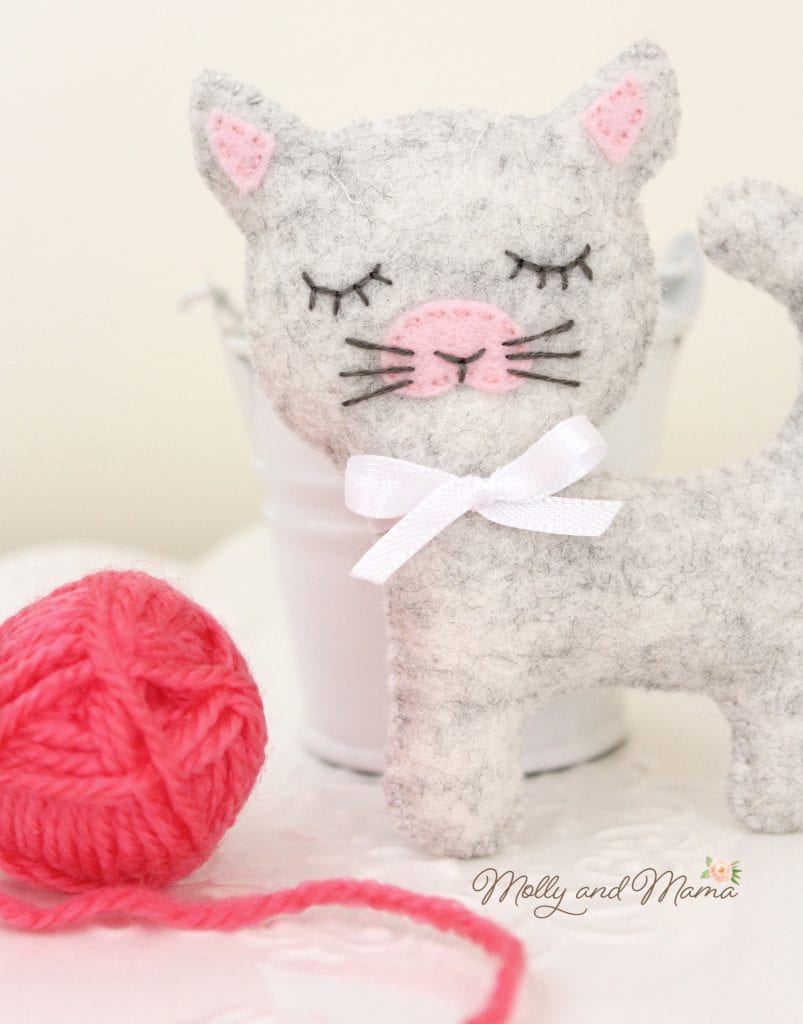
Last year I designed a felt cat tutorial. Be sure to check it out if you’d like to sew Cinnamon Kitty.
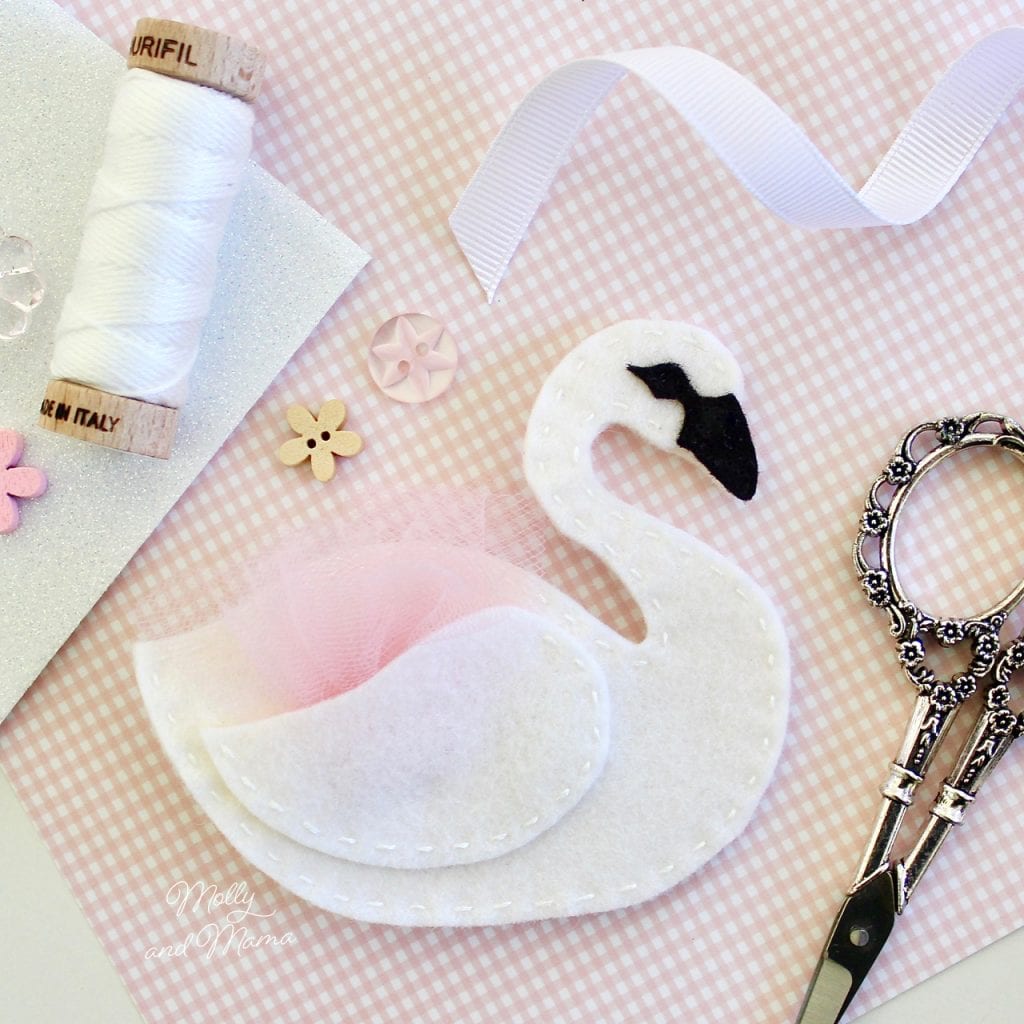
This year I have made two cute and related projects. The first is a felt swan hair accessory. She’s just a smaller version of today’s softie, attached to an alligator hair clip.
And today we have a simple softie. She’s larger than the hair accessory and is filled with stuffing. She’d make an excellent soft toy, but you could also firmly fill her for a pin cushion or use the template for an appliqué.
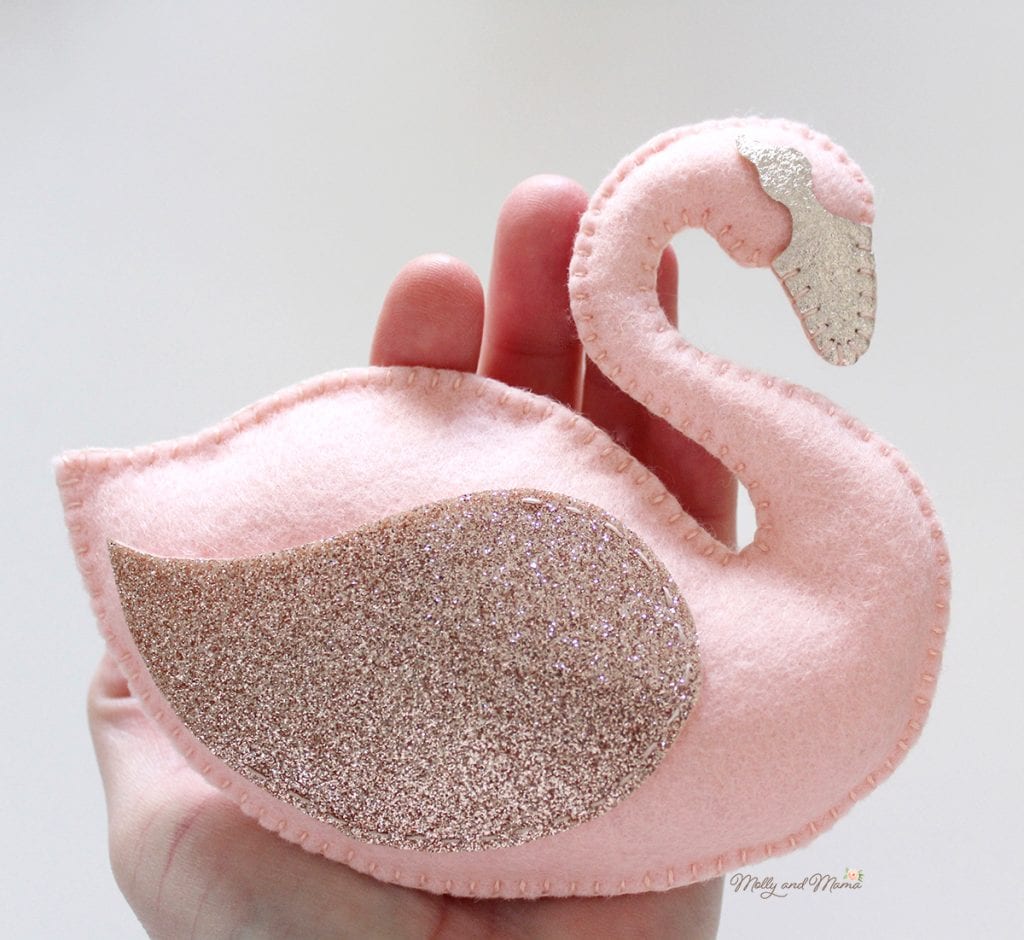
You can make this softie with any felt you like, but I love merino wool felt. You can read why HERE. All my felt supplies, including the incredible metallic and glitter felt, come from My Felt Lady in Australia. I just love this combination of peach and rose gold, so I am thrilled to create something with it!
This project is a fun and simple one for kids of any age. You can make it even easier by changing the blanket stitch to a whip stitch or running stitch. An internet search will bring up some great tutorials!
FINISHED SIZE: approximately 14.5cm (5 3/4″) x 13.5cm (5 1/4″). This swan has a wing and beak on one side only. But you can easily adapt the project so that both sides have wings and beaks.
NOTE: This tutorial is for personal use only, for sewing at home and/or teaching another person or child to sew FOR FREE. Reusing or repurposing free Molly and Mama tutorial instructions, templates and images for paid classes, or distributing the materials in classes, to groups, or for commercial purposes, is strictly prohibited. For clarification, or to seek a commercial arrangement, please contact Molly and Mama.
You Will Need;
- 35cm (14”) x 15cm (6”) rectangle of peach wool felt
- 4cm (1 1/2”) square of metallic wool felt for the beak
- 35cm (14”) x 2.5cm (1”) rectangle of pale pink tulle (or another recycled material like thin plastic, netting, or even fabric)
- 25cm (10”) square of freezer paper (to transfer the template to the felt)
- Embroidery needle
- Peach six stranded embroidery floss (separated into two strands)
- Small, short blade scissors for cutting felt
- Appliqué or craft glue
- Hobby fill or stuffing
- Print out of the template
Let’s Get Making!
Print the Pattern
Save a copy of the pattern template PDF to your computer and then print it in full size without any scaling or cropping.
Cut Out The Felt Pieces
Cut out the required felt pieces using your favourite method. Visit my beginner’s tutorial for a more detailed description. Just remember that if you are using glitter felt or metallic felt (and the freezer paper method), you will need to press the templates onto the felt side, not the sparkly side. This will mean you need to reverse your templates, or trace them from the wrong side. You will also need to use a press cloth or scrap piece of cotton fabric, to protect the felt from the heat of the iron.
You will need to cut;
- Two peach felt body shapes
- One sparkly felt wing
- One metallic felt beak
Assemble the Swan
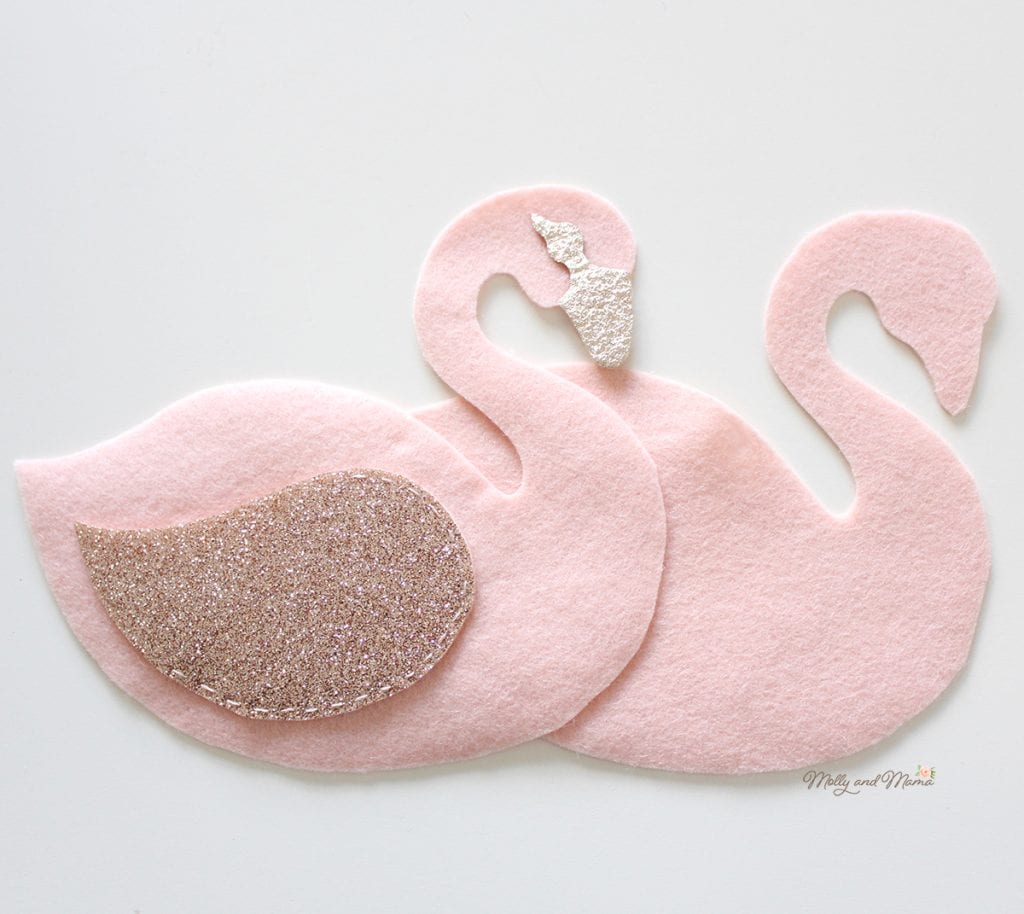
Thread an embroidery needle with two strands of peach floss. Hold or pin the wing shape in place (using the template as a guide). Sew the wing in place using a small, fine running stitch. Start at the highest part of the top of the wing and stitch around the curve to about 4cm (1 1/2″) from the tip of the wing. Leaving the rest of the wing open allows it to stick out from the body when stuffed.
Position the beak piece over the peach felt and secure in place with a small amount of appliqué or craft glue.
Place the second felt swan body behind the first and pin in place.
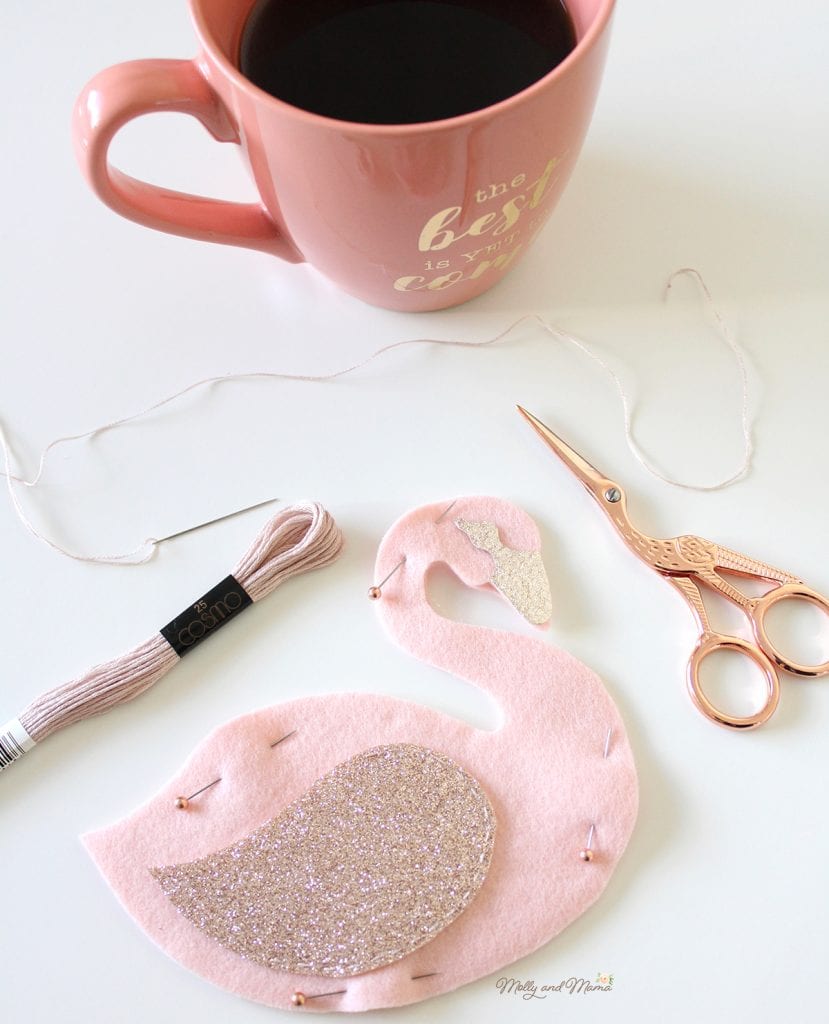
Sew the two swan body pieces together using two strands of peach floss and a fine blanket stitch. Start where the body meets the neck above the wing. Sew around to the tip of the beak (stitching directly through the beak felt too). Add very small balls of hobby fill or stuffing into the head and neck area as you stitch down towards the front of the neck. This makes it much easier than trying to stuff it later.
Stitch around the remainder of the body, leaving a 5cm (2″) gap to fill the body with more stuffing. When your swan is full, stitch the gap closed. Be sure to hide your knot and the end of your thread on the inside of the felt swan. Add lots of stuffing for a firm and full swan. I used a little amount to create a soft swan.
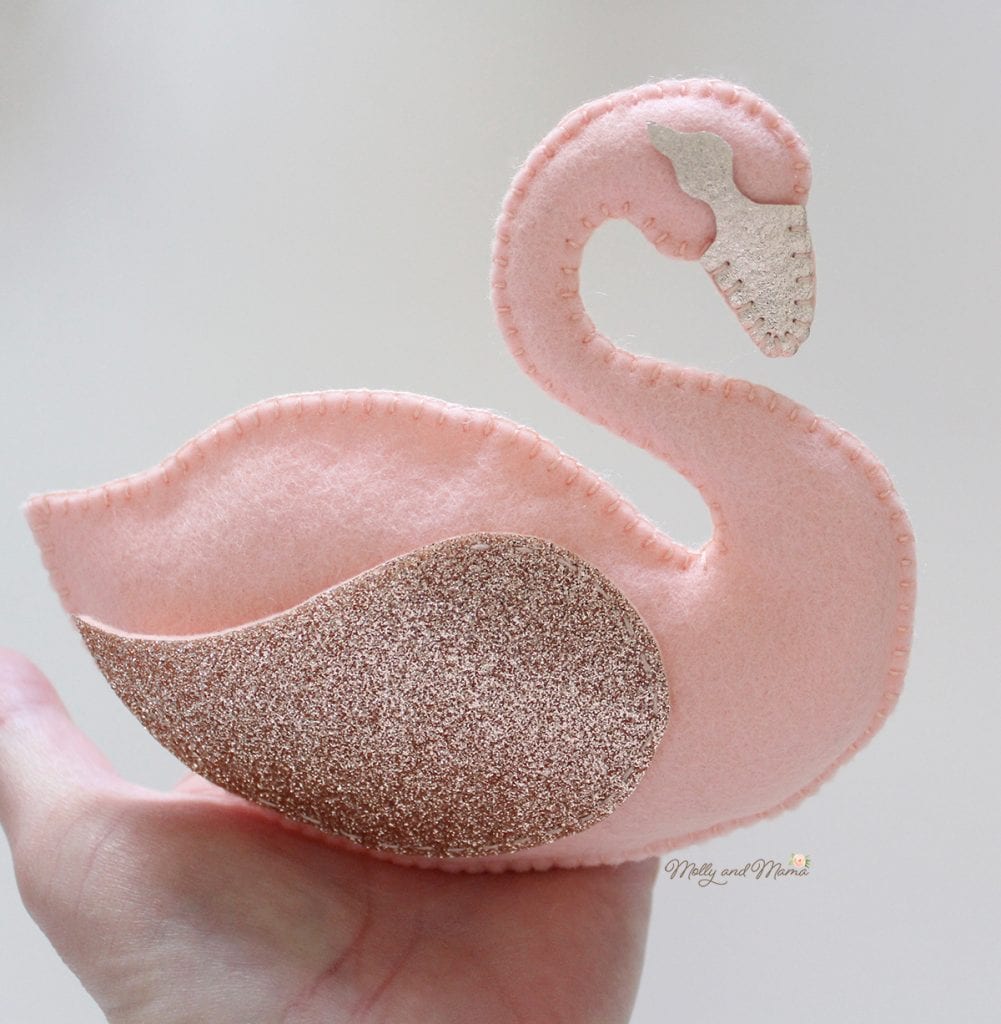
Isn’t she sweet? Thanks for joining me. Don’t forget to visit the Tutorials Tab for more great beginner’s projects.
Happy stitching, Lauren x
This post was written by Lauren Wright and appeared first on Molly and Mama www.MollyandMama.com.au

Your swan is beautiful!