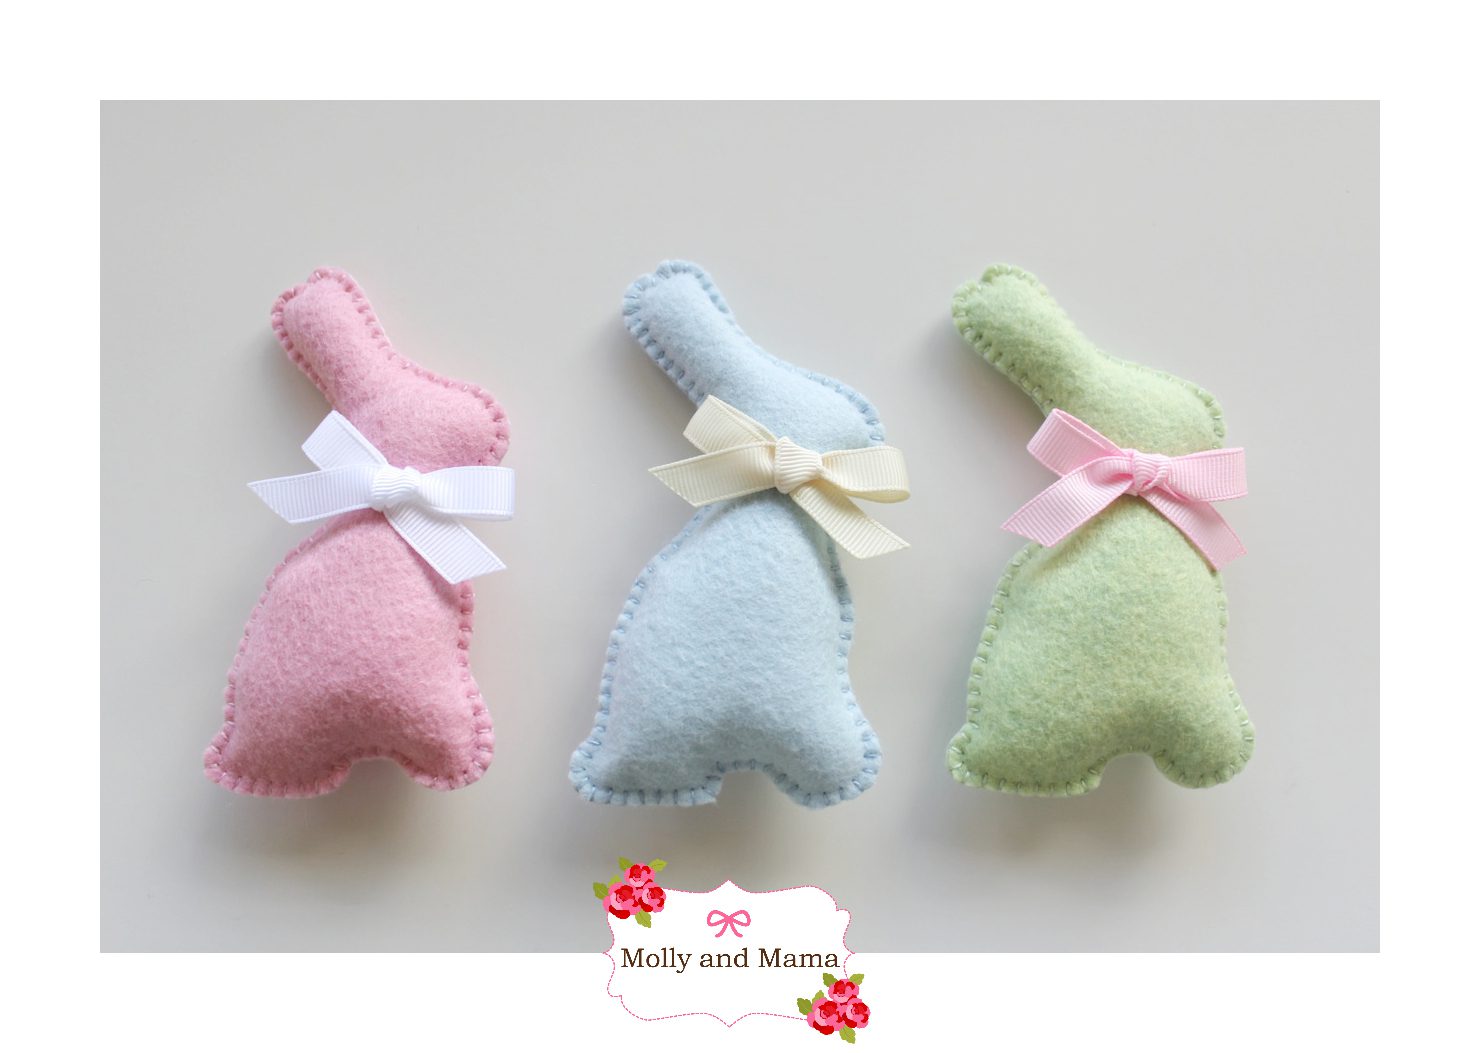
Make an Easy Felt Bunny
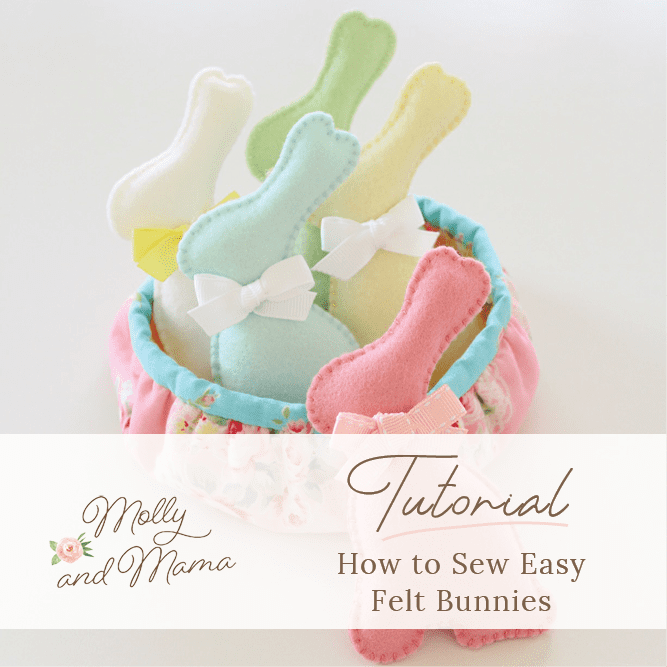
Would you like to whip up a super cute, easy, chocolate-free Easter treat? It’s so simple to stitch.
Download the template HERE and save it, so that you can print it whenever you like.
You will need;
– 15 1/2″ (14cm) x 7″ (18cm) piece of wool felt in your favourite colour (you can visit my blog post to learn all about the benefits of working with wool felt)
– a printed copy of the included ‘felt bunny’ template
– cotton embroidery thread in your choice of coordinating or contrasting colour
– an embroidery needle (I like milliner’s needles in size 10)
– wadding or stuffing
– sewing pins
– scissors
– 12″ (30cm) of narrow ribbon or trim
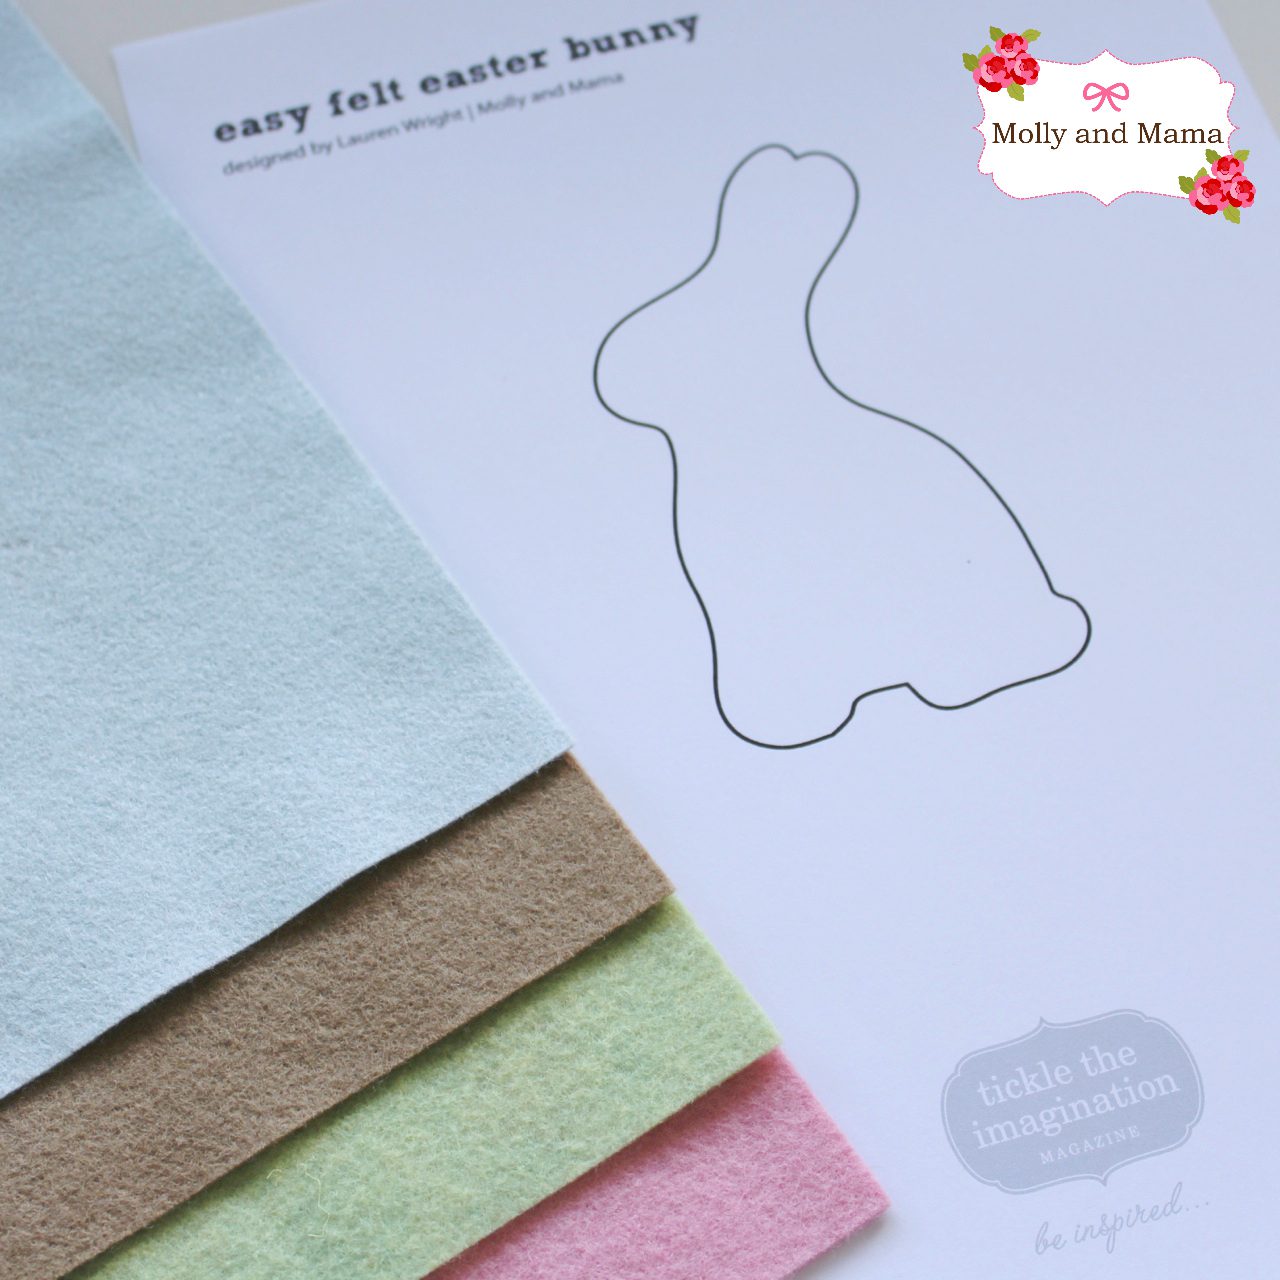
Step 1 – Cutting out your bunny
Use your favourite method to cut out two bunny shapes from felt. I describe my favourite techniques in my blog post; How to Transfer Templates to Felt. You can use freezer paper to get a very accurate shape, or use the simple method described below.
Cut out your printed bunny template following the black outline. Fold your piece of felt over and pin the bunny pattern in place (through both layers of felt).
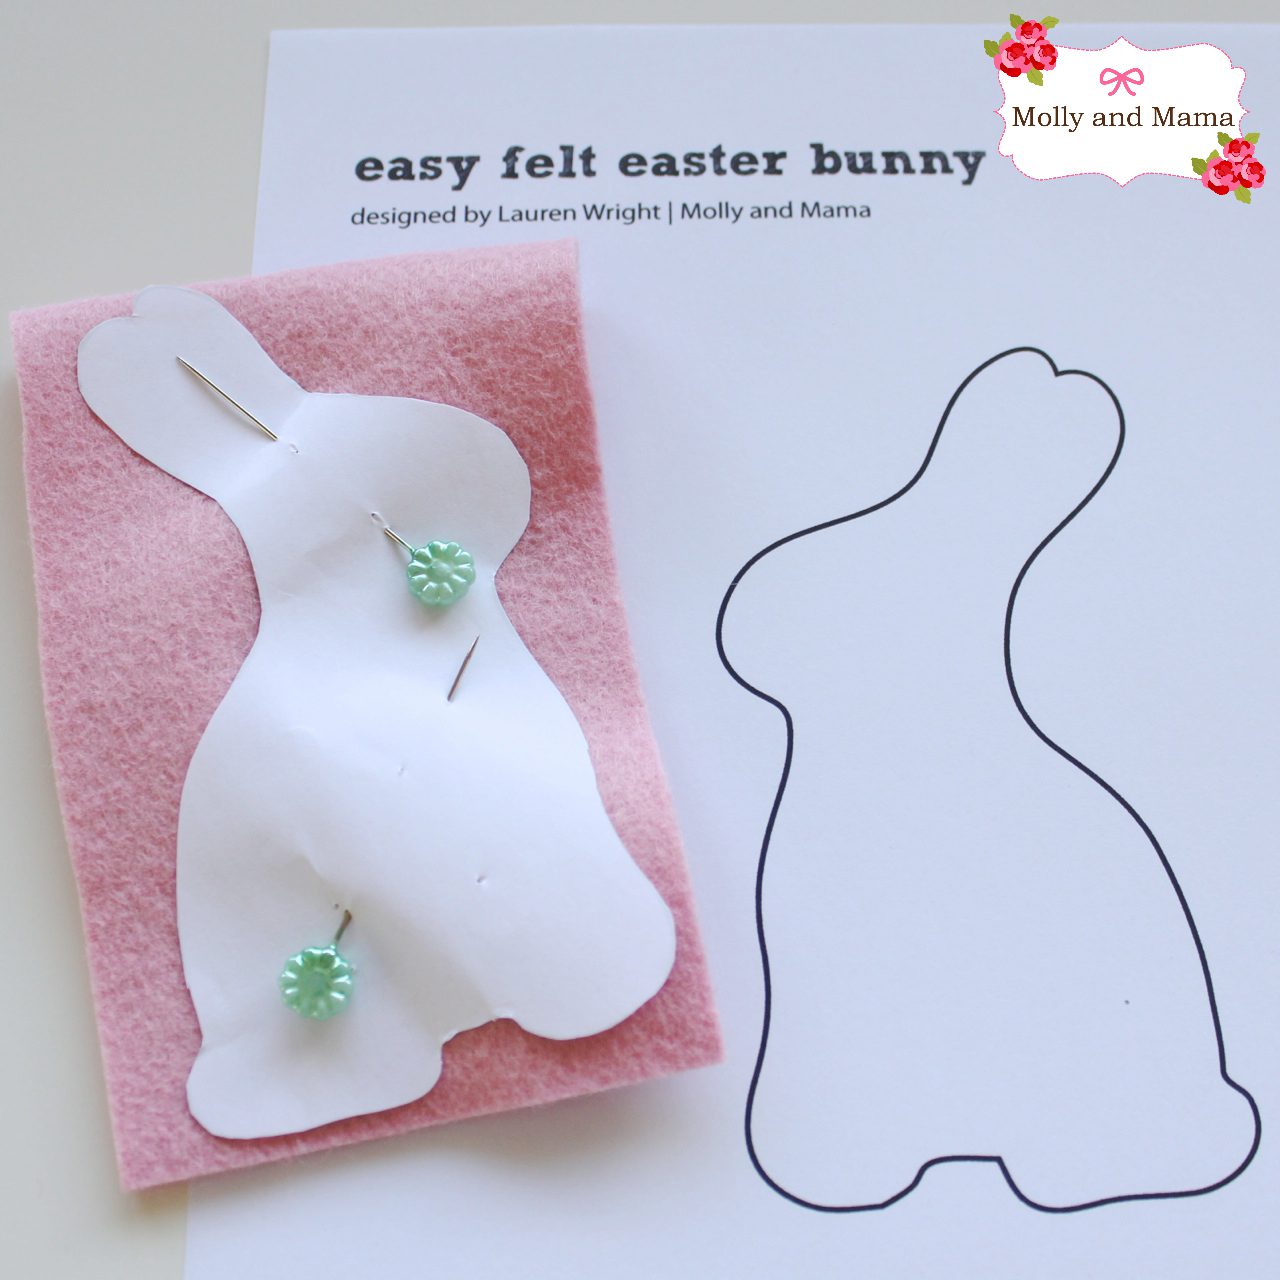
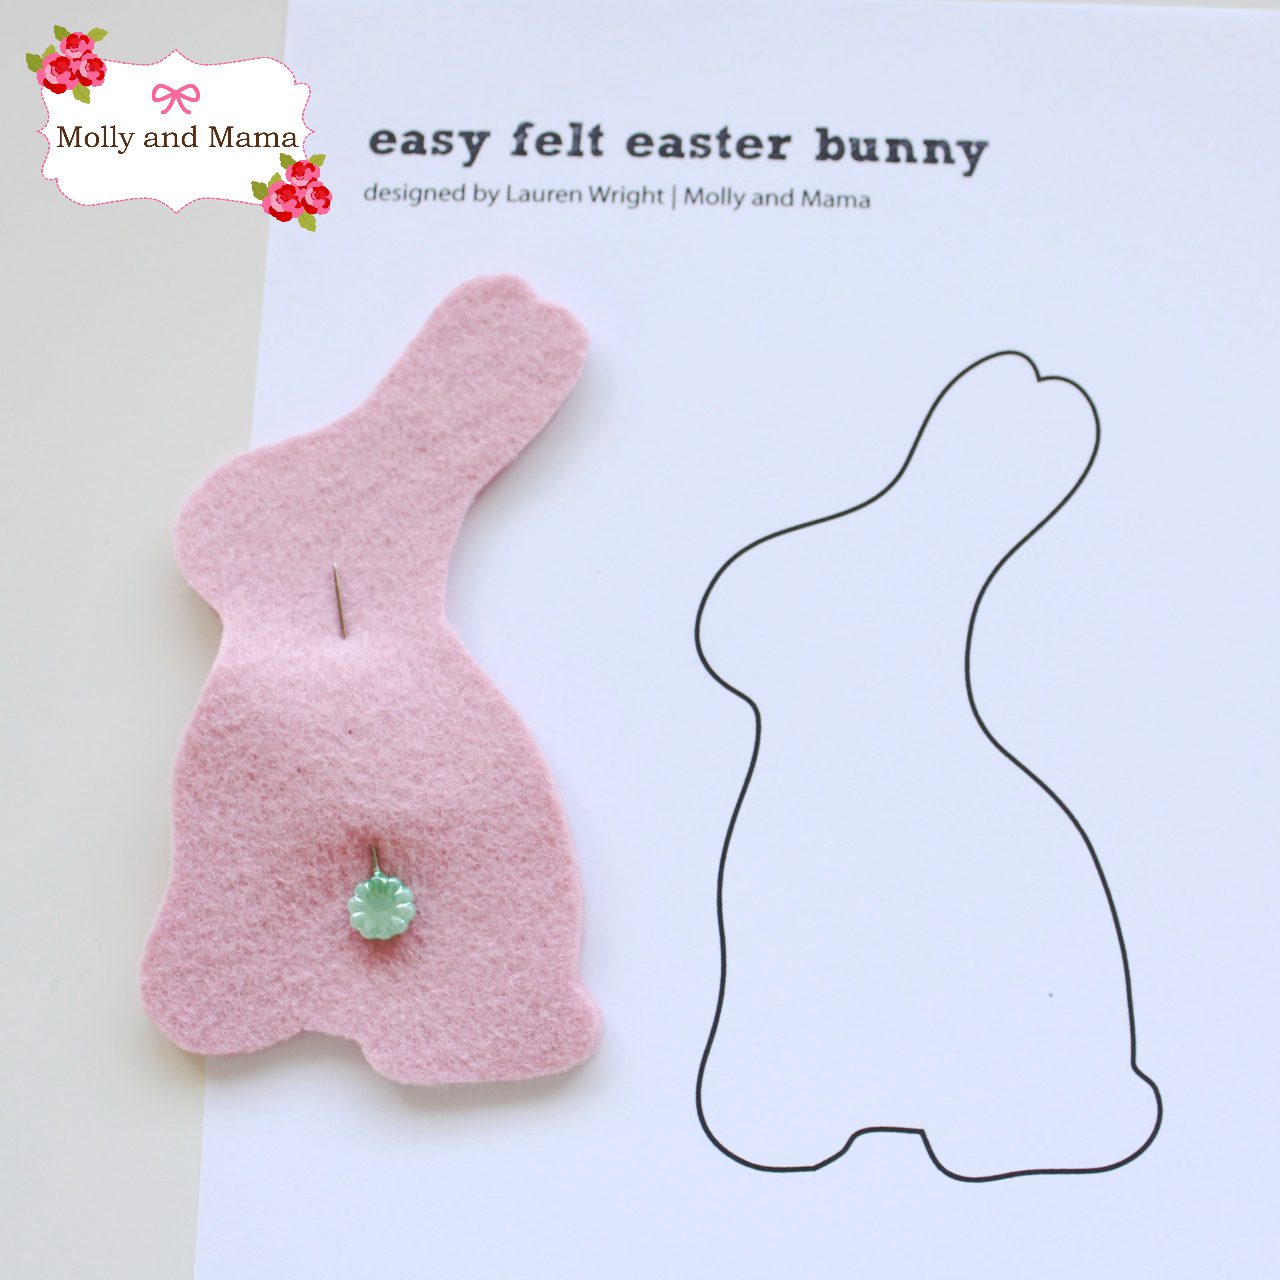
Cut carefully around the bunny template. Remove your template (and save for later) and pin your cut out bunny together.
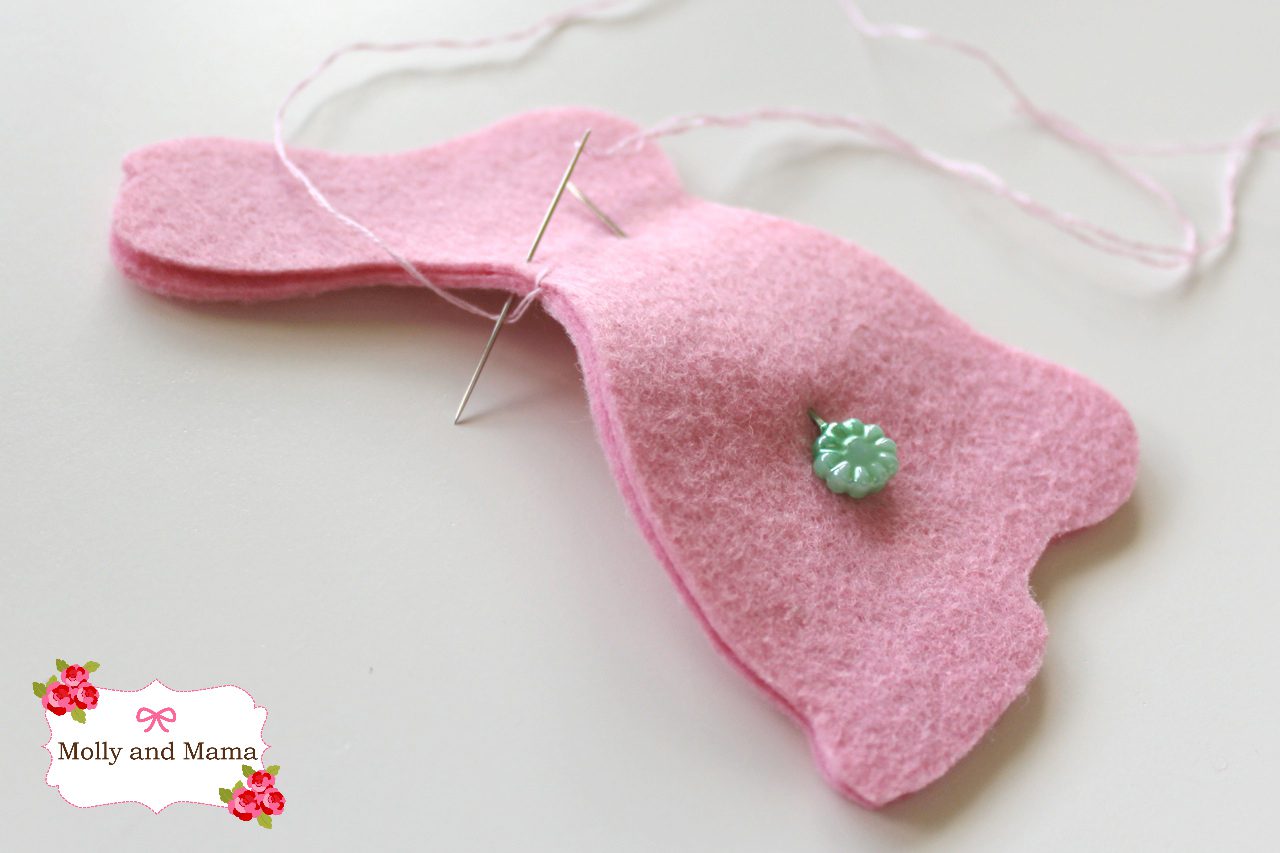
Step 2 – Stitching Time
Thread your needle with two strands of embroidery floss and secure the ends with a knot. Stitch around the outside of your bunny using the following guidelines; Start at the back of his head (so that any untidy stitching can be covered with the neck bow added at the end).
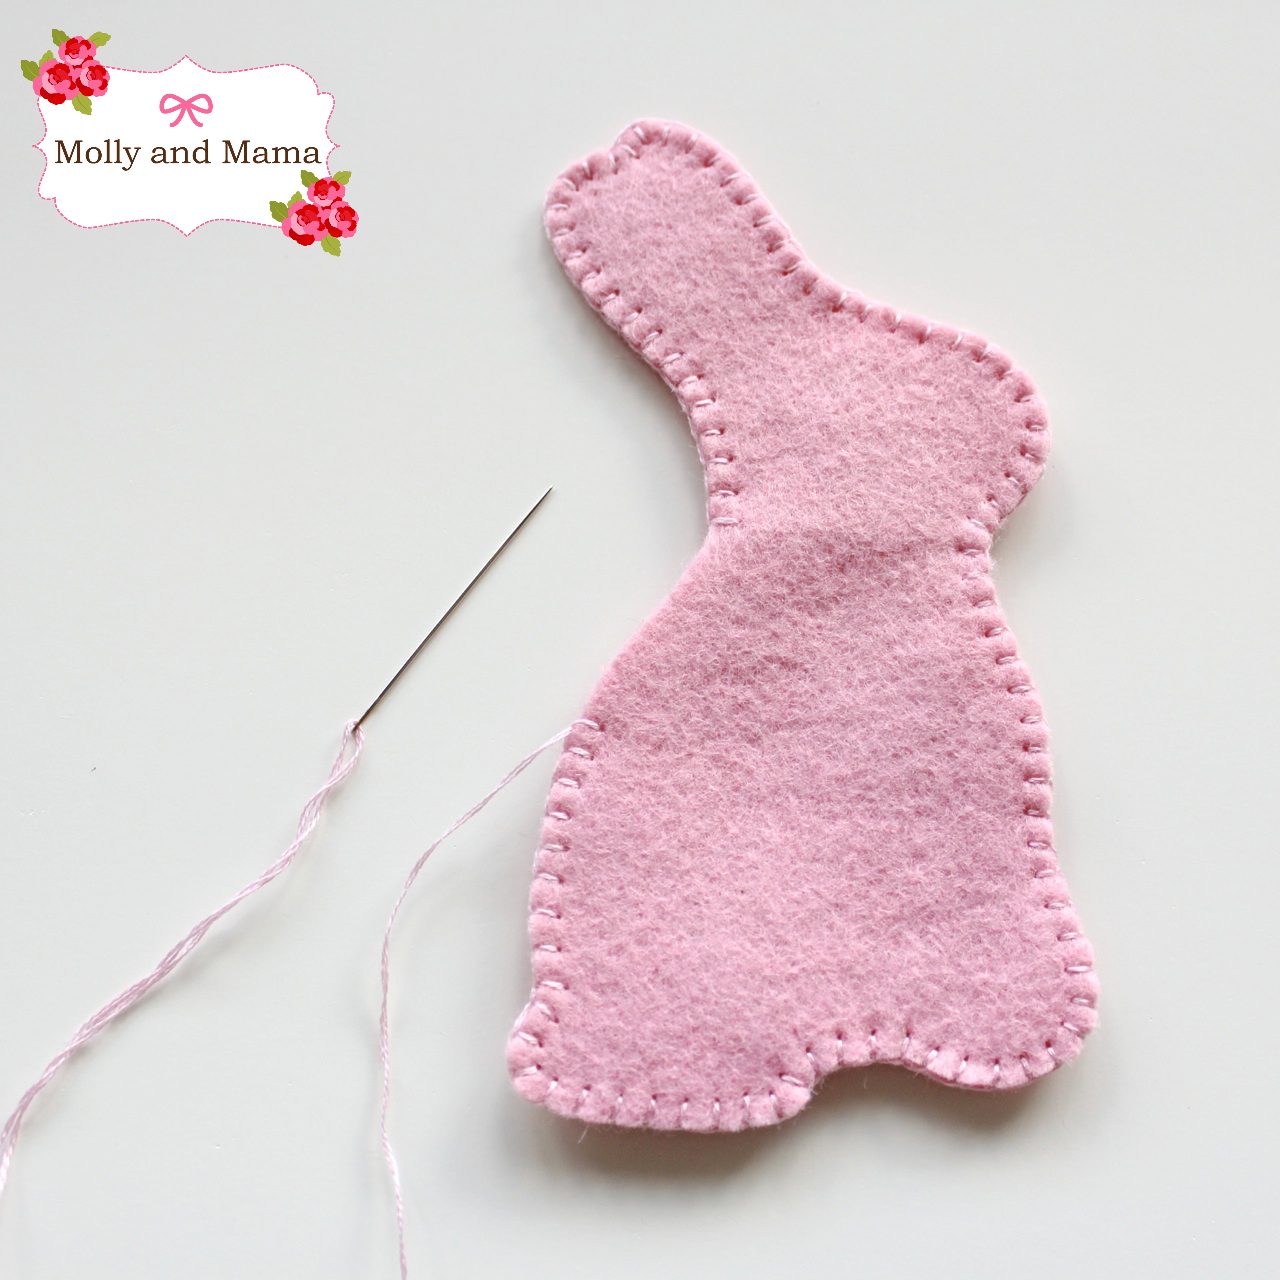
Use a ‘blanket stitch’ to keep the felt neat. However, if you are new to hand stitching, an ‘overcast’ or ‘whip’ stitch’ will work just as well. If you have a young one trying their hand at stitching, start with a ‘running stitch’.
TIP – If you need help here, please see my post on Embroidery Stitch Basics.
Depending on the length of your thread, you will probably need to re-thread your needle with more embroidery cotton, more than once. Make sure you hide the knot of the end of your floss inside the felt layers each time you start sewing with a new length of floss.
Stop stitching about an inch (or 2.5cm) before you meet up with where you began. Don’t finish off your stitch though, and make sure you leave the thread where it is, so you can finish off the stitching after you add the stuffing.
Step 3 – Stuffing the Bunny
Carefully and gently manoeuvre small pieces of stuffing inside the bunny. A chop stick or knitting needle is a great tool for this! Fill the ears and head first, then the feet and body.
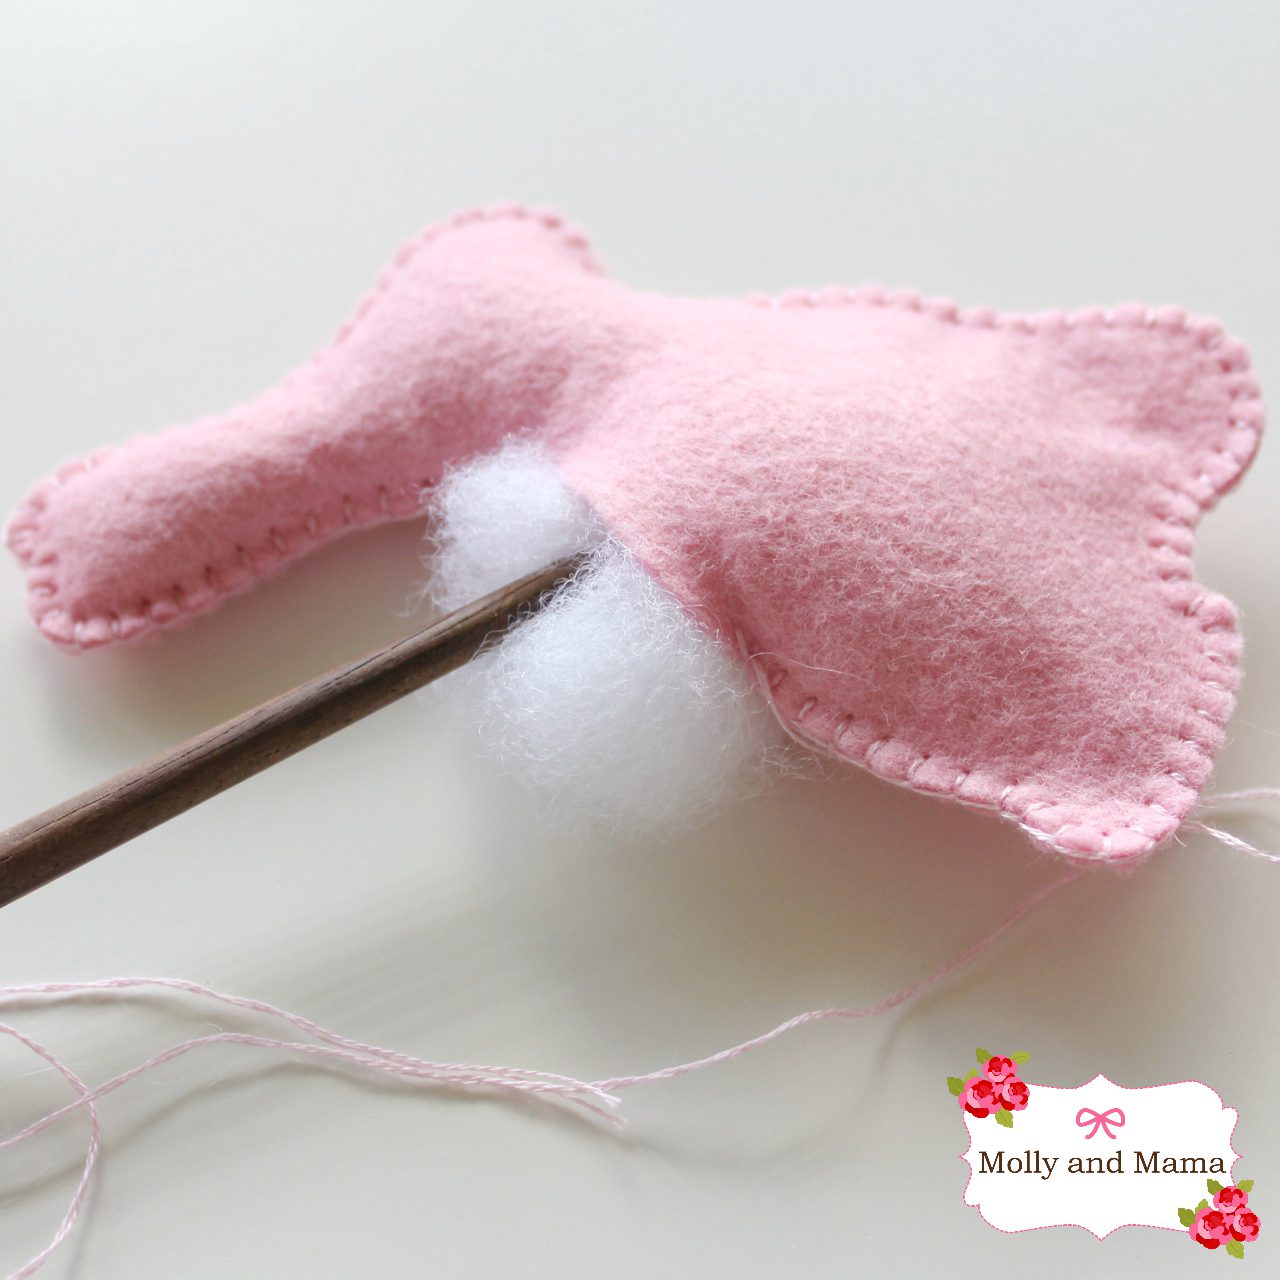
Add little pieces at a time until the bunny is evenly stuffed. Pick up your needle and thread again and continue to stitch the bunny closed, making sure you secure the stitching with a couple of extra stitches at the end. You should now have a lovely little stuffed bunny, or two, or three (if you’re loving them as much as me!).
Step 4 – Finishing Off
To finish off your bunny, tie a pretty bow around his neck. Trim the ribbon ends to the right length, once the bow is complete. It’s also a good idea to heat seal the ribbon ends so they don’t fray. You can do this by carefully running the small flame from a cigarette lighter across the cut end. It will melt and seal the ends to stop them fraying. This is obviously a step for adults only!
If being used by small children, it’s best to secure the tied bow with some strong stitches to prevent the ribbon being removed during play. Now your little bunny is all ready for Easter!
Here’s a Tip!
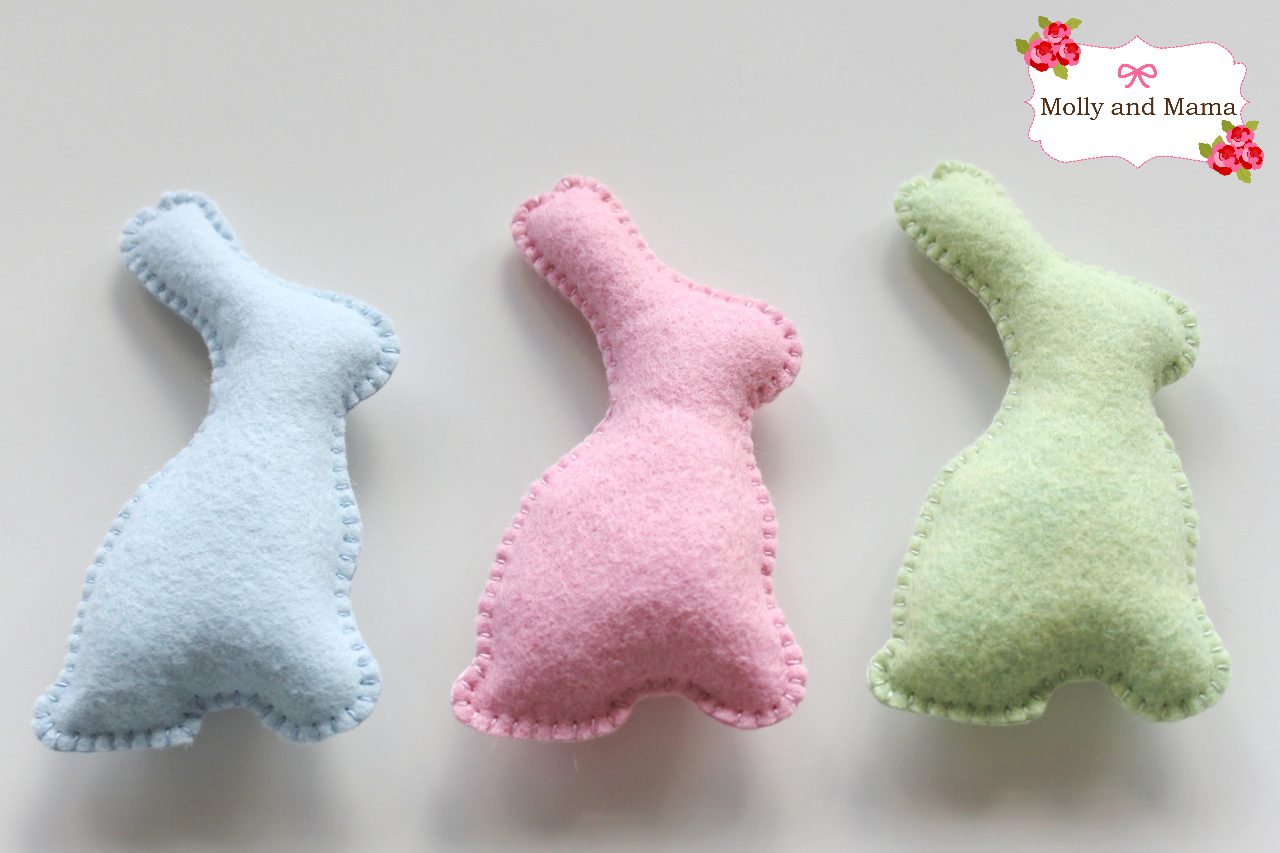
Enlarge the pattern to create a range of bunnies in different sizes. Use different colours of felt, thread and bows in coordinating tones. Perfect for creating an Easter centrepiece!
You can also personalise your bunnies by adding names, initials or other embroidery details. I show you how in this blog post.
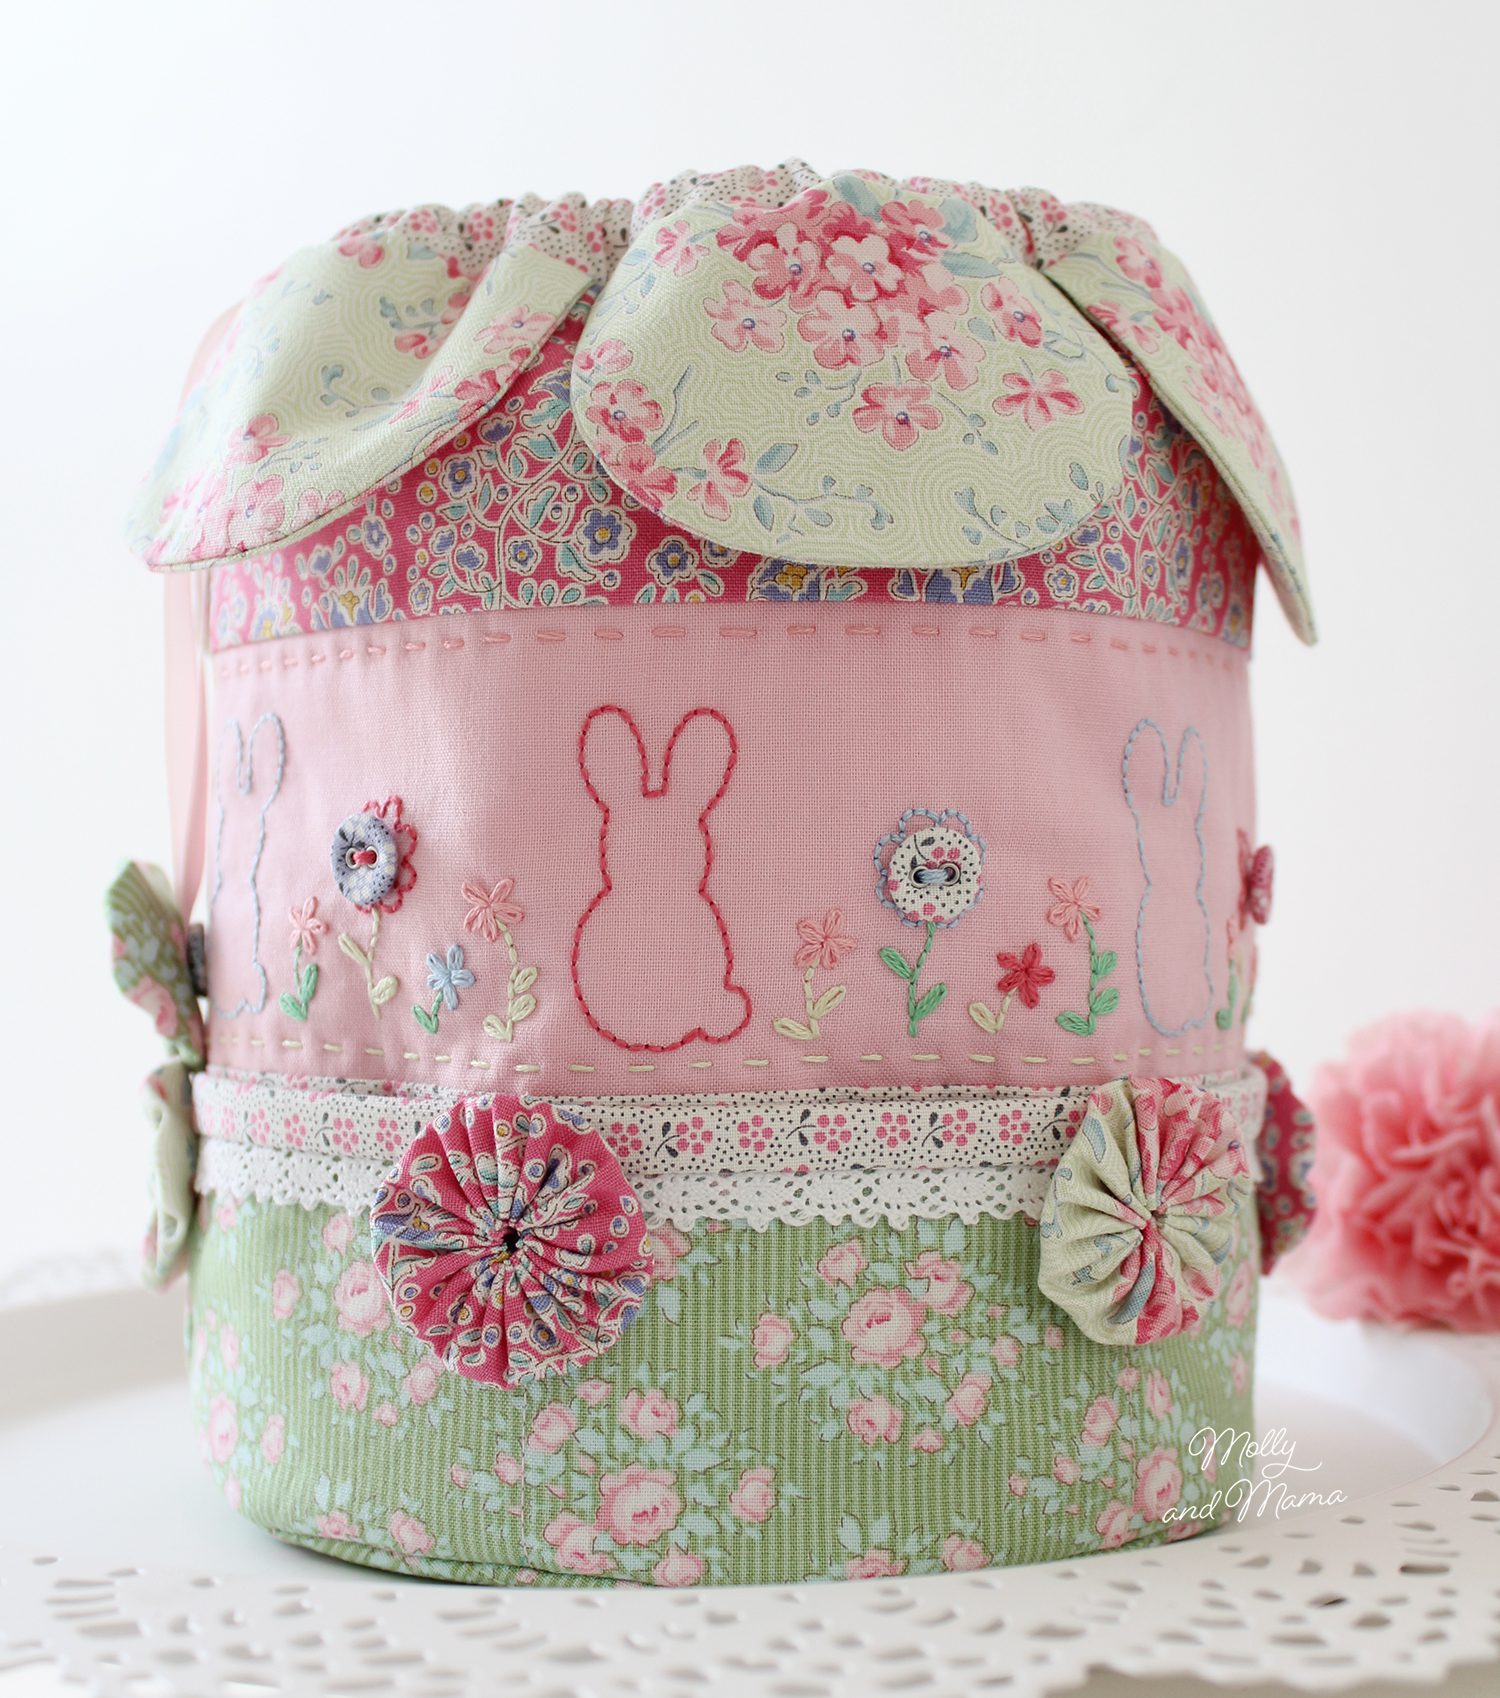
I made the fabric basket using this tutorial from A Spoonful of Sugar.
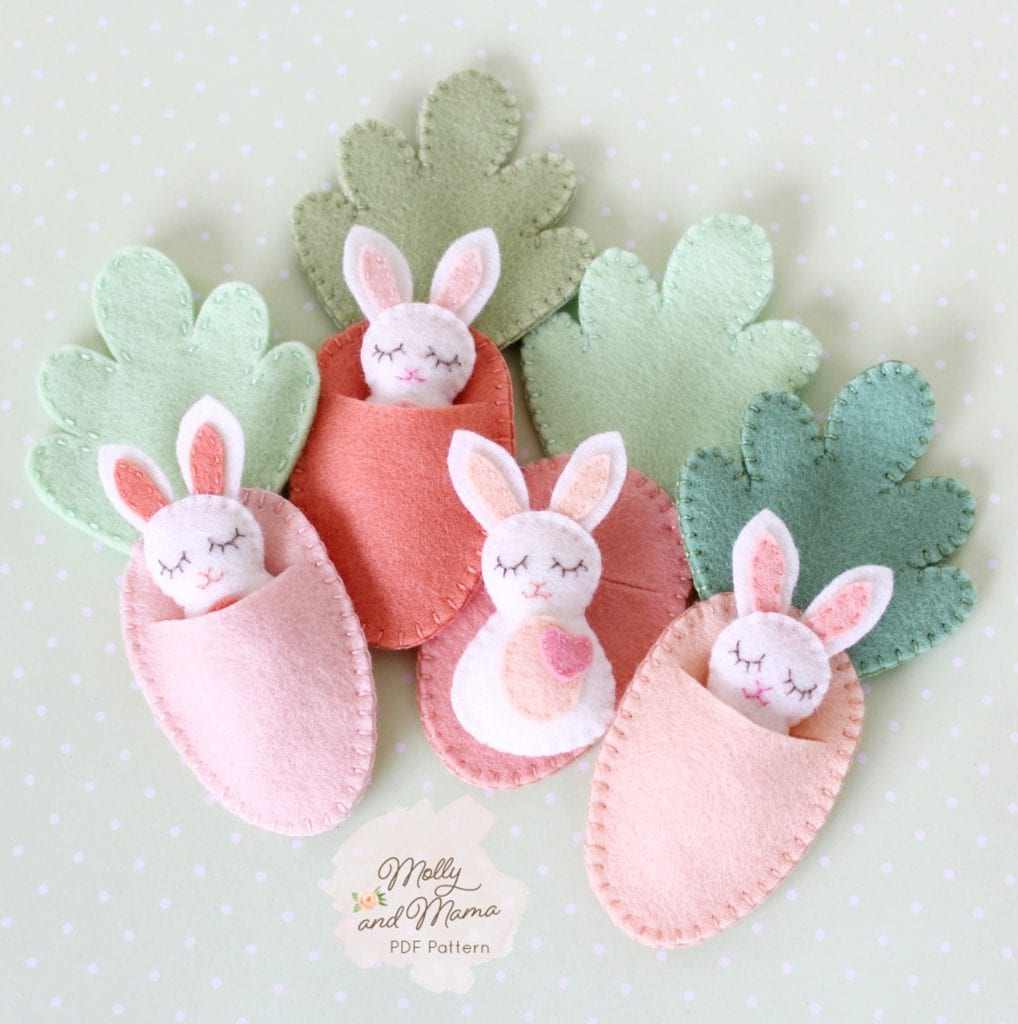
If you liked stitching these bunnies, you might also like the other Easter patterns in my store. The Bitty Bunnies has always been a popular one. They’re teeny tiny bunnies that live in their own cute carrot sleeping bags!
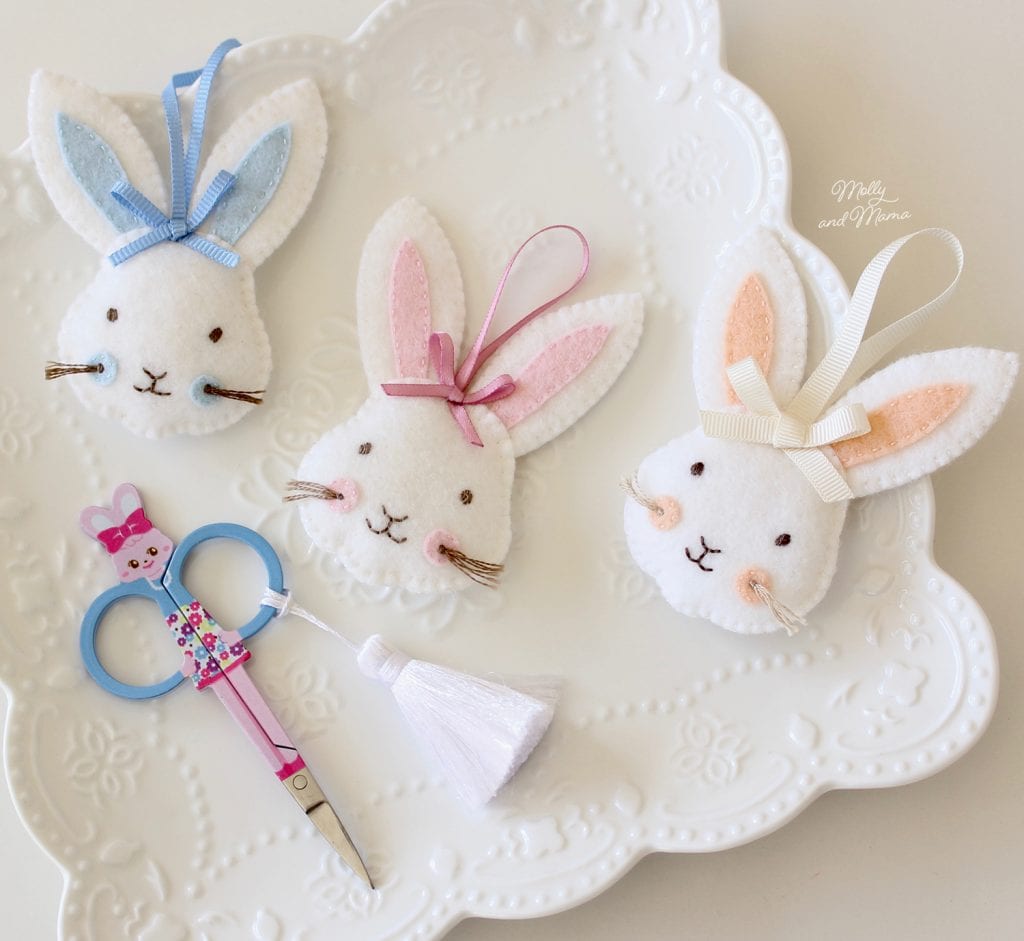
And the Rosie Rabbit Ornaments look terrific on the Easter Tree. You can make them in any colour you choose!
I hope you’ve enjoyed this tutorial and have learnt some tips and tricks along the way. You can also see my other free tutorials HERE.
Thanks for being here and happy stitching, Lauren x
This post was written by Lauren Wright and appeared first on Molly and Mama https://www.mollyandmama.com.au
These are so sweet!
Thanks so much! They’re so easy to make too!
Cute!! I love all your bunnies this month 🙂
Thank you Meriel. Bunnies are a favourite around here too!
I love these! I just printed out the pattern and will definitely stitch one up 🙂
I’d love to see one when you do! Happy stitching!
Very cute – pinning it for later!
I love adding ideas to my Pinterest boards too. A great way to organise all those great projects we want to try!
Adorable! This would be a great kids sewing project, too.
It sure would. Such a great beginners project!
I’m printing this out now to try with my daughter! Thank you for the lovely tutorial.
You’re so welcome! Happy stitching!
AMEI os trabalhos, cada um mais lindo do que o outro!!! Parabéns!
I’m glad you liked them. Thank you!
thanks for this 🙂 i used it to make a bunny for a gift and i shared this on my blog hope it’s ok 🙂
It’s so cute Adri. Thanks for sharing!
I love these so much..
Thank you..
Nita
Thanks for your kind words!
Love the little bunny. Thanks for sharing the tutorial.
Thank you Elizabeth. I am glad you like it!
Thank you for sharing! This are so adorable and I cannot wait to make with my kids:)
I made a whole basket full of pastel felt bunnies. So much fun and easy.
I purchased dark brown felt . And made a few chocolate bunnies also.
They are my favorite so far.
Great idea. Gave them as gifts. Everyone enjoyed homemade bunnies.
They sound absolutely gorgeous! Thanks for sharing x
Hi Lauren,
more as only cute, add it on my Easter deco pinterest side. Could you say me, how I can make the basket with fabric?
Hi Barbara, there’s a link to the basket tutorial in the post.
Great pattern they worked up so cute. It was a last minute add on when I seen your post on Instagram. Thank you for sharing.
Lovely news Ruth. Glad you enjoyed it!
Thank you! These are so easy to make! We had to do a mini project for FACS and I thought, “Why not make a bunny for my little cousin.” For the project, we had to have 2 different stitches on our projects, so I added little whiskers on the sides! It looks ADORABLE!
That sounds adorable Kenzie. I’m so happy you’ve had fun sewing your bunny.
I made this bunny and it is so cute! It is also super simple and perfect for little Easter presents! I love all your little free patterns that correspond with the time of year!
Thank you so much Tess. I am so glad they have been helpful to you!
So cute! I’ve included a link to this tutorial in a new Beginner Bunny Patterns post on Crafts on Display. Thanks for making such an approachable and fun pattern available for free! https://craftsondisplay.com/sewing/free-bunny-patterns-231067/
Thank you for the feature Violeta!