Week 6 – Forest Family Quilt Along

Hello!
It’s lovely that you could join us for Week 6 of the Forest Family Quilt Along. Have you been sewing along? Head to the Quilt Along Welcome post to find content for the previous weeks. You can purchase the PDF pattern and find links to paper pattern stockists too.
This week we’re assembling the quilt top. There are nine face blocks to sew together and four borders to attach. Be sure to follow all the instructions in the pattern for the assembly.
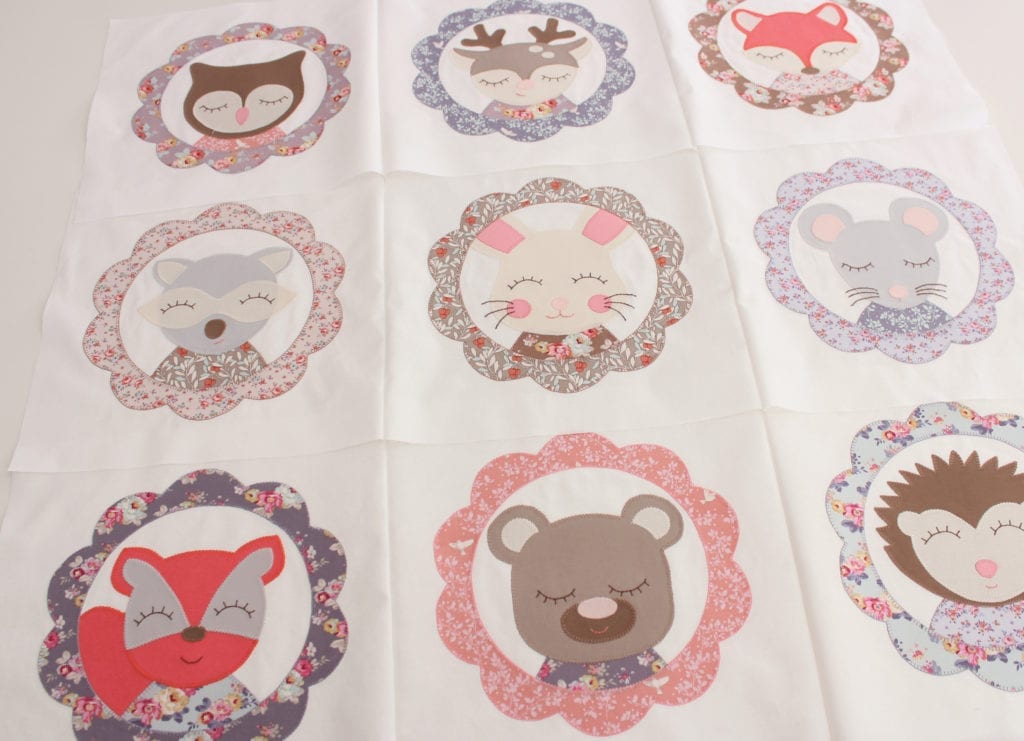
Trim The Blocks
The first step will be to trim down the blocks to the required size (as listed in the pattern). I find that it’s essential to use a clear acrylic patchwork ruler and self healing mat with your rotary cutter to ensure accuracy for this step.
Trim the bottom of each block first, measuring 1.5″ from the bottom of the lowest point on the scallop. Then trim the top so that the block is the required height. Use the animal’s face as a guide for finding the centre of the design and trim the blocks equally on the left and right sides, so that each block is square.
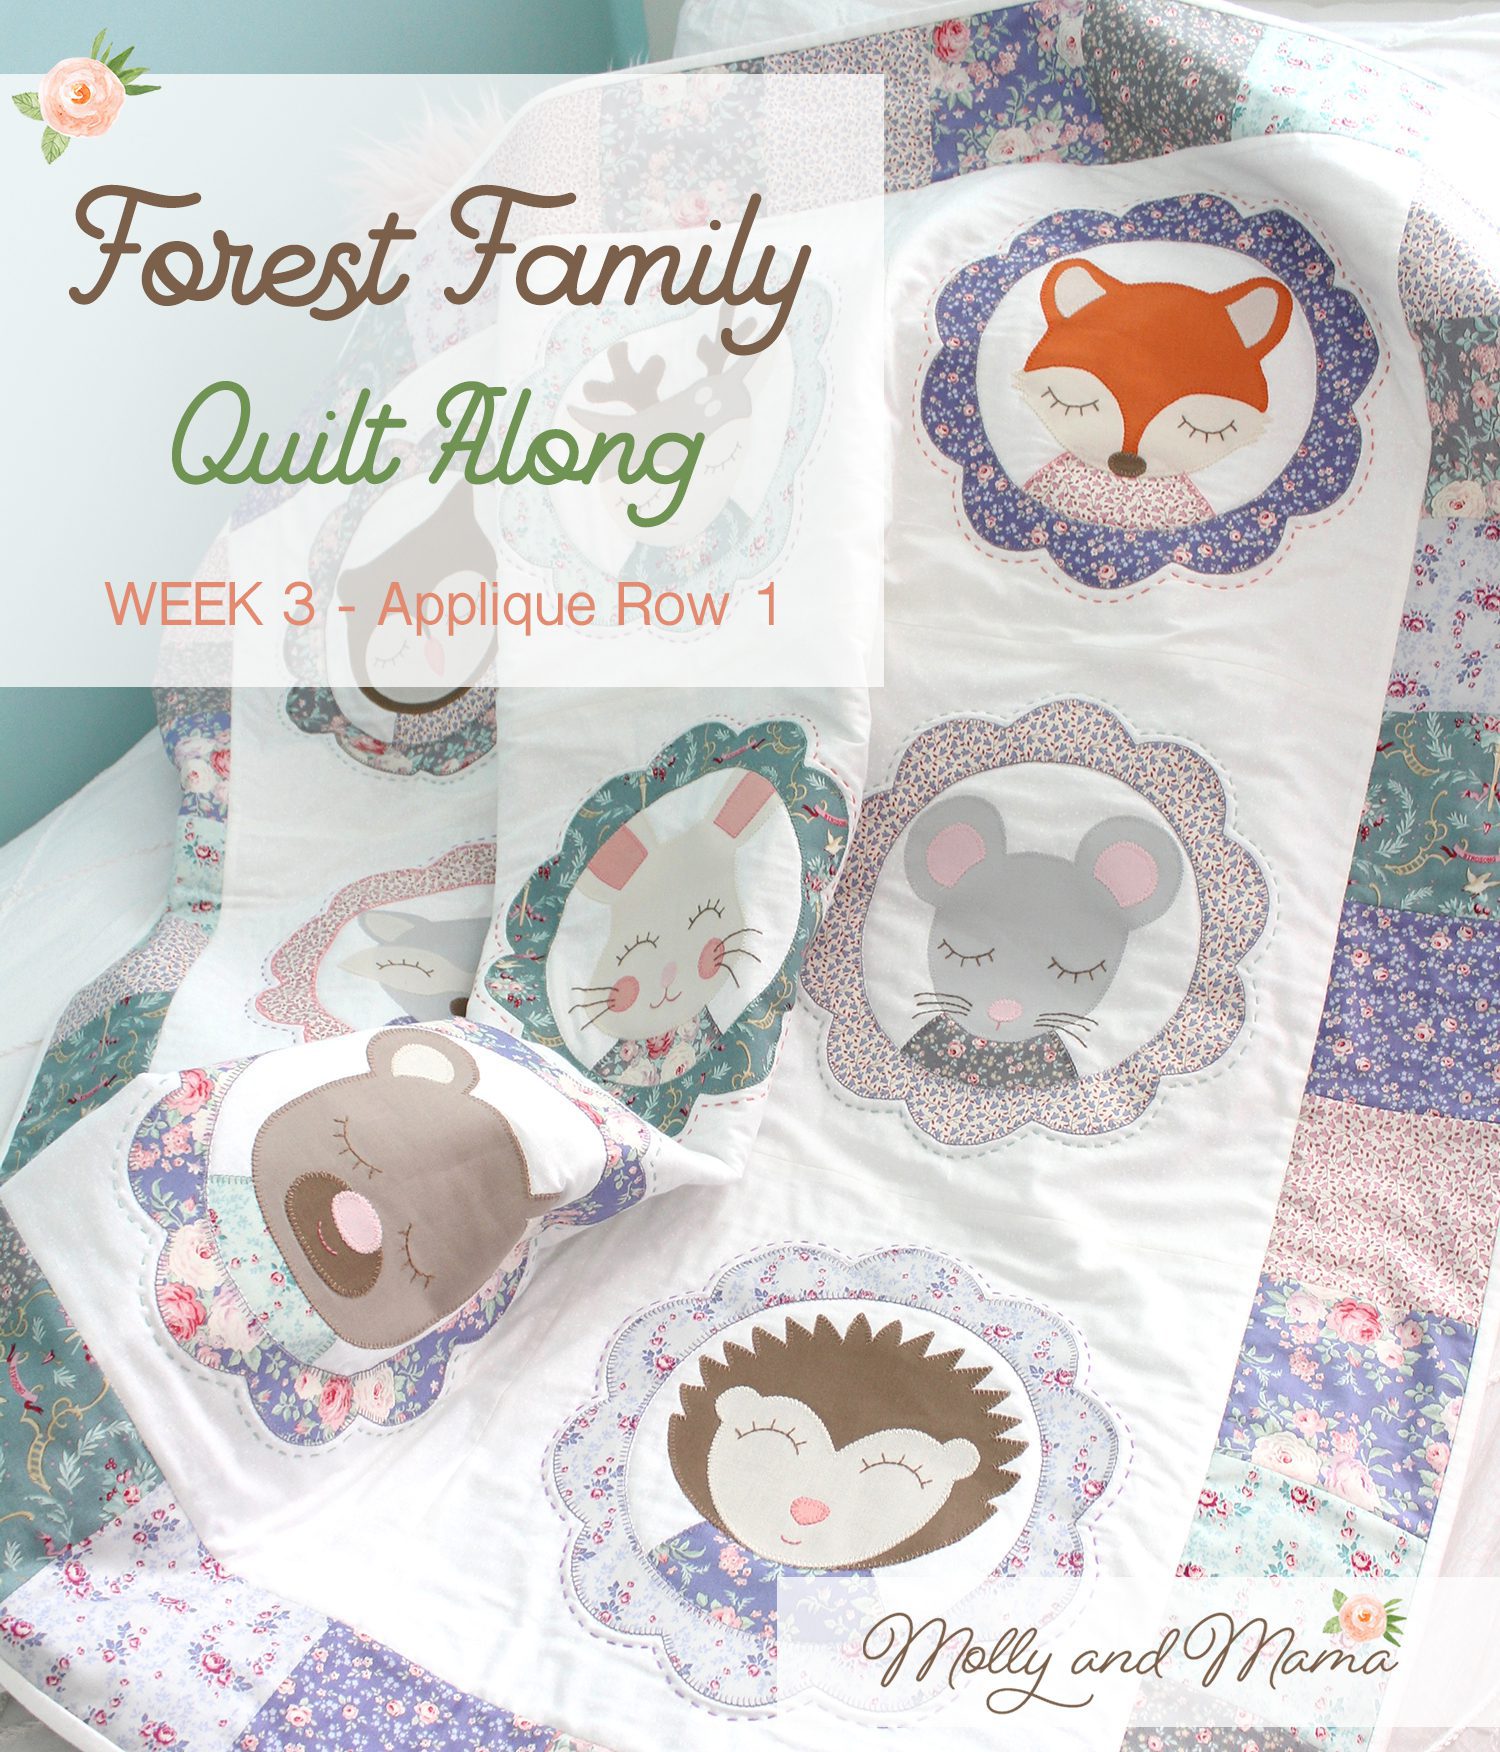
Sewing the appliqué blocks together is very straight forward. Each row is sewn first, before the three rows are stitched together.
When sewing the rows together, line up the seams between the blocks first, instead of lining up the fabric edges at the top. Then pin, pin, pin! This will help ensure that the seams all line up nicely. Press all seams open and ensure they remain open when stitching the three rows together.
Assemble The Quilt Borders
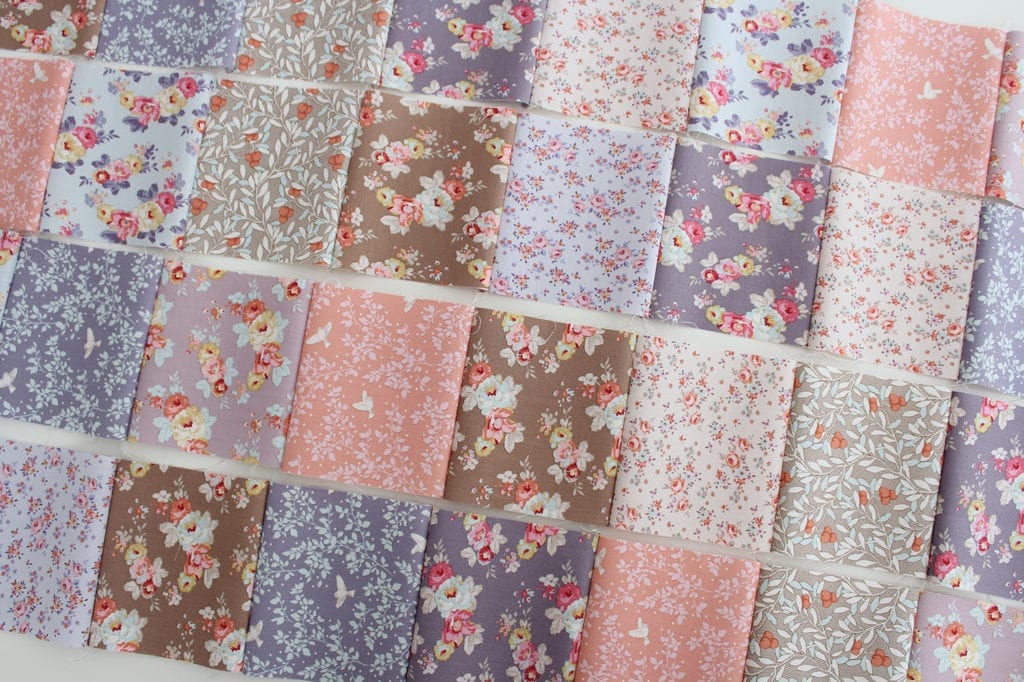
To decide on the layout for the borders, I placed my assembled appliqué blocks onto a clean surface and then arranged the border squares around the edges. I played around with the layout until I was happy that there was an even balance of colours and print sizes on each side.
Once the arrangement looked good, I took a photograph to refer to as I stitched the borders together. This was especially important for the left and right borders as I had to ensure all the directional prints remained upright during sewing. I must confess that my seam ripper did make an appearance!
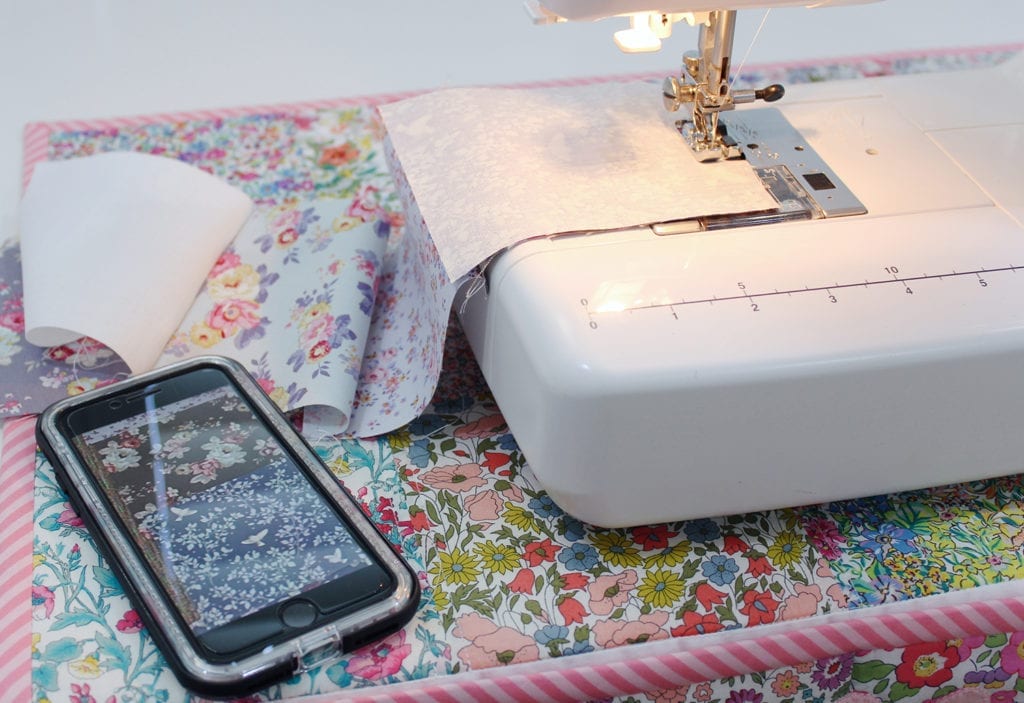
Here’s a preview of the completed borders, ready to be attached. The top two borders represent the top and bottom of the quilt. The bottom two borders are for the left and right sides (you can tell because the fabric appears to be sideways).
Sewing It Altogether
All that’s left is to attach the borders and press open those seams. Again I was careful to line up the seam lines between the borders and the blocks. Spending a little bit of time on this ensures a really neat finish. However, keep in mind that if seams don’t meet perfectly, it’s really not a huge deal. Once everything comes together and the quilt is quilted, it’s not something that will stand out dramatically. So take care, but be easy on yourself too.

Here’s the completed quilt top!

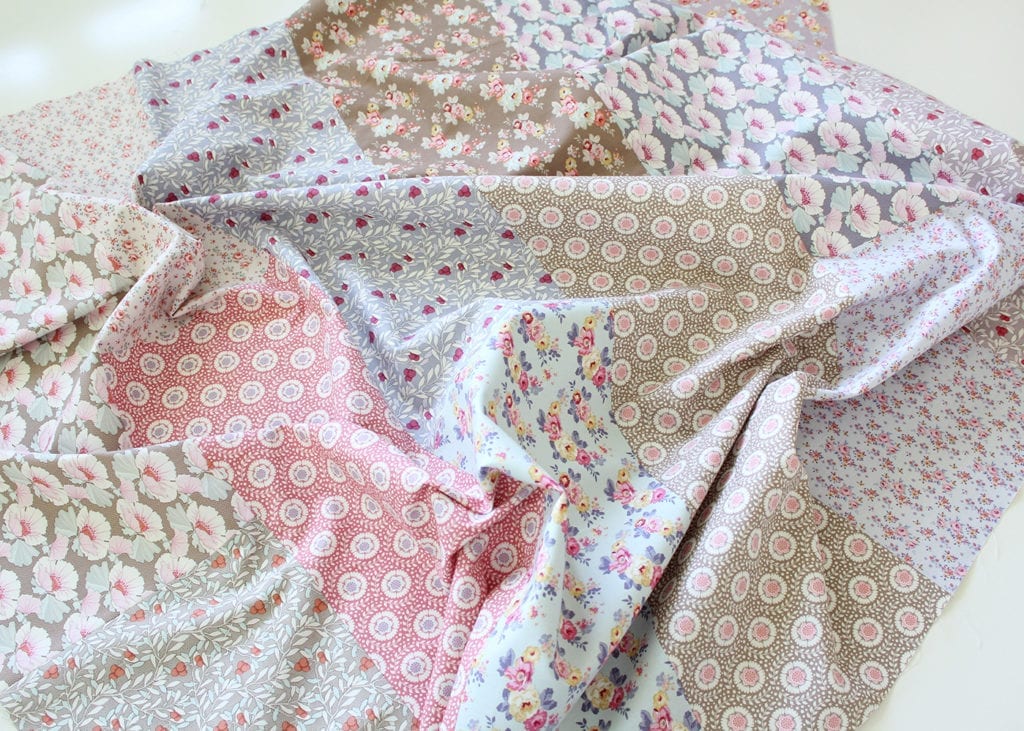
Next week we’ll talk about quilting when we assemble the quilt sandwich. However, to be ready for that next stage I decided to assemble a quilt back as I had some leftover fabric from the Tilda Maple Farm range. I just cut six panels (20″ x 9″) and six panels (30″ x 9″) and staggered their layout. This created an overly large quilt back that was perfect for my quilter to have some extra room to move! Even with such a scrappy layout, I love the overall effect!
Have you been keeping up with the Quilt Along timeline? I tried to make sure it wasn’t too intensive so that the stages of construction are easy to achieve each week. I can’t wait to see your progress, so be sure to send me an email or tag me on Instagram, using the #ForestFamilyQAL hashtag. I’m loving the progress I am seeing!
Happy stitching this week, Lauren x