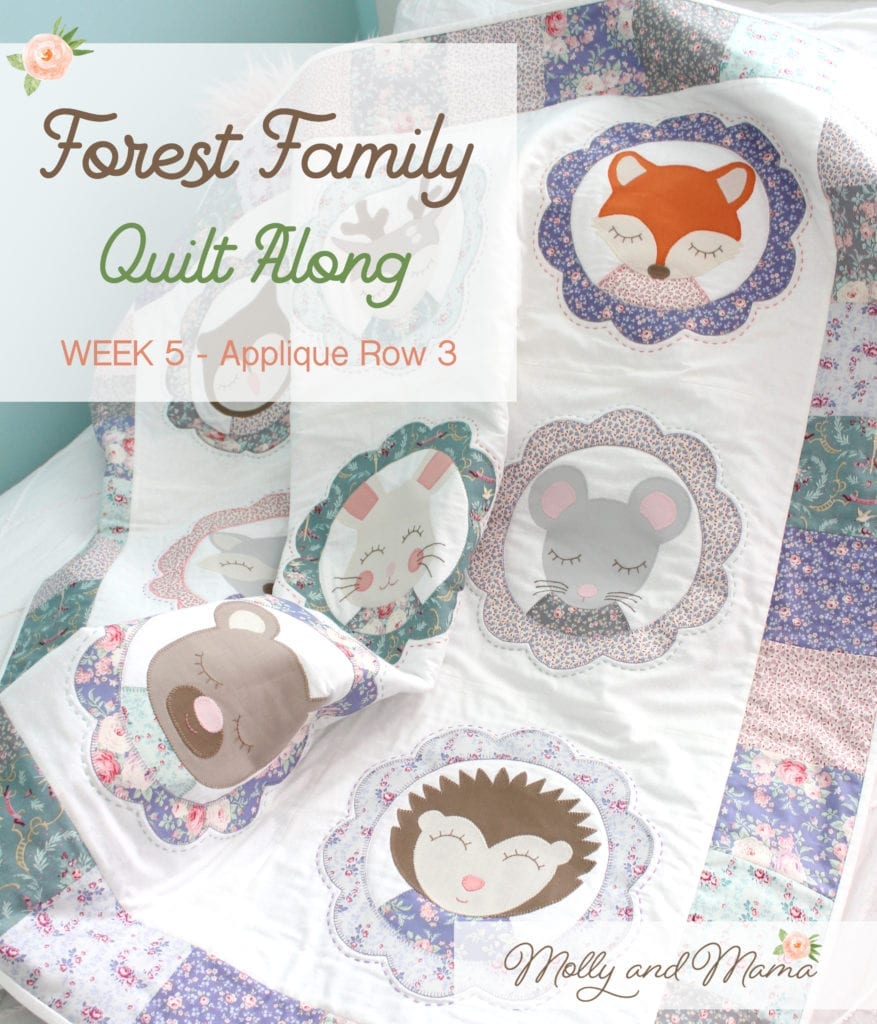
Week 5 – Forest Family Quilt Along
Welcome
Welcome to Week 5 of the Forest Family Quilt Along! If you have missed any of the previous content, head to the Quilt Along Welcome post. You can purchase the PDF pattern and find links to paper pattern stockists too.
In the last two weeks we have sewn the first six blocks of the quilt, which form row one and two. Here’s a little collage of those completed blocks.
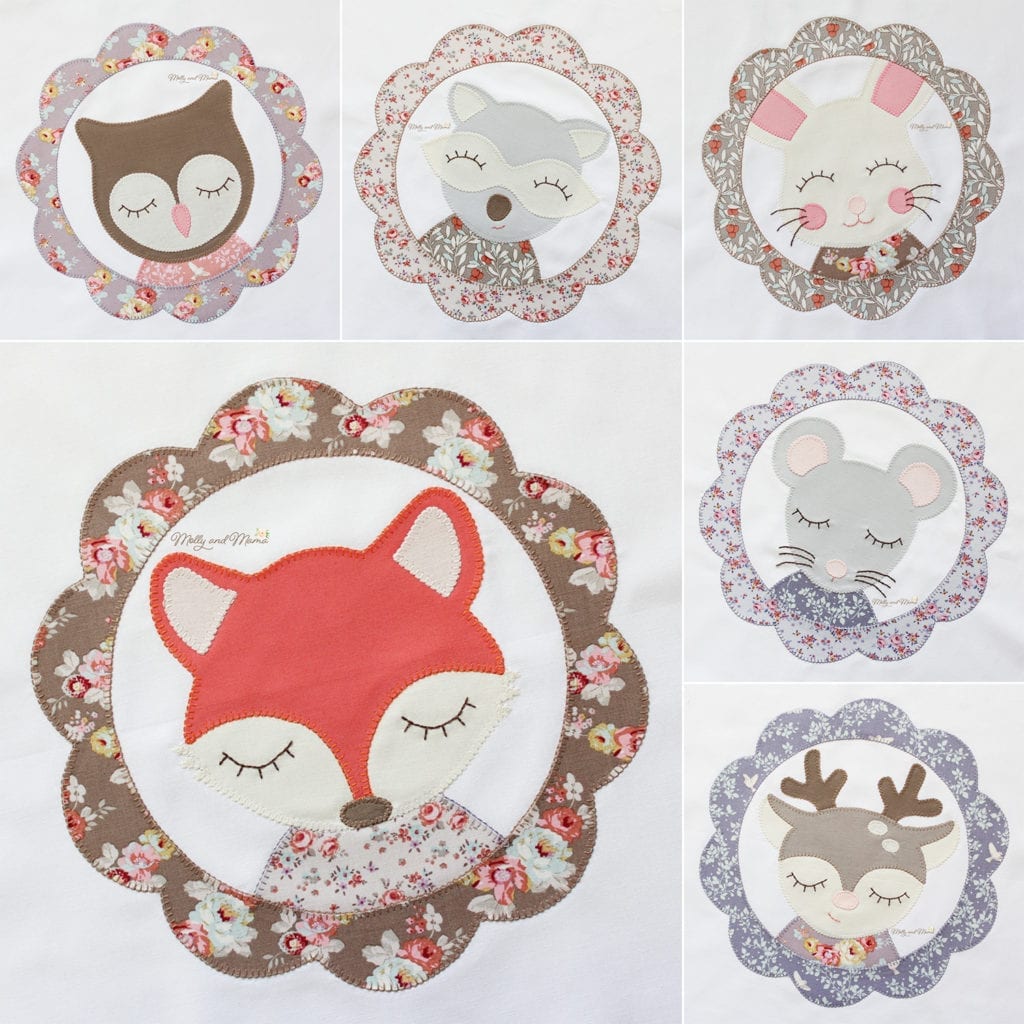
This week we’re working on the Squirrel, the Bear and the Hedgehog. The construction and appliqué process is the same as the last two weeks, but be sure to read over the pattern again if you need to, especially for the squirrel.
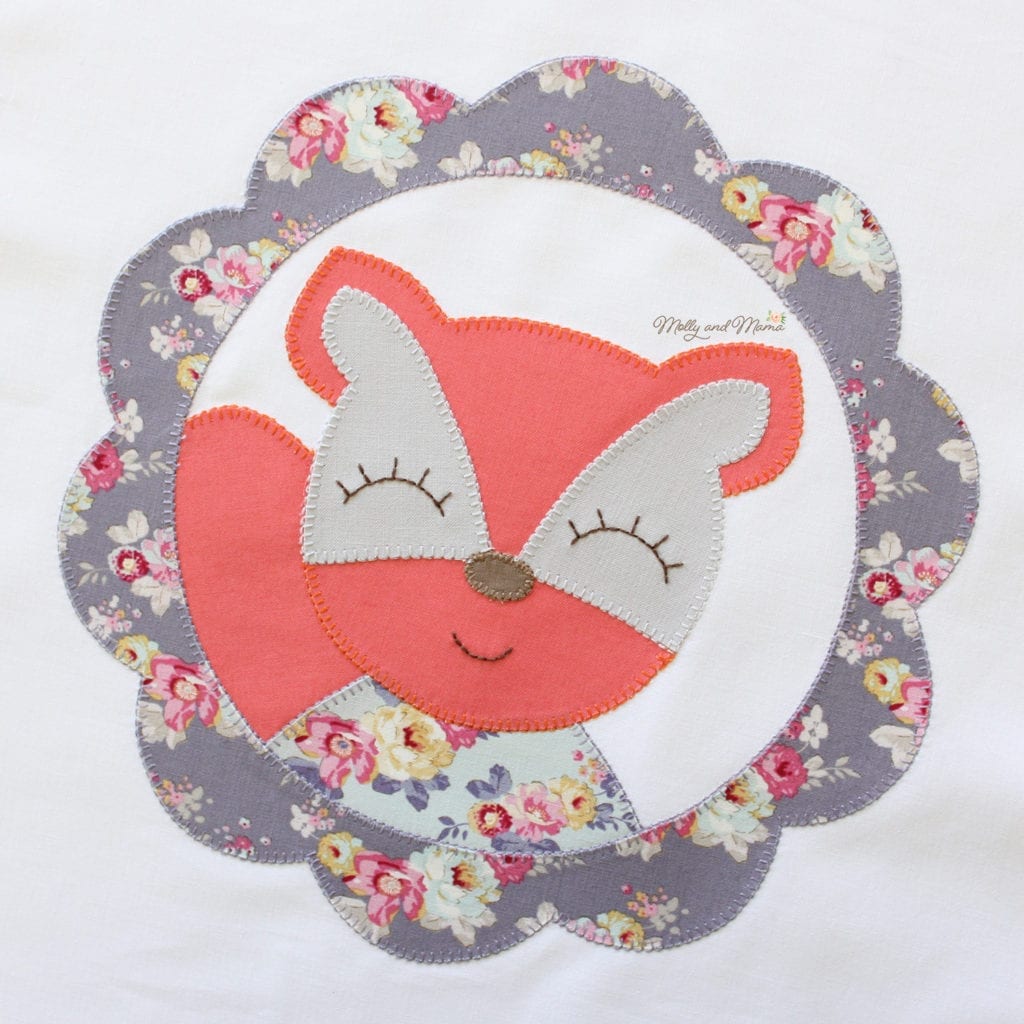
Tips For Mr Squirrel
Take your time placing all of the appliqué shapes for Mr Squirrel before setting them with the iron, to ensure they’re correctly positioned. That tail makes things a little more tricky as it needs to be tucked under the face, torso and scalloped frame! To make it easier, you could leave off the eye patches and nose, and only iron them in place once all the other pieces are secure.
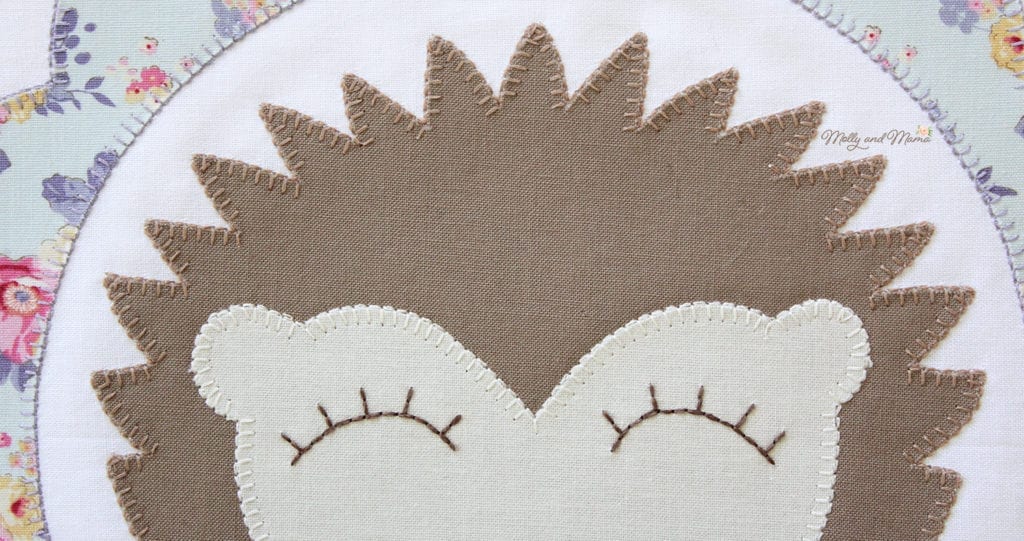
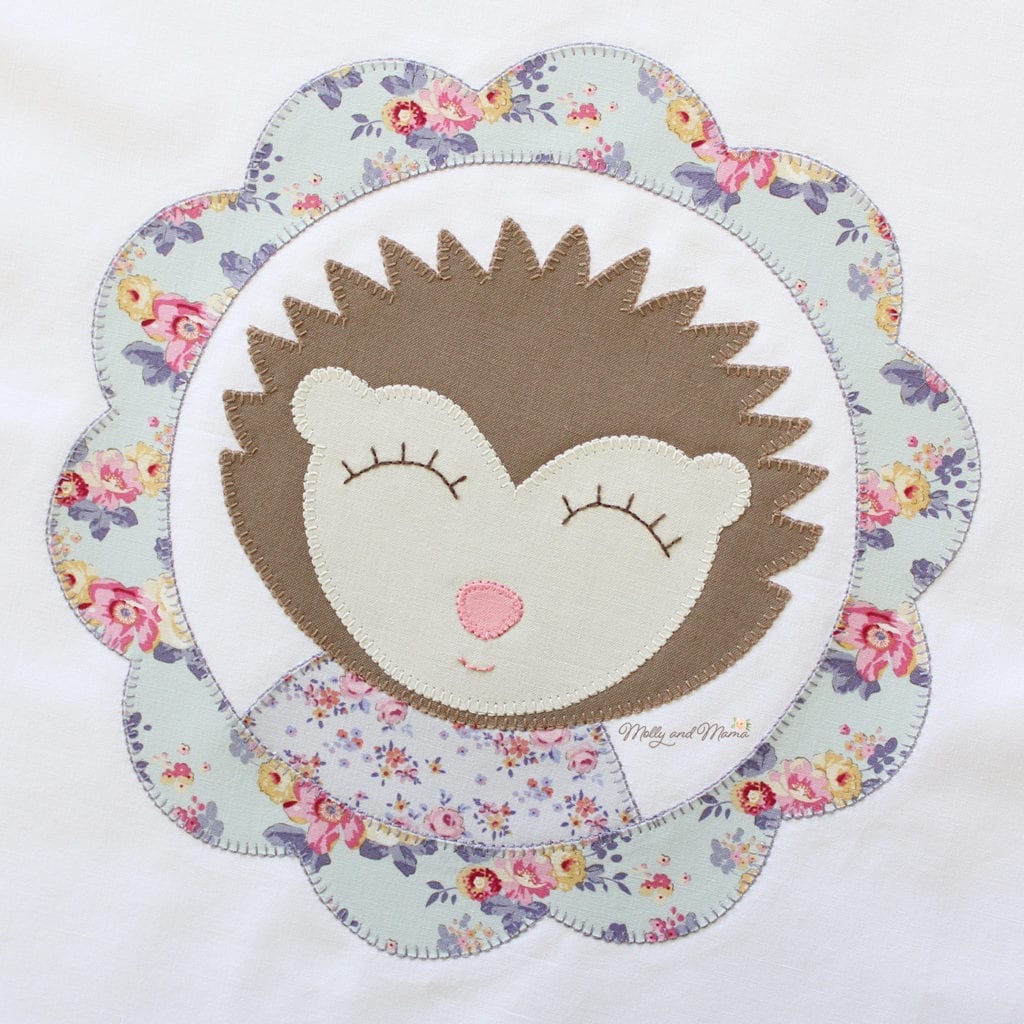
Tips For Mr Hedgehog
Hedgehog’s spikes are quite short so your appliqué stitches will be quite close together. Pivot your fabric at the end of each spike, ensuring you have the needle down. Then stitch slowly and carefully around each of the spikes. You can also shorten your stitch length to help.
Here he is all finished;
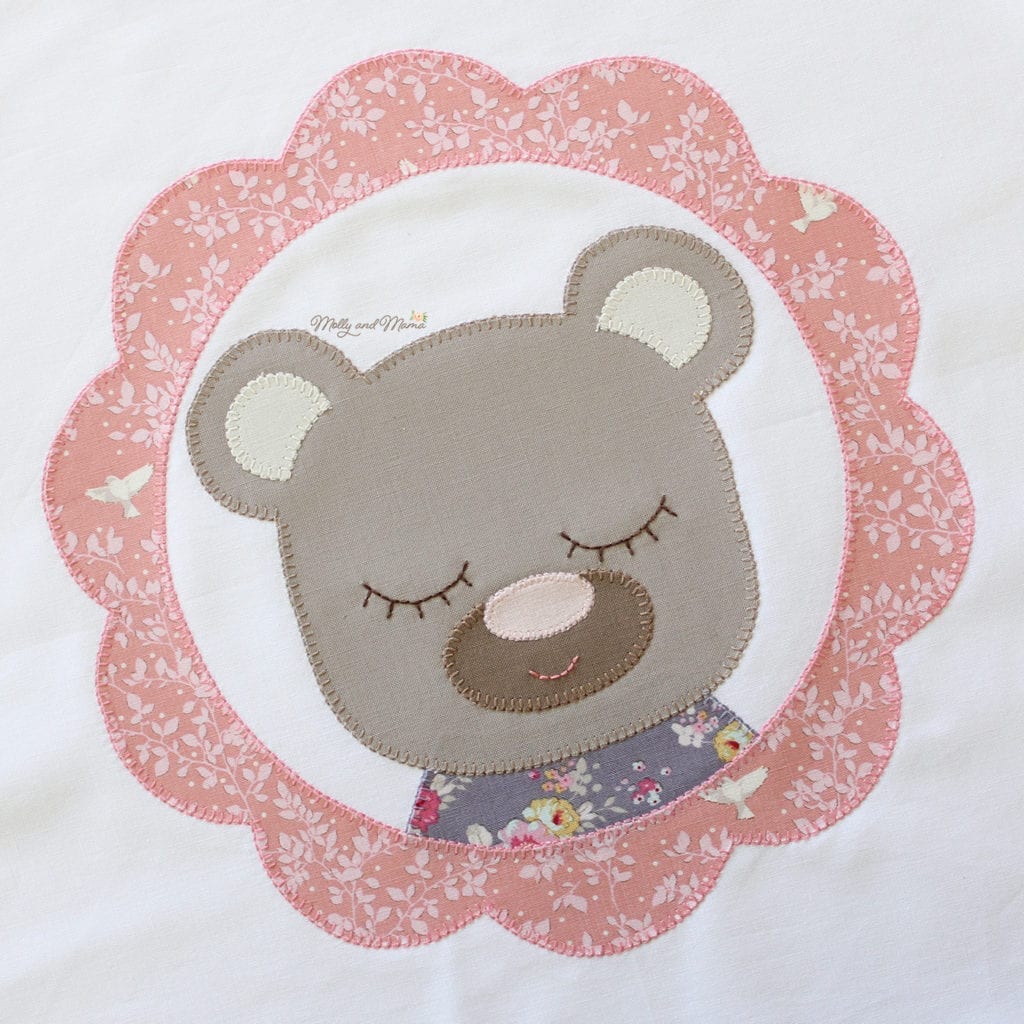
Mr Bear
And here’s Mr Bear with his sweet smile. Luckily he’s pretty straightforward like the previous blocks!
Removing Stitch Guide Lines
If you used an erasable marker to draw your embroidery stitch lines, now is the time to remove those lines. If you used a water erasable marker, it’s especially important to remove the lines before you press the blocks, as the heat from the iron can set the ink and make it more difficult to remove.
Pressing The Blocks
We want to protect your embroidery and your machine appliqué stitches from the pressing effects of a hot iron, so it’s important to iron the blocks on the wrong side of the fabric. I recommend only ironing the front of the blocks with a warm, dry iron. And consider covering the blocks with a pressing cloth or cotton square of fabric before ironing, to avoid any damage.
Now that all the blocks are done, some of you might be tempted like me to power ahead and get the quilt top completed. I’ve been playing around with the layout of my blocks and might even end up rearranging them!

Good luck this week and I’ll look forward to you sharing your progress shots on Instagram with the #ForestFamilyQAL hashtag, or via email.
Happy stitching until next week, Lauren x