A Valentine’s Version of The Summer Rose Pouch
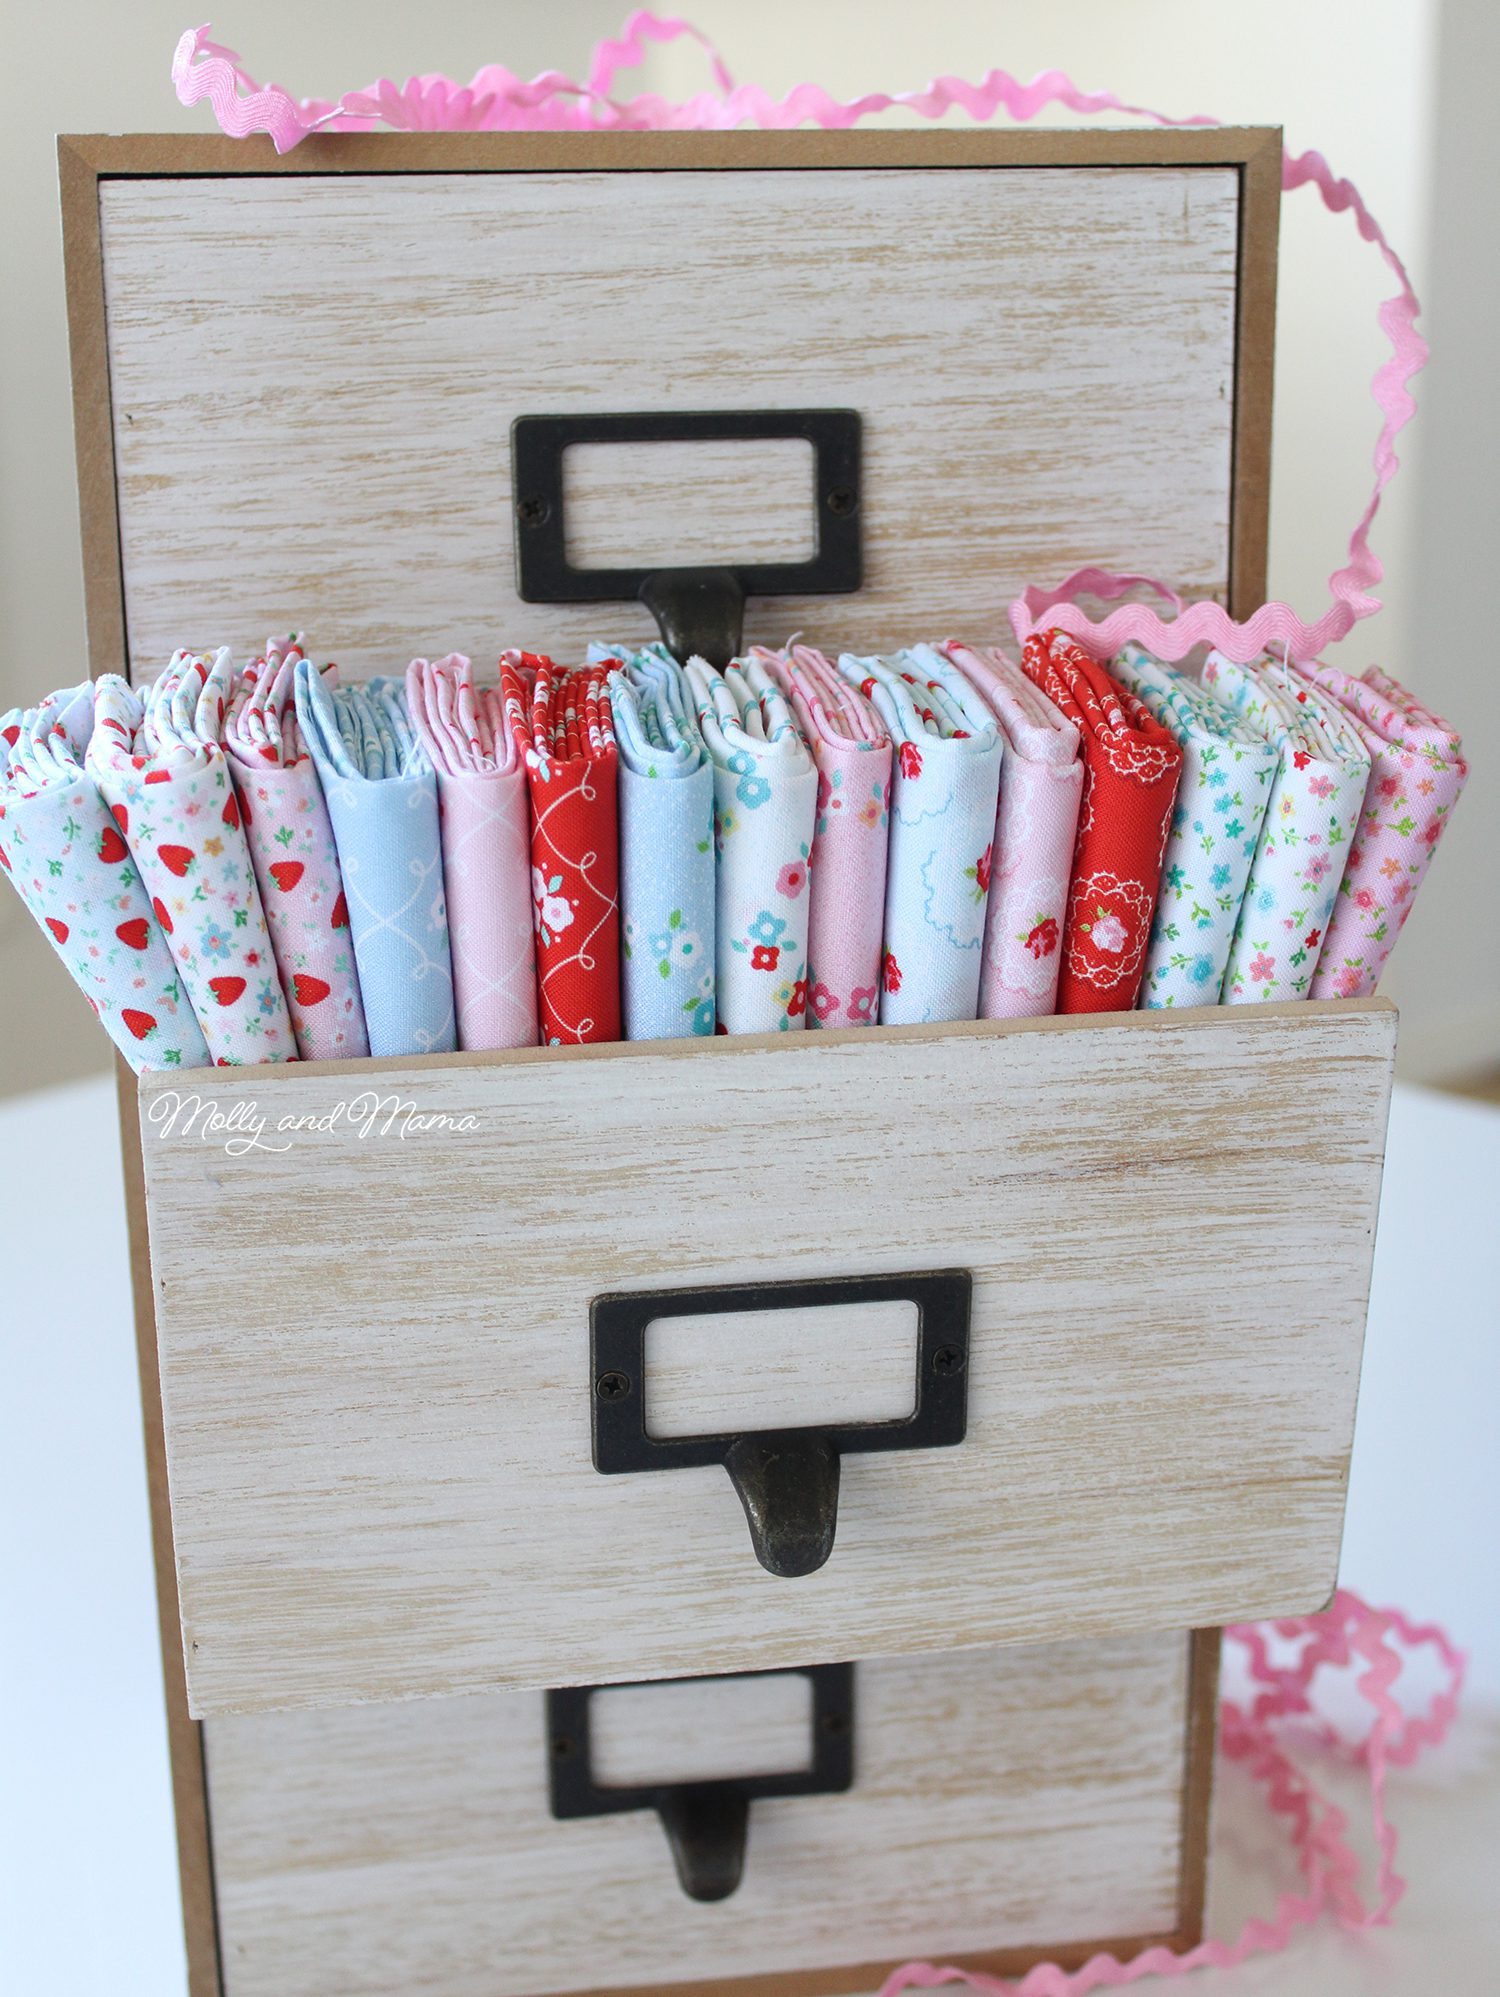
As a fabric blogger for Poppie Cotton Fabrics, we’re often invited to join special promotions and challenges. This Valentine’s Day we were asked to sew a holiday project showcasing some of our favourite Poppie Cotton Fabrics. I selected the Market Day Collection by Amy Jordan because it has a beautiful mix of Valentine’s reds and pinks. So for this project, I left out the blues and Babushka hero prints (though you can see how I have used them in other projects HERE).

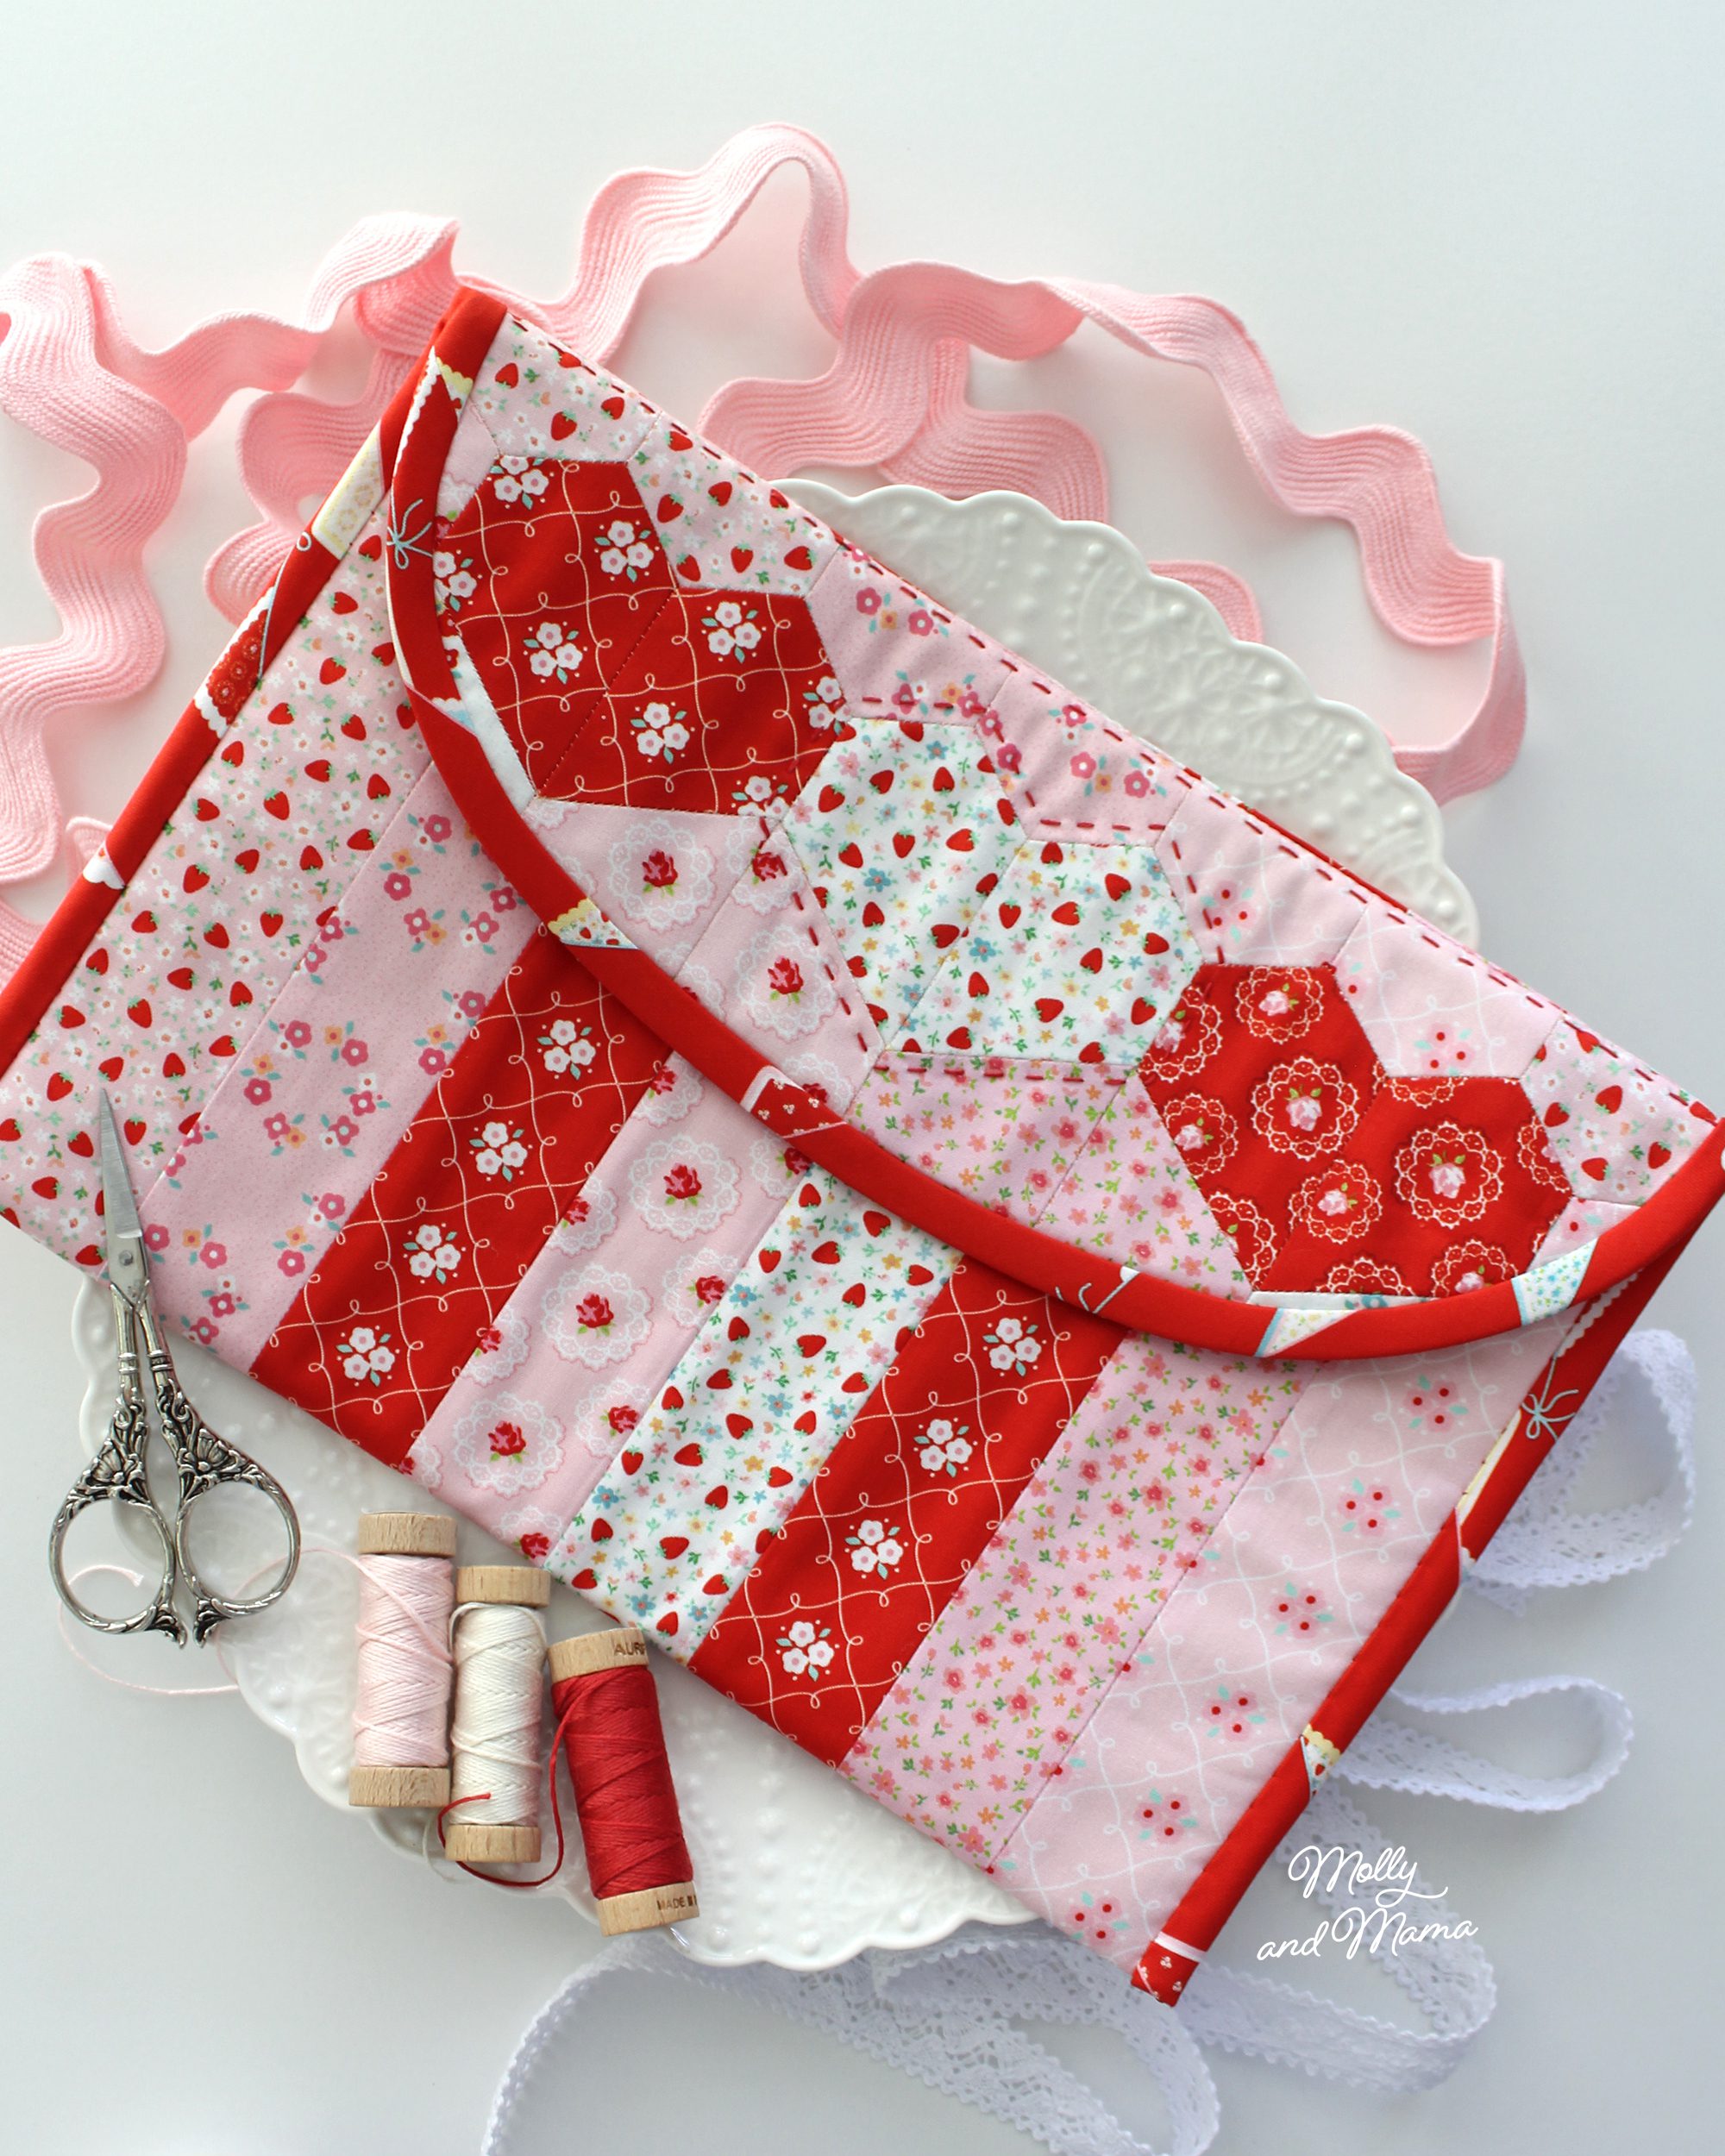
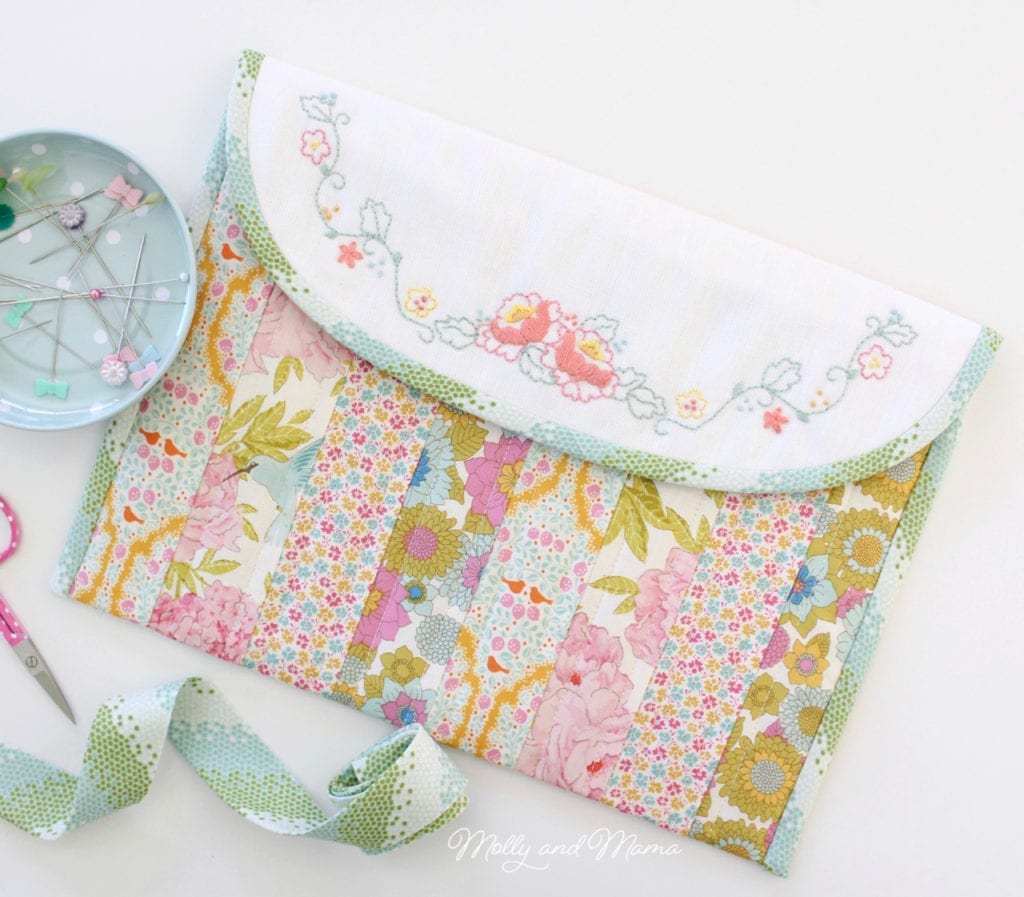
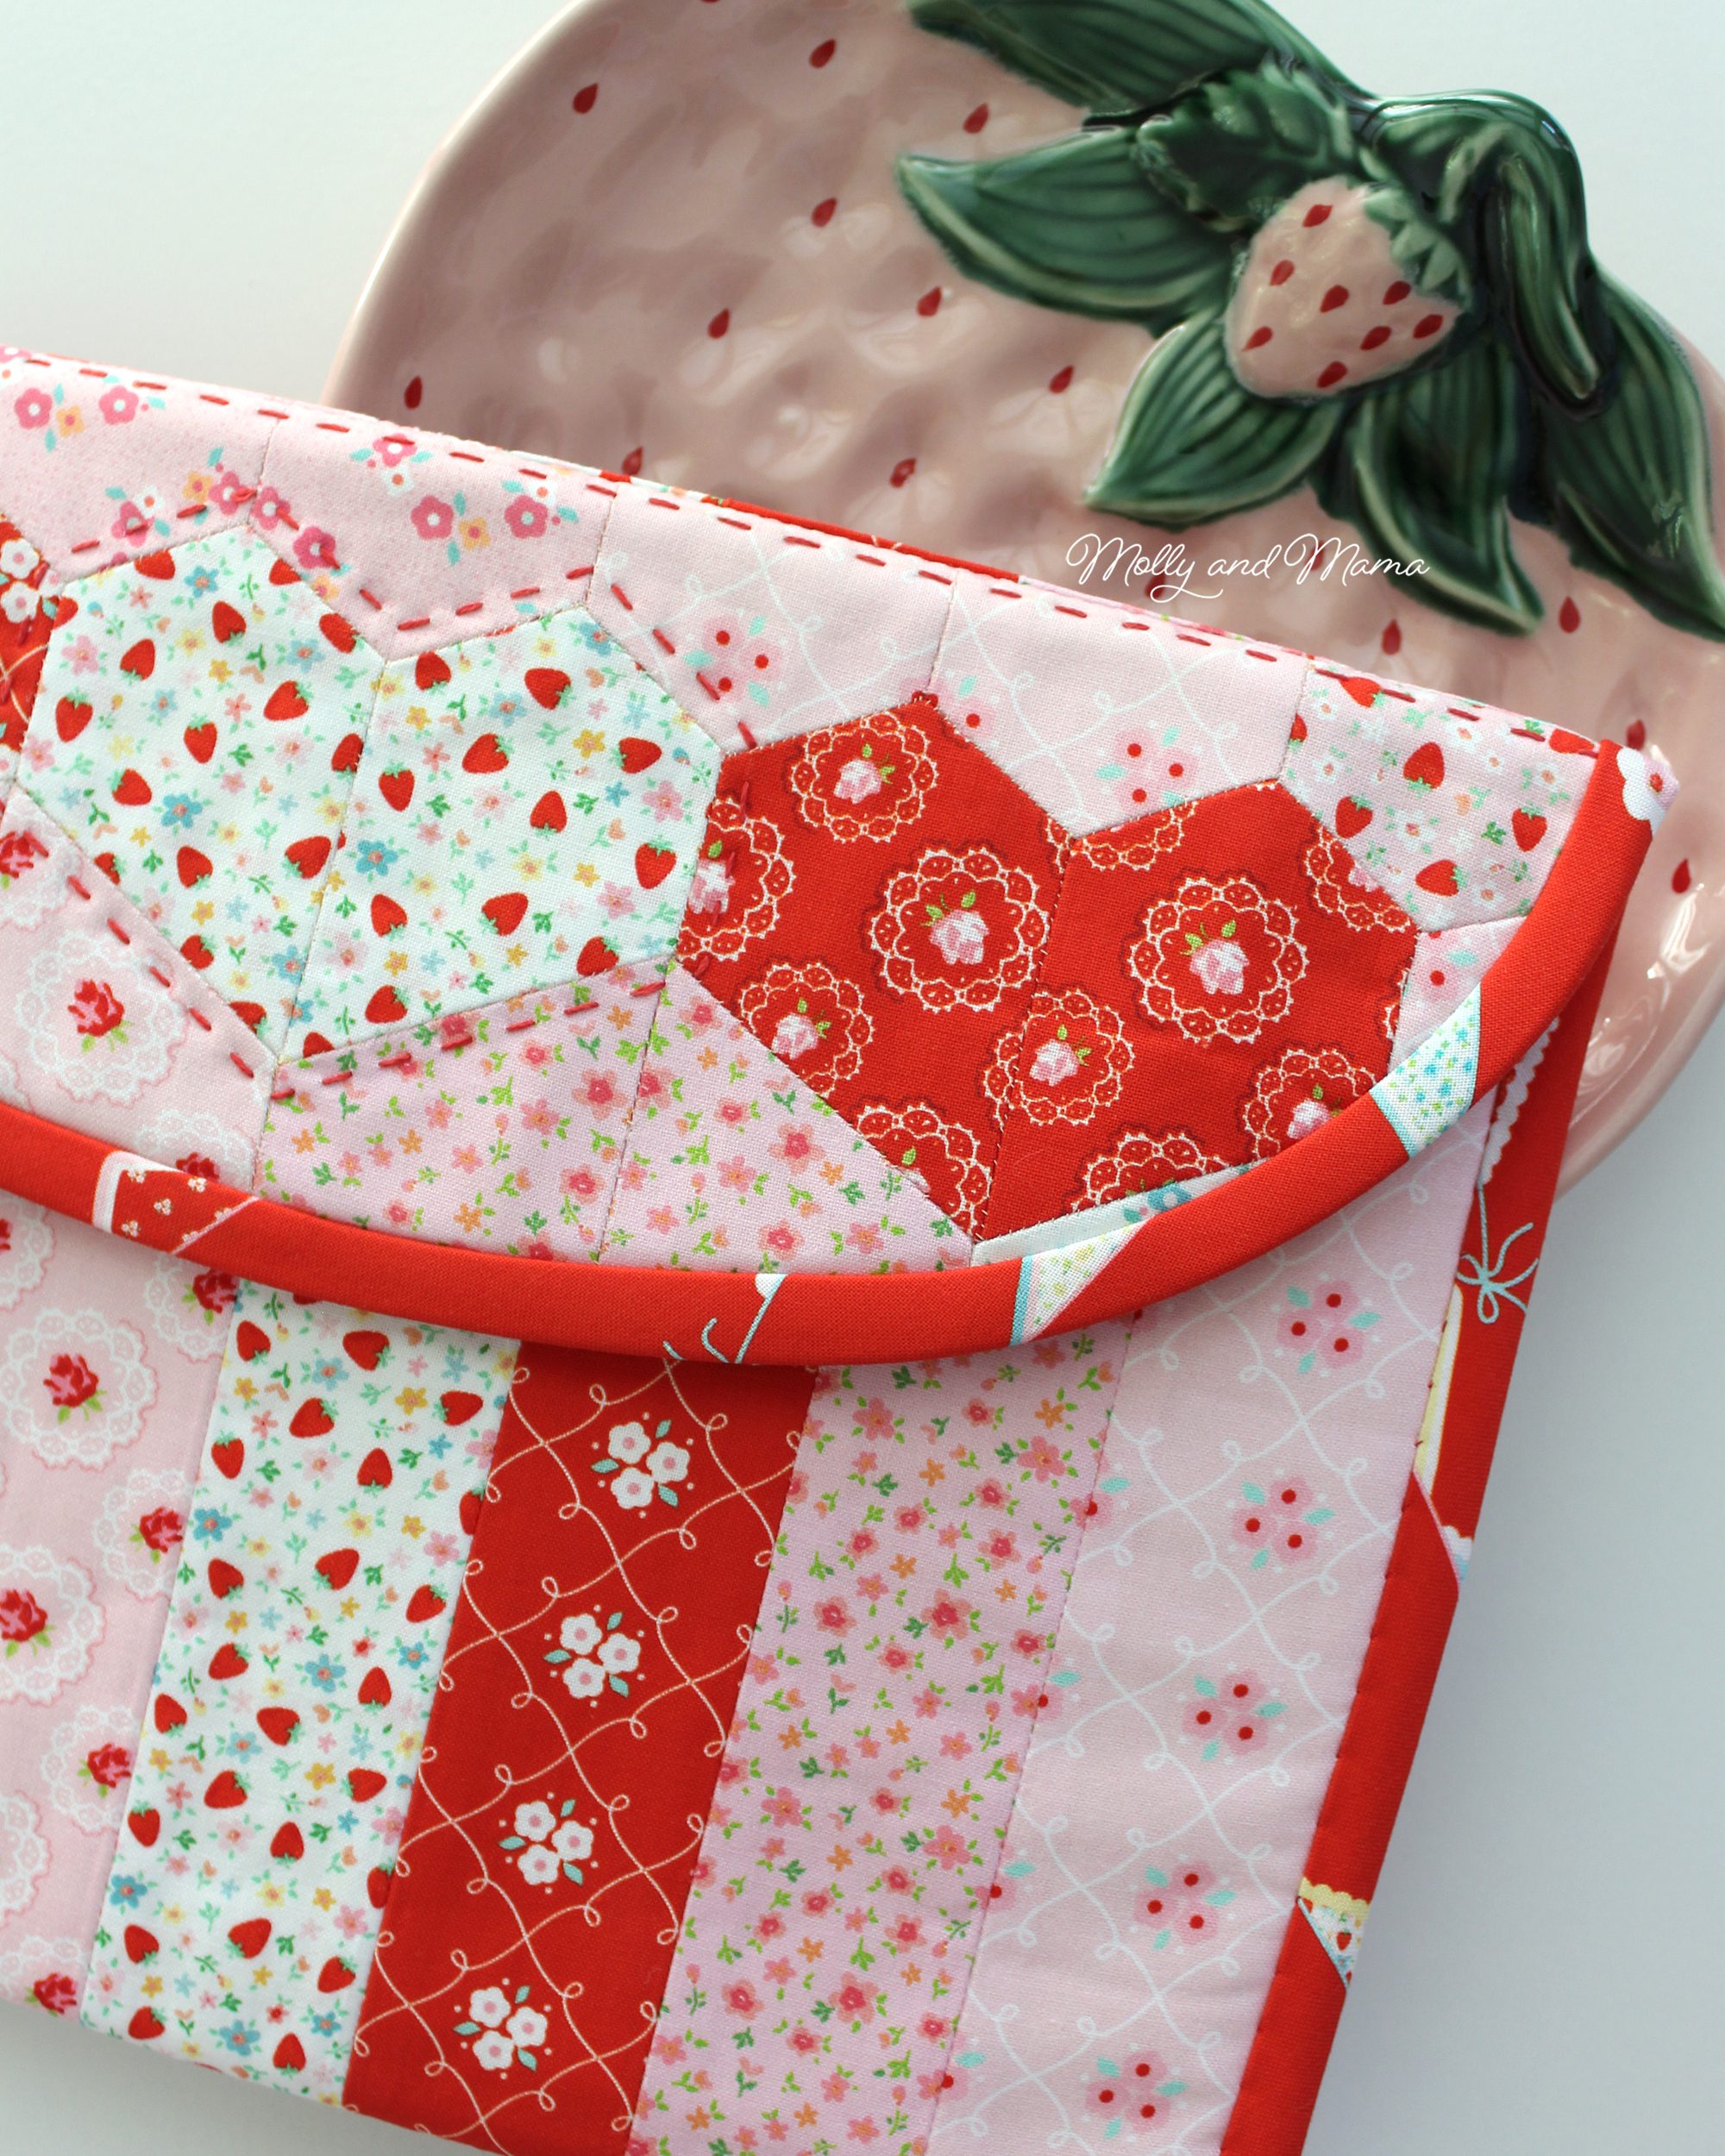
I decided to transform my Summer Rose Pouch pattern by recreating the front panel with a little nod to the heart shape. You can see below how I transformed the original design (with the embroidered front flap) to a love themed, English paper pieced heart panel. It was easy to modify and I love the way it turned out!
If you’d like to create your own alternative version, here’s the method that I used. You’ll just need the original Summer Rose Pouch Pattern to get started. Then follow the directions for the front panel below.
Create A Heart Shape EPP Panel
To create this version, the only change I made to the pattern was to create an alternative front. Instead of making the front flap with the included rose embroidery design, I decided to use jewel English paper piecing shapes and arrange them to create a panel that featured hearts.
I used jewel shapes with the longest sides measuring 2 inches and the shorter sides being 1 inch long. I also needed a couple of 1 inch hexagons to fill some small gaps on the side. I have created a template for the shapes that you are welcome to use, if you’d like to try the same method. You can download it below and then print 4 copies on light card stock, at full size (100%) with no scaling or cropping.
Cut out the papers so that you have 19 jewel shapes and 2 hexagons. Then it’s time to play with fabrics to work out the placement of each of the prints.
So I could be sure I had enough fabric for the whole pouch, I followed the pattern to cut out the outer patchwork pieces, lining piece, and strips for the binding first. After that, I was able to play around with the remaining fabric for my jewel and hexagon shapes.
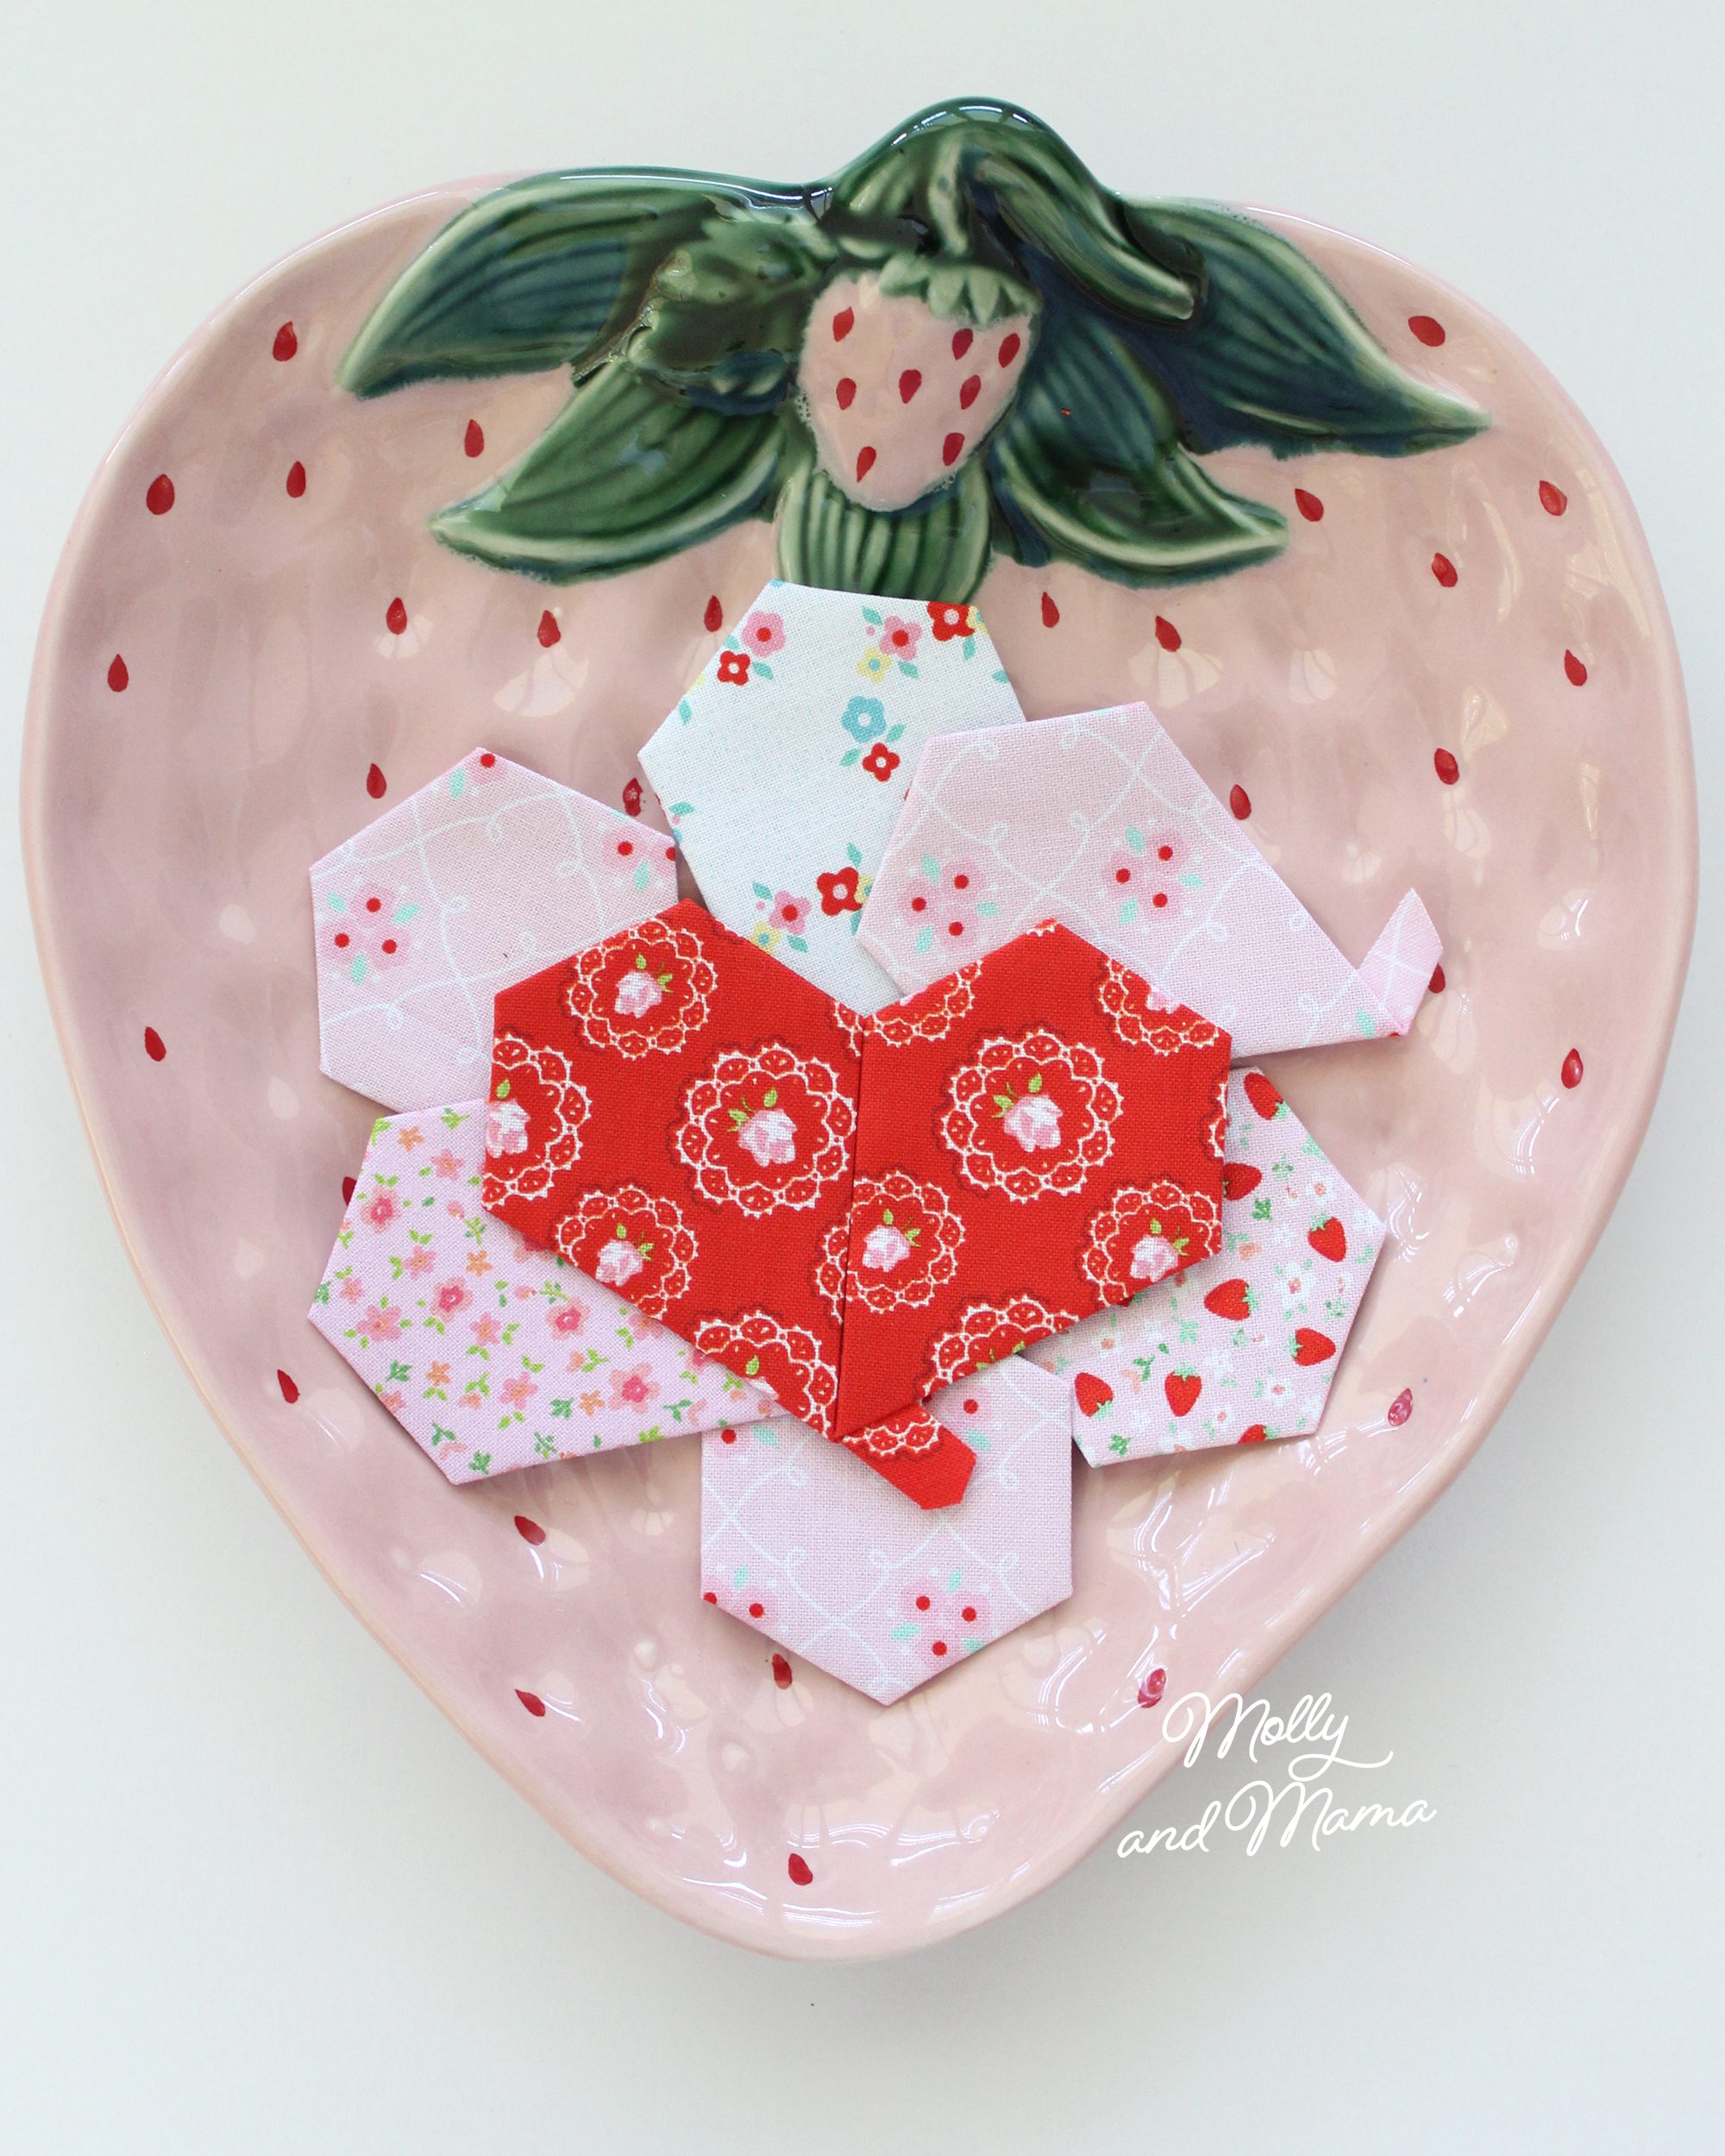
Then it was time to glue baste the shapes (to cover them with the fabric). I used 8 different fabric prints. I made 2 jewel shapes in each fabric so that they formed hearts when placed together.
If you haven’t tried English paper piecing before, you can learn more about my method in my beginner’s tutorial. Read the instructions to learn my favourite tips and tricks for basting and sewing English paper pieced shapes.
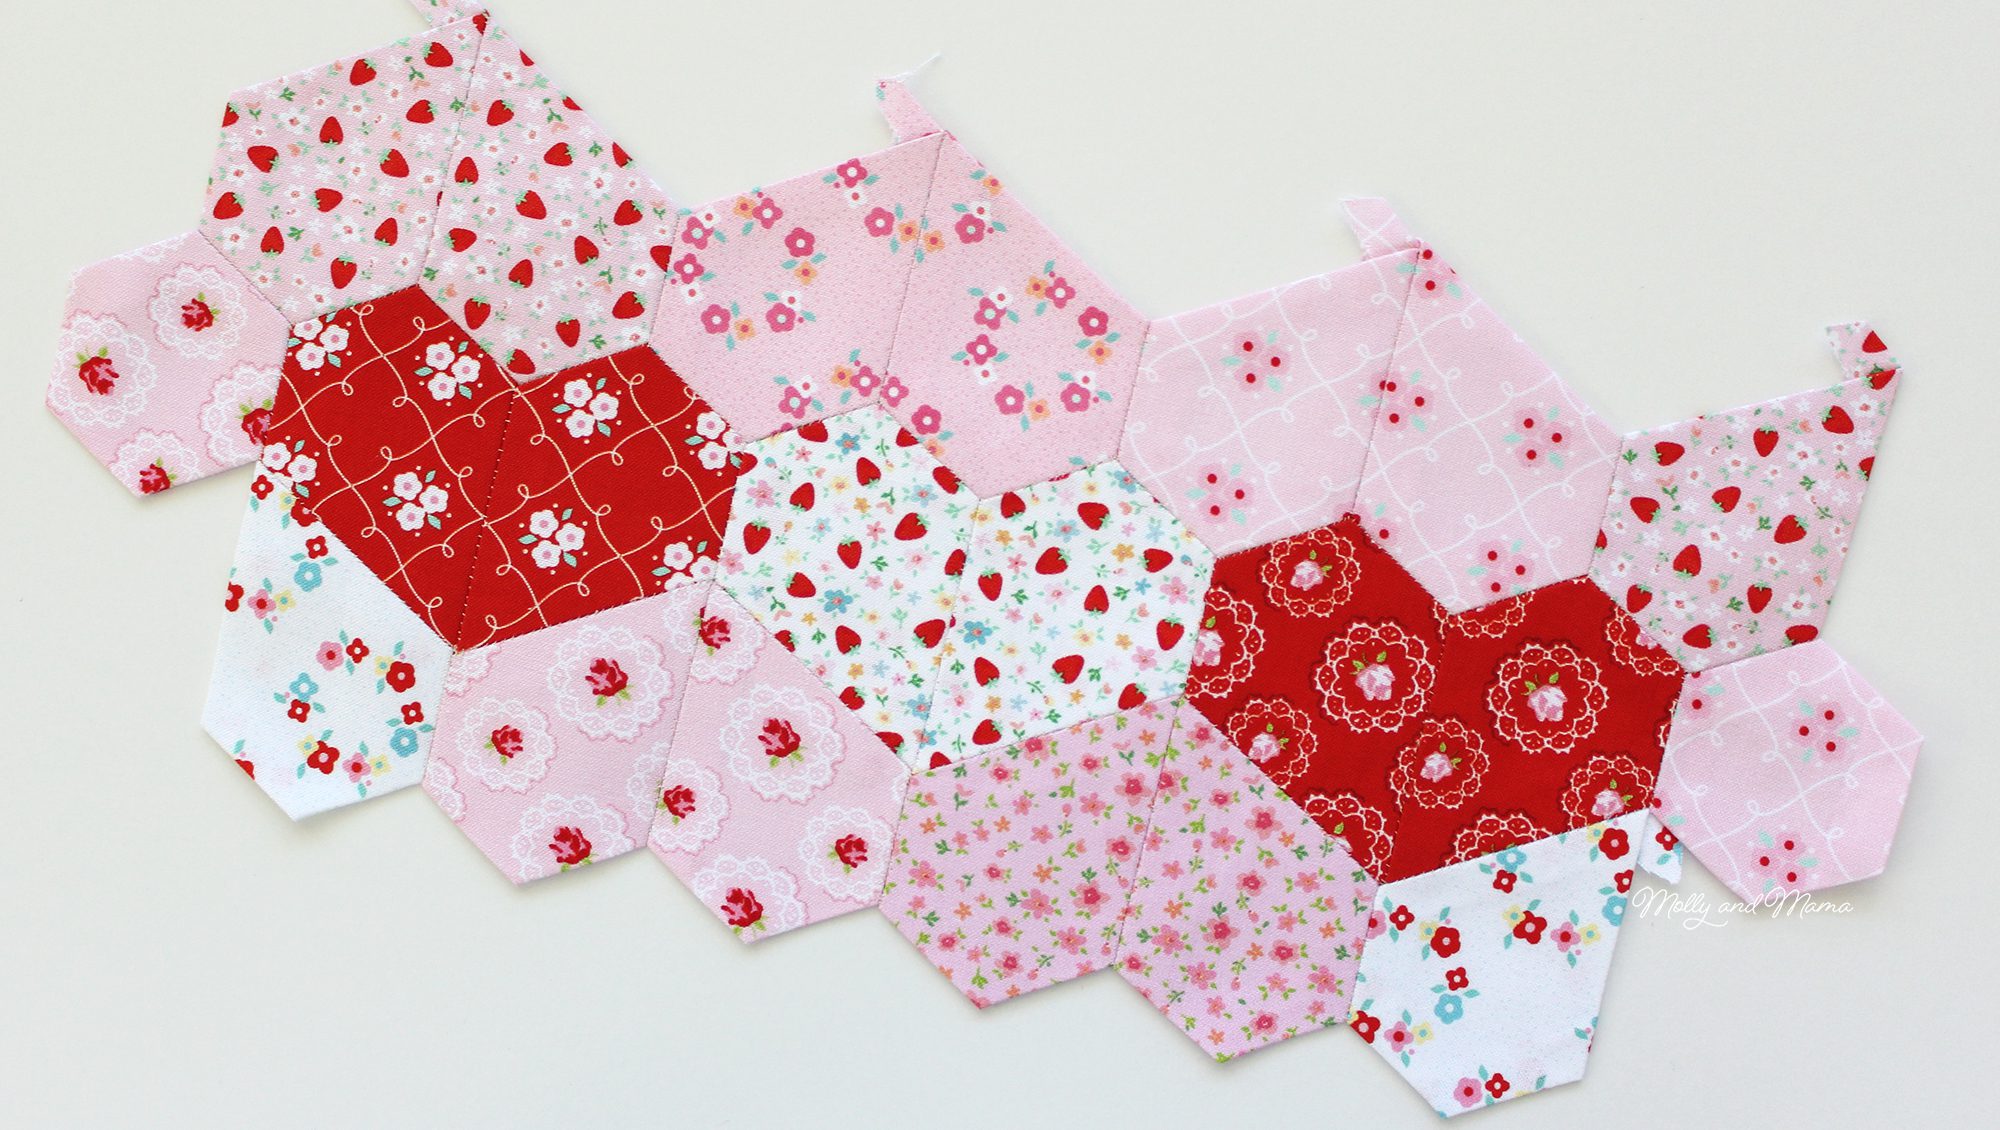
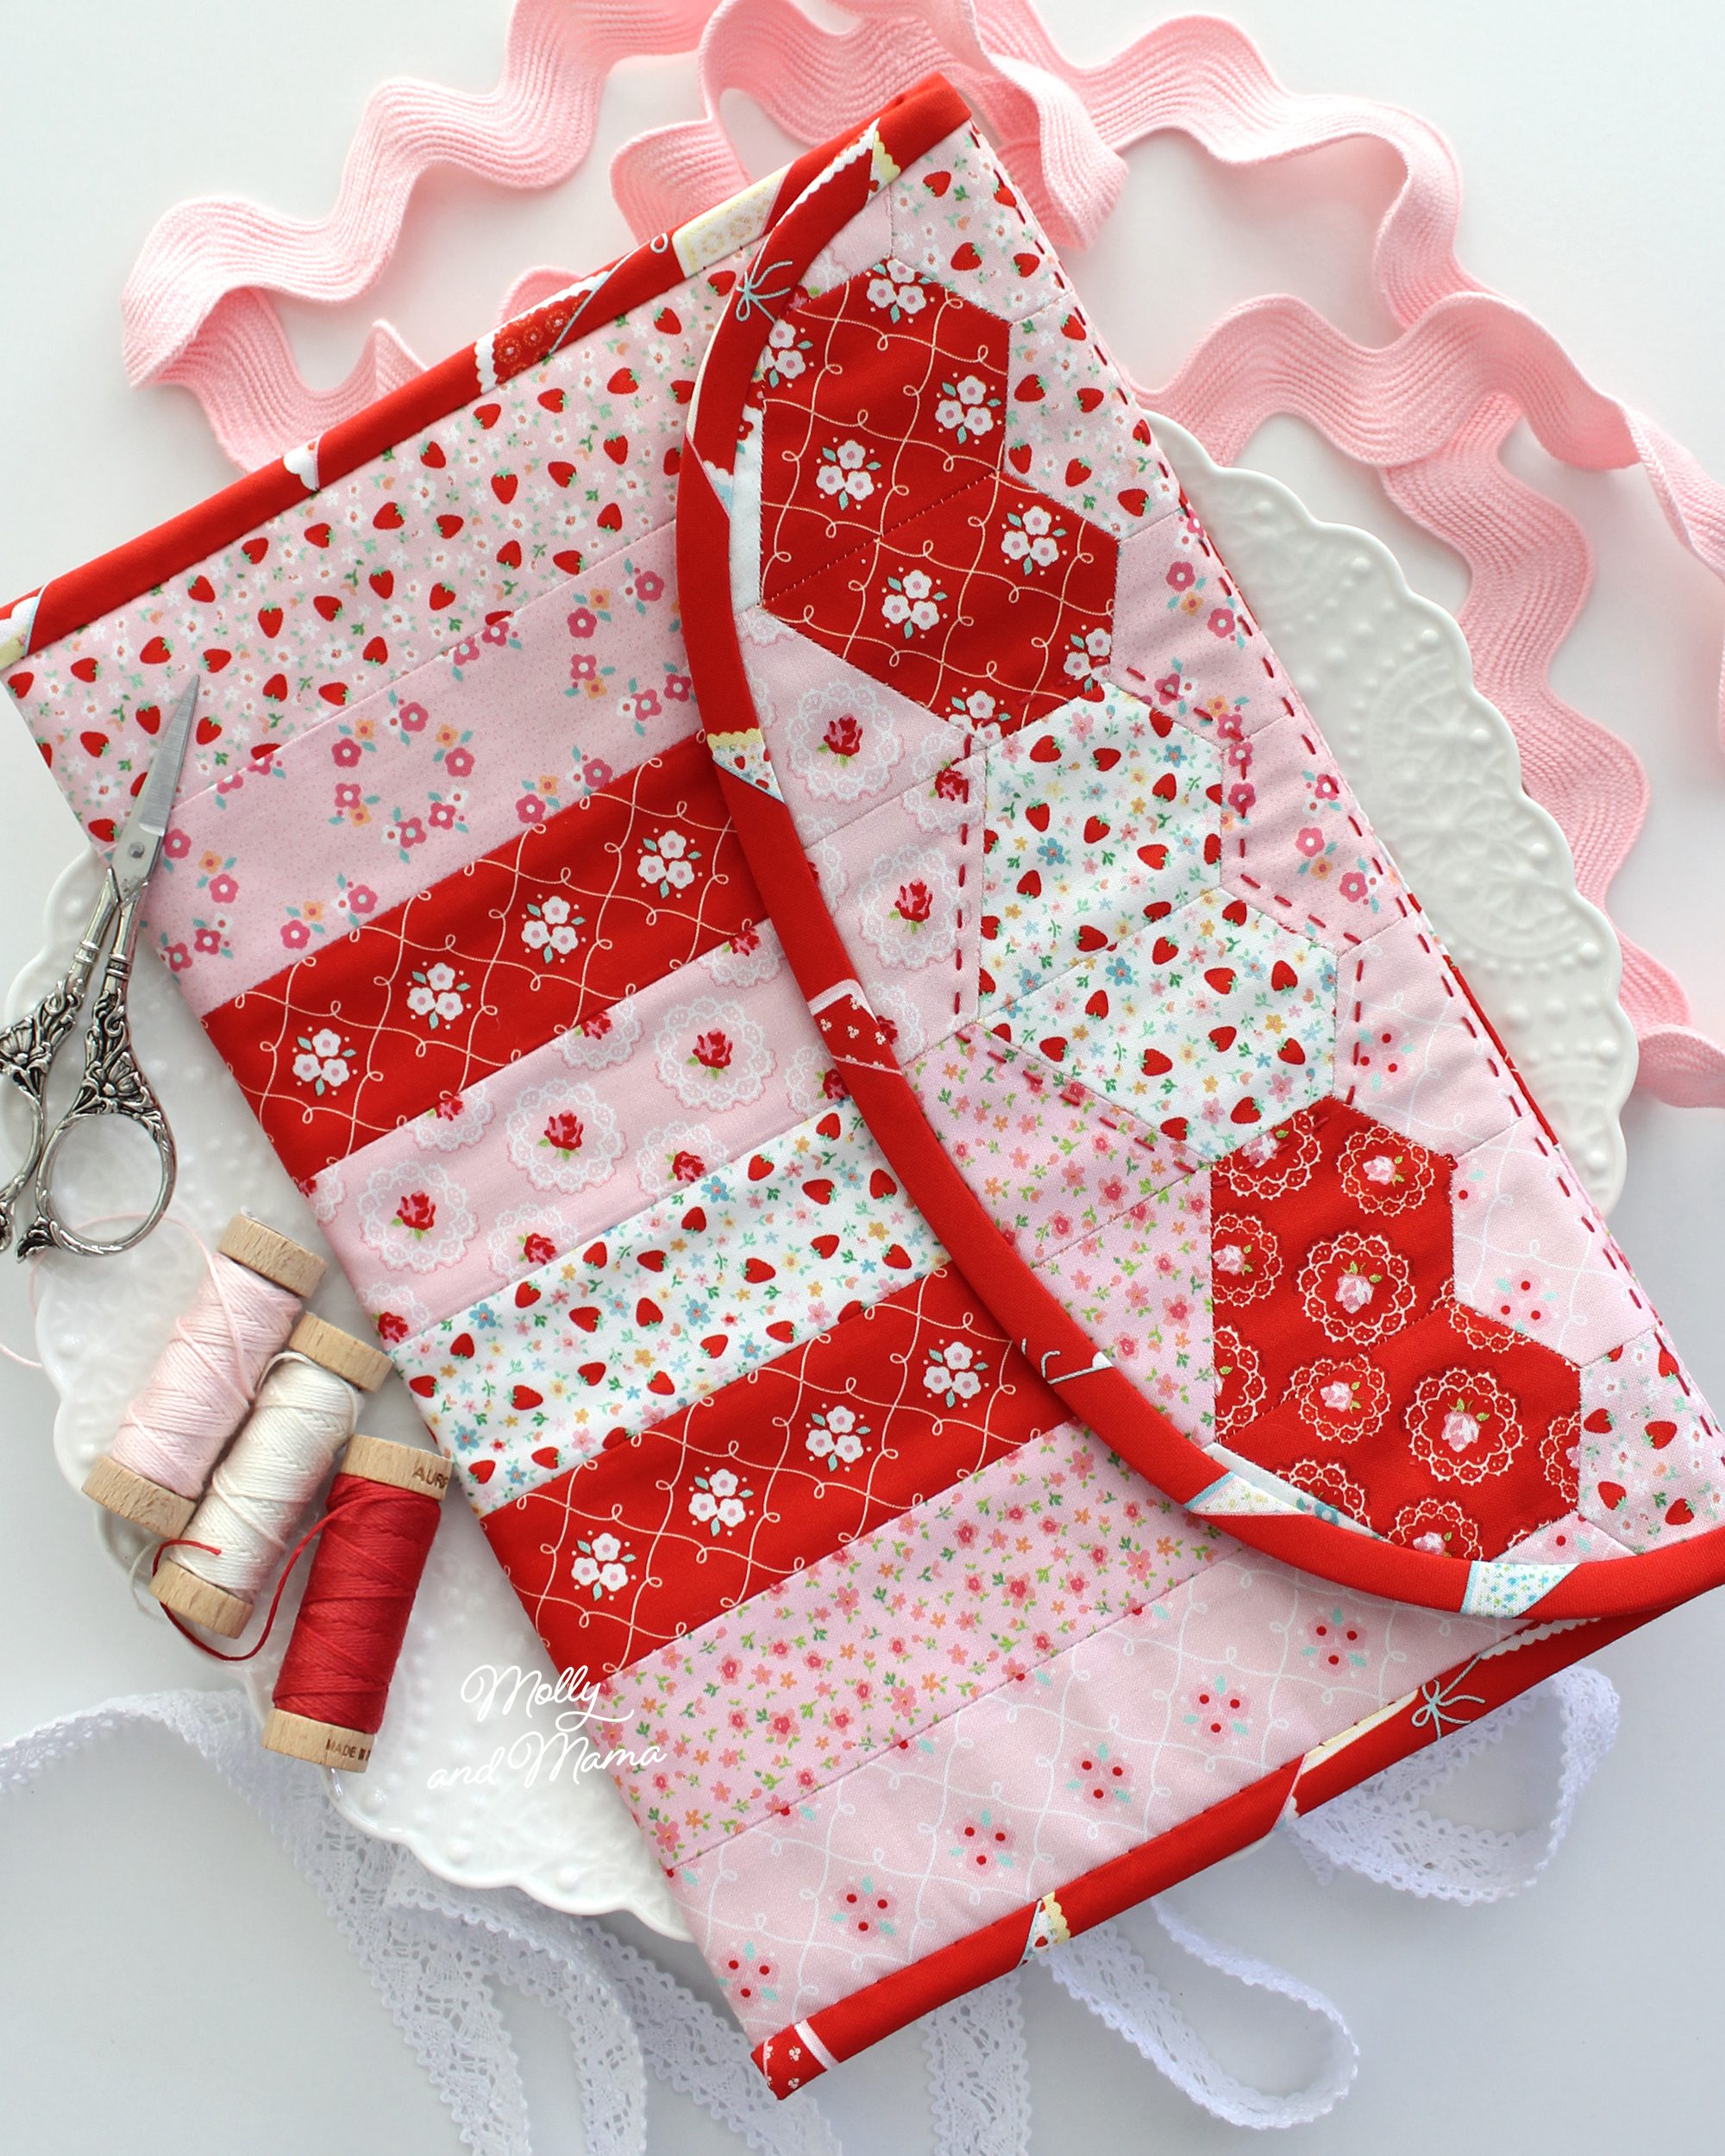
When all the the shapes were basted, I laid them out to make sure the colours were balanced and worked together well. Be sure you lay out your shapes in the same way that I have below. There’s three upright hearts in the centre row with hexagons on each end. There’s two upside down hearts on the bottom row, with single jewels placed at each end. The top row has three upside down hearts, and one orphan jewel on the far right.
Once I was happy with the layout of the shapes, I photographed the layout to refer to it as I stitched each of the shapes together to form the front panel. Again, if you need some help with this, follow the method in my beginner’s tutorial.
Once all the shapes were joined, I removed the papers and gave the panel a gentle press.
Next I took my print out the Summer Rose Pouch template and cut it out on the line. I positioned the paper over the heart panel so that the straight edge was at the top and the whole template had fabric behind it (it was a tight squeeze). Then I used an erasable marker to trace around the panel shape and cut it out on the line (be sure to handle your panel carefully a this stage so that the cut seams do not unravel as you go.)
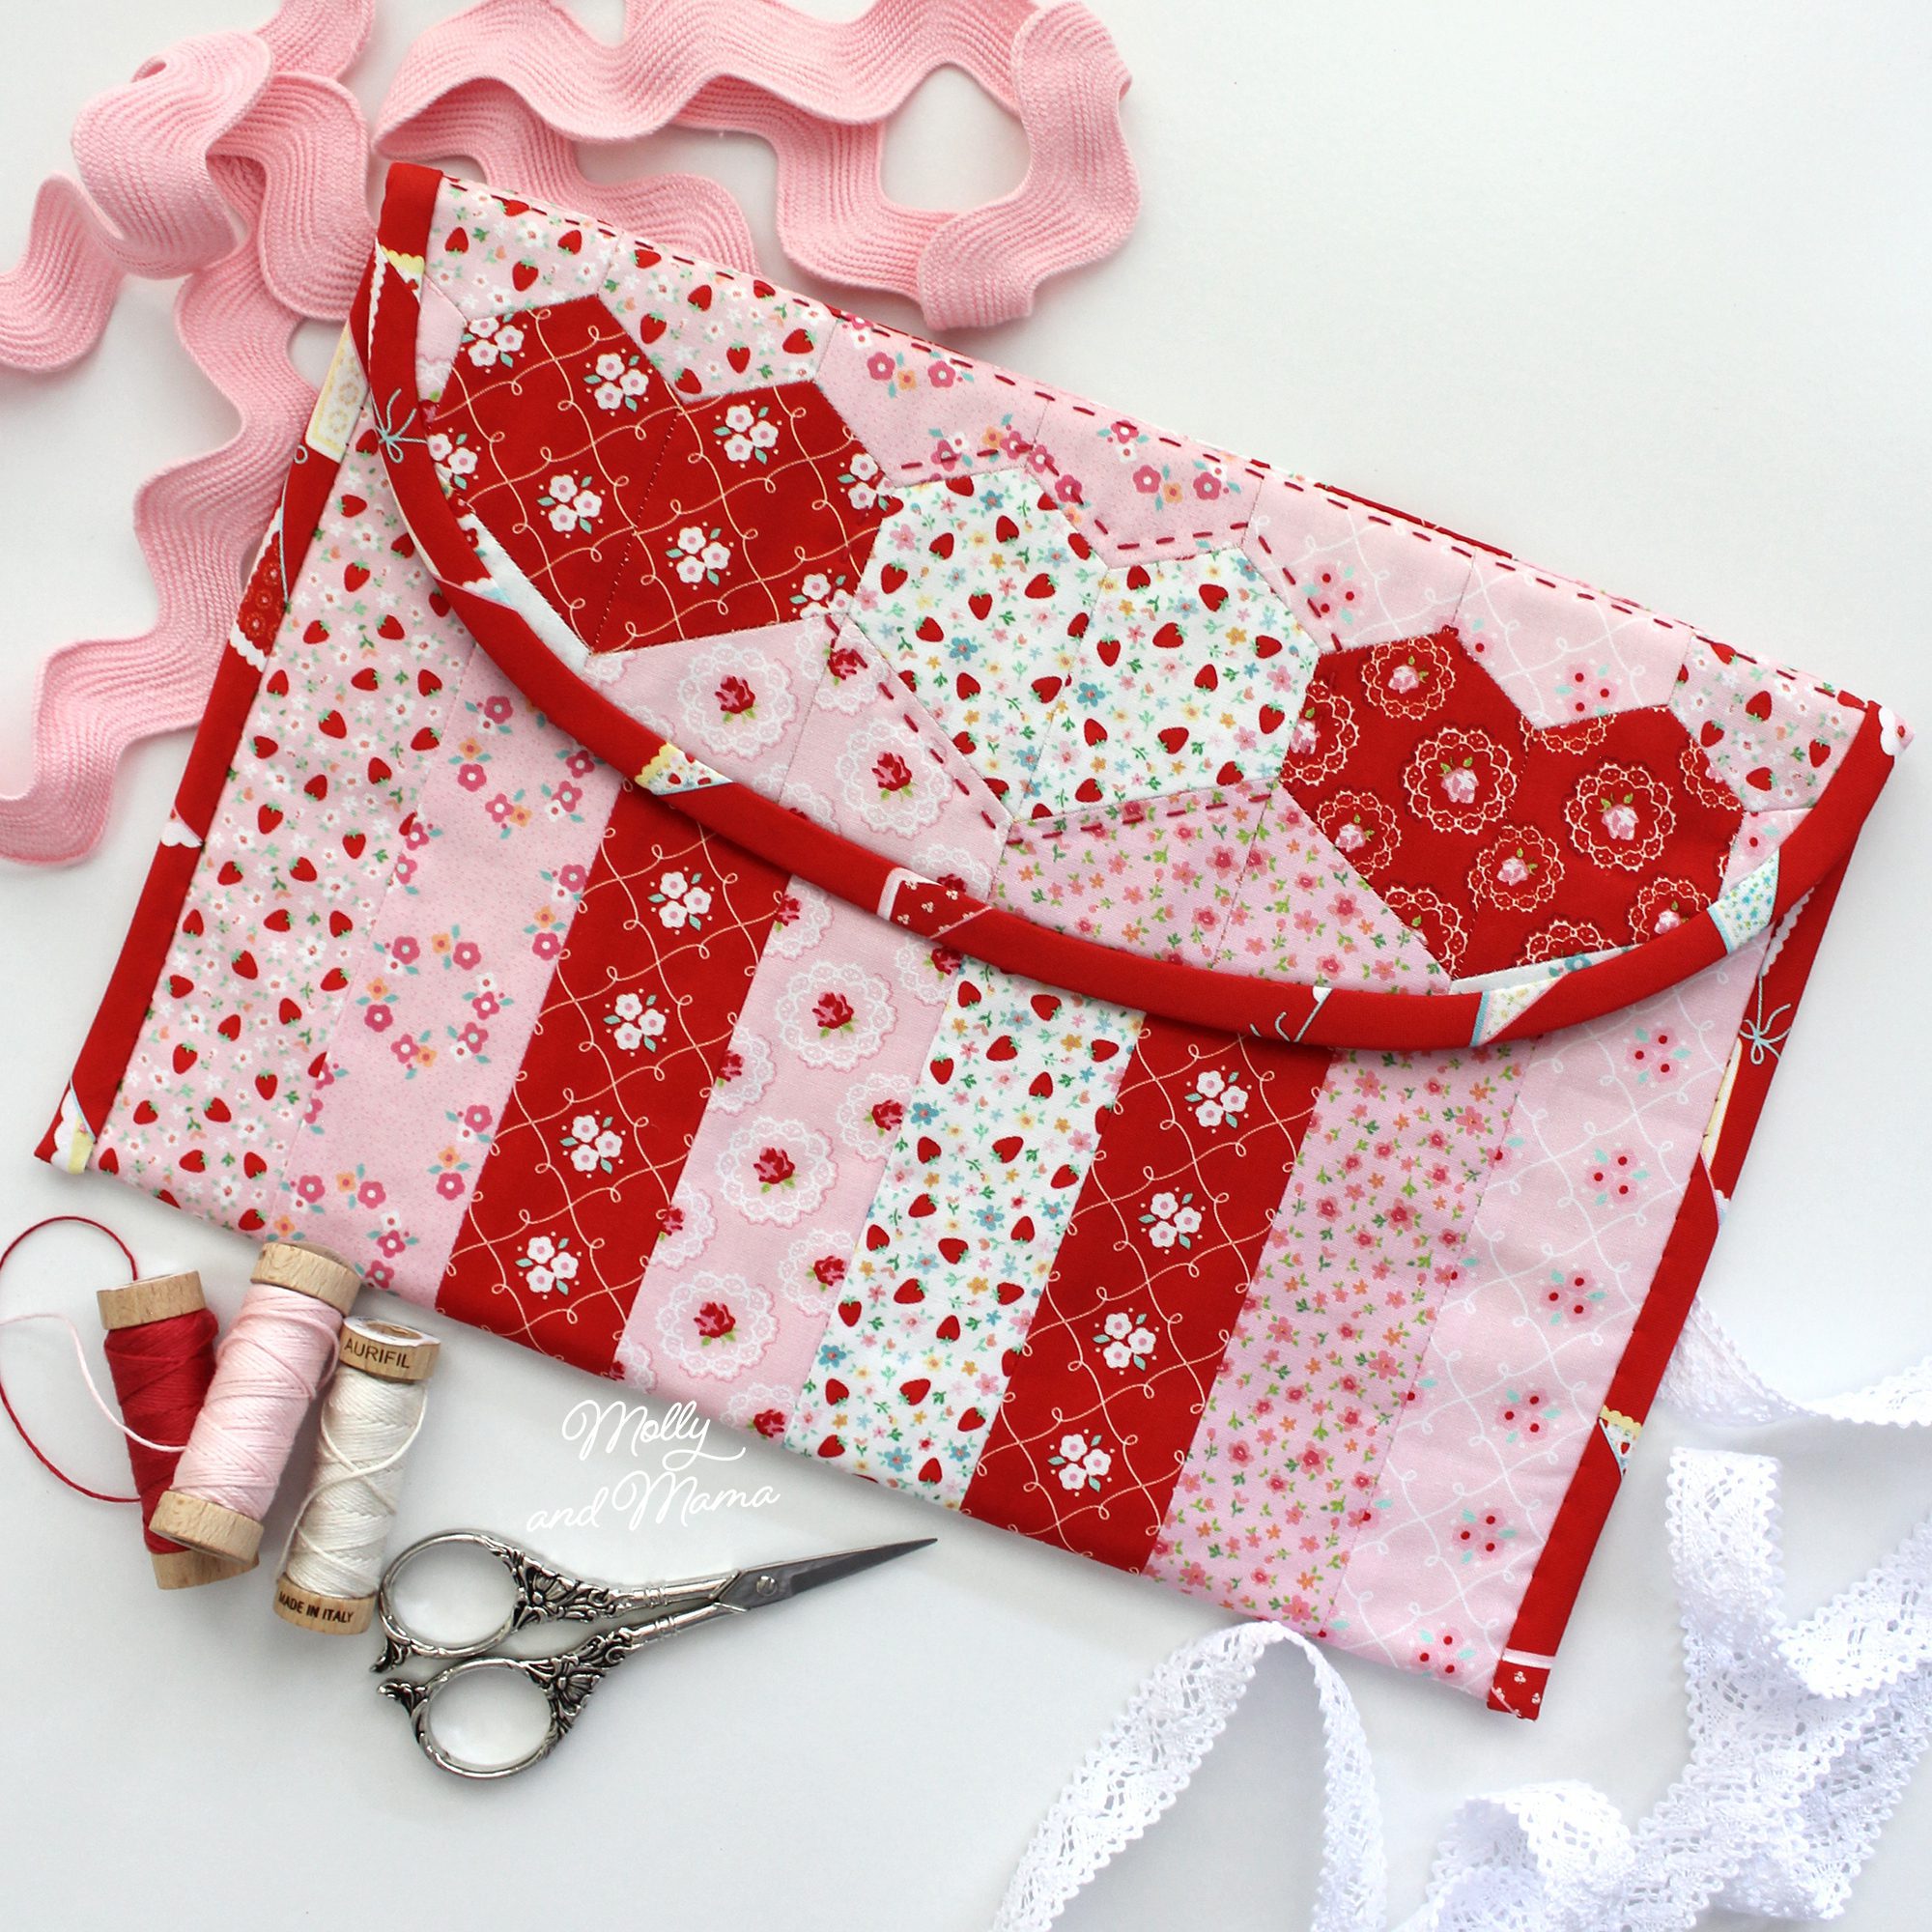
I assembled the pouch using the same instructions found in the Summer Rose Pouch Pattern. I made the patchwork panel for the outer pouch and attached the curved heart panel on the top. After I added the fleece batting, I used three strands of embroidery floss to highlight the centre heart with an outline of simple hand quilting. I also added a straight line of hand quilting just before the seam at the top of the panel. Then I followed the remaining instructions in the pattern to finish the pouch.
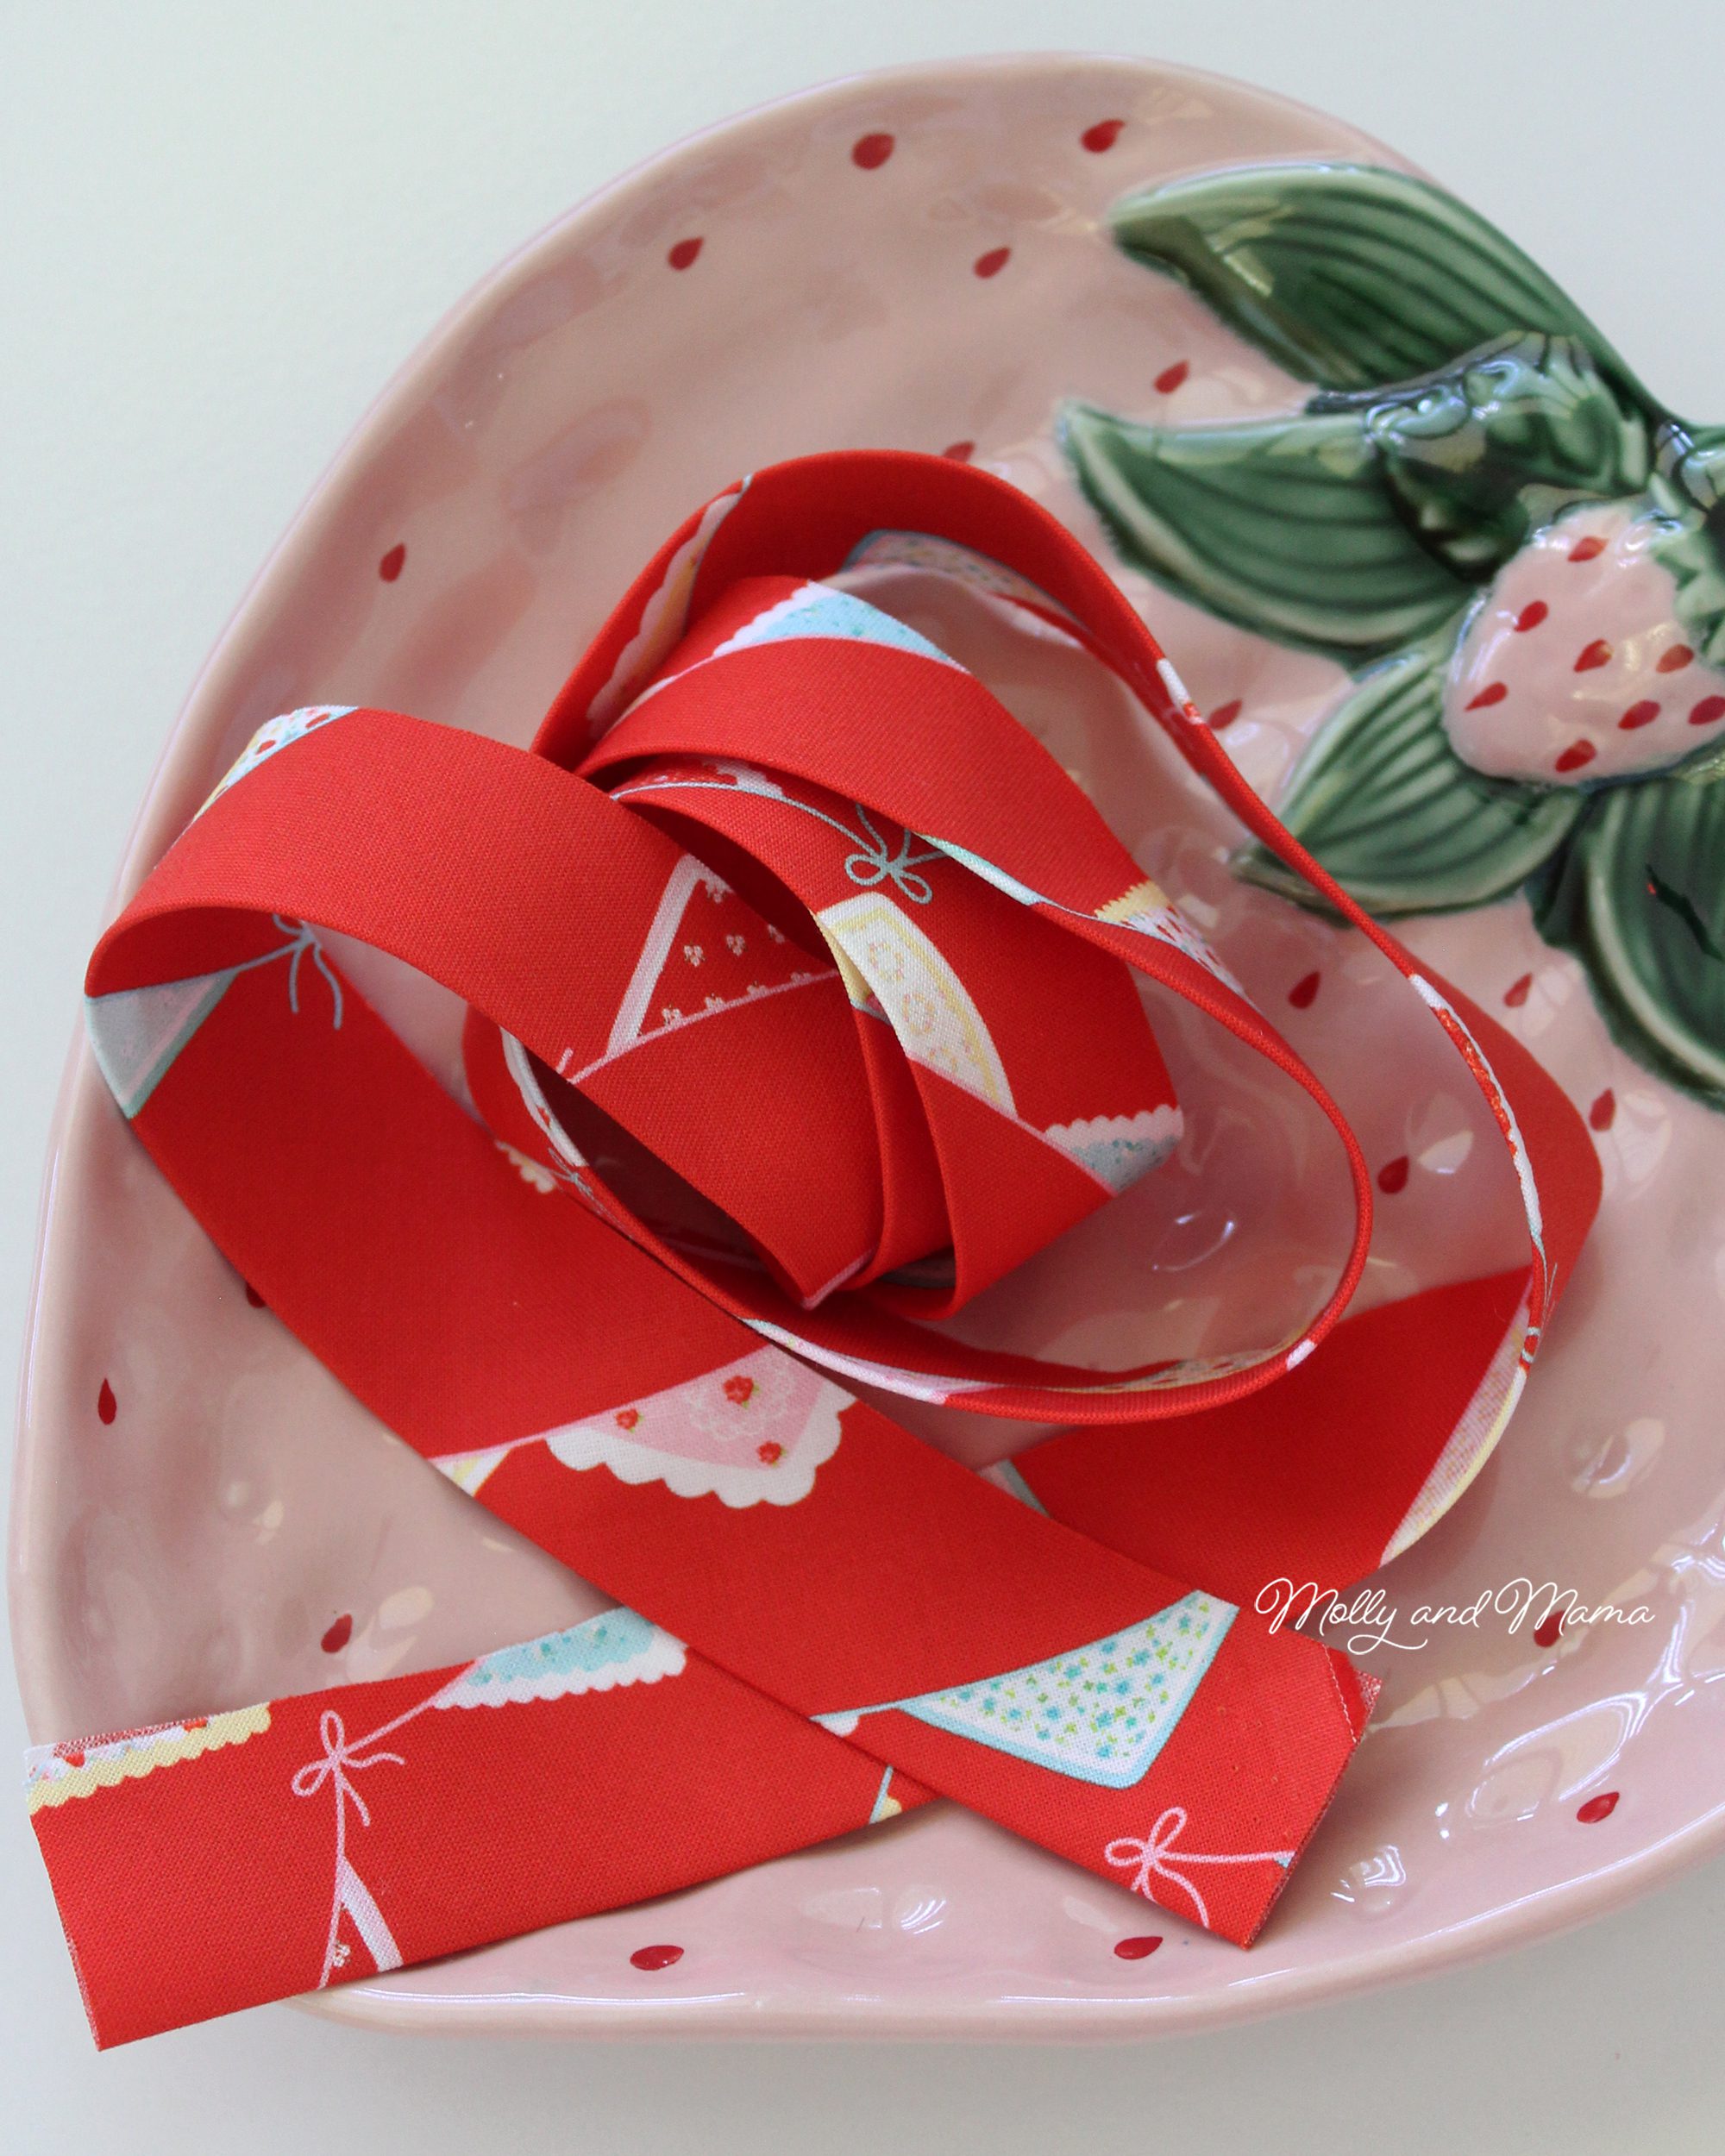
How cute is the binding fabric? I love those little bows!
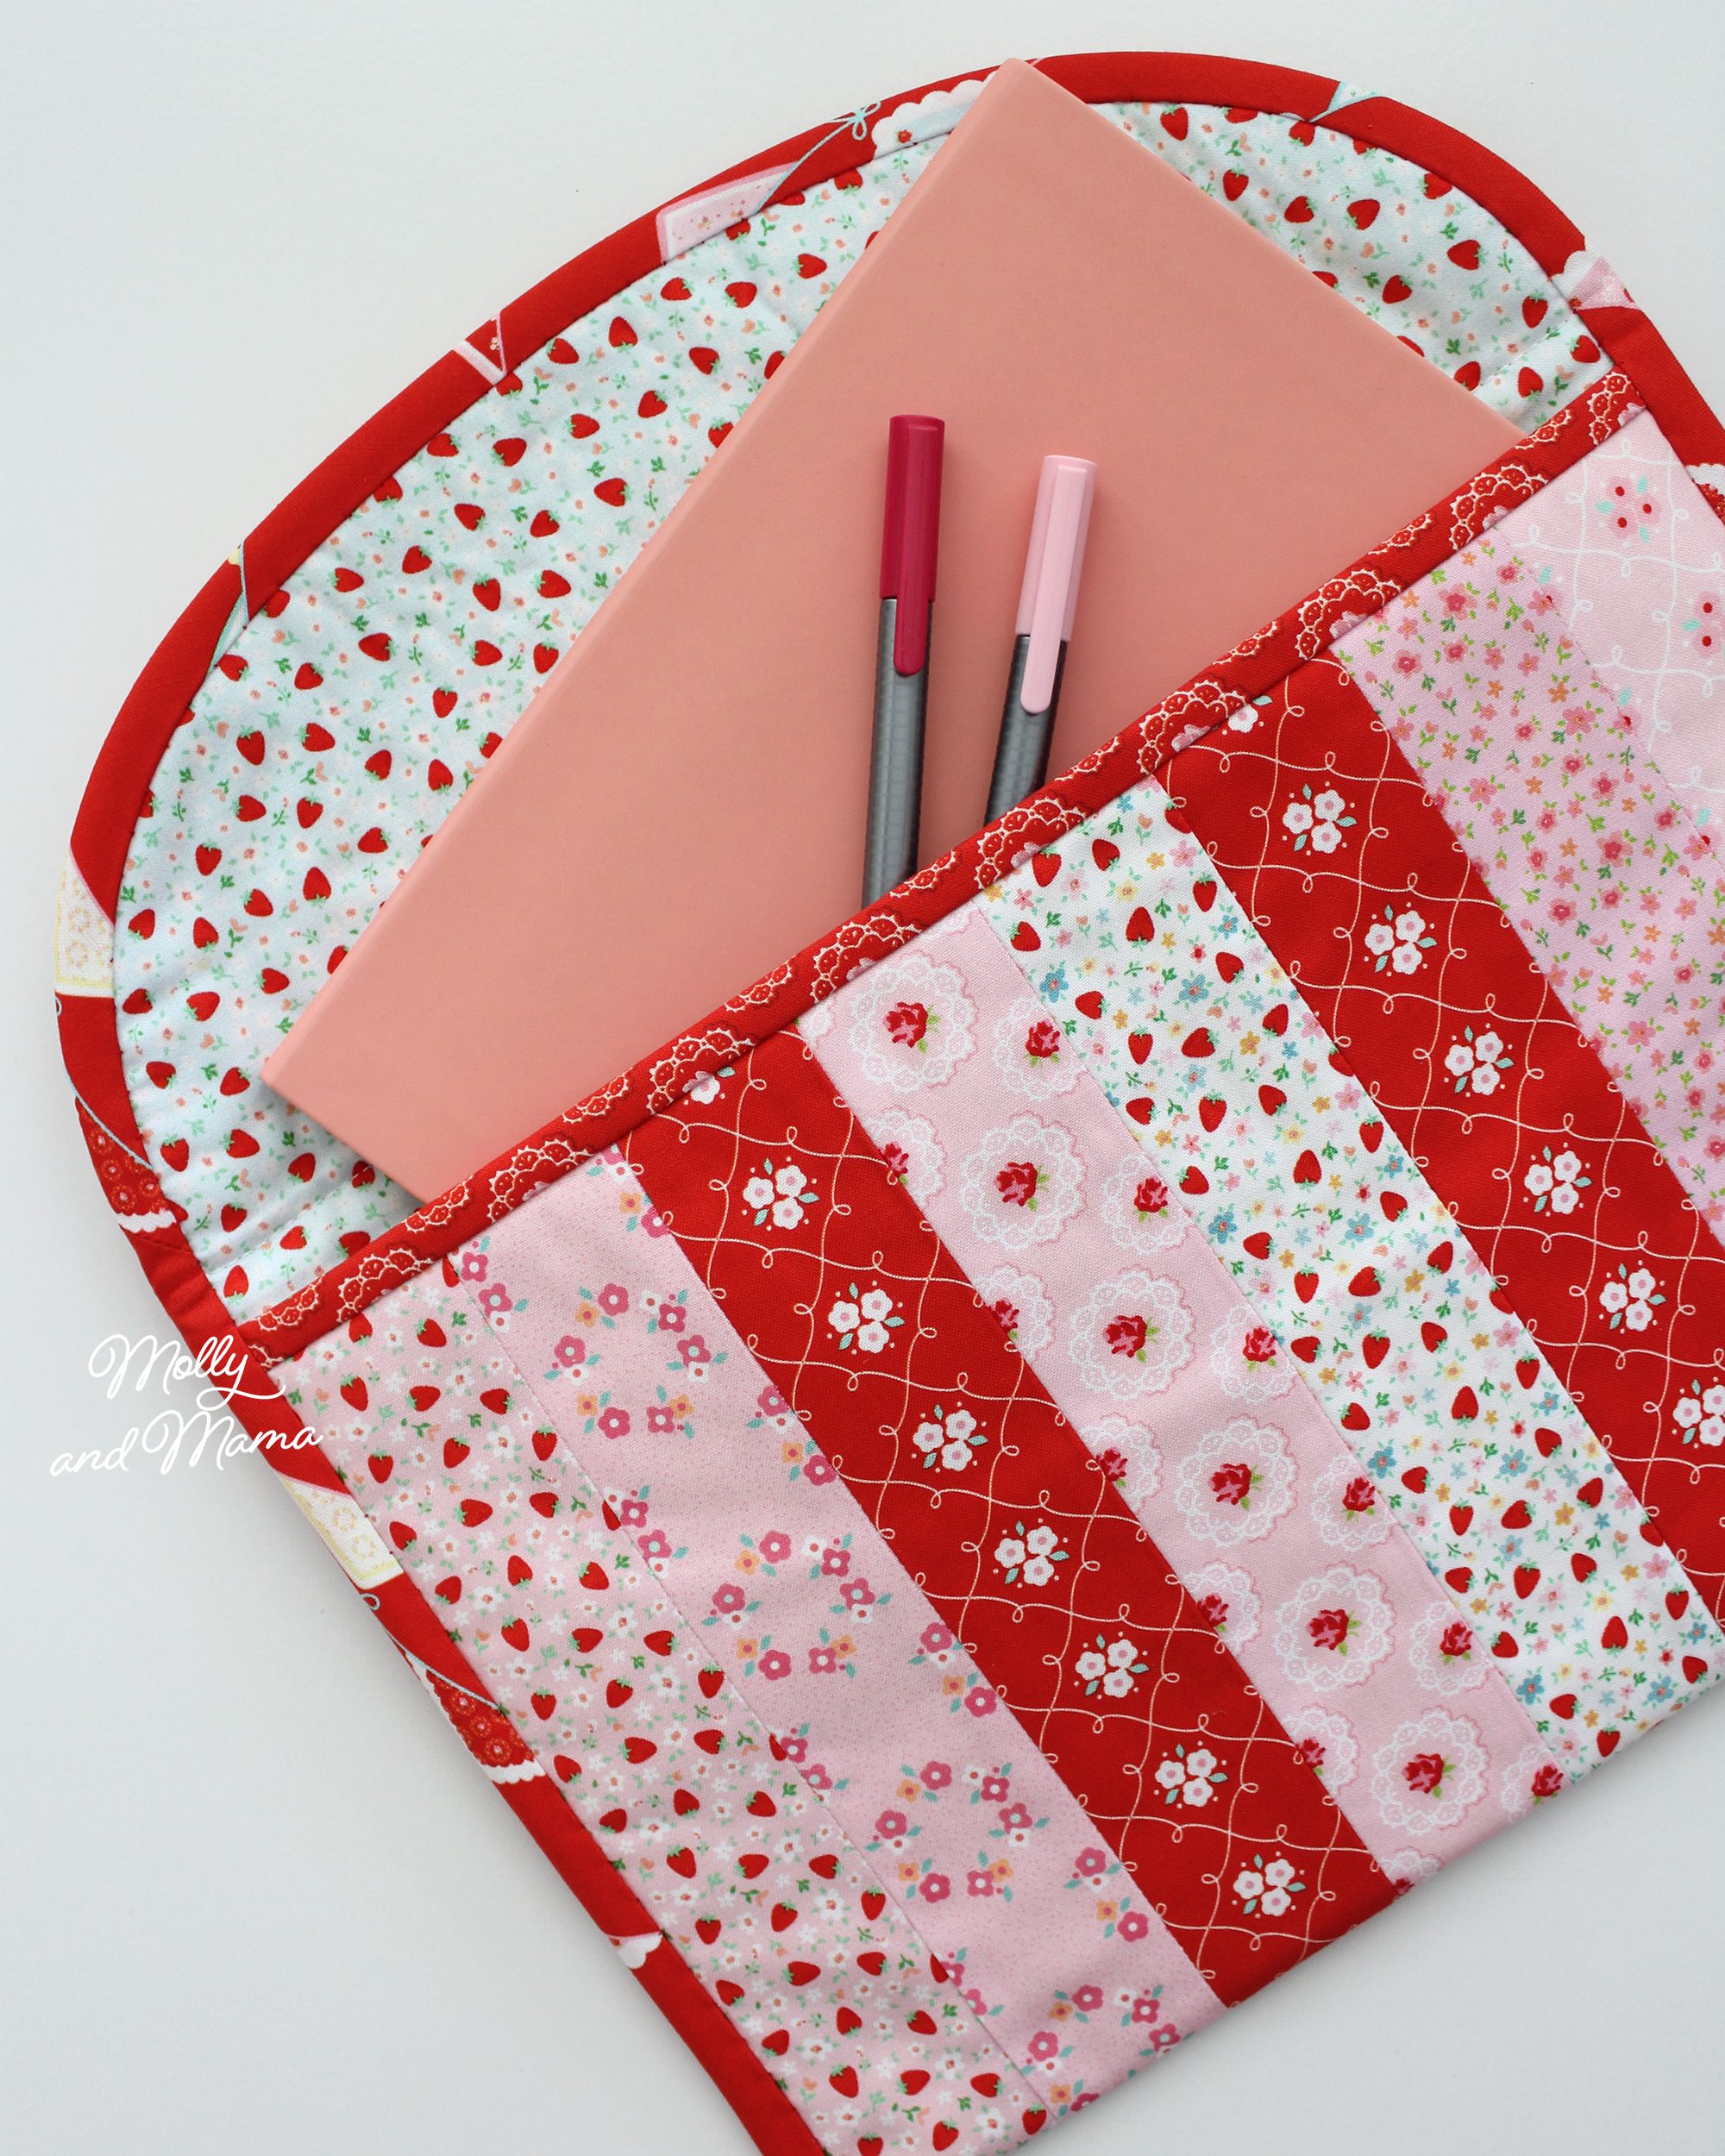
The finished pouch is a gentle nod to the heart theme for Valentine’s Day. But it’s a sweet project that can be used all year round. It fits an iPad or tablet, but also makes a great clutch bag or a book pouch.
If you make one be sure to share it in the Molly and Mama Makers facebook group. We’d love you to join us. And I can’t wait to see.
Happy stitching, Lauren x