Make a Pretty Posy Pin Cushion
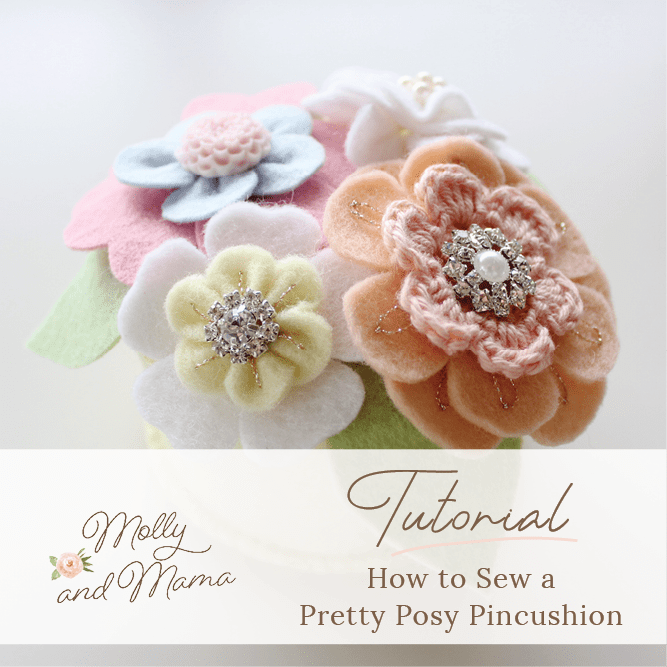
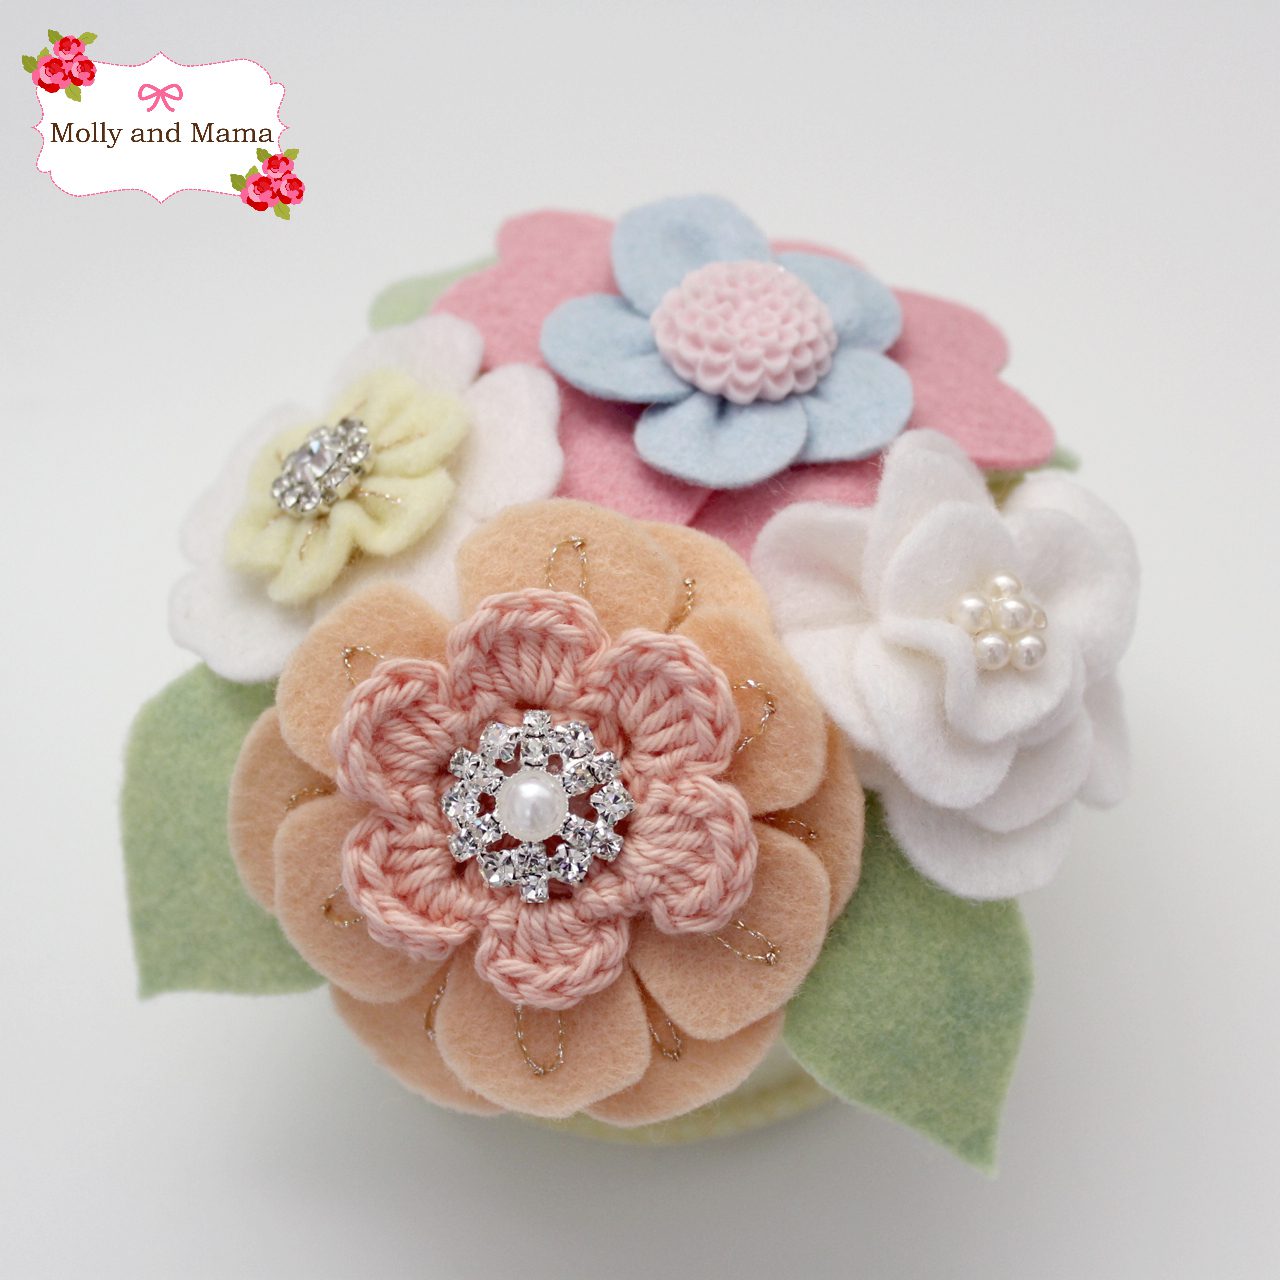
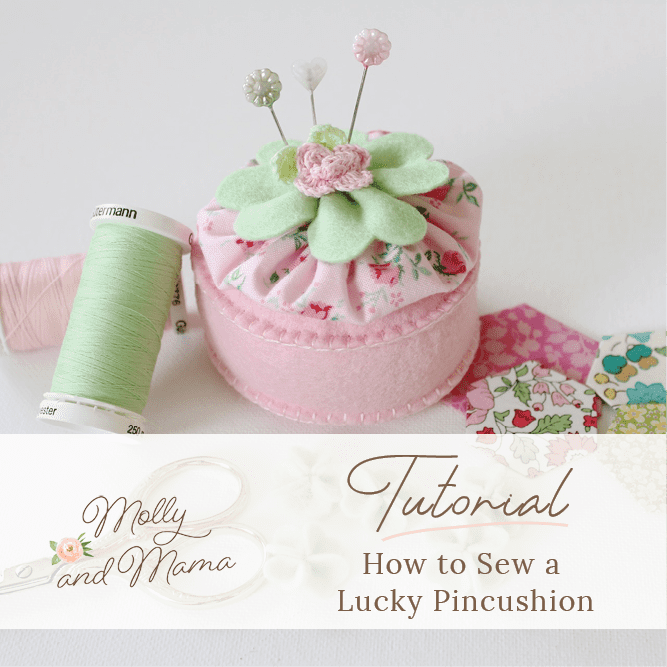
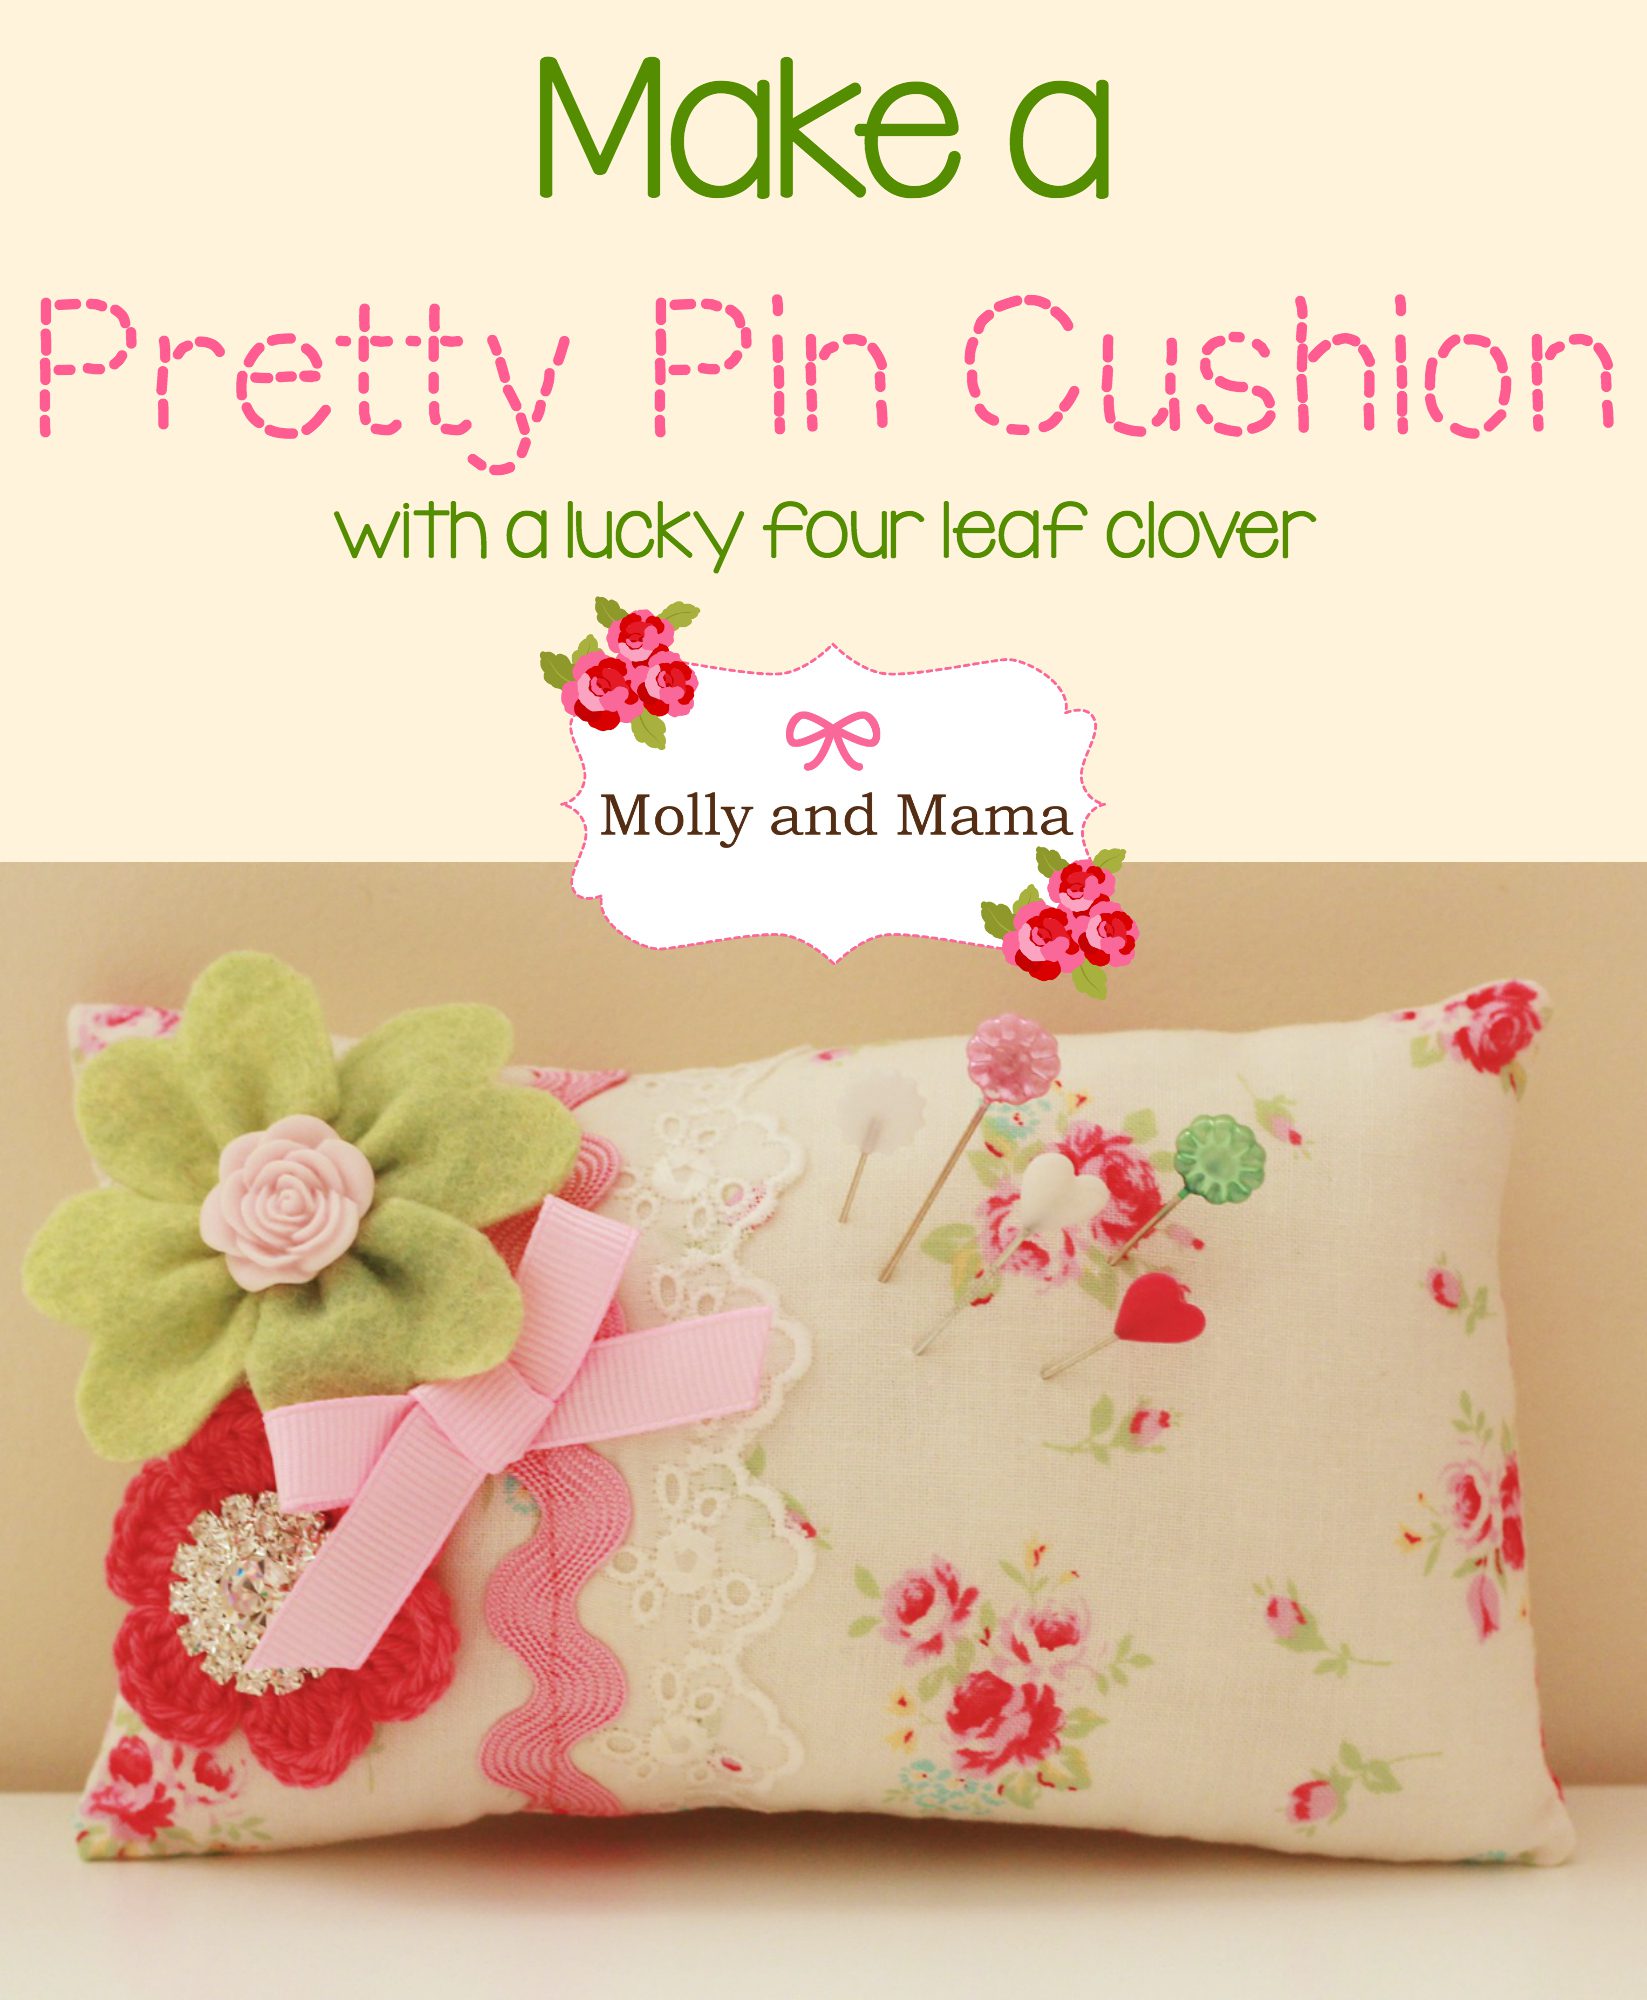
Bring a bit of Spring into your sewing space with this beautiful felt flower pin cushion. It’s a very simple project to hand stitch and is the perfect way to store your sewing pins! Using readily available materials, you can piece one together in an afternoon!
If you’re a fan of pin cushions, you can find more tutorials HERE. I love writing about Pin Cushions and have some great tips for working with Wool Felt. I have a gorgeous collection of inspiring ideas on Pinterest too. I even have Pin Cushion patterns in my Etsy store. So I’m a big fan too!
YOU WILL NEED
- 100% wool felt in varying shades.You’ll need 27cm (11”) x 14cm (5.5”) for the pin cushion. I used lemon coloured felt. The flowers use a combination of white, lemon, apricot, pastel pink, baby blue and pale green felt pieces. The largest piece you’ll need is a white 10cm (4”) square for the magnolia.
- co-ordinating embroidery floss or thread (six stranded embroidery cotton)
- sparkly metallic quilting thread
- polyfill stuffing
- rice (or a weight for the pin cushion base)
- fine, small scissors for cutting the felt shapes
- scissors
- embroidery needle and fine eyed needle for stitching beads
- embellishments like crochet flowers, beads, sparkly rhinestone buttons, resin cabochons or other pretty pieces
- hot glue gun
- a print out of the flower template. You can download it HERE.
DIRECTIONS
Make the Pin Cushion
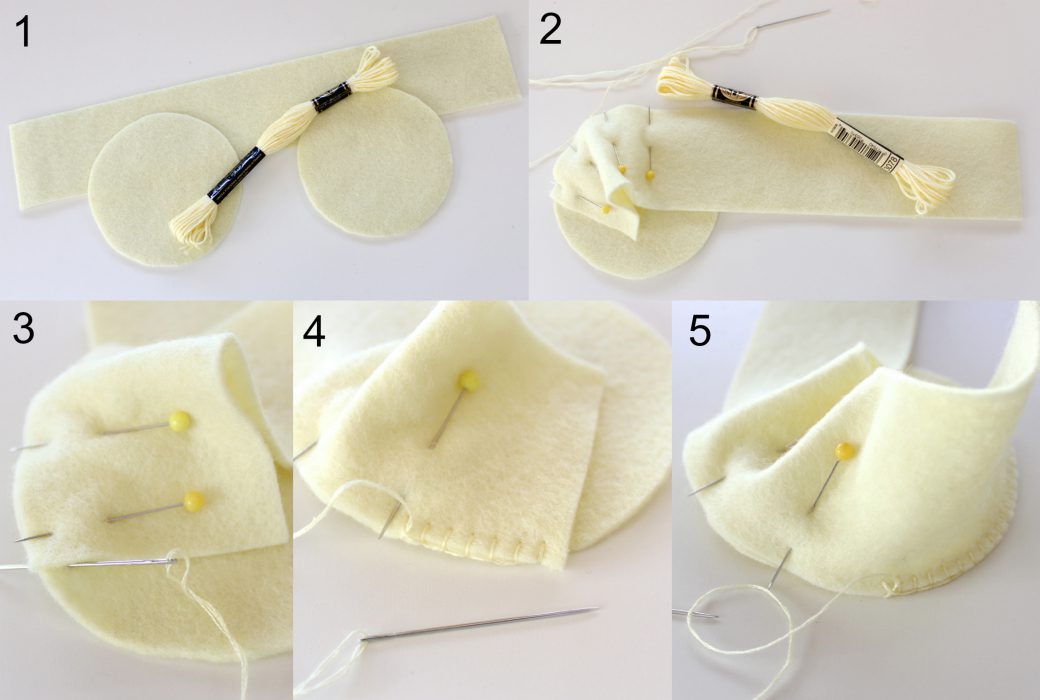
1. Cut two felt circles for the top and base, with a diameter of 9cm (3.5”). Cut one felt strip for the side of the pin cushion measuring 27cm (11”) x 5cm (2”).
2. Pin the strip carefully around the perimeter of one circle. This will make the base and side of your pin cushion. I found it easier to pin a section and then stitch a section at a time.
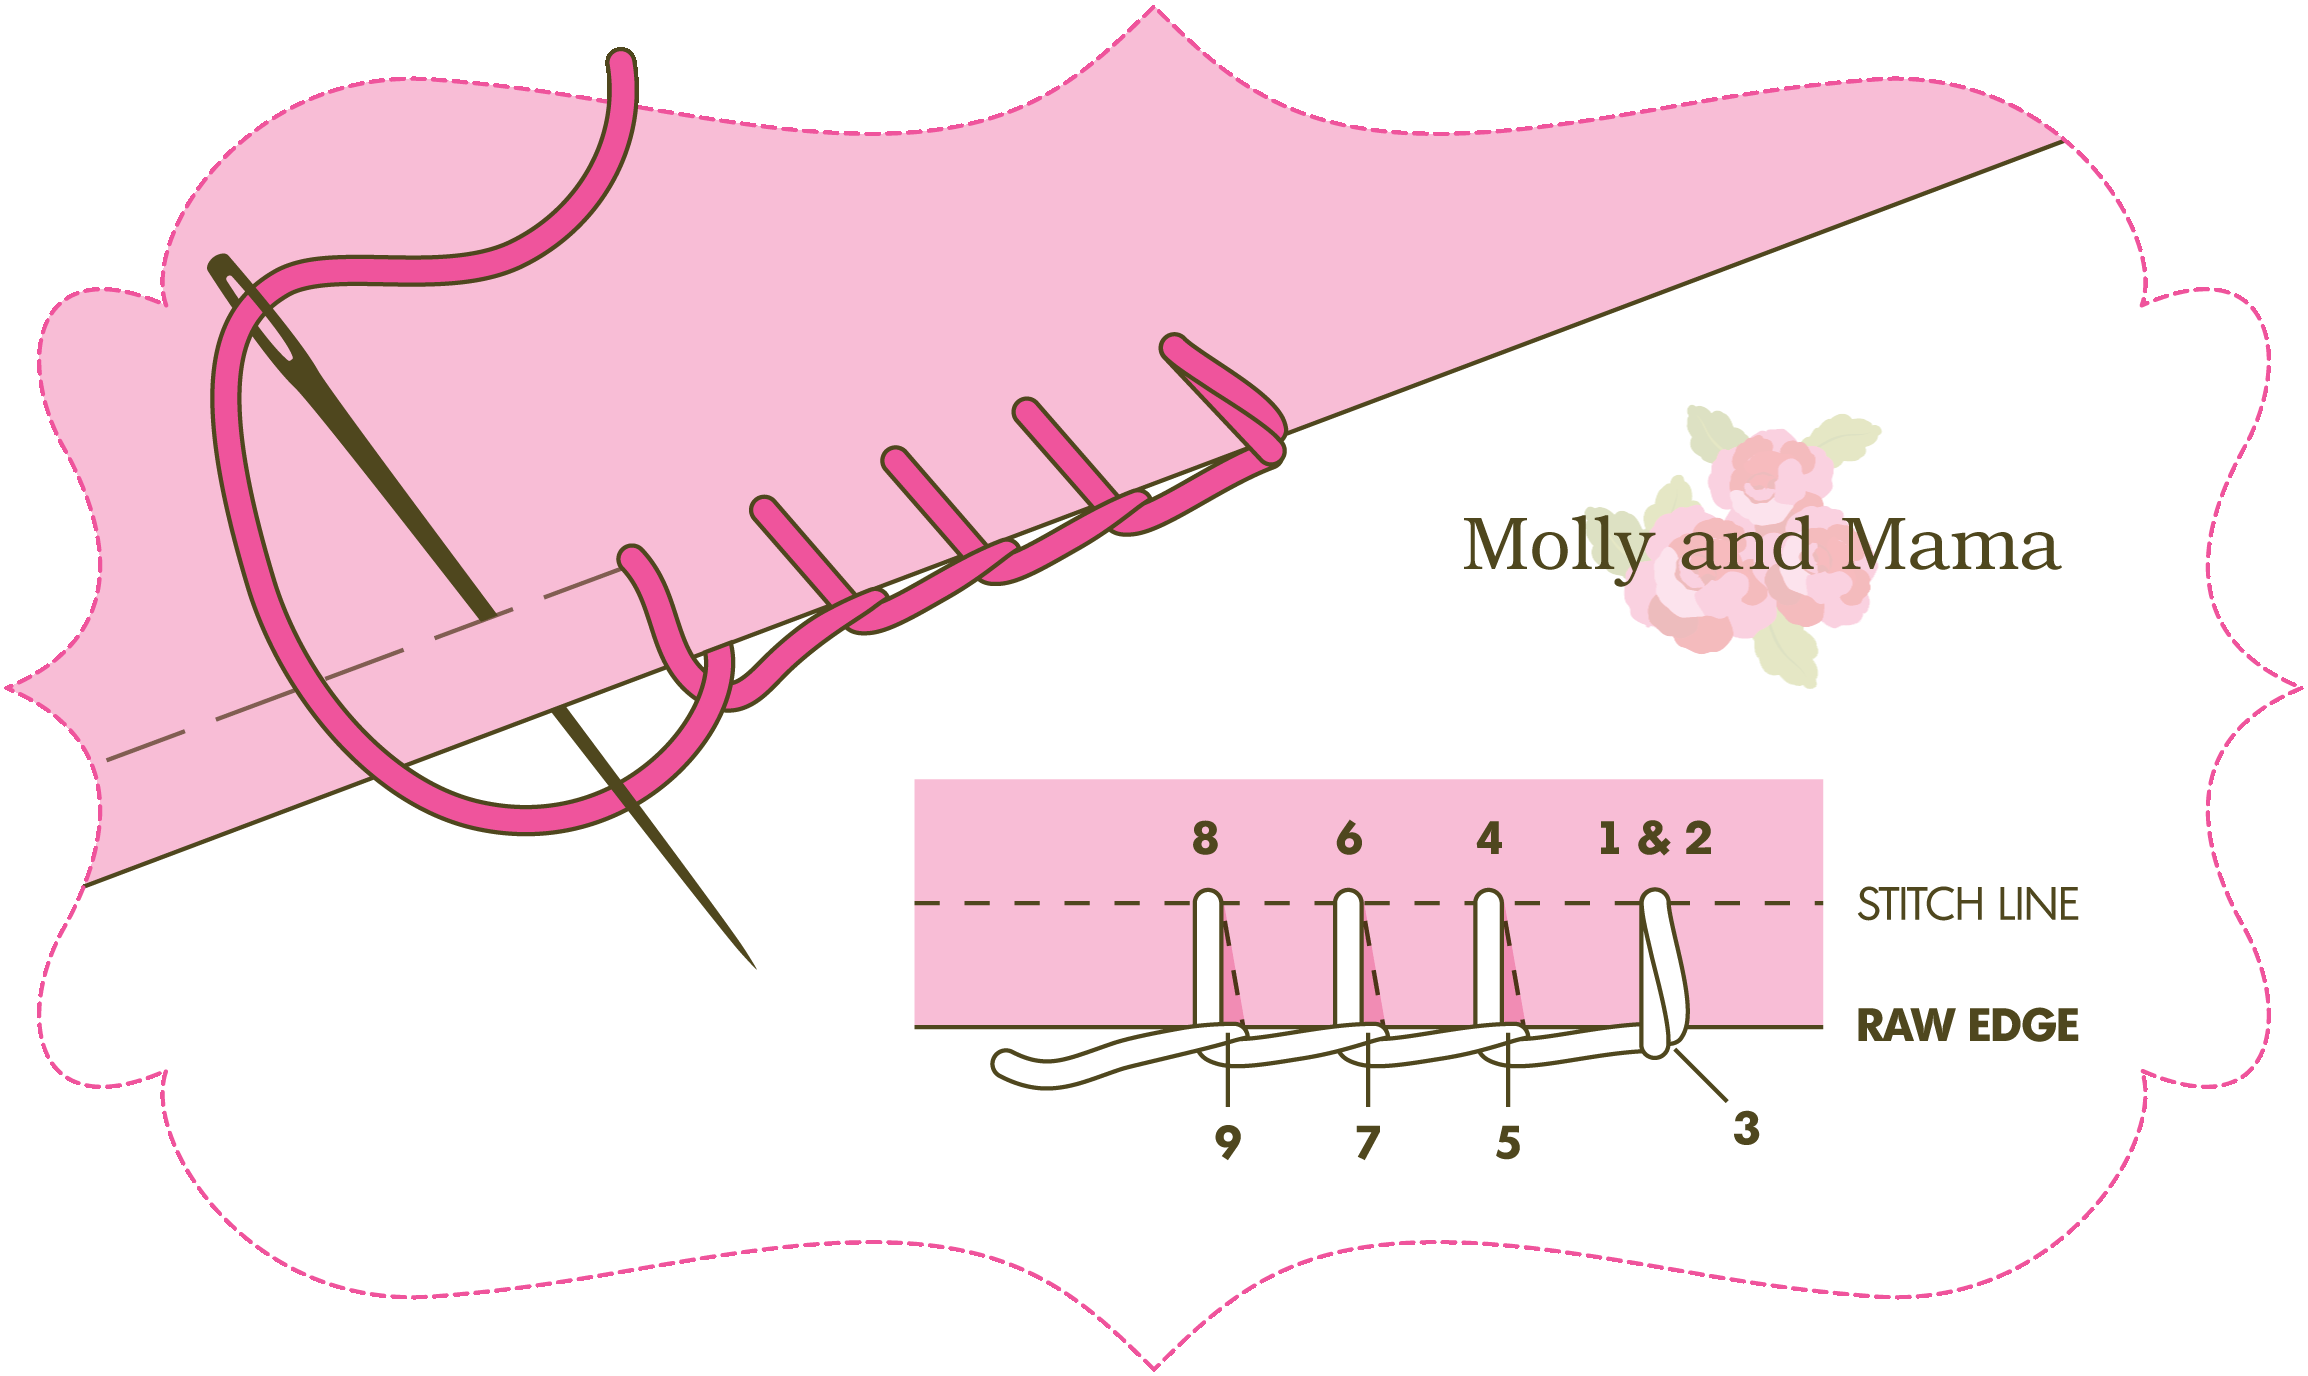
3, 4 and 5. Thread your embroidery needle with two strands of separated embroidery floss in a shade to match the felt. Stitch the side strip of felt to the base using blanket stitch. Continue to stitch around the perimeter of the base until you reach your starting point. You may need to change your thread once or twice.
As a quick refresher, this illustration shows you what Blanket Stitch looks like.
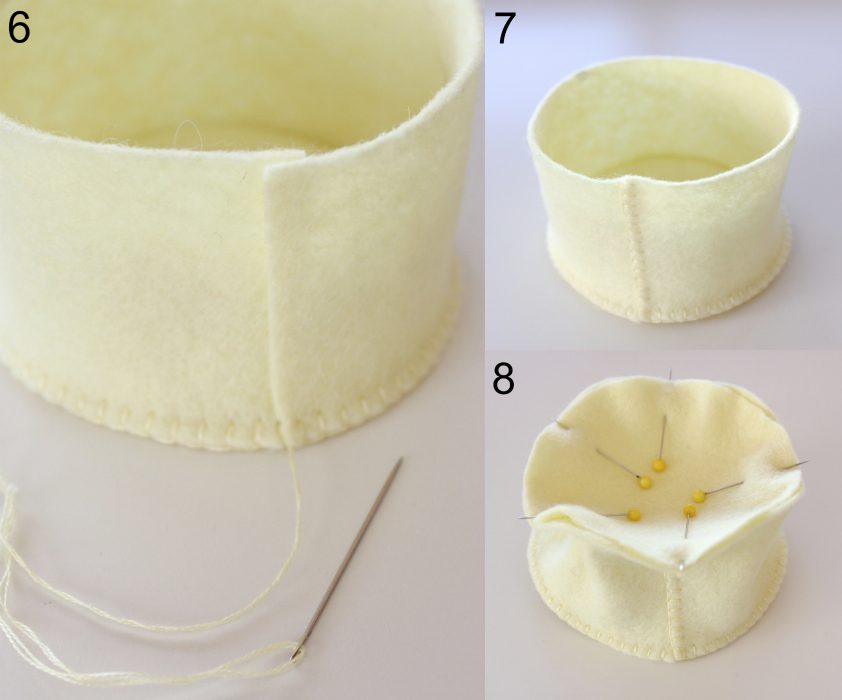
- Overlap the felt of the side piece by 5mm (and trim away any excess felt length).
- Blanket stitch the sides together.
- Pin the top circle of felt to the rim of the pin cushion.
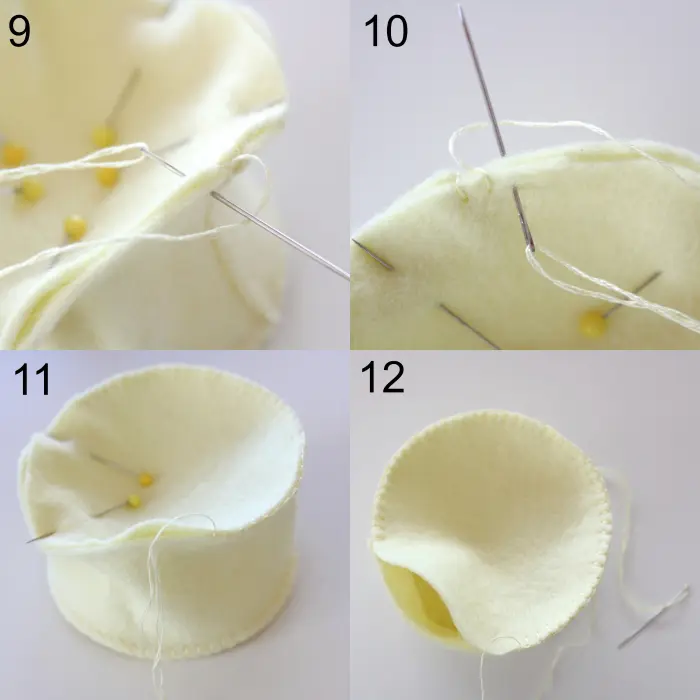
9, 10 and 11. Blanket stitch the top in place by starting at the side seam. Change thread when necessary.
12. Stop stitching when you are three quarters of the way around the circle, but leave your thread intact (to continue stitching after stuffing).
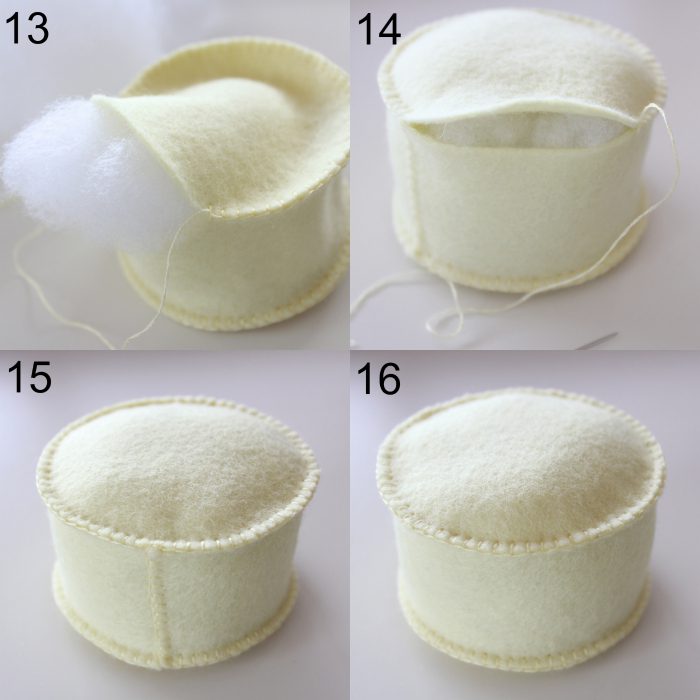
13 and 14. Fill the base of the pin cushion with a layer of rice. This will add weight. Add polyfill stuffing to firmly fill the pin cushion.
- Continue to blanket stitch the pin cushion closed.
- Your completed pin cushion makes the perfect base for any pin cushion project.
Make the Flowers
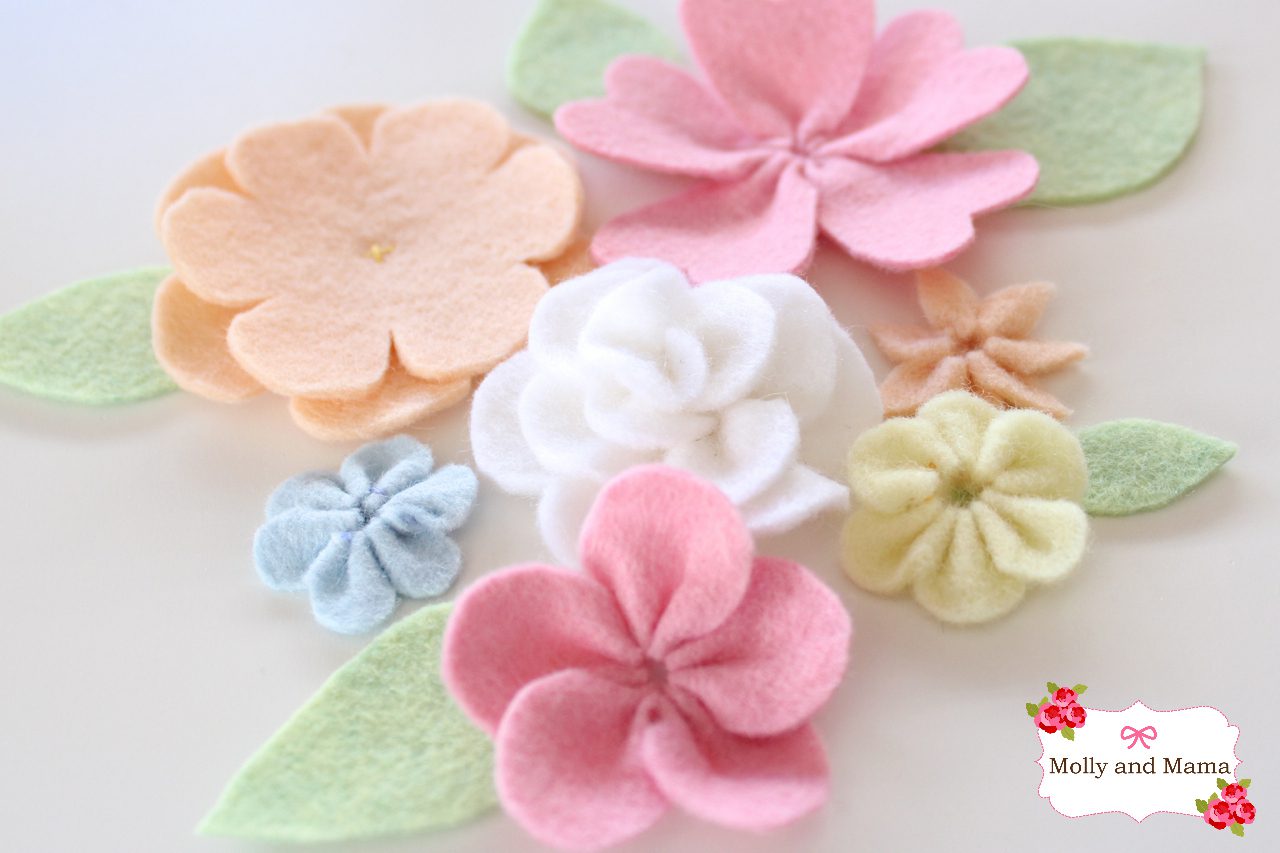
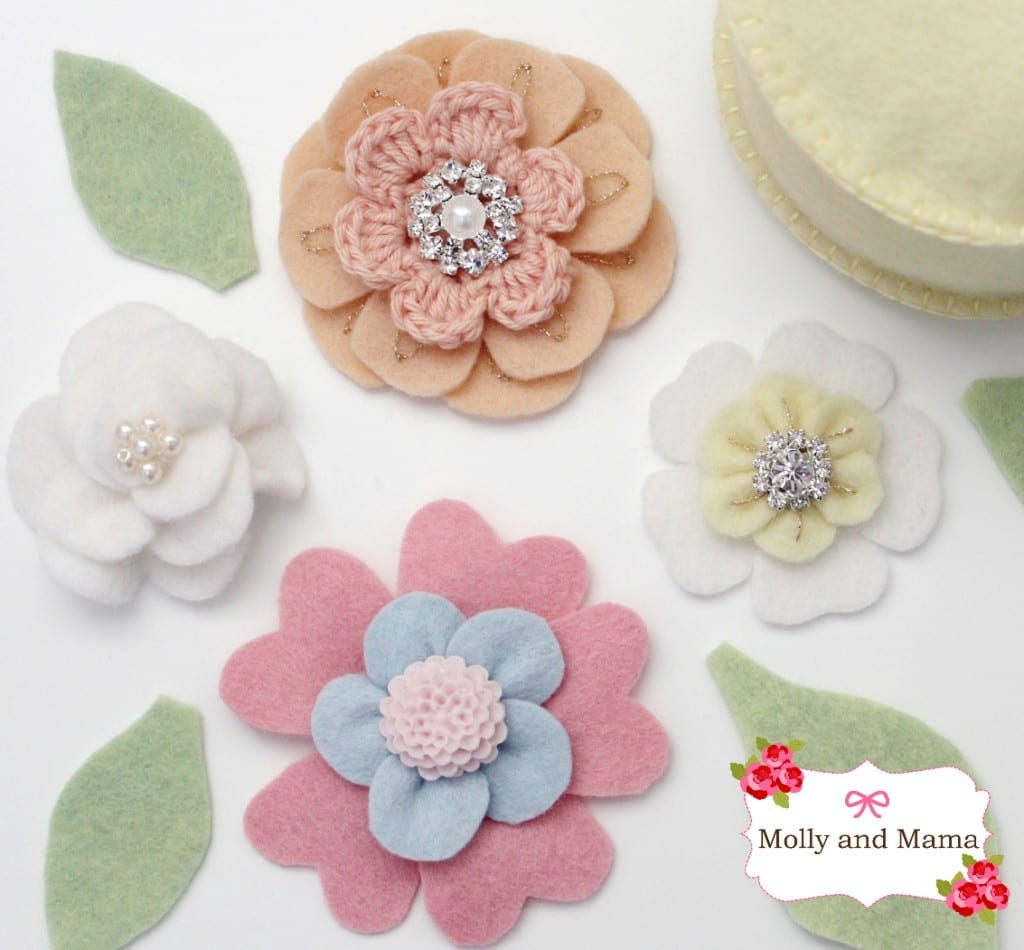
Now it’s time to get creative. You’ll need a combination of flowers and leaves to cover the top of your pin cushion. Perhaps you’d like to make just one statement flower for the centre, or a whole lot of tiny blooms to decorate your pin cushion top. You’re only limited by your imagination!
I selected a number of colours and materials to create my posy of pretty flowers. You can use the provided template or cut your felt shapes freehand. Use small sharp scissors to get a clean and neat cut.
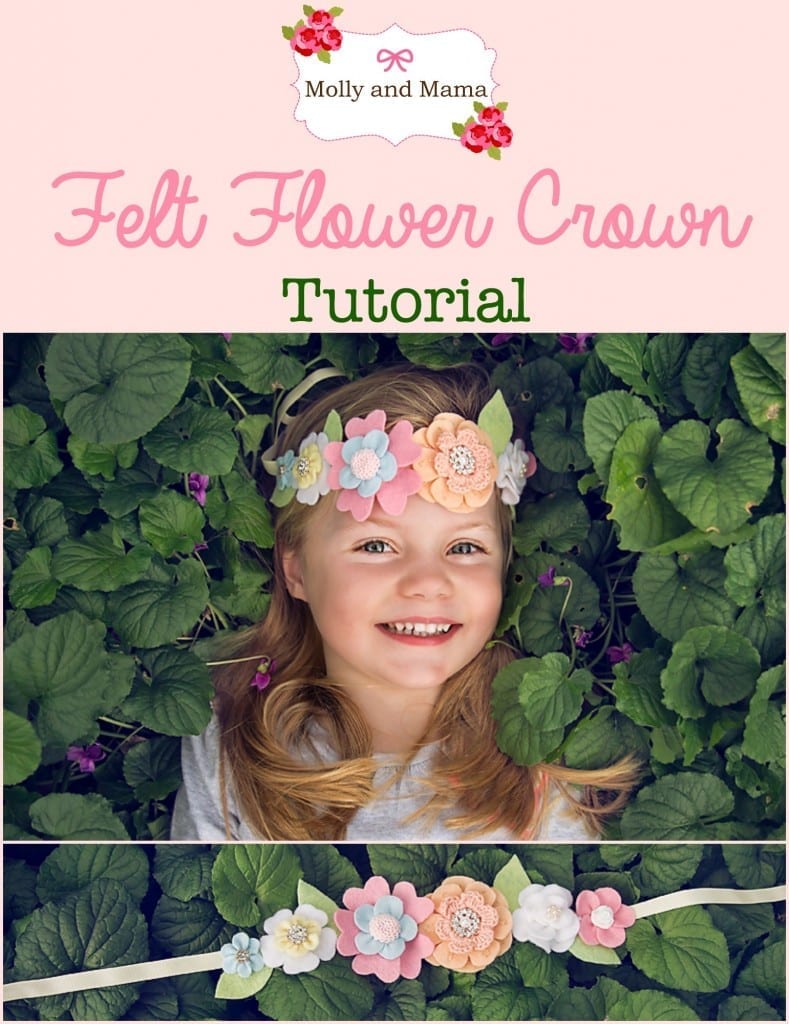
Follow the instructions outlined to create each of the individual flowers HERE. I used the same techniques to create the flowers as for this FELT FLOWER CROWN tutorial.
Arrange your Posy and Put it all Together
Arrange your flowers on your pin cushion top as you create them. I made a number of different flowers and also cut a variety of freehand leaves.
Once I was happy with my floral collection and their placement, I used a few well-placed invisible stitches to firmly secure each flower and leaf to the pin cushion top. My completed pin cushion looks as pretty as a posy!
If you liked stitching this pin cushion, you might like these PATTERNS too!
This tutorial was written by Lauren Wright and appeared first on Molly and Mama http://www.MollyandMama.com.au

Love this pin-cushion. I too really enjoy making pin-cushions. I am a Porcelain Doll Maker. My Pin-Cushions usually have a Porcelain Doll in them. I think your pin-cushion is precious.My name is Shirley Ann Taylor. So nice to meet you .
Thanks for your lovely comment Shirley. It’s always great to meet new readers. Your porcelain doll pin cushions sound delightful! Happy sewing, Lauren.
These are so cute thank you so much for sharing
Thank you so much for your lovely comment Janet. And you’re welcome 🙂
Thank you so very much, Your deigns are a real delight, long may you have more and more wonderful stitching ideas, Beth.
Oh Beth, you have just made my day! Thank you for your lovely comment and happy sewing! Lauren x