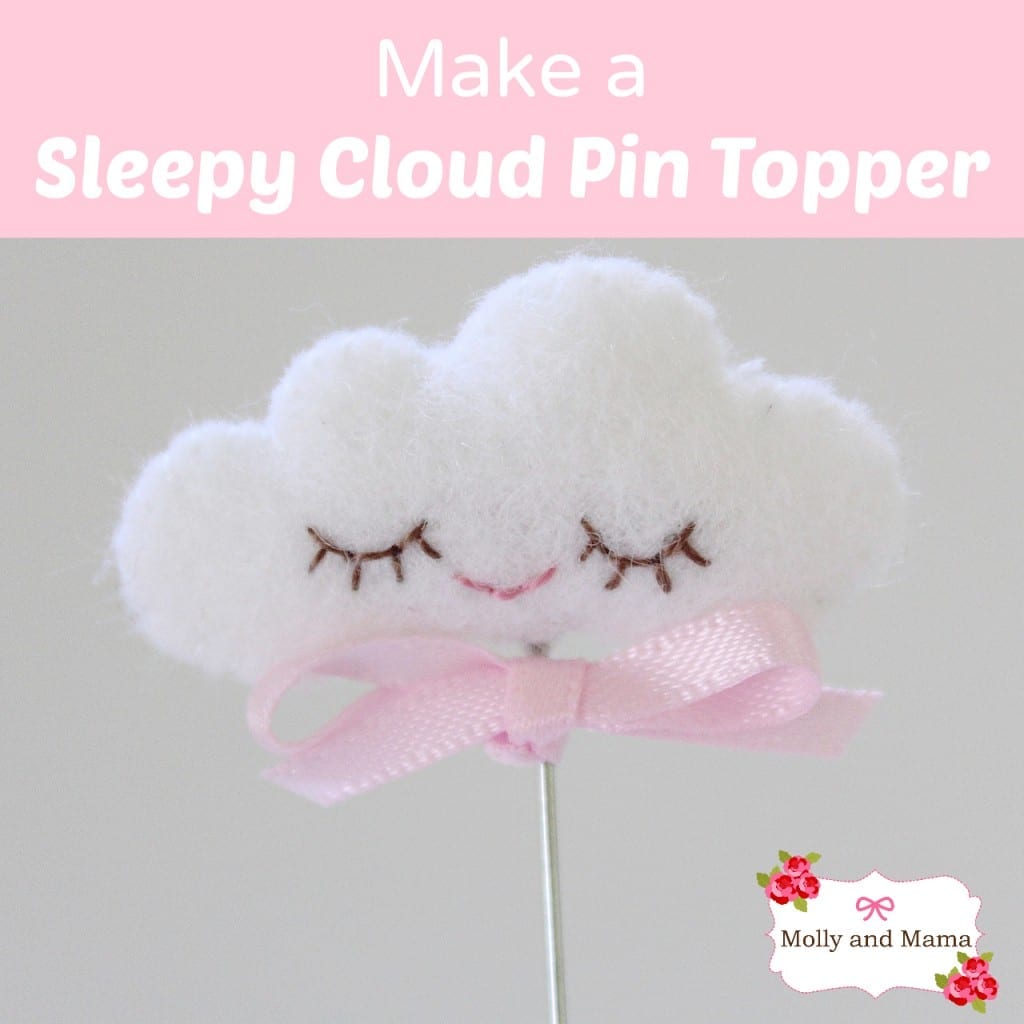
Make a Sleepy Cloud Pin Topper
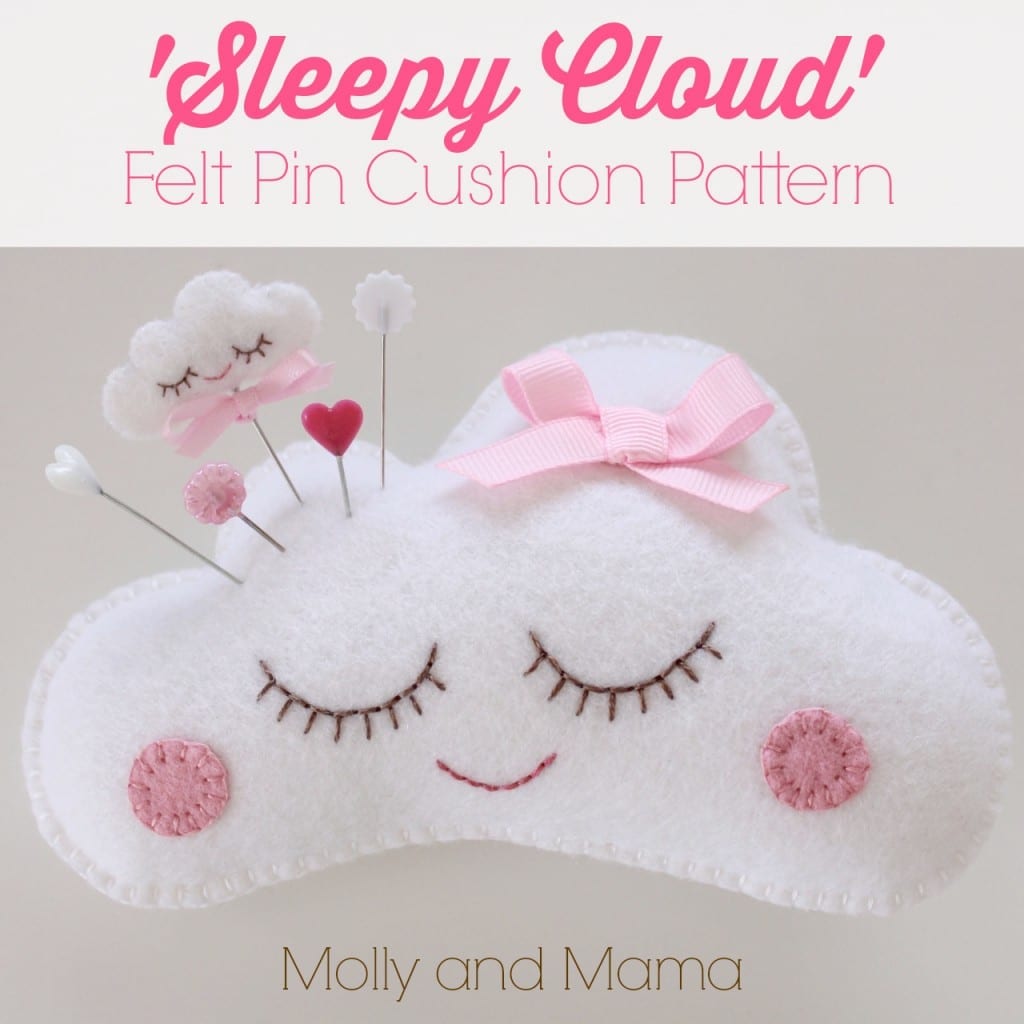
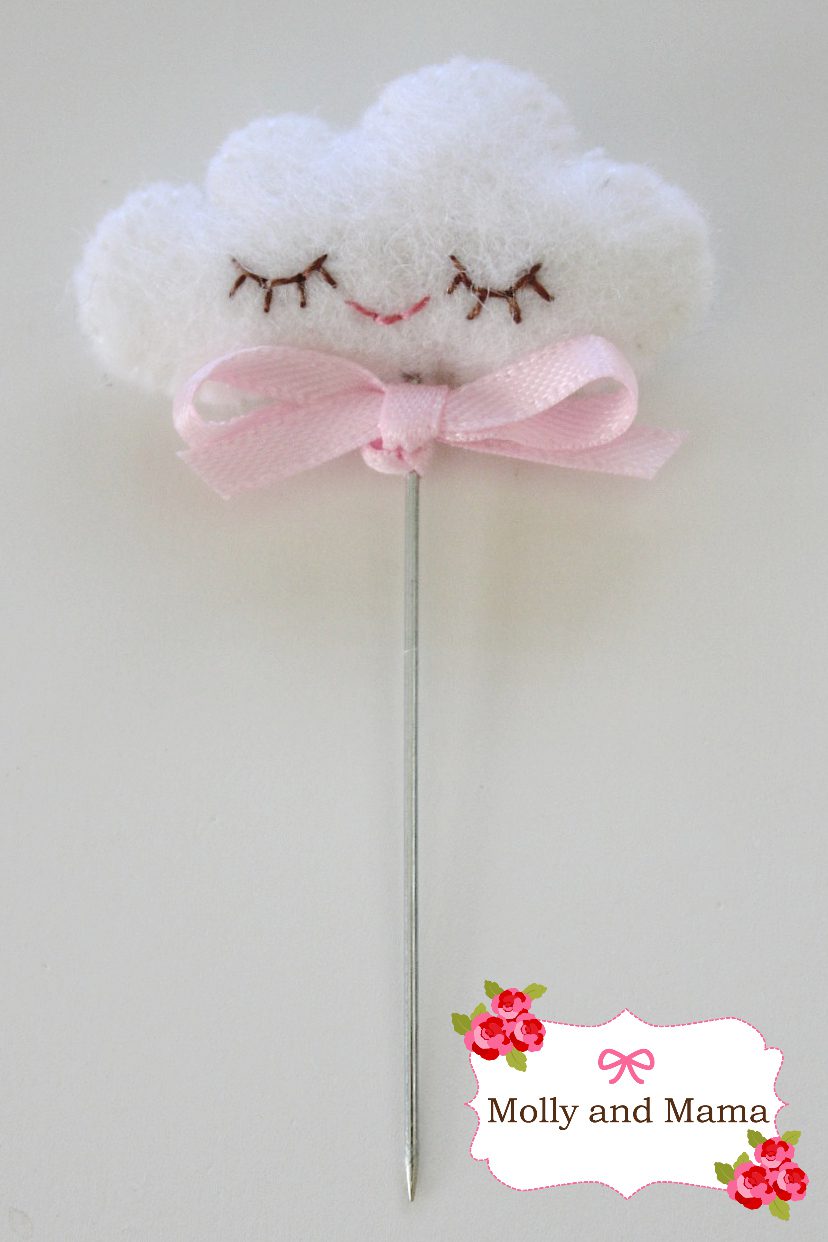
I had so much fun creating this adorable little pin topper to go with the latest pattern in the Molly and Mama range – the Sleepy Cloud Pin Cushion! If you’d like to make the pin cushion, you can purchase your pattern HERE at the special introductory price! And keep reading for details on how to create the FREE matching little ‘cloud pin topper’. It’s only 1.5″ wide!
It seems like there are clouds everywhere at the moment. And I wanted to make my own little cloud that’s inspired by such a sweet trend. So I created this adorable pin cushion pattern. I’ve also created a cloud applique template and she compliments the pin cushion design perfectly. You can pick her up in the STORE now.
The SLEEPY CLOUD is one of my favourite felt creations. I just love working with 100% wool felt (you can read why here). And I also love making pin cushions!
If you’d like to create the tiny little pin topper to match the pin cushion, here are the instructions;
TINY CLOUD PIN TOPPER
You will need;
- two pieces of white wool felt measuring 2″ (5cm) wide x 1″ (2.5cm) wide
- a sewing pin
- small amount of polyfill stuffing
- narrow ribbon for the tiny bow
- embroidery needle and floss. I used a single strand of white, light brown and pale pink
- a print out of the template, which you can find HERE
- sewing pins
- scissors with short sharp blades
Lets Get Stitching
1. Print out your template being sure to avoid changing the print size settings. You’ll know your template is the correct size by using the one inch square guide on the template. Cut around the cloud shape leaving a small border around the outline.
2. Pin the template onto one of your pieces of felt. Cut out the cloud shape by following the line on the template. It’s easier to cut the felt this way when you’re working with such small pieces.
3. Place your second piece of felt behind the first piece, and use the first cloud shape as an outline for cutting your second cloud shape. It’s easier than cutting the clouds out together, as the pieces are just too small.
4. Thread your embroidery needle with one strand of light brown embroidery floss. Use back stitch to hand embroider some simple eyes on one piece of your white felt. Use the photo as a guide. Change the floss to pale pink and use a few back stitches to create a smiling mouth. Don’t forget to secure your stitches and trim the floss when you’re done.
5. Lay the embroidered cloud felt piece over the second piece. Using a single strand of white embroidery floss, whip stitch the two cloud pieces together. Start at the bottom middle of the cloud (where the pin will stick out). Stitch around the perimeter, until you’re about a centimetre from the start.
6. Take tiny amounts of poly fill, ball them up and gently push them inside the cloud to fill it. Use the end of your closed scissors to help manoeuvre the poly fill around. Once the cloud has a good shape, insert the head end of your pin into the cloud. Make sure it’s surrounded with poly fill.
7. Continue your whip stitching where you left off, to close the stuffing hole and secure the pin. Secure your stitching and trim away the excess floss.
8. Take your narrow ribbon and tie a tiny bow around the pin. Trim the ends and heat seal them if you wish.
How easy was that?
If you’d like some more cloud inspiration, head to my Pinterest board for more ideas!
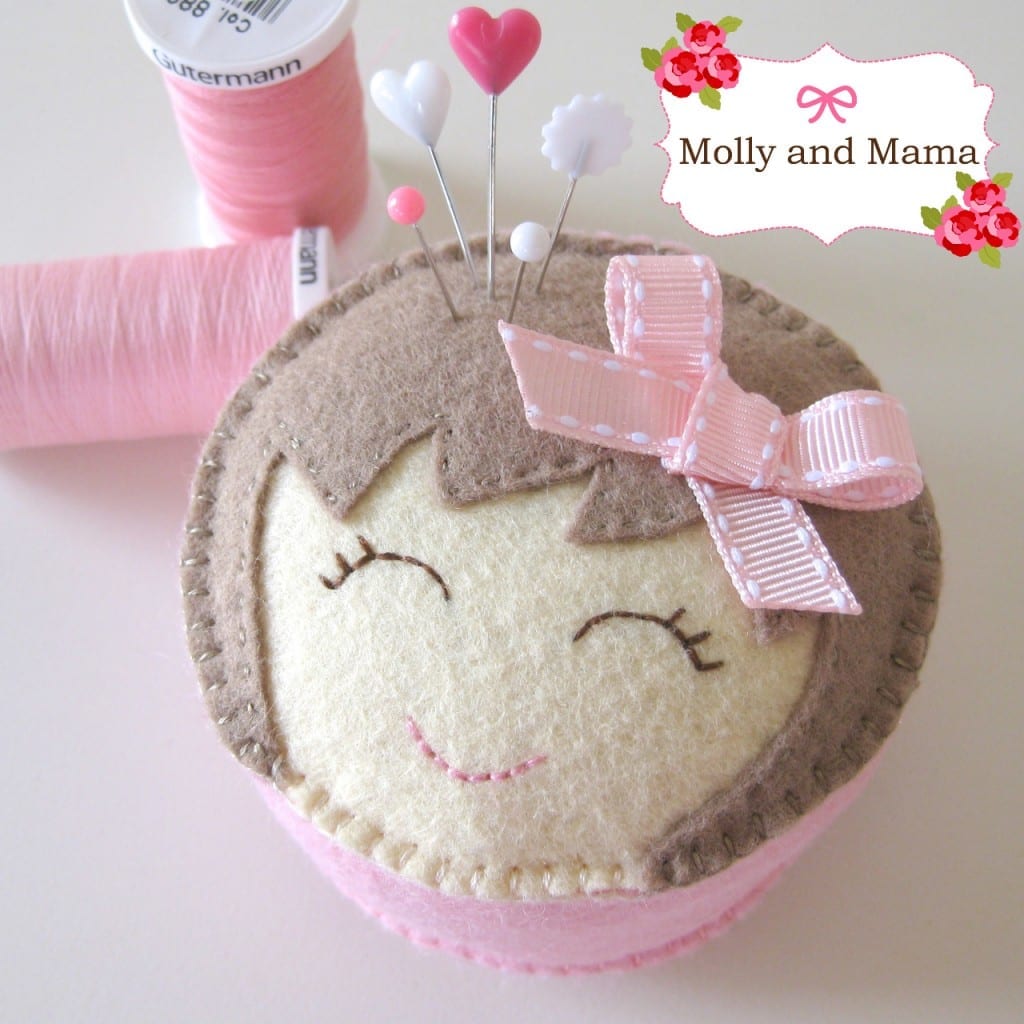
Or you can try Miss Molly. Her pattern in available HERE.
Thanks for being here to share another tutorial! I hope you’ve enjoyed it. Feel free to share your creations on the Molly and Mama facebook page.
Happy stitching! Lauren x
This post was written by Lauren Wright and appeared first on http://www.MollyandMama.com.au

Bonjour Madame!!! J’aimerais recevoir la poire pique aiguilles en tuto, je ne comprends pas votre langue, je ne sais comment faire pour l’obtenir…
Pouvez vous me répondre???
Je vous remercie d’avance.
Amitiés de France.
Marie.