Make Scrappy Fabric Covered Easter Eggs
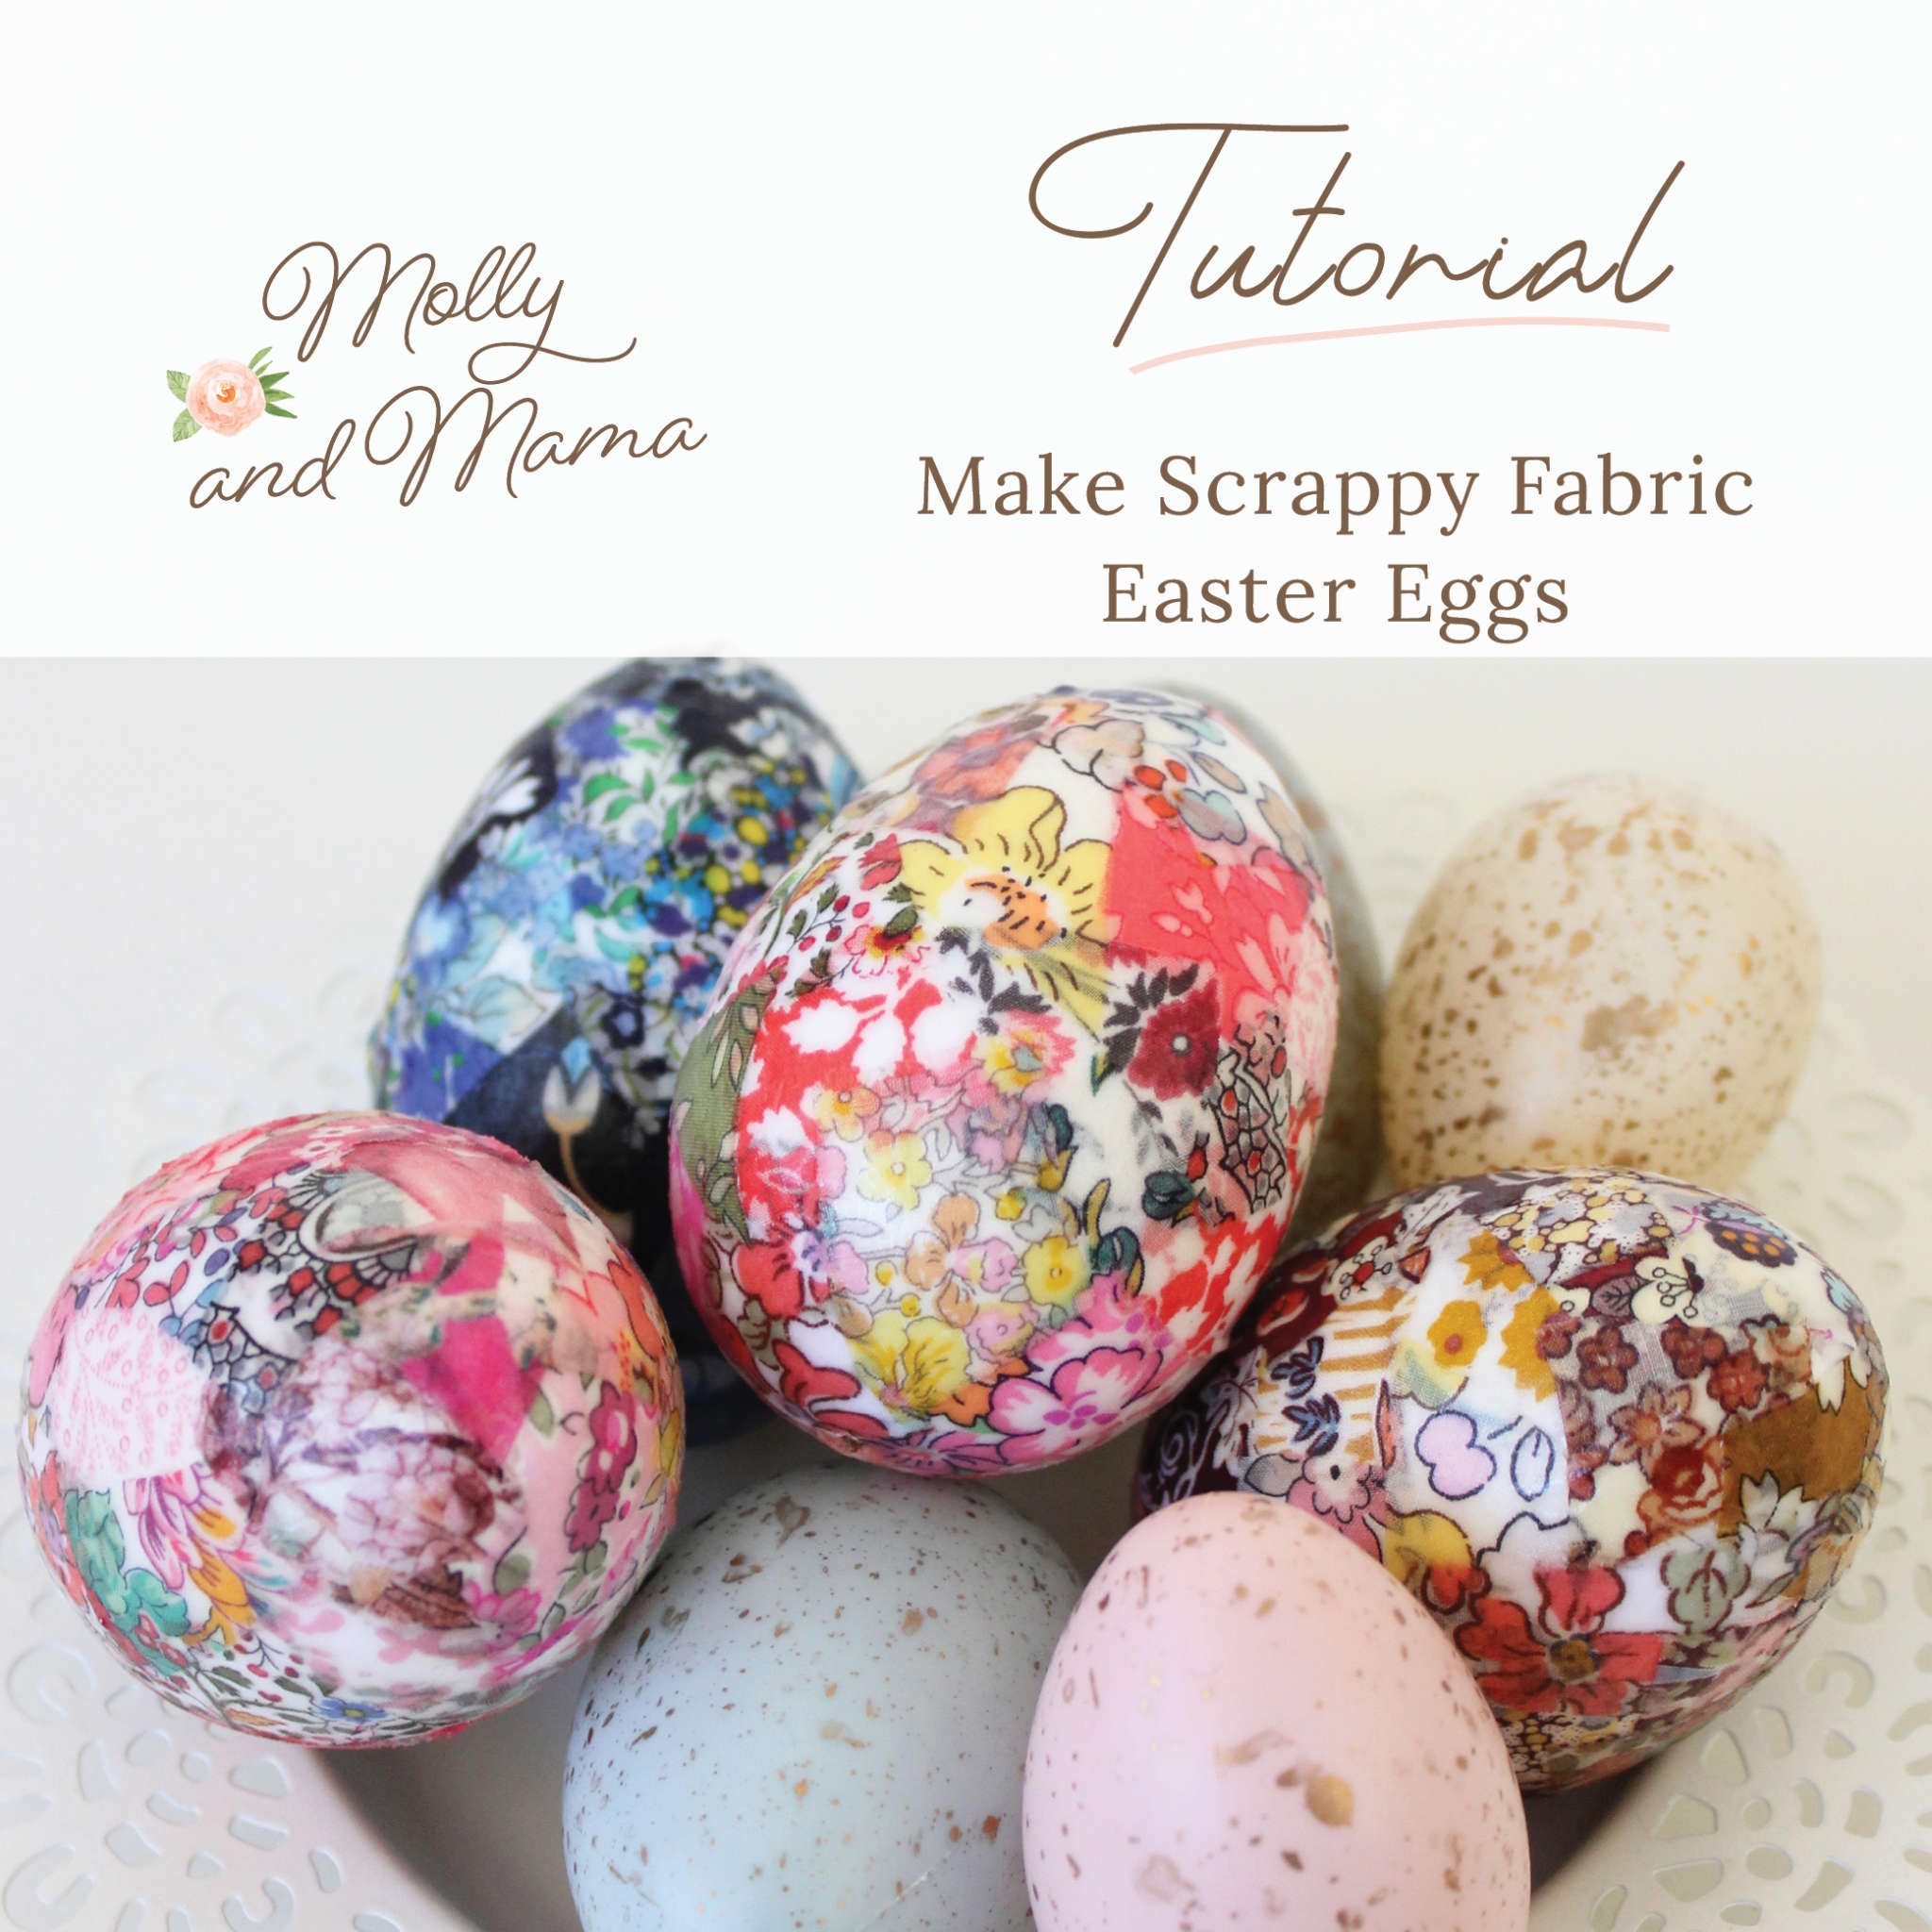
Elevate your Easter decor and make your very own fabric covered Easter eggs using your favourite fabric scraps and this super easy method.

Read on for the basic instructions or sign up below to receive the Molly and Mama newsletter and we’ll instantly email you some printable PDF instructions as a free gift!

NOTE: This project is for PERSONAL USE ONLY for sewing at home and/or teaching another person or child to sew FOR FREE. Reusing or repurposing free Molly and Mama tutorial instructions, templates and images for paid classes, or distributing the materials in classes, to groups, or for commercial purposes, without permission, is strictly prohibited. For clarification, or to seek a commercial arrangement, please contact Molly and Mama.
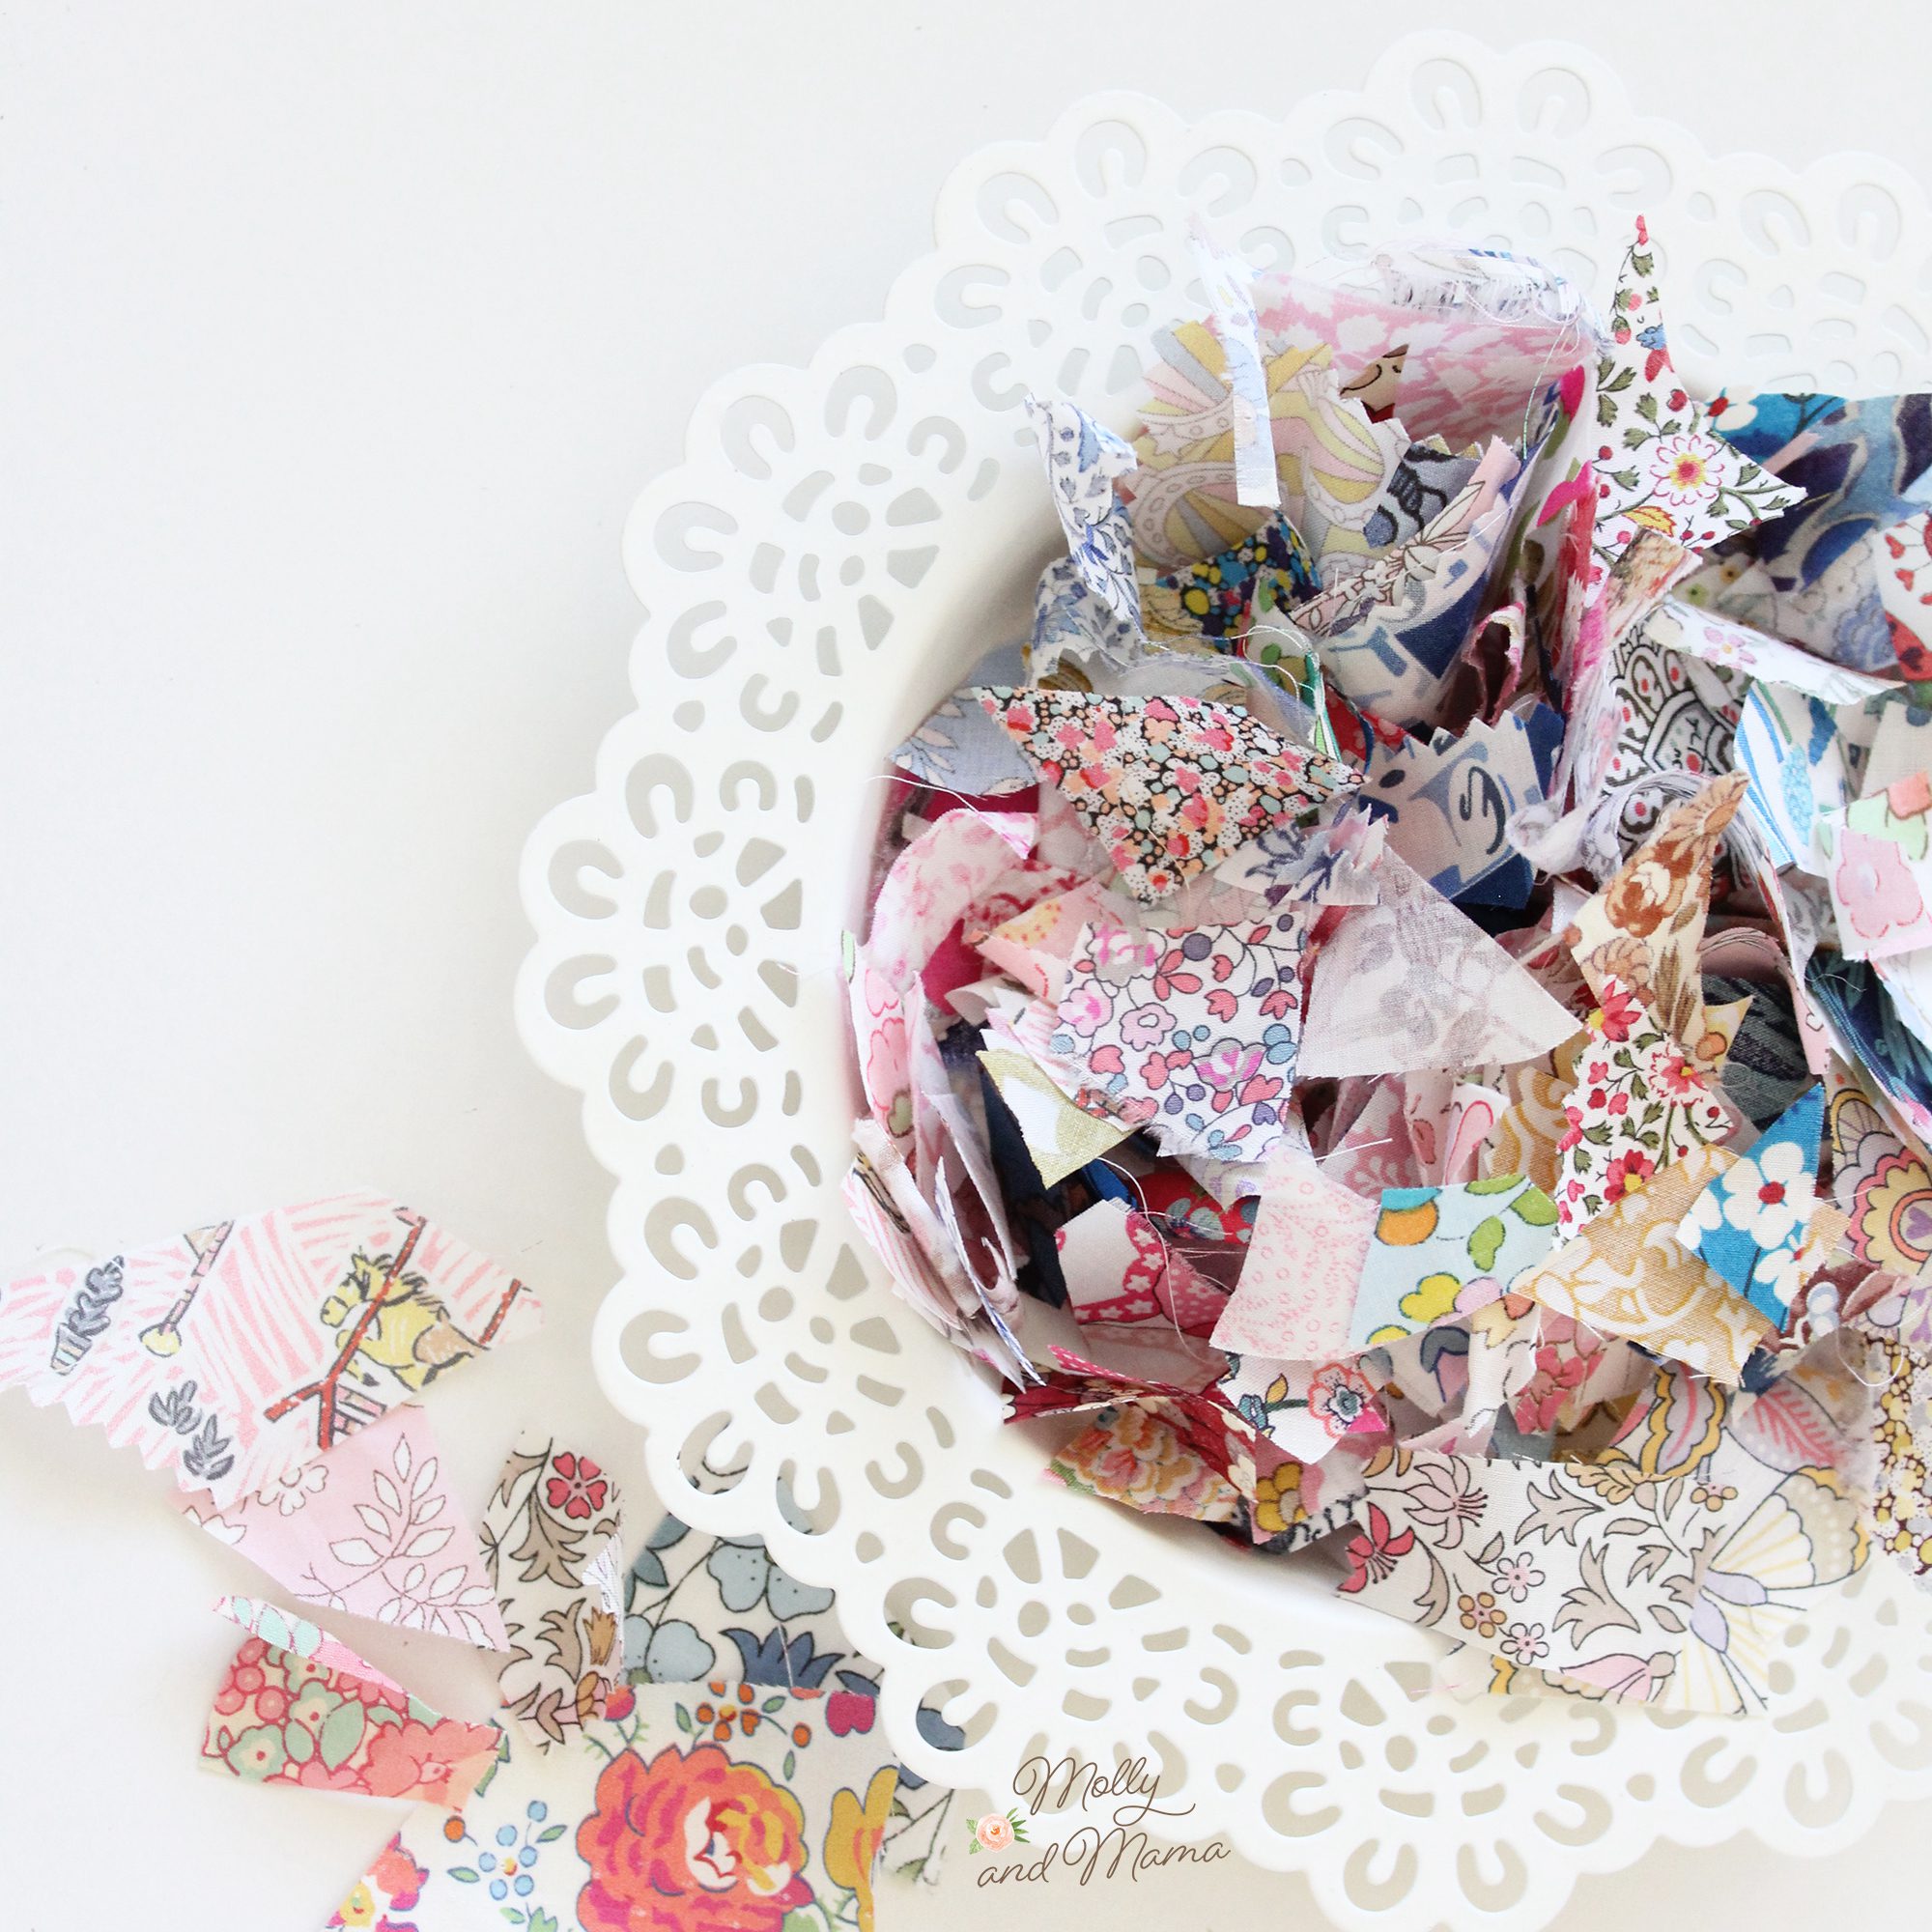
If you’ve been following me for a while, you will know that I have a deep and never ending love for all things Liberty. So when it comes to decorating, my go-to fabric is soft, fine, Liberty lawn in delicate florals. Because it is light weight and the motifs are often so tiny, it’s an ideal fabric to use for appliqué, small project sewing and crafts too. I save every little scrap of this precious fabric, so I always have a stash to choose from for crafts like this one!
To make these fabric covered Easter eggs, I used 3″ (7.5cm) long polystyrene foam eggs. You can also use ceramic, plastic or papier mache eggs too. Use a small paint brush and craft glue like PVA or Mod Podge glue to attach small scraps of fabric to the egg. (My scraps were about 3/8″ (1cm) square in size). Overlap each piece as you go.
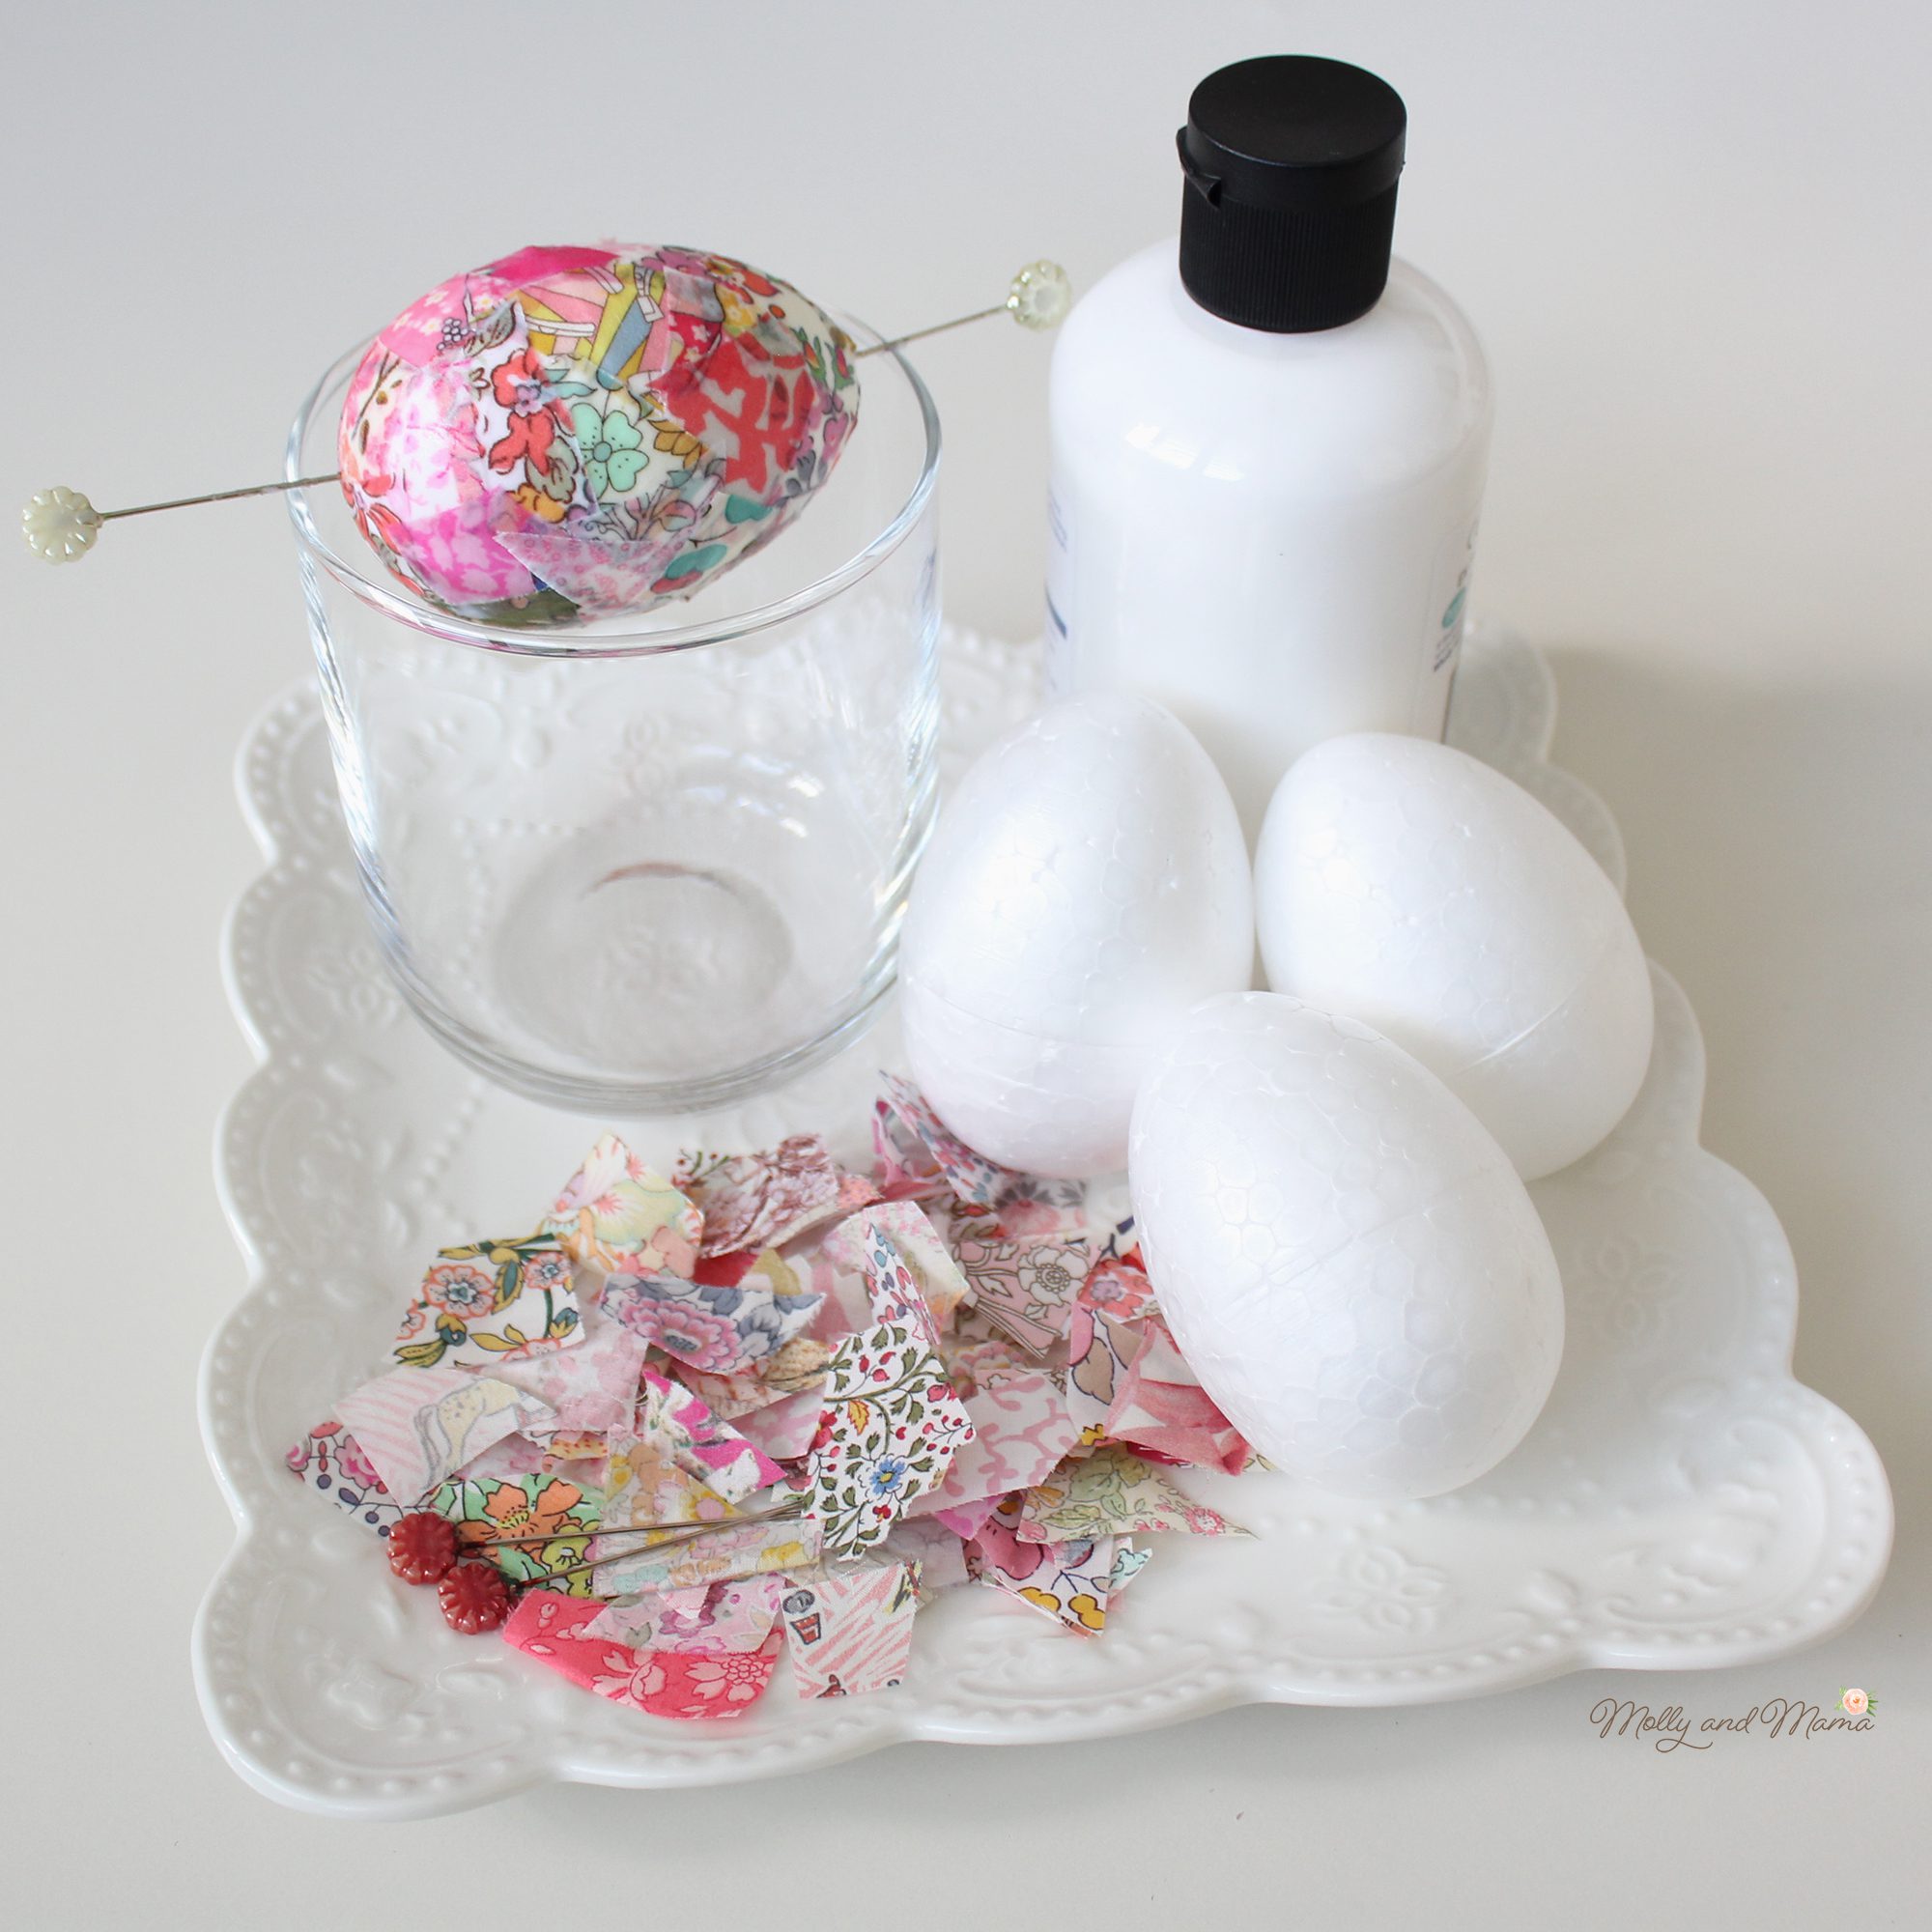
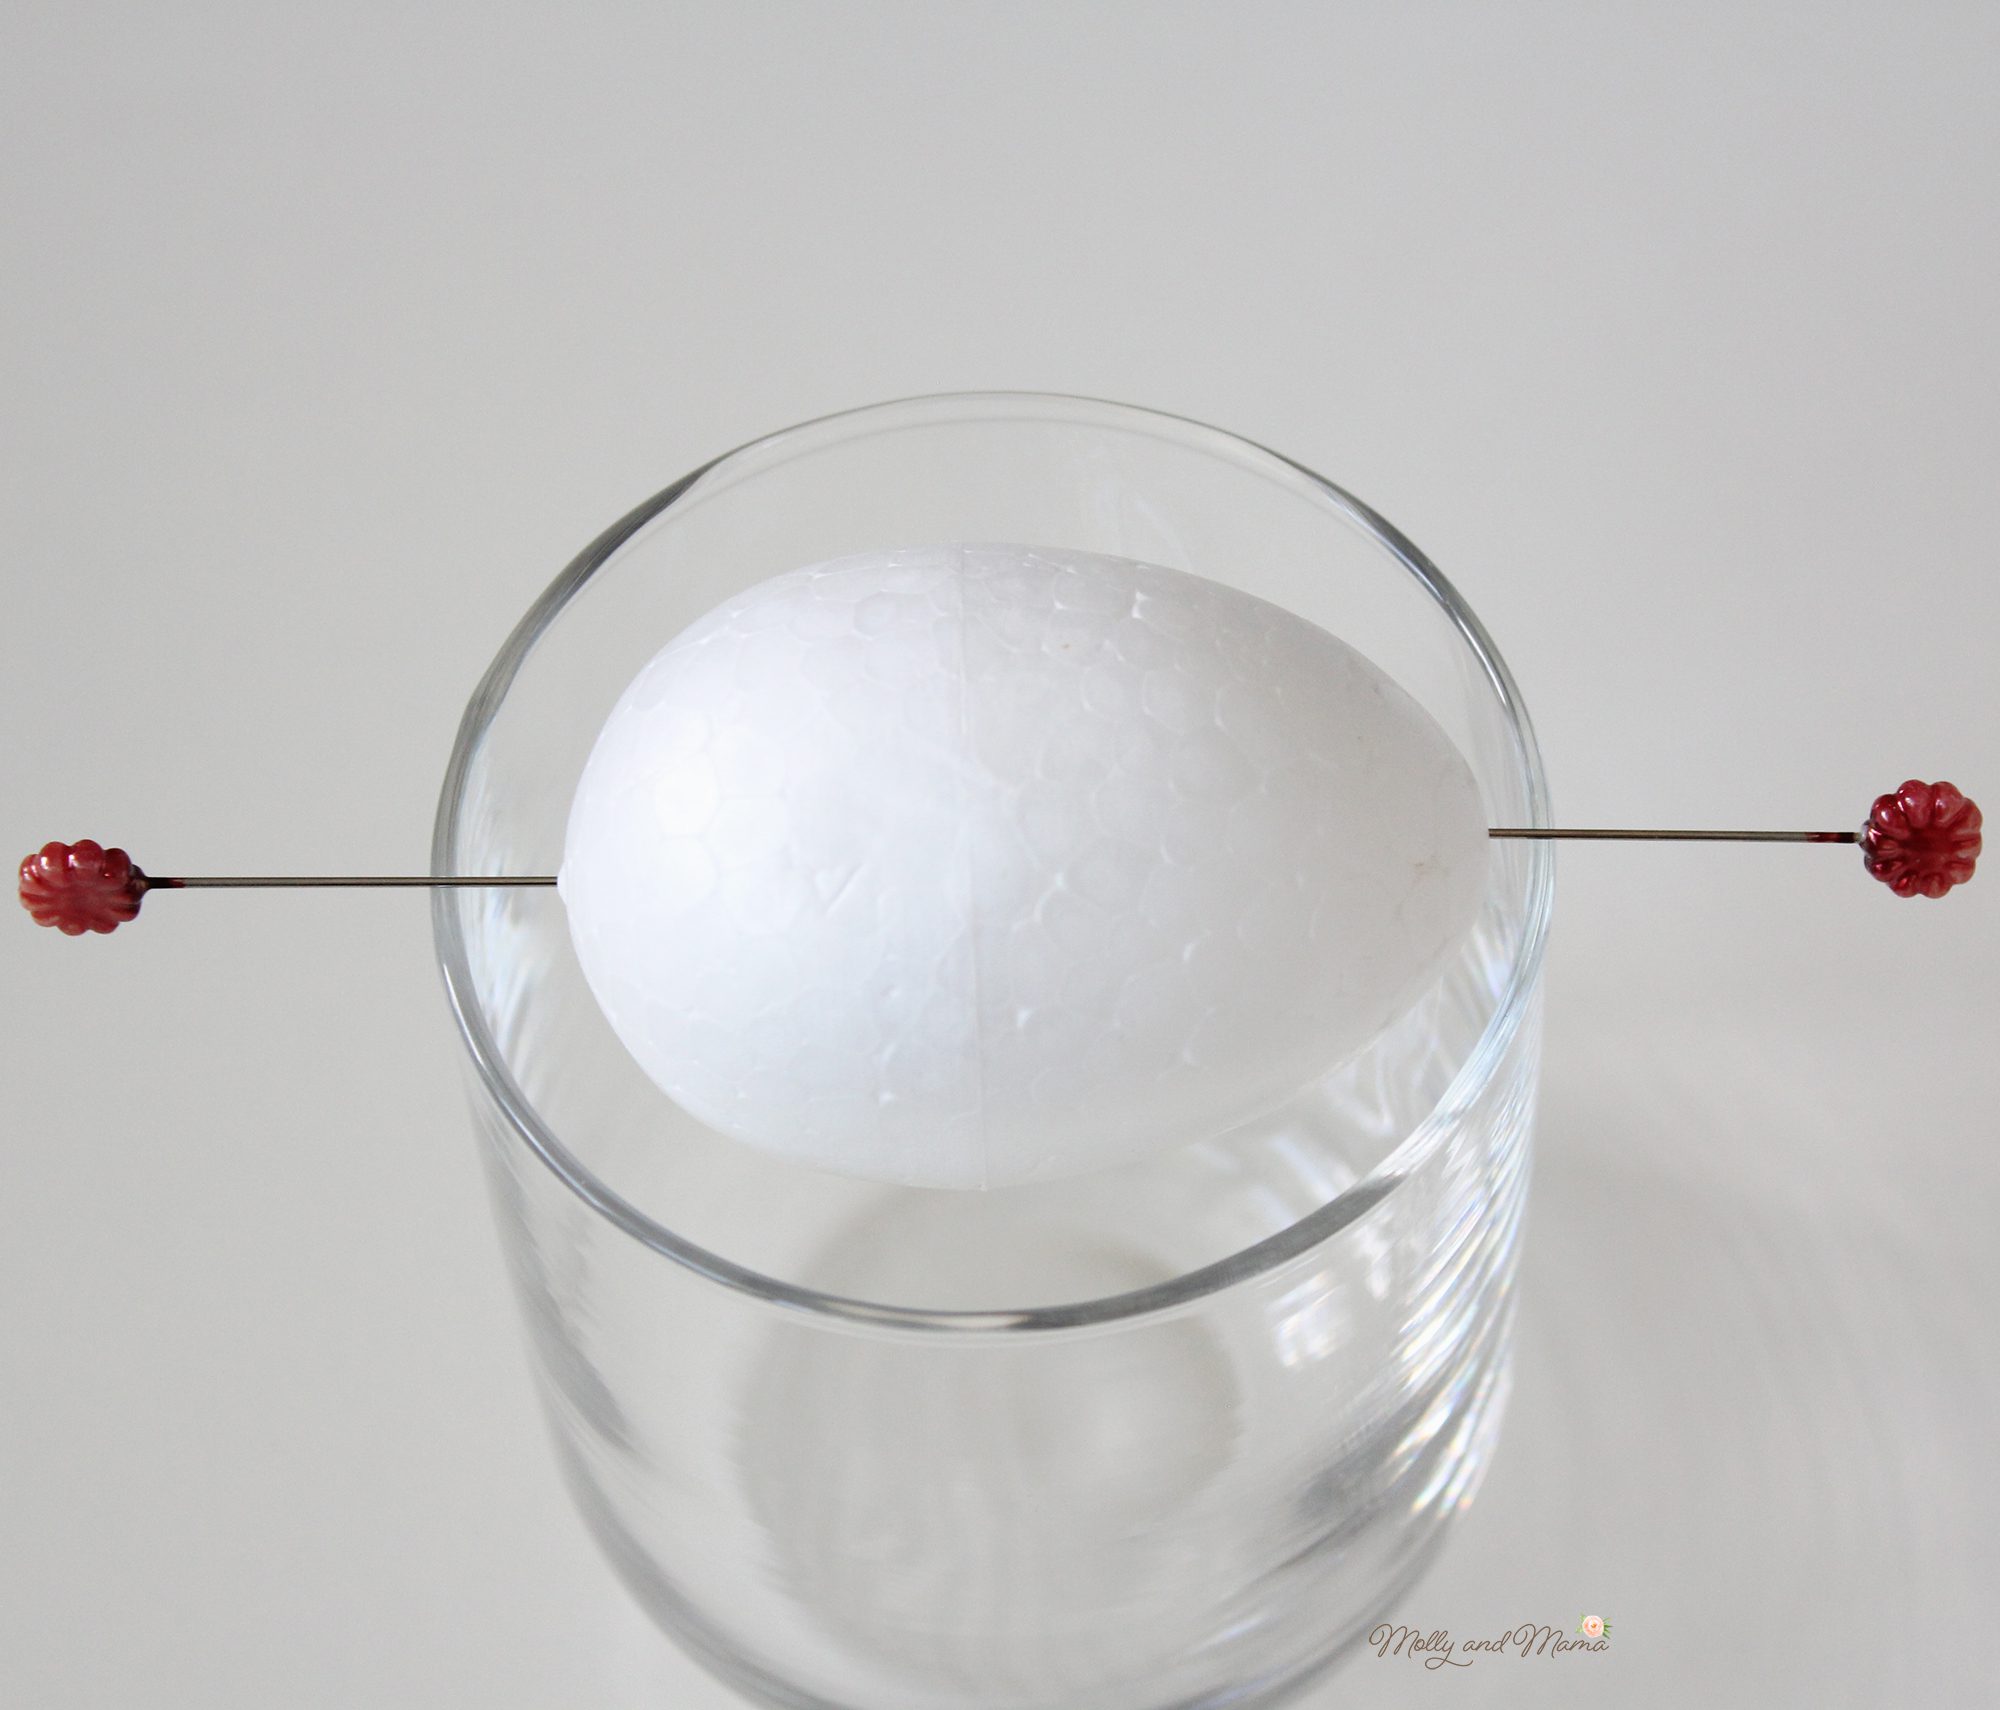
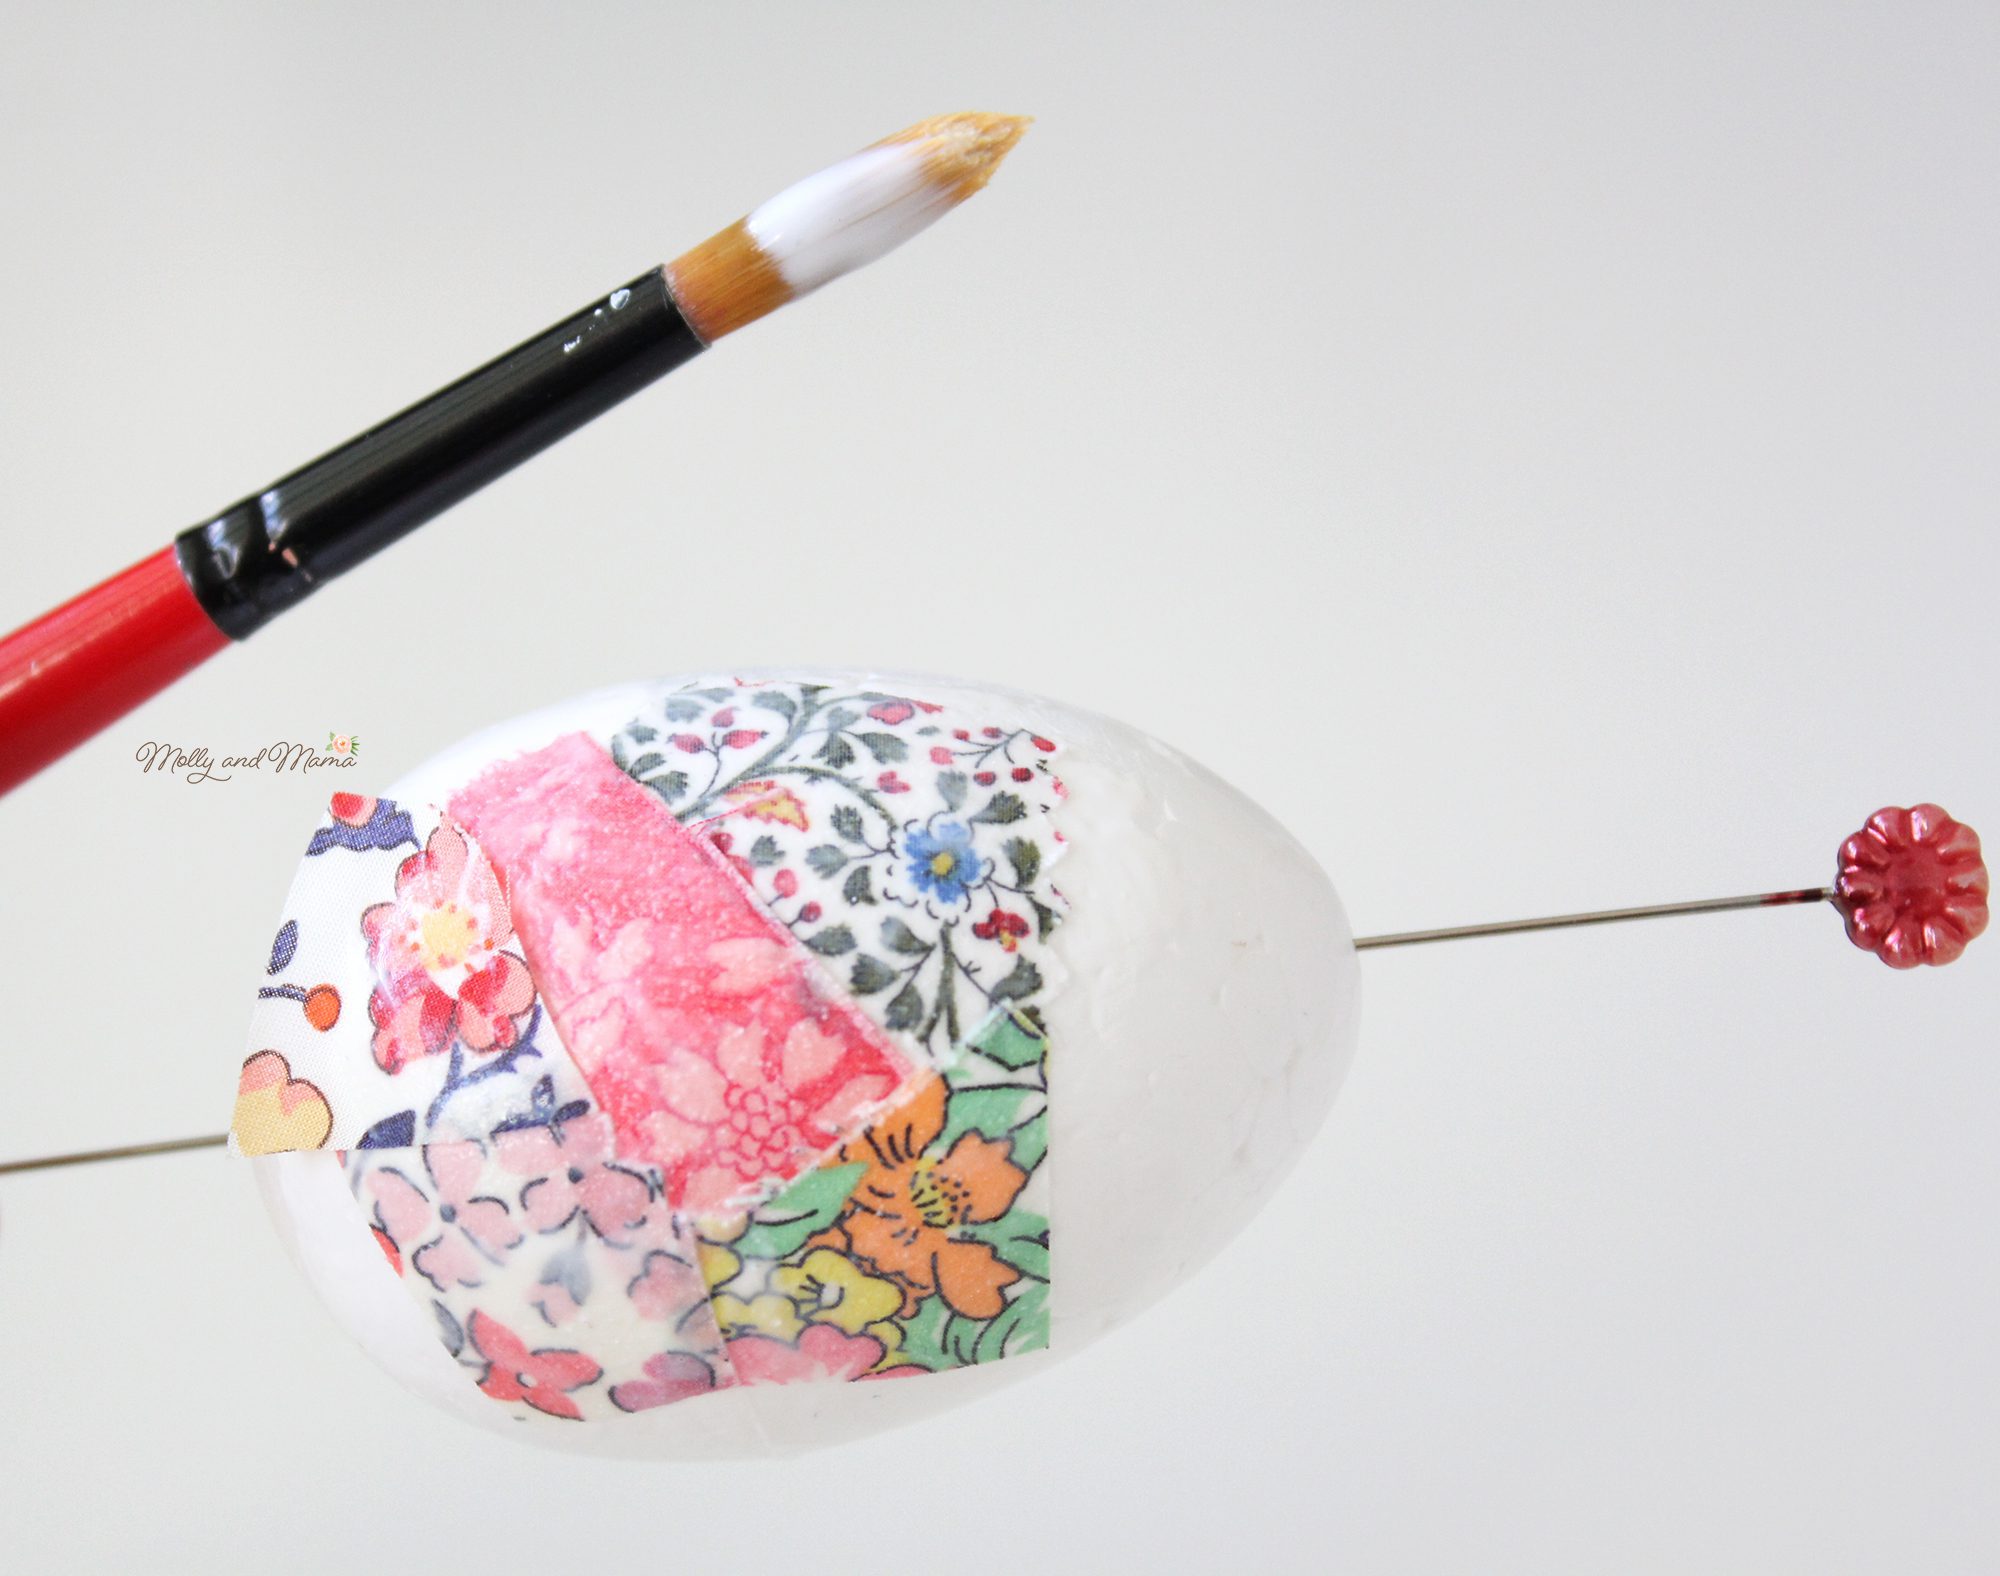

As my eggs were polystyrene foam, I could use a pin in each end to hold on to, as I covered the entire egg in fabric and glue. Then I could balance it across a wide mouthed glass as I waited for it to dry. If you’re unable to do that, simply cover one end of the egg with fabric and glue, and wait for it to dry before covering the other end. You can balance the glue-free end of the egg in the top of a small vase or bottle while it dries.
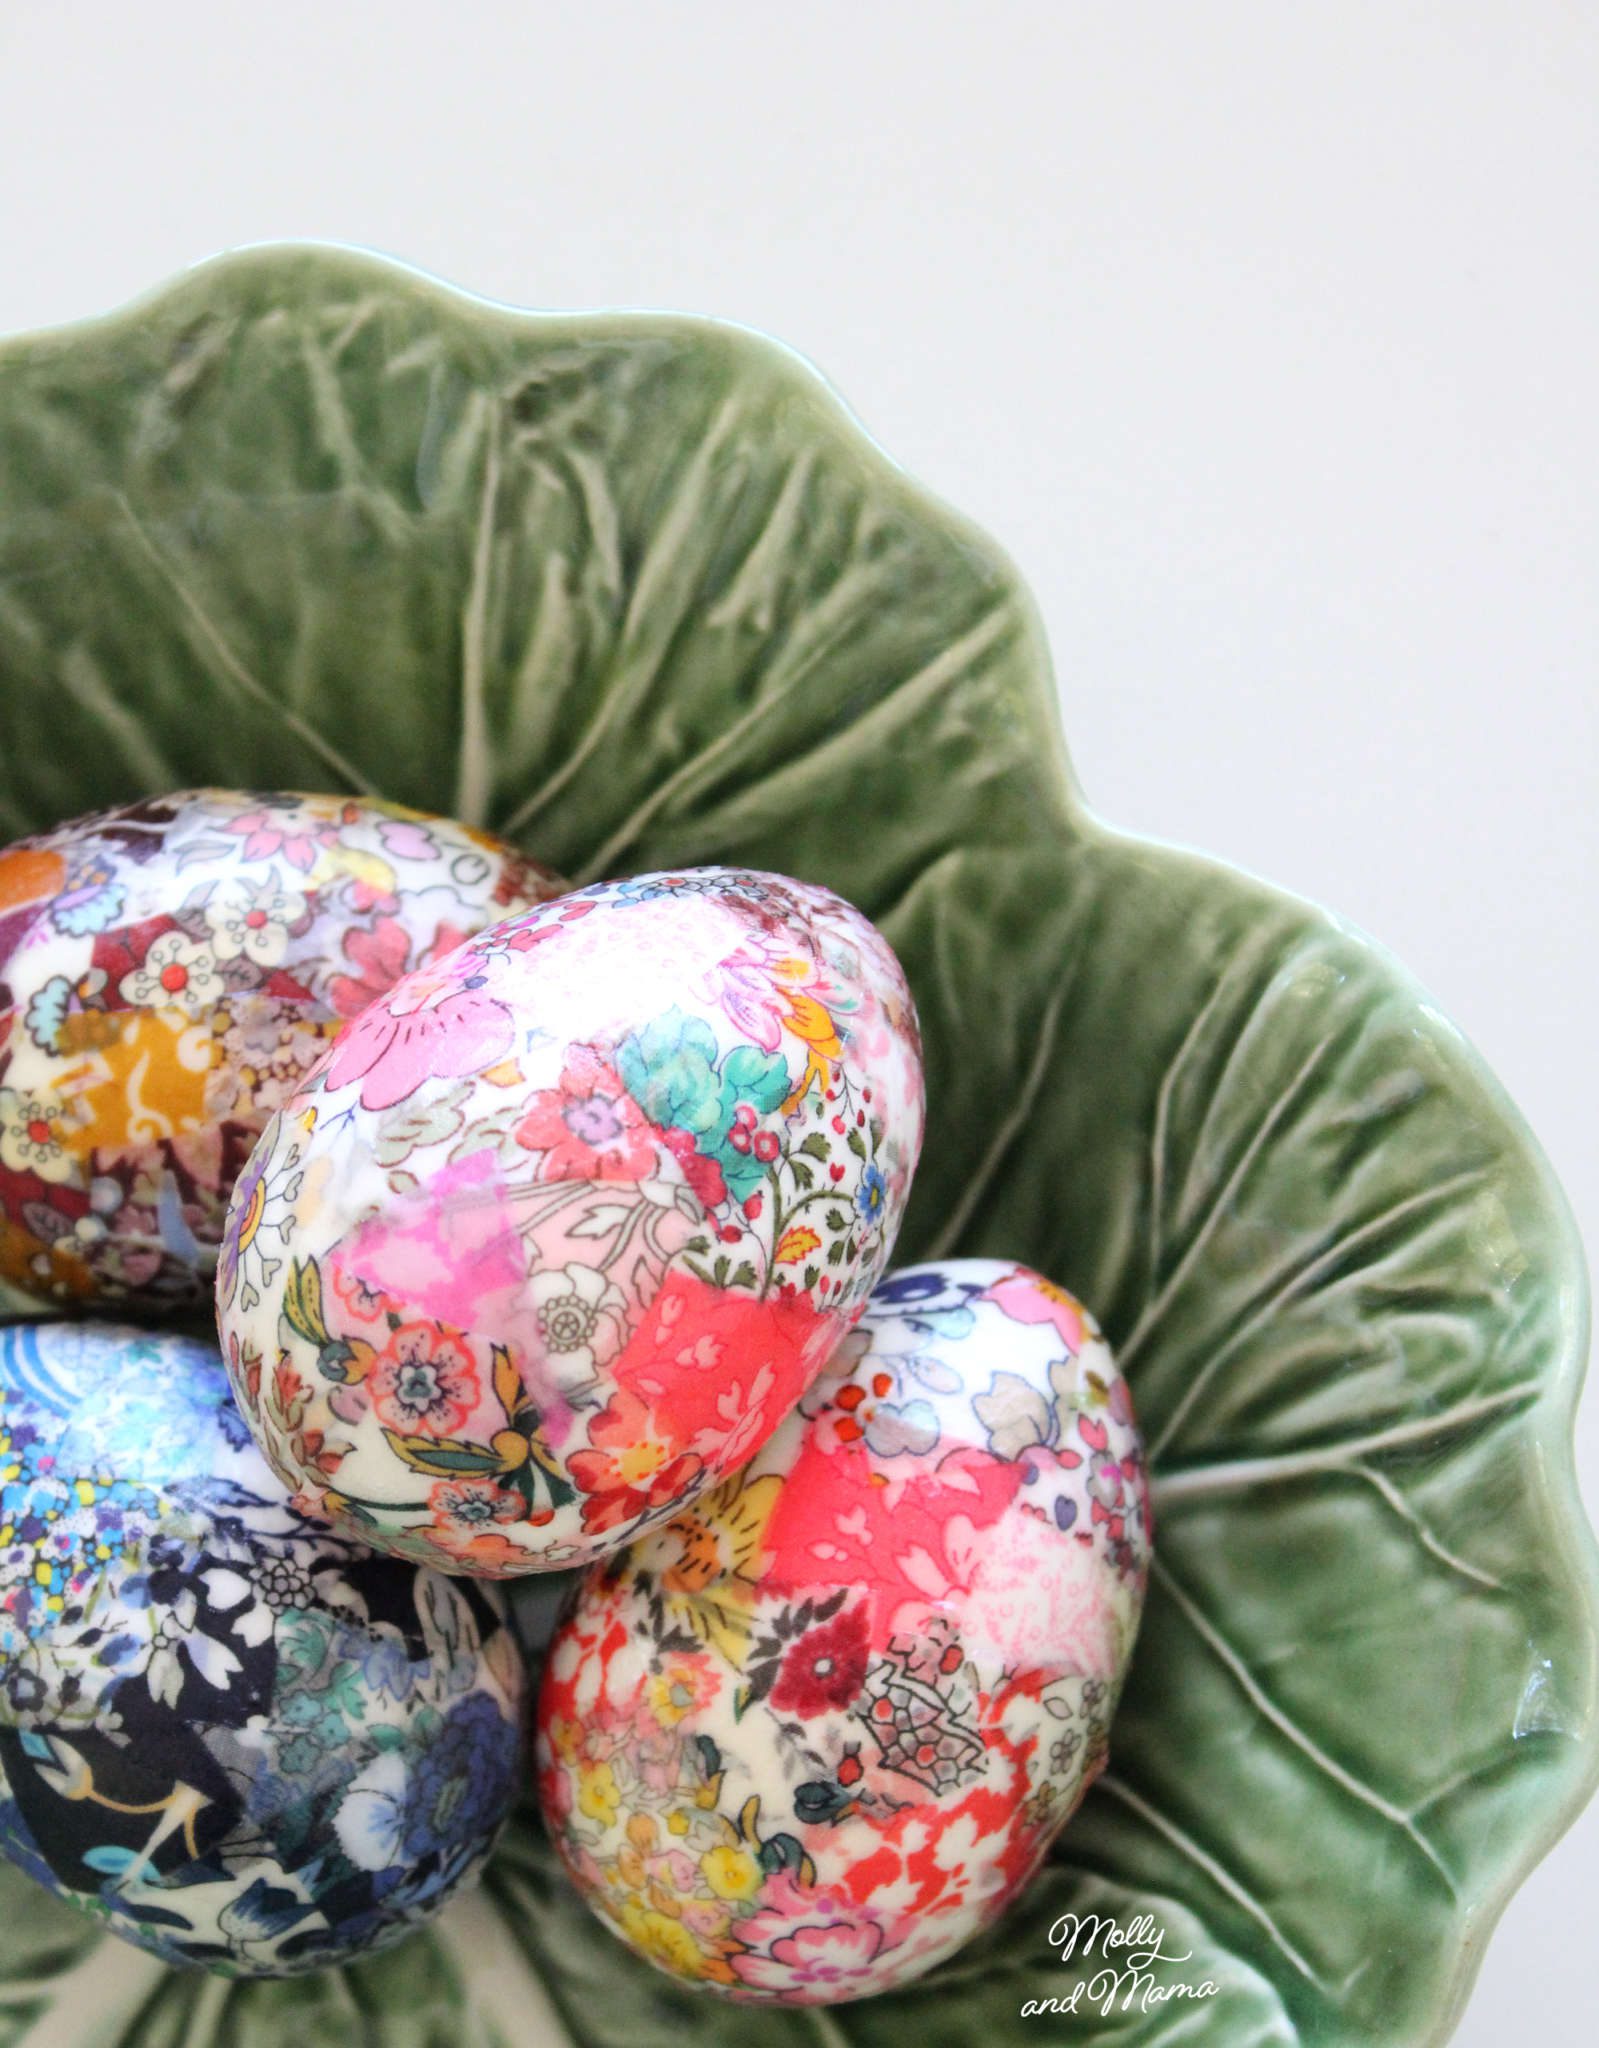
Once your fabric eggs are completely covered and dried, you can coat them in a layer of varnish or another coat of PVA glue for extra shine.
The finished eggs look gorgeous in a bowl or simple nest.
Or you can add a ribbon loop and bow to the narrow end to hang them on your Easter tree. This is especially easy for polystyrene eggs as you can just use a pin to secure the ribbon.
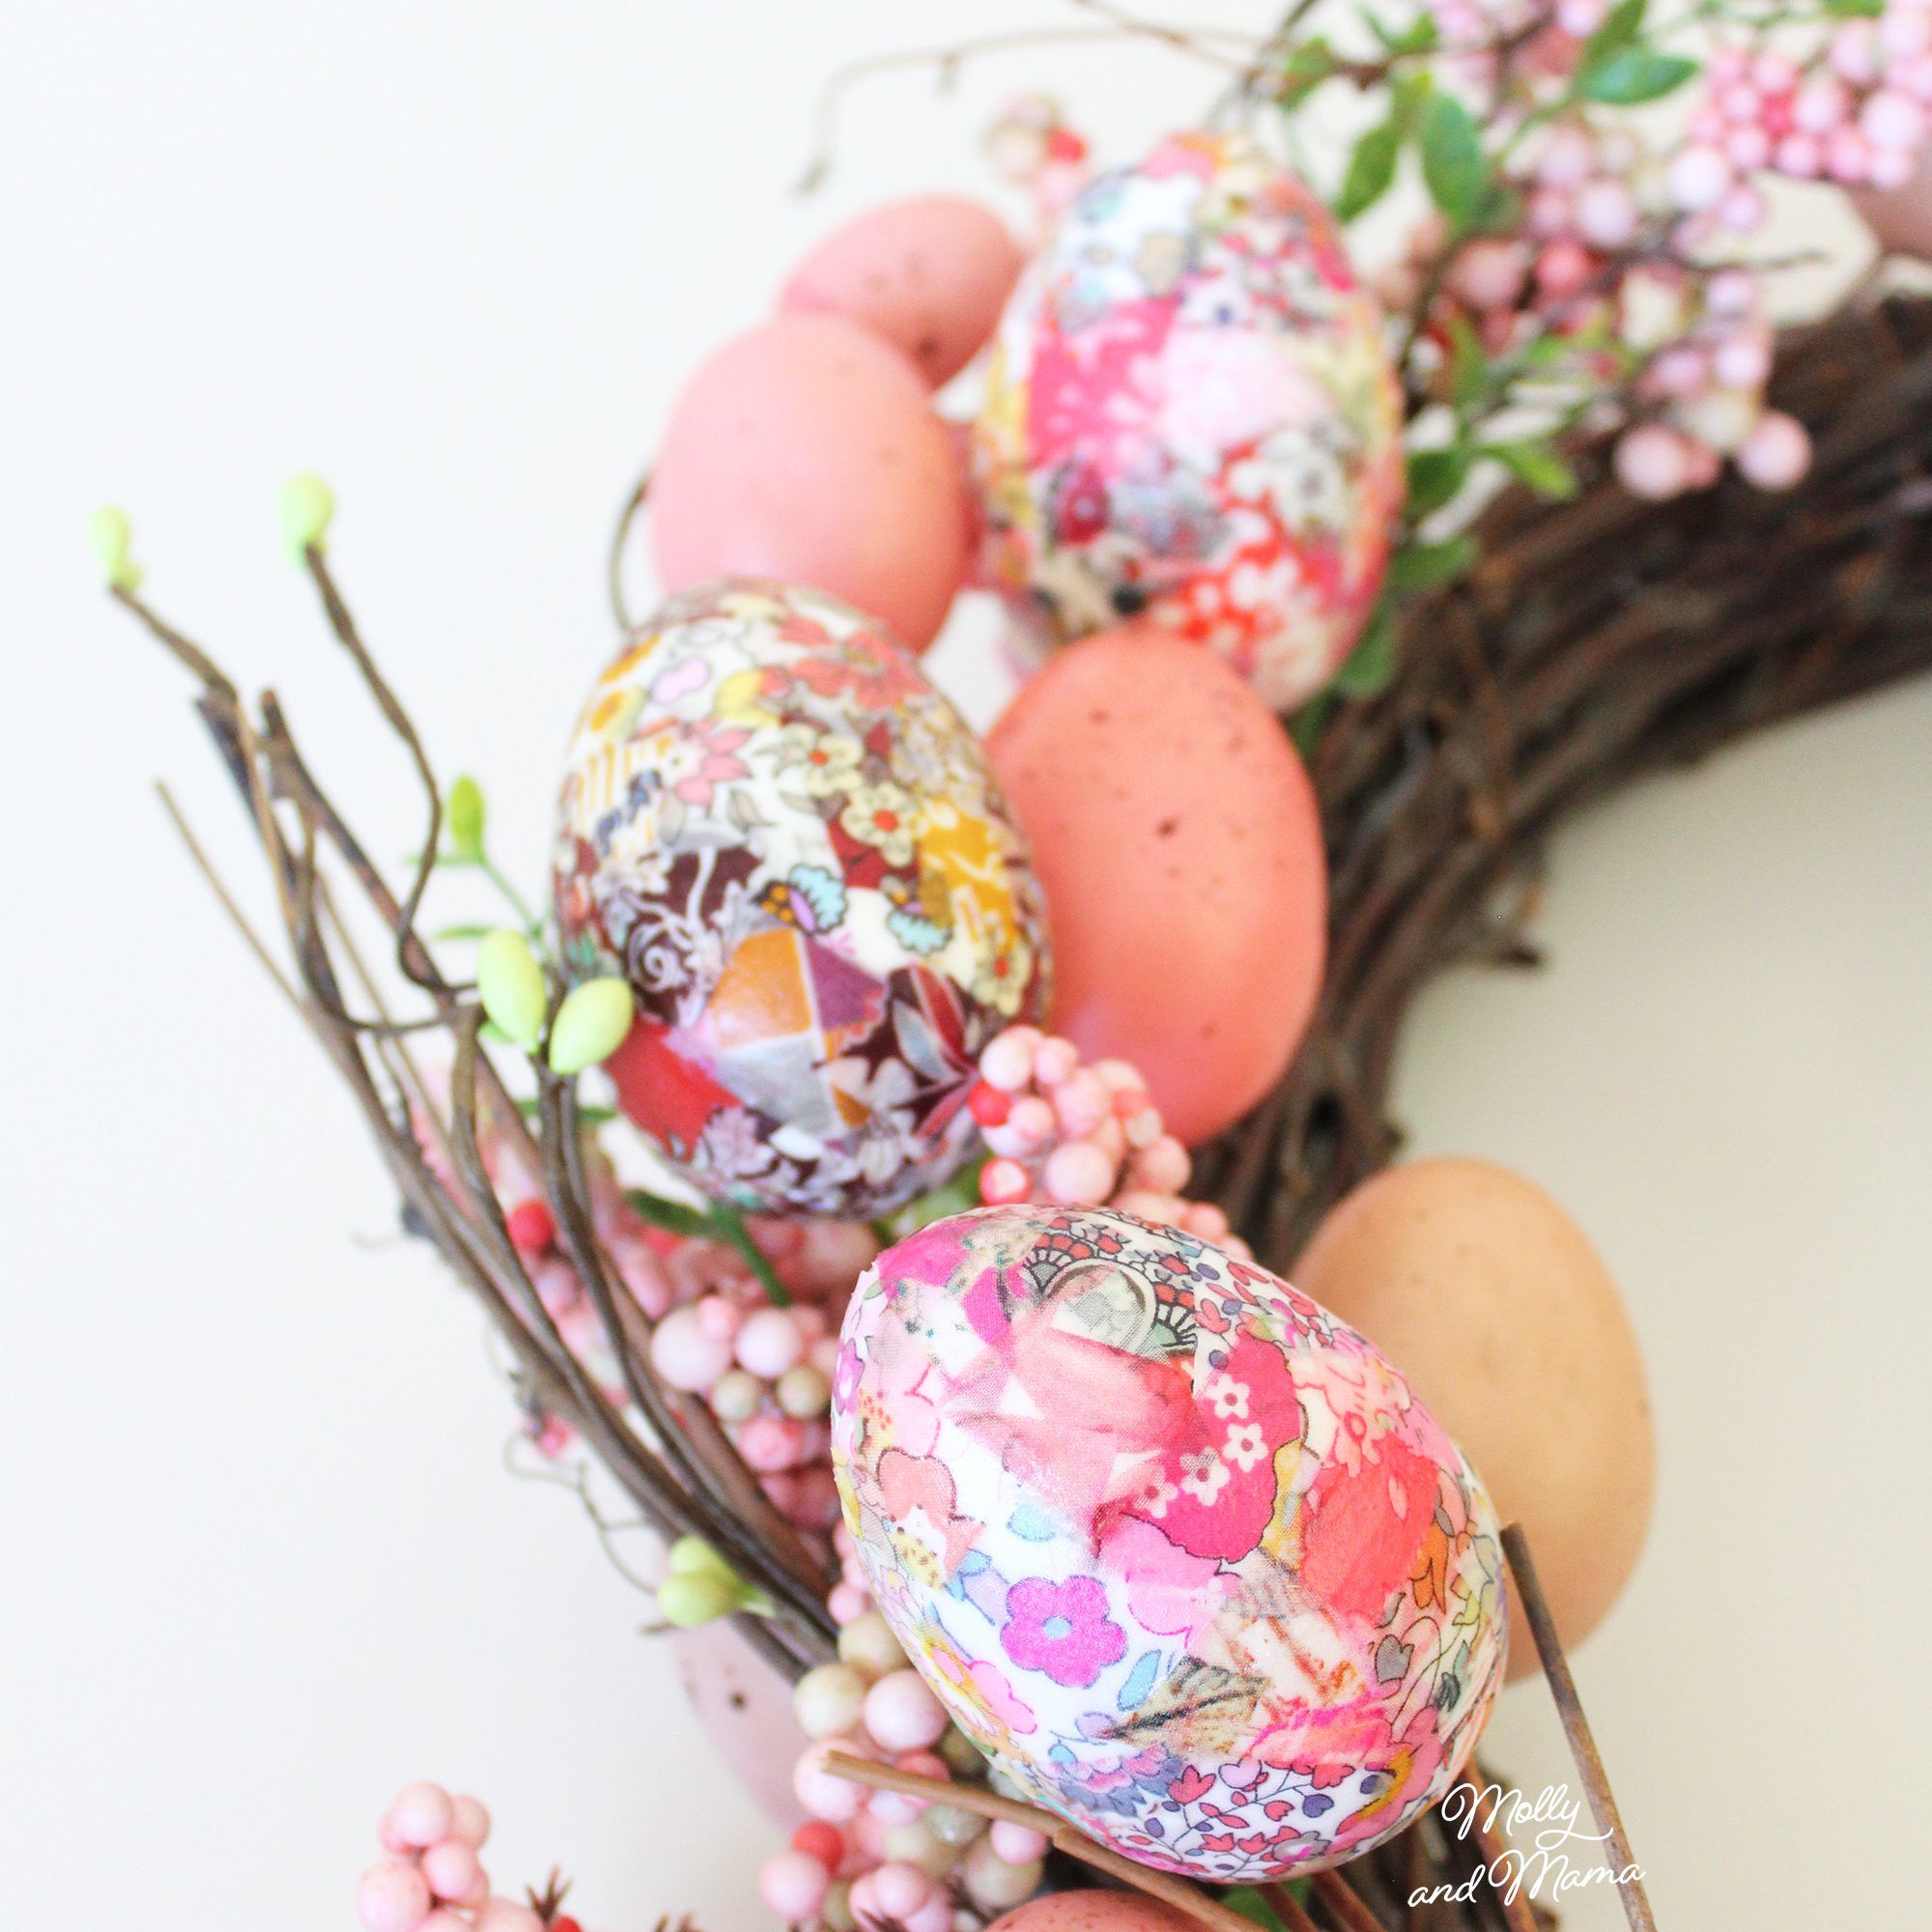
You can also add them to an Easter wreath.
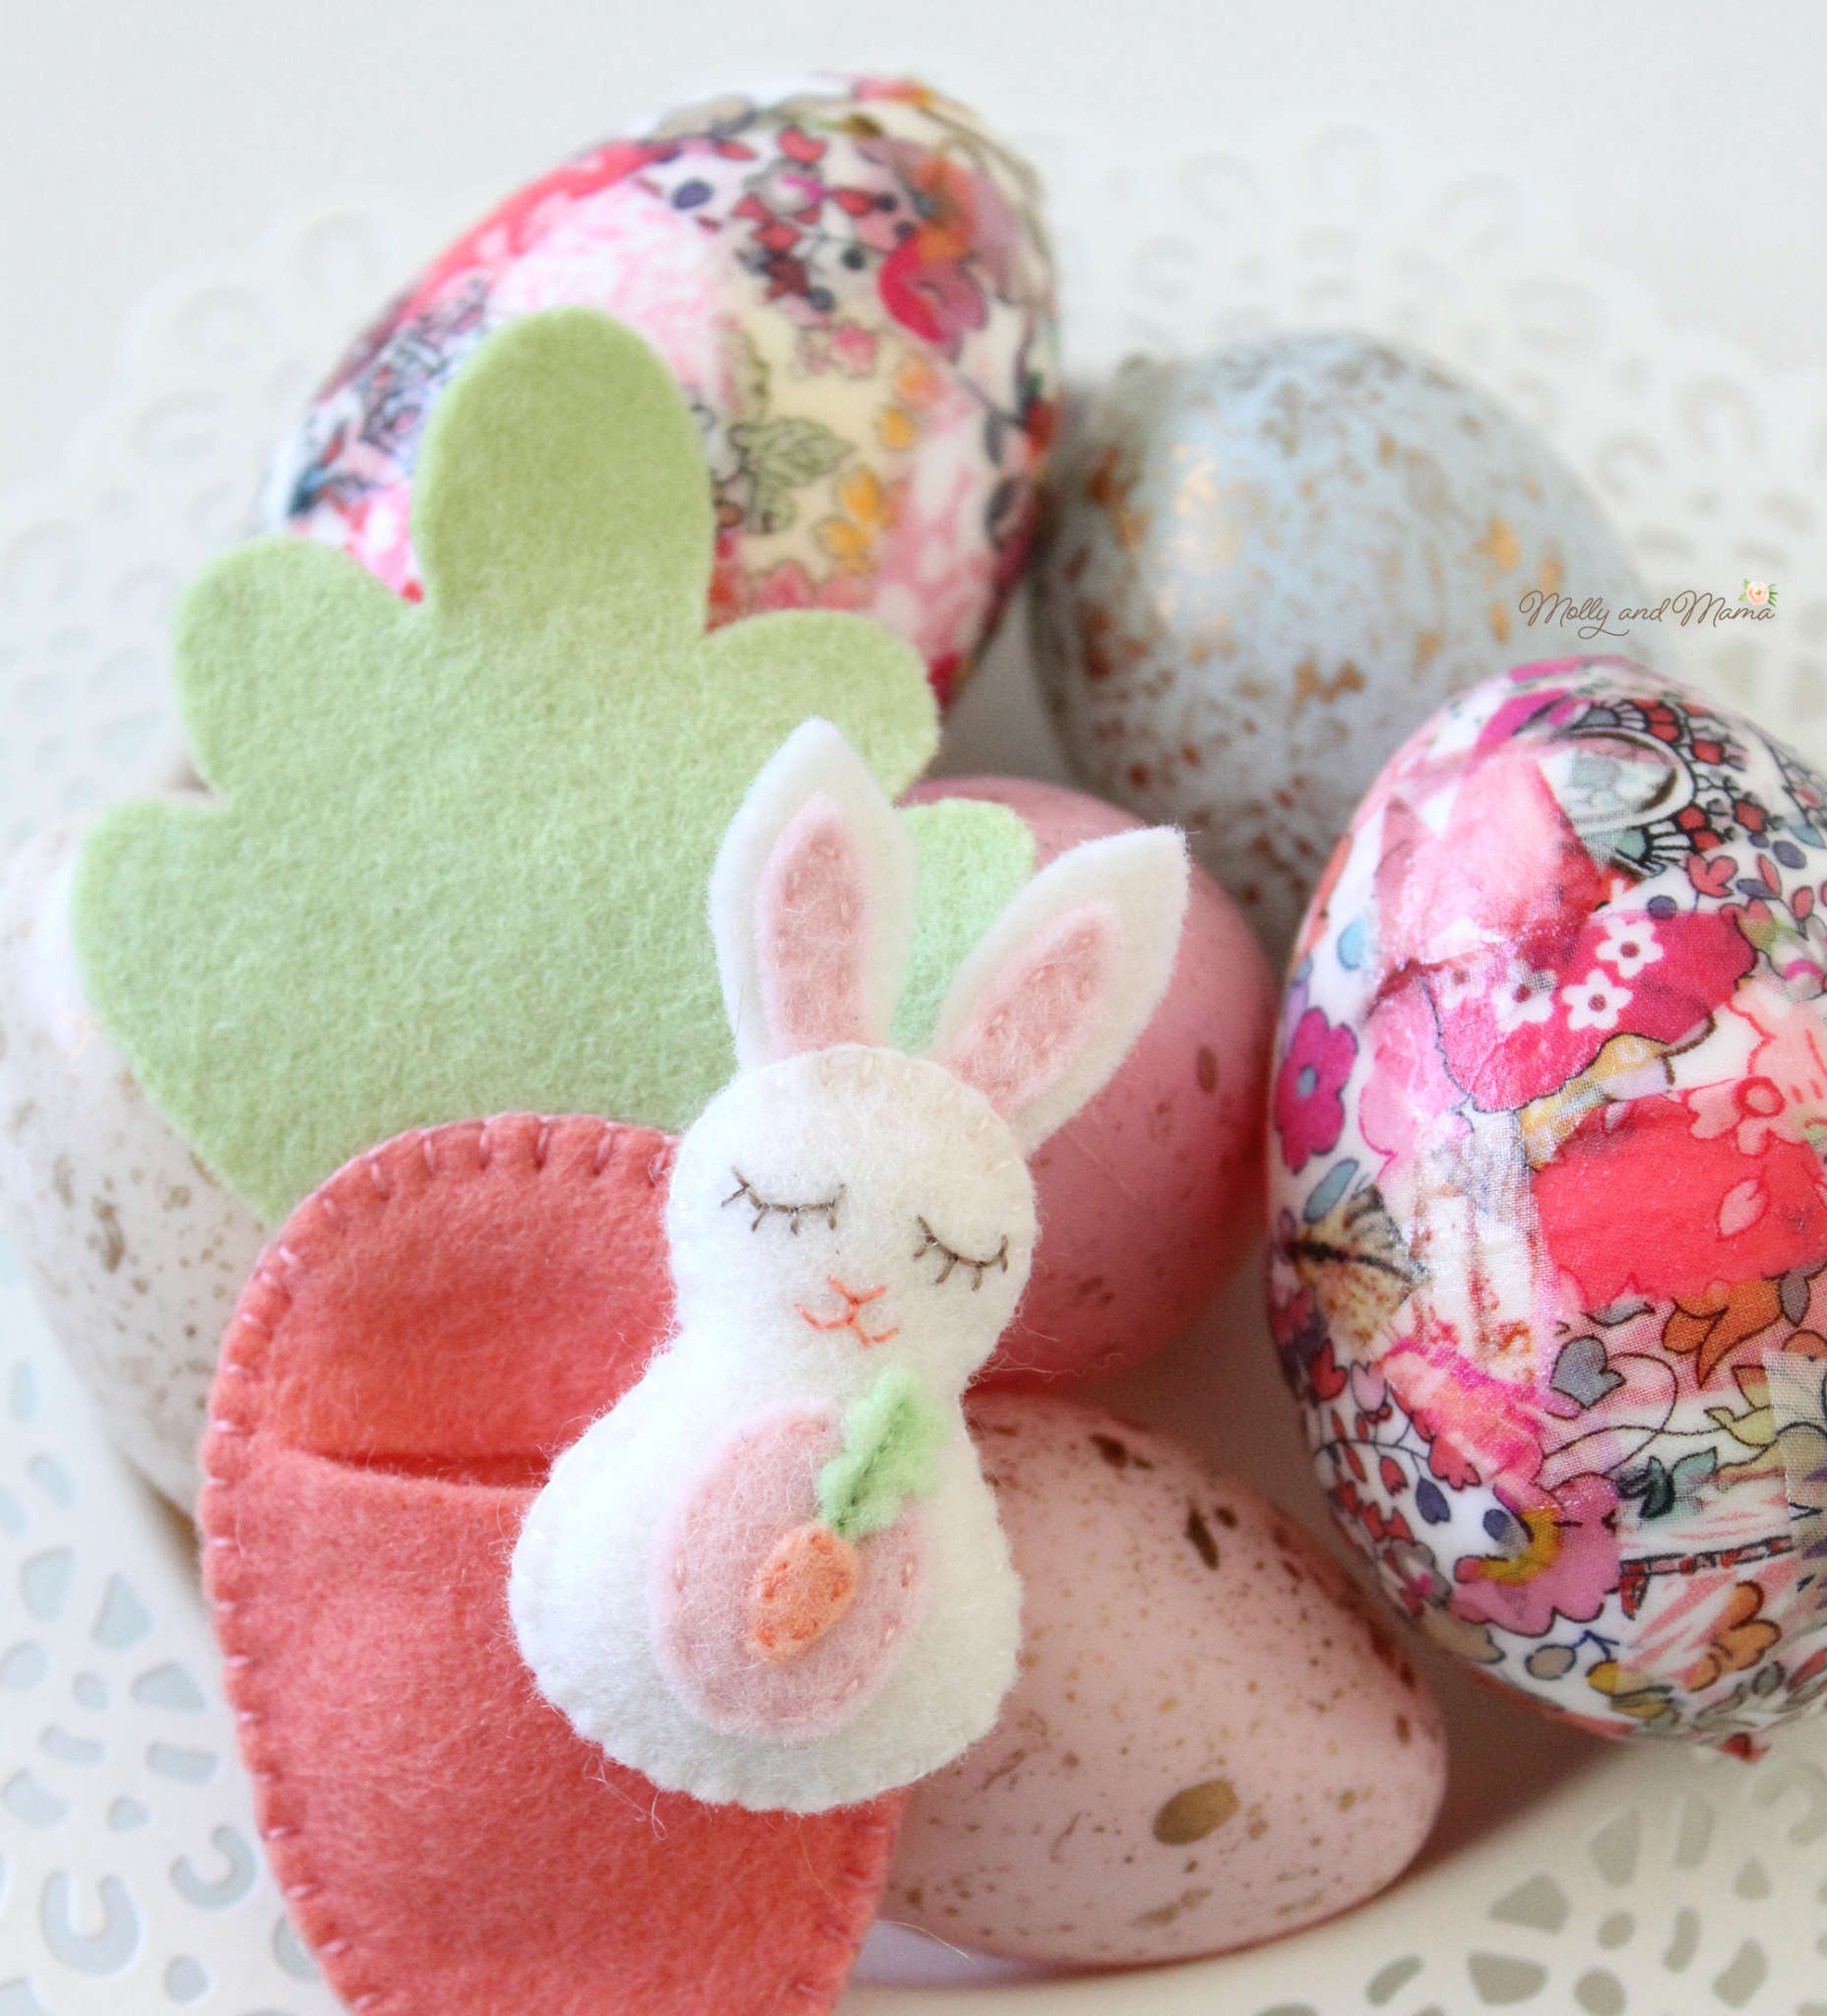
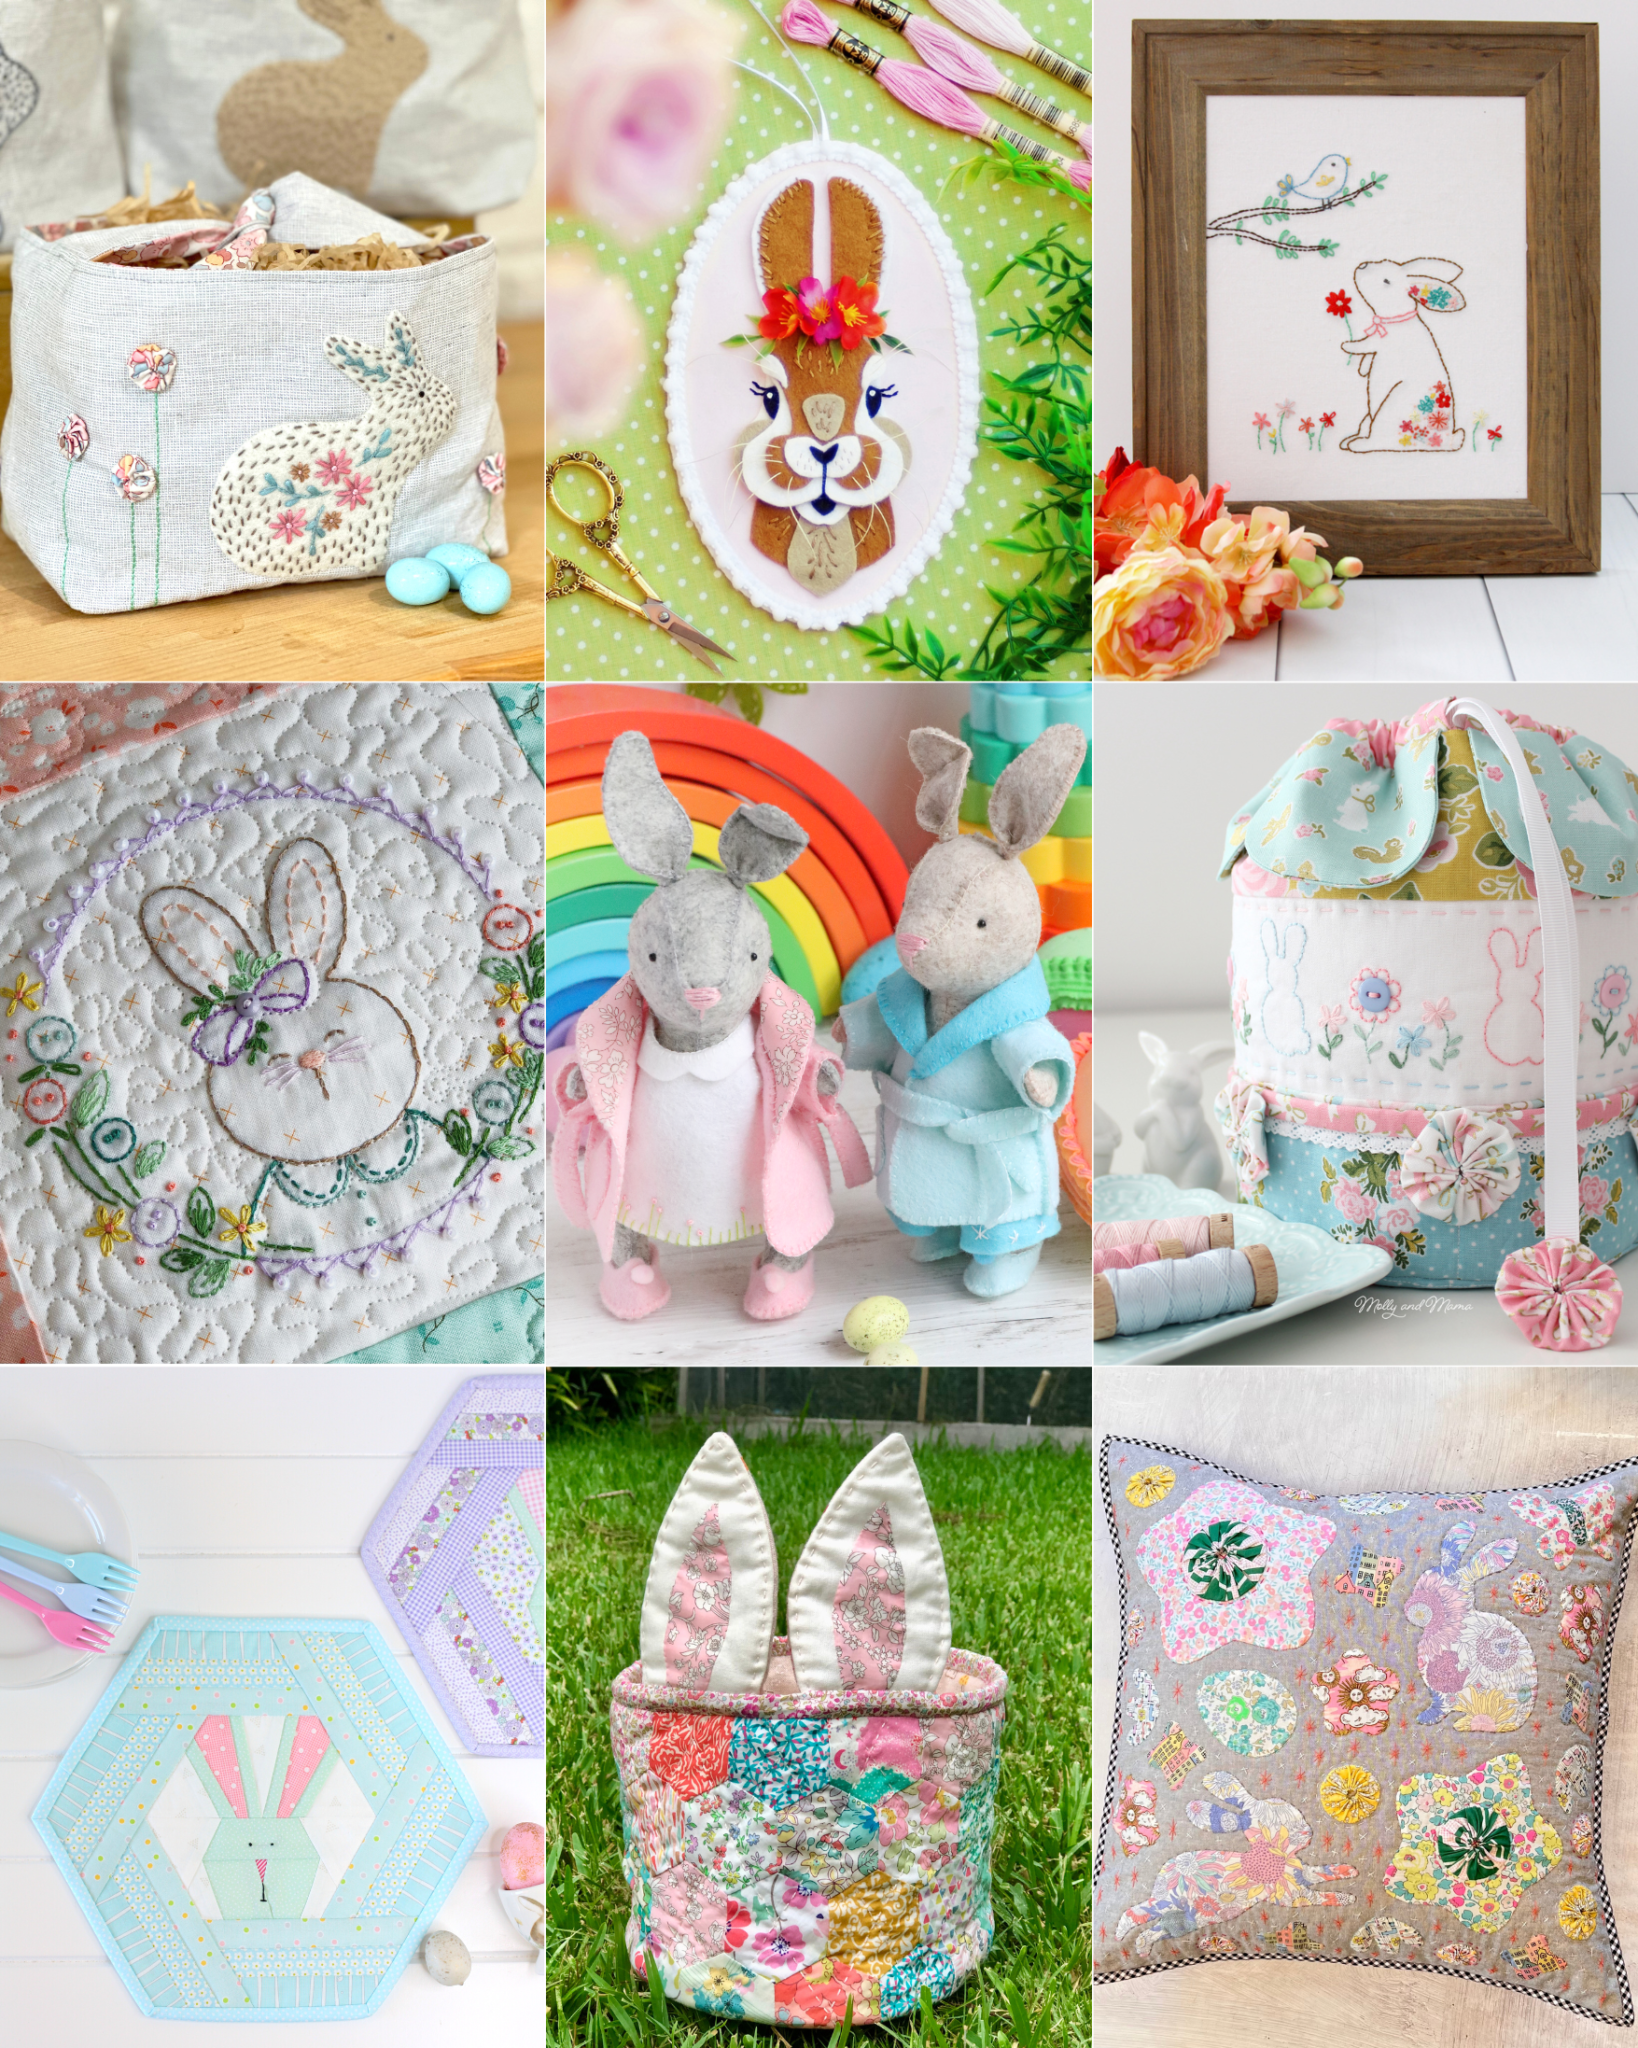
And don’t they look lovely here with my Bitty Bunny? This cute felt sewing pattern is one of the most popular designs in my store.
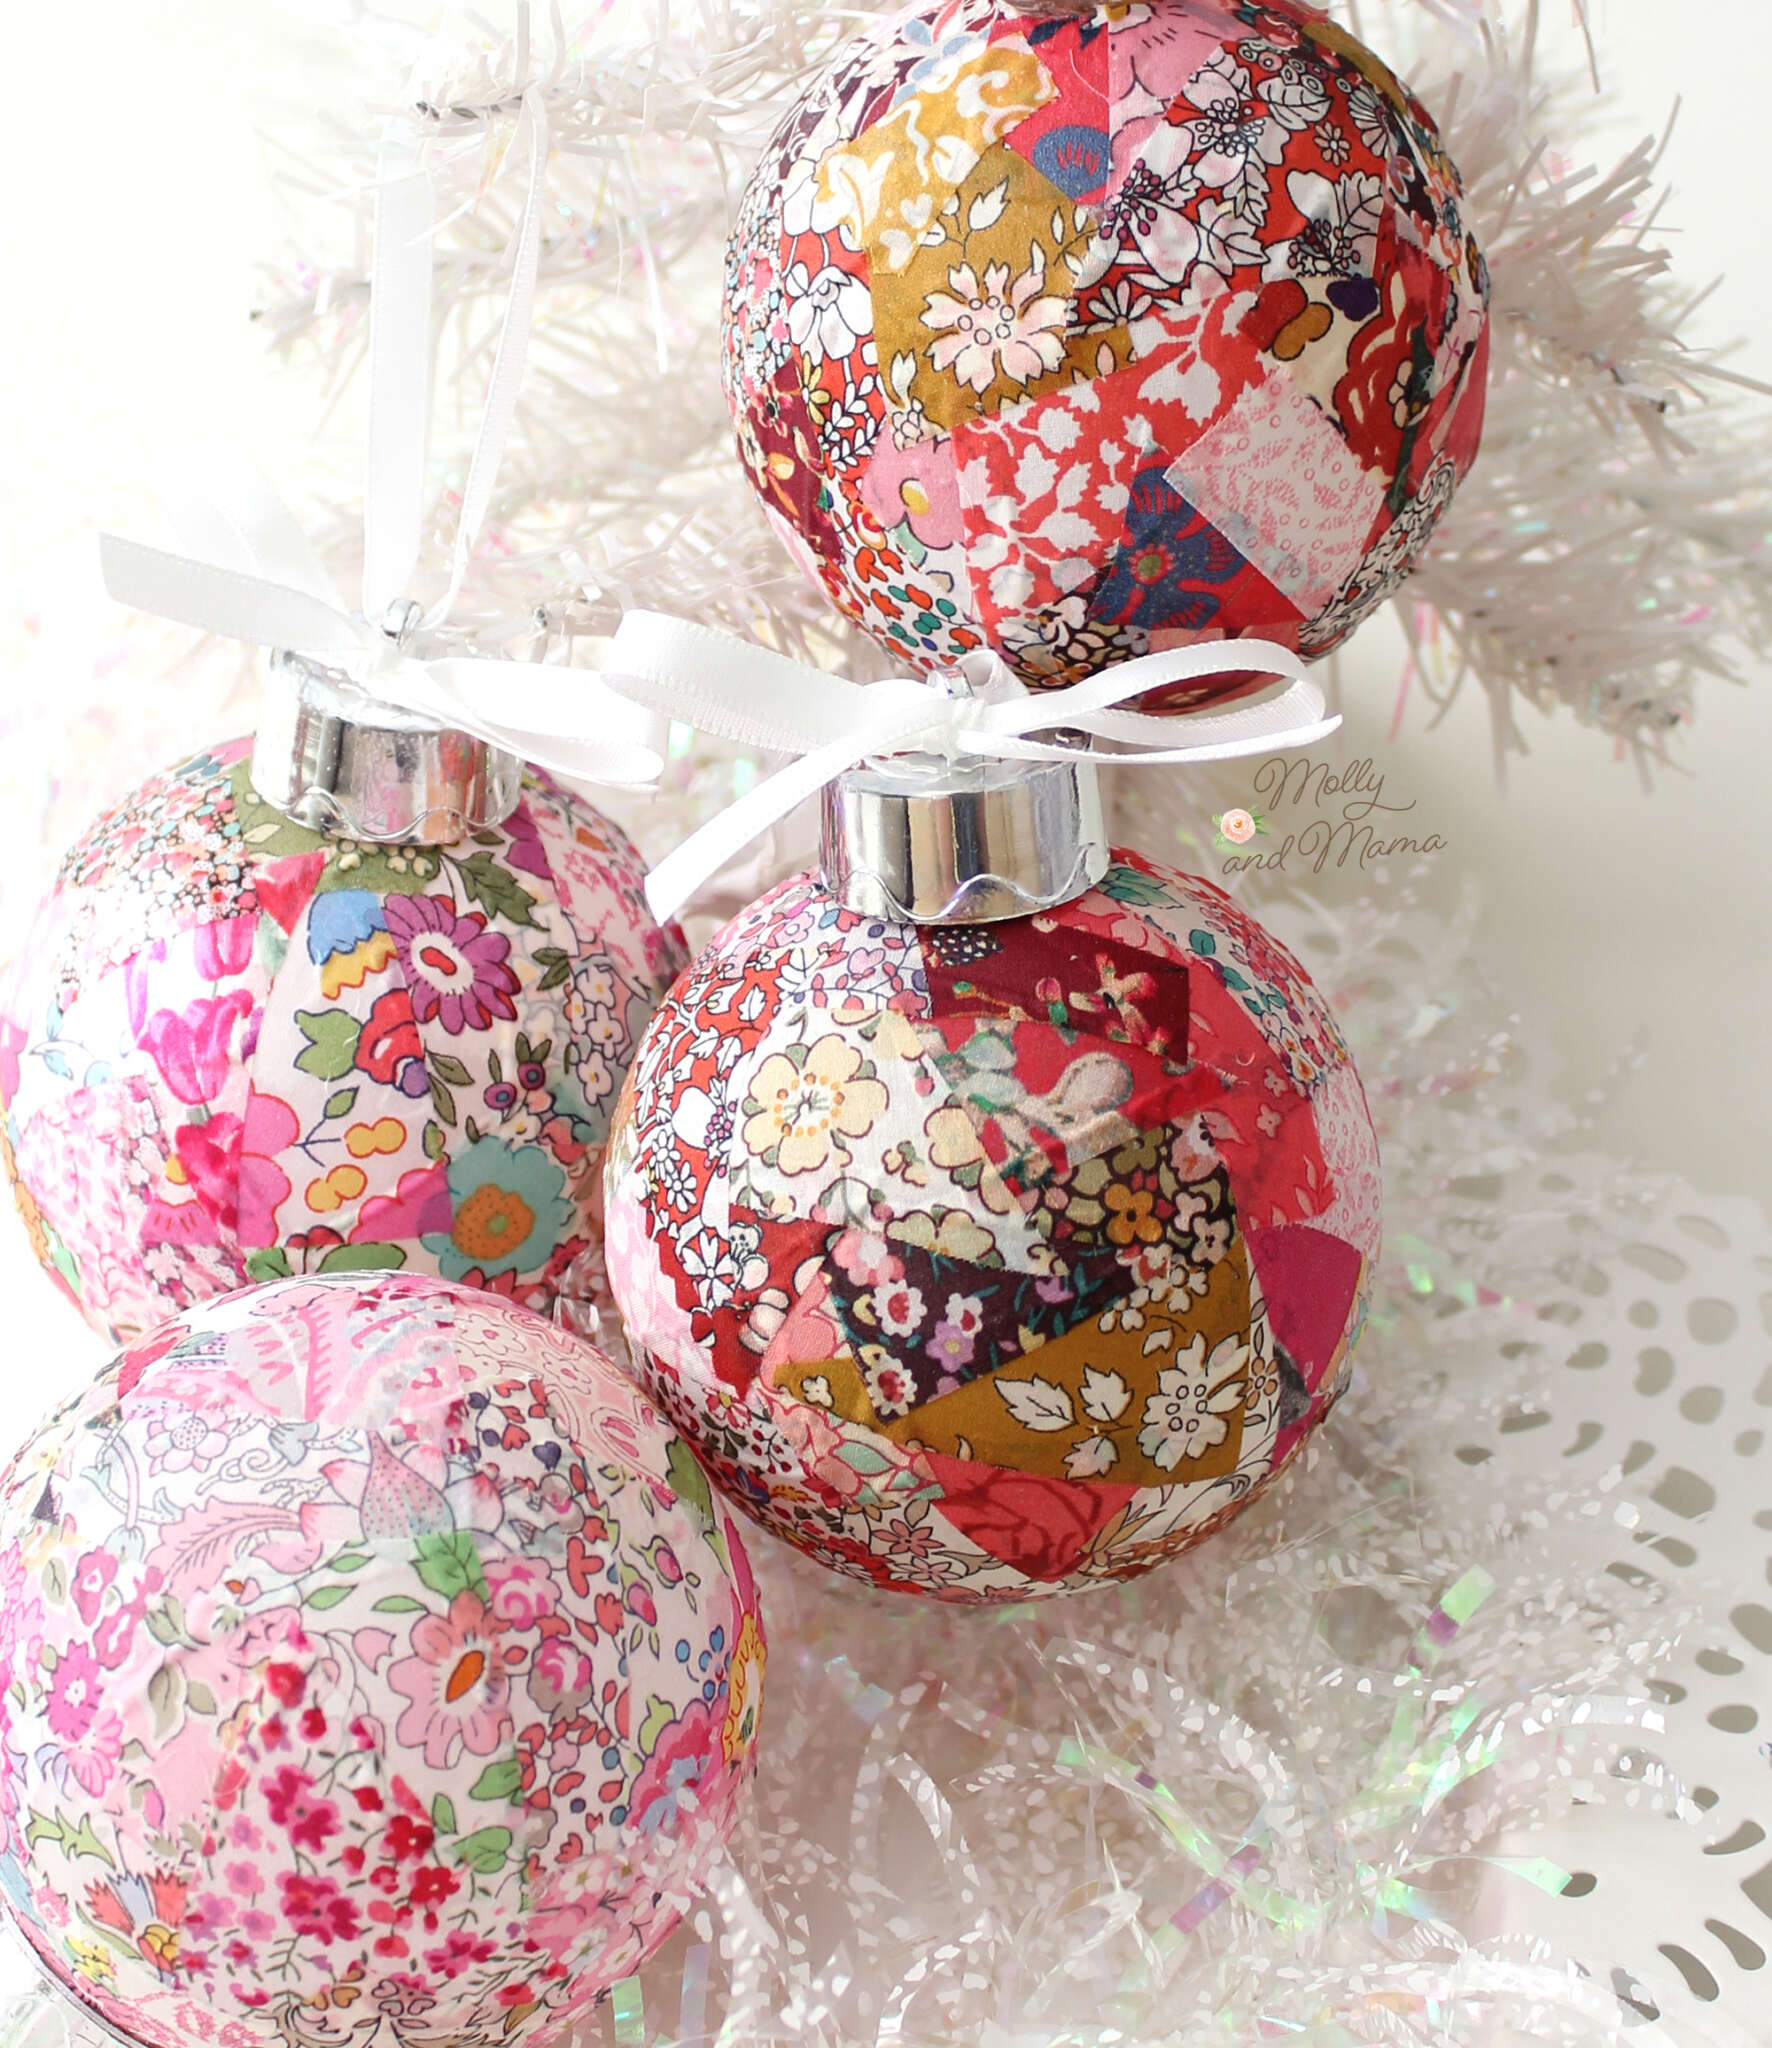
If you enjoyed this tutorial, you might like to try your hand at making these Christmas decorations using the same method. Visit the tutorial HERE. You can also sign up for the PDF instructions below, if you prefer.
I hope you enjoy these scrappy projects!


I’m already subscribed how can I get the free patterns for the fabric covered eggs and ornaments?
Hi Pat, they were sent in the last email. But you can also use the sign up form to download the patterns again. Thanks for you support, Lauren.
Would you allow me to use your pattern from the fabric covered eggs to make them to sell in our local hospice shop to raise funds.
Jan
Dear Jan, you certainly have my permission to sell these. Best of luck in your fundraising efforts. Kindest regards, Lauren.
Many thanks.
Jan Davies
I have subscribed twice but have not received the PDF for making Scrappy Easter Eggs. Please send.
Thanks much, Connie
Hi Connie, Thanks for your message. I have emailed you regarding your query.