How To Make Liberty Christmas Baubles With Fabric Scraps
I’ve enjoyed making these simple scrappy fabric Christmas ornaments for years. But I’ve recently had a lot of people asking how I made them. They are such a quick and easy project to put together. There’s no sewing required, you only need the tiniest fabric scraps and they’re a perfect holiday craft to try with the kids.
Get the Free Instructions
If you’d like to see how I make them, you can get the downloadable instructions straight to your inbox. Fill out your details below to receive them instantly. You can unsubscribe at any time.
NOTE: This project is for PERSONAL USE ONLY for sewing at home and/or teaching another person or child to sew FOR FREE. Reusing or repurposing free Molly and Mama tutorial instructions, templates and images for paid classes, or distributing the materials in classes, to groups, or for commercial purposes, without permission, is strictly prohibited. For clarification, or to seek a commercial arrangement, please contact Molly and Mama.
What Fabric Did You Use?
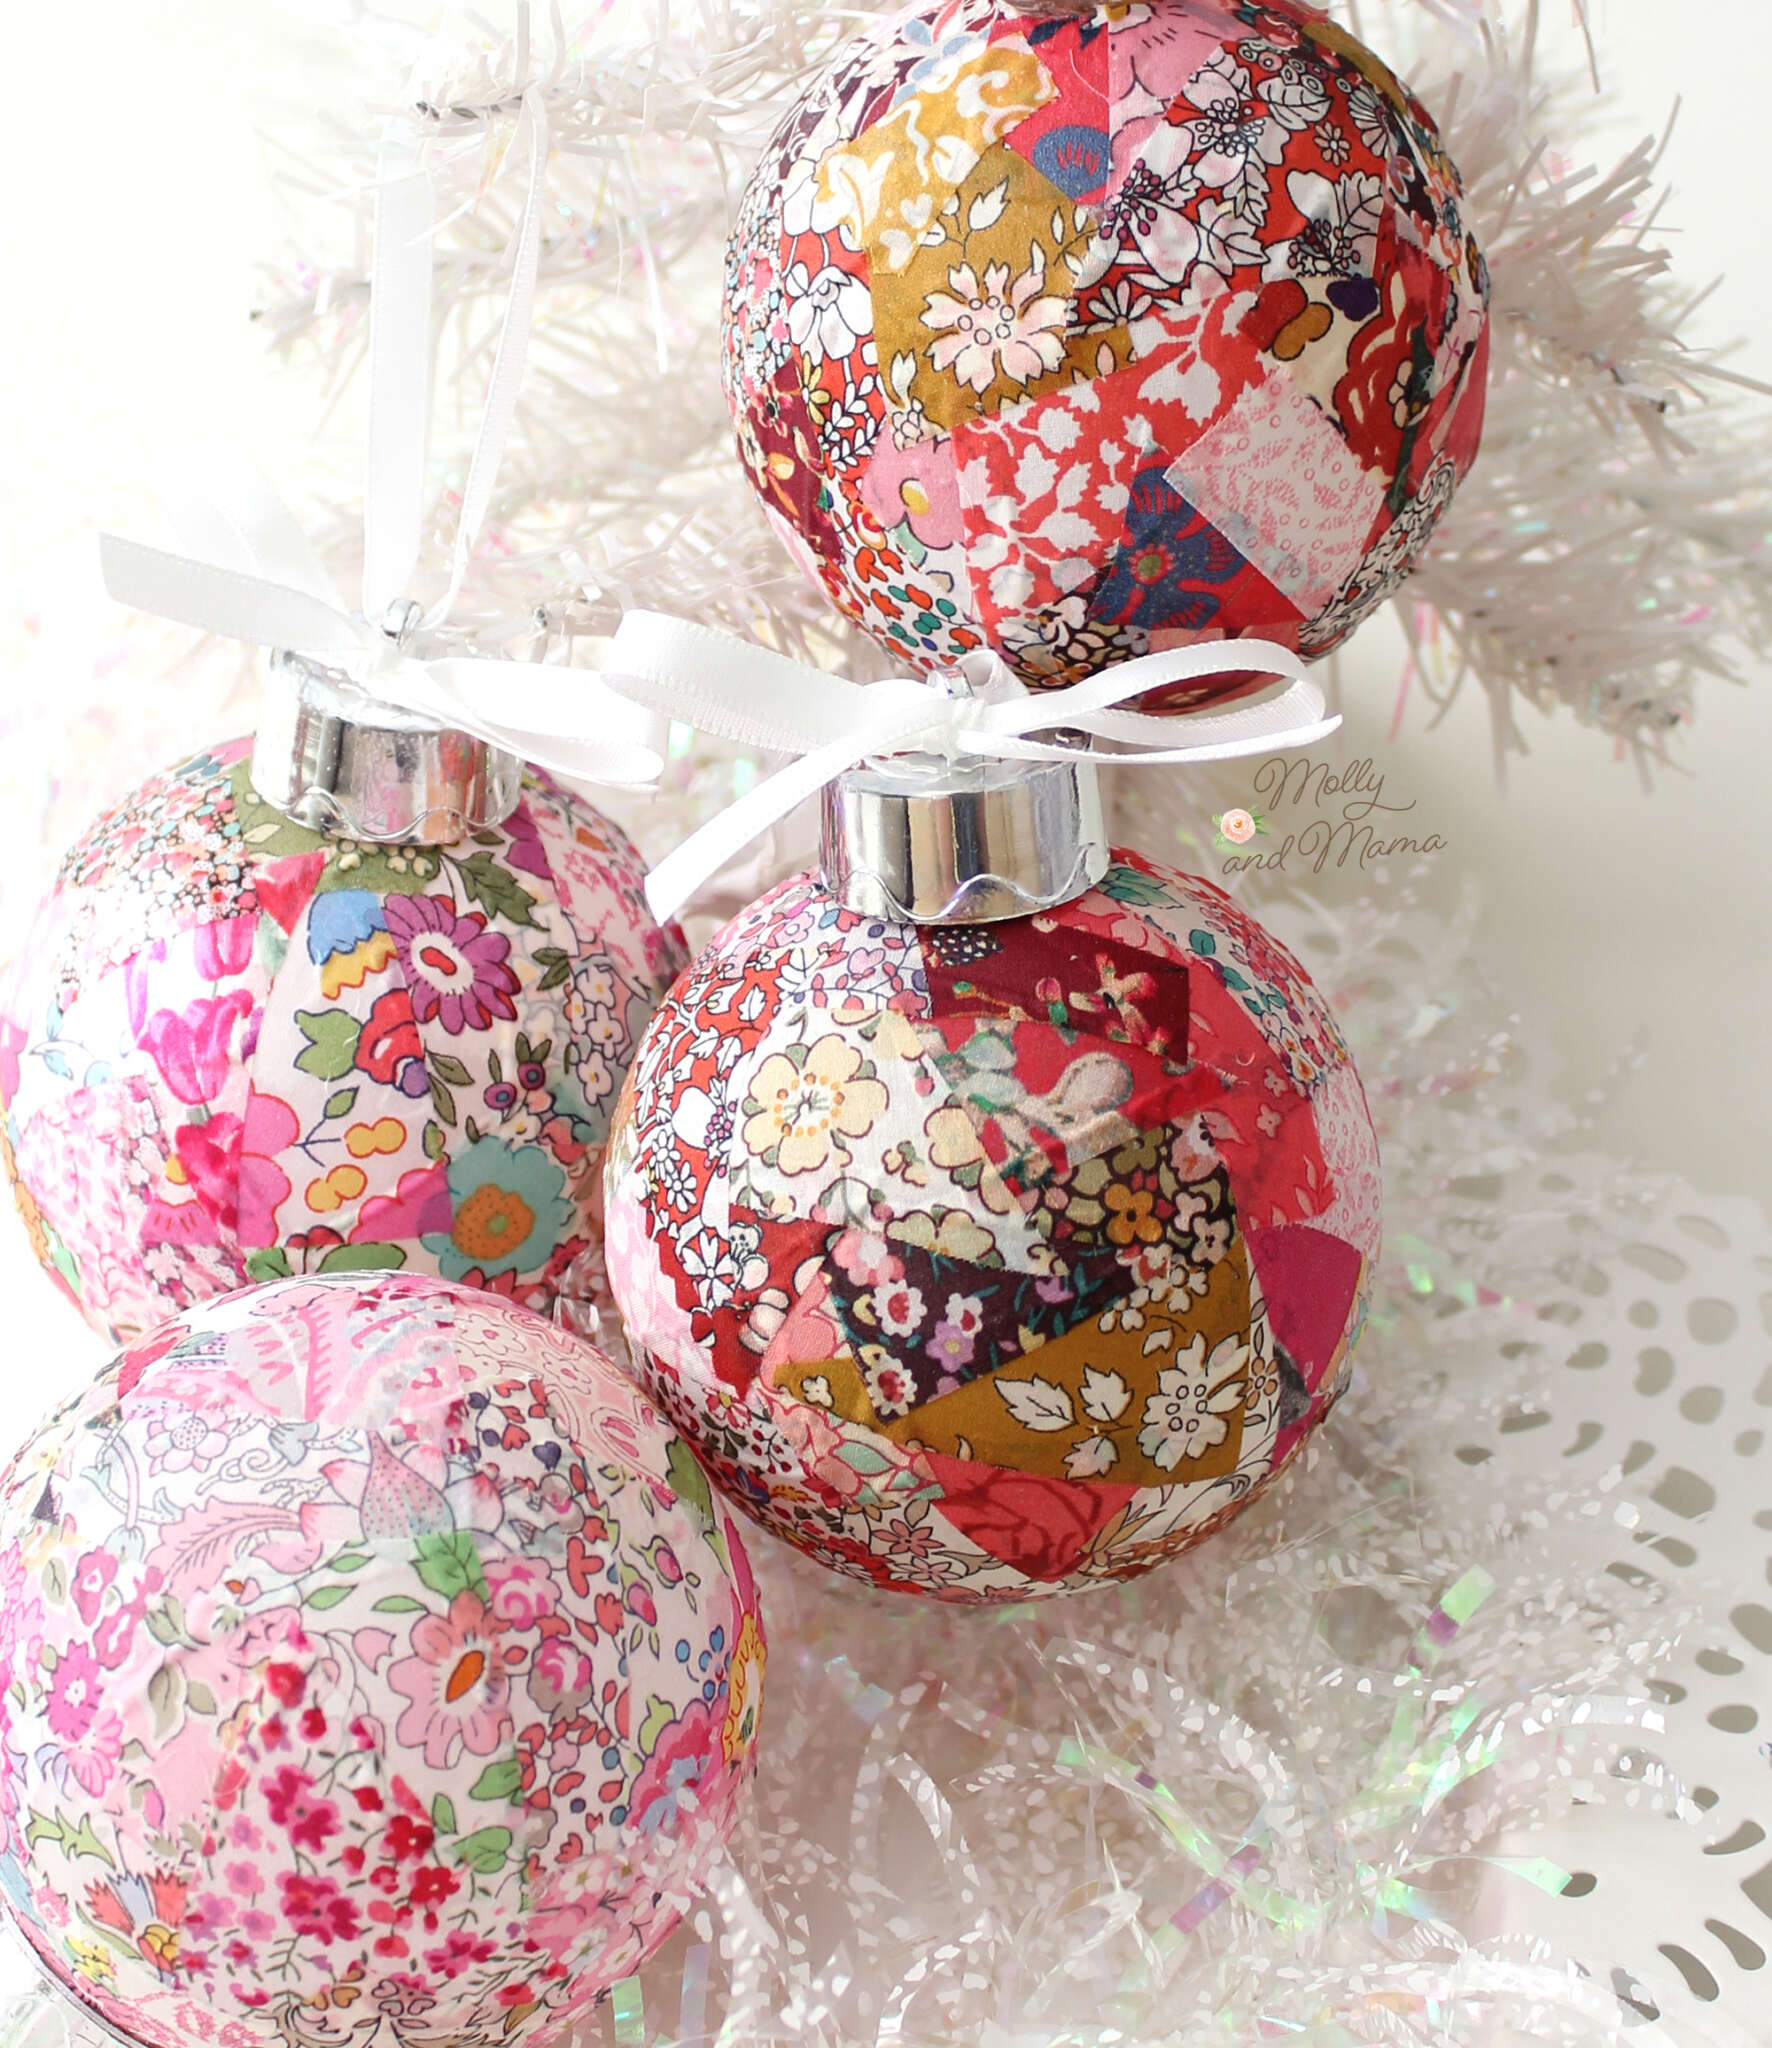
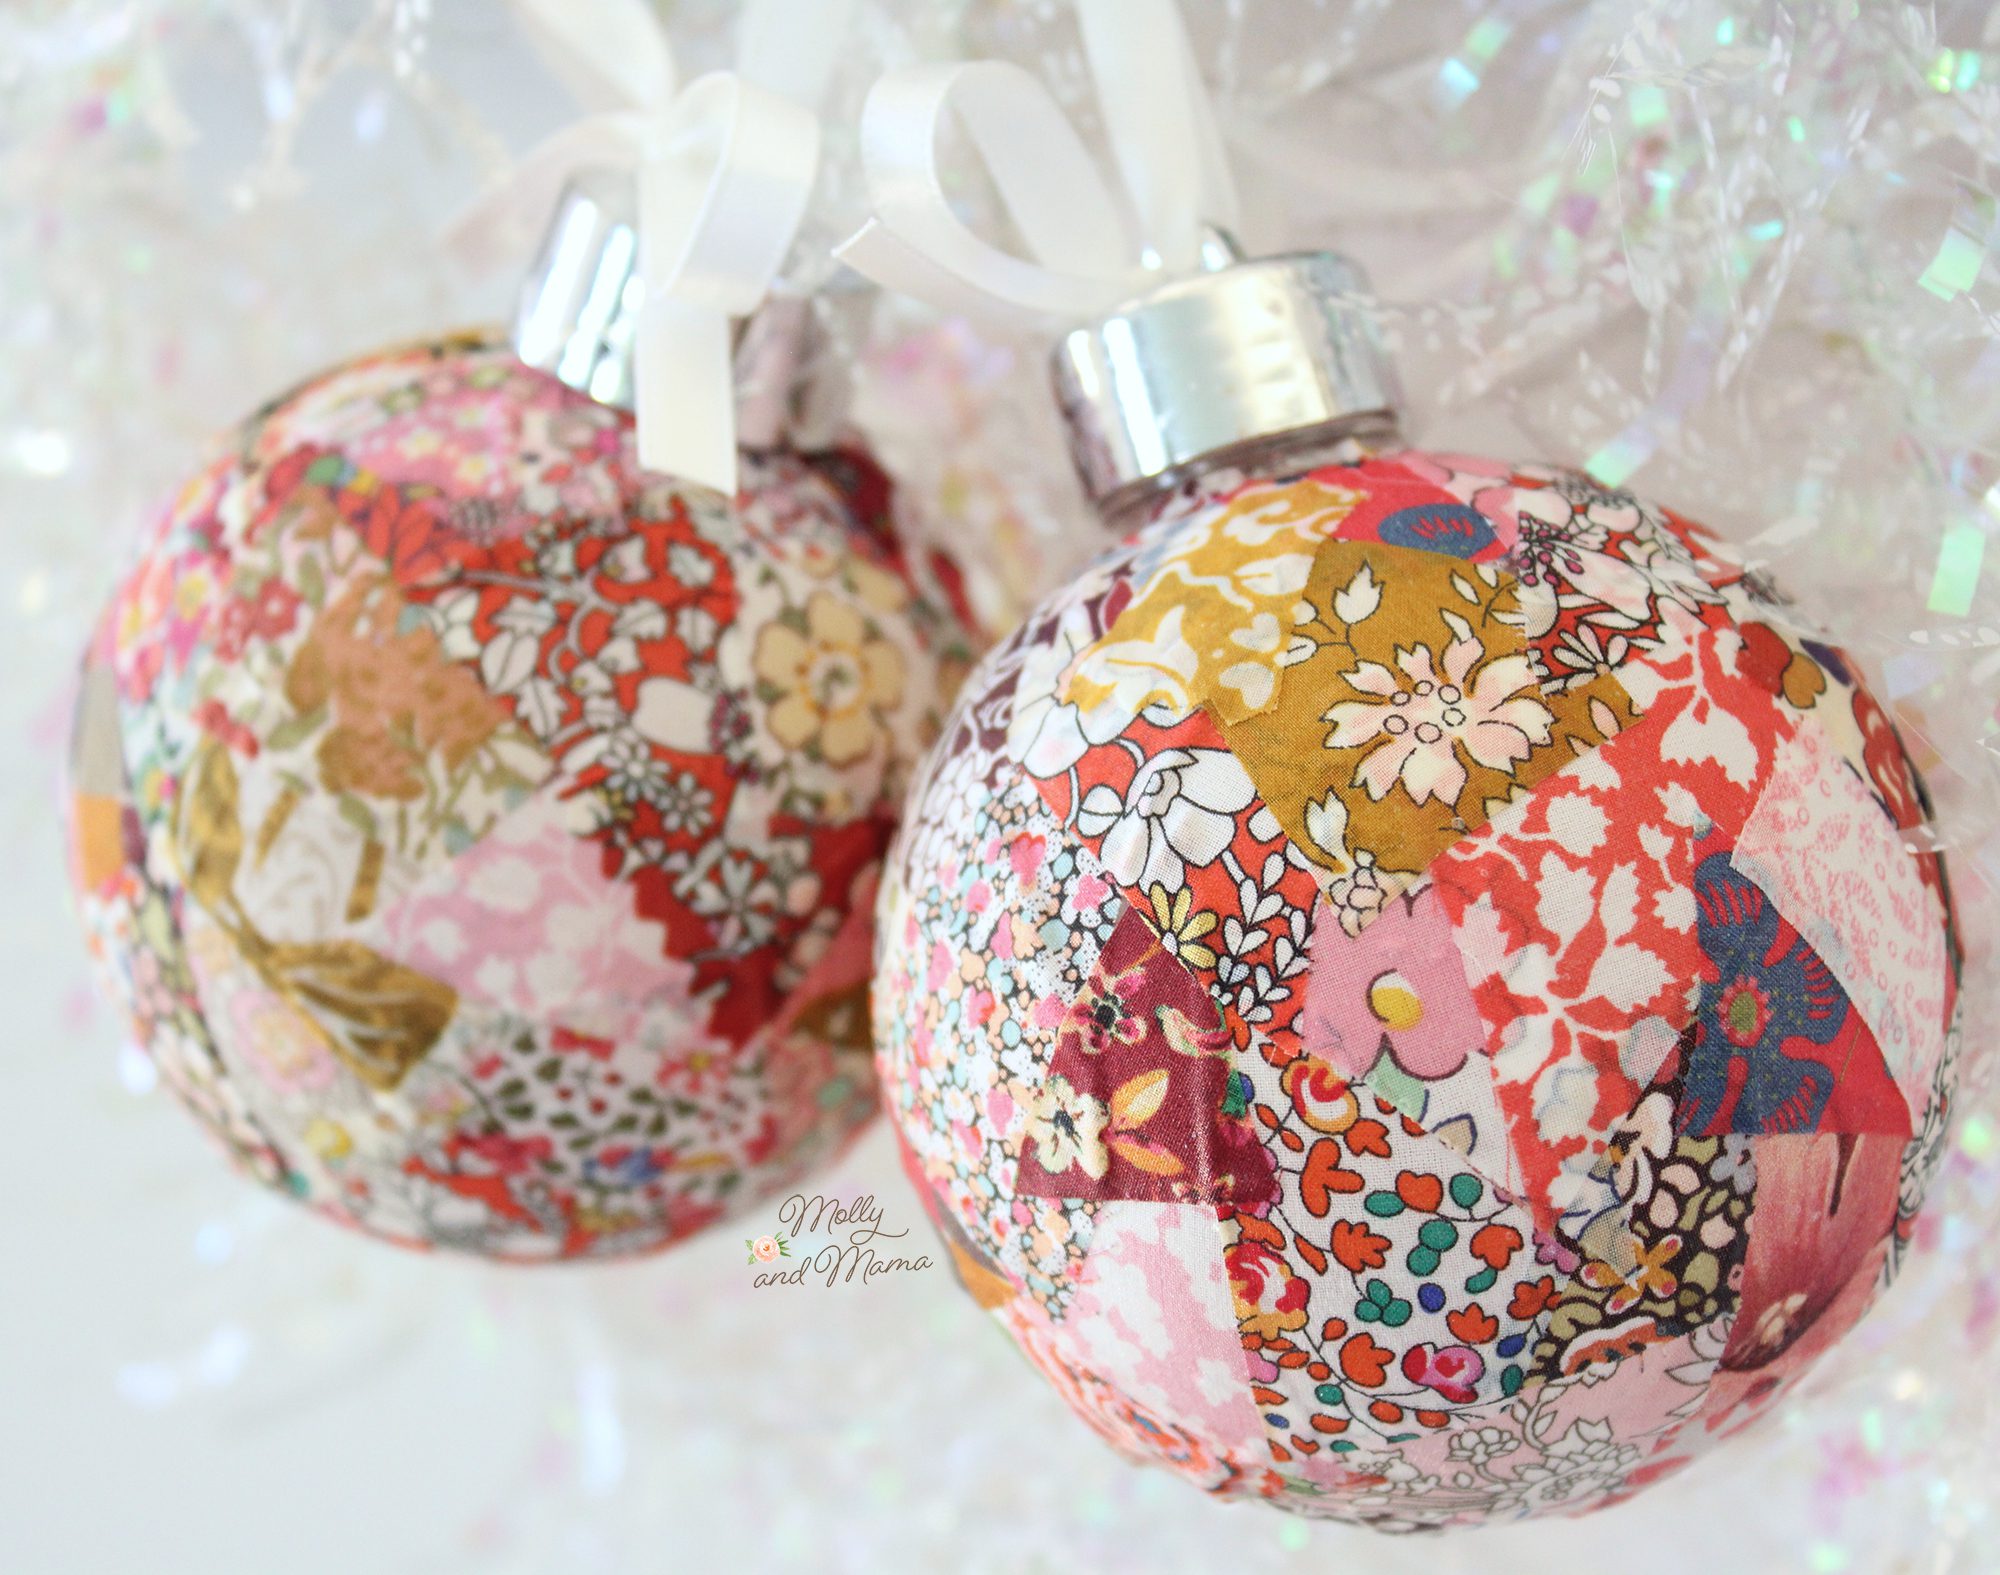
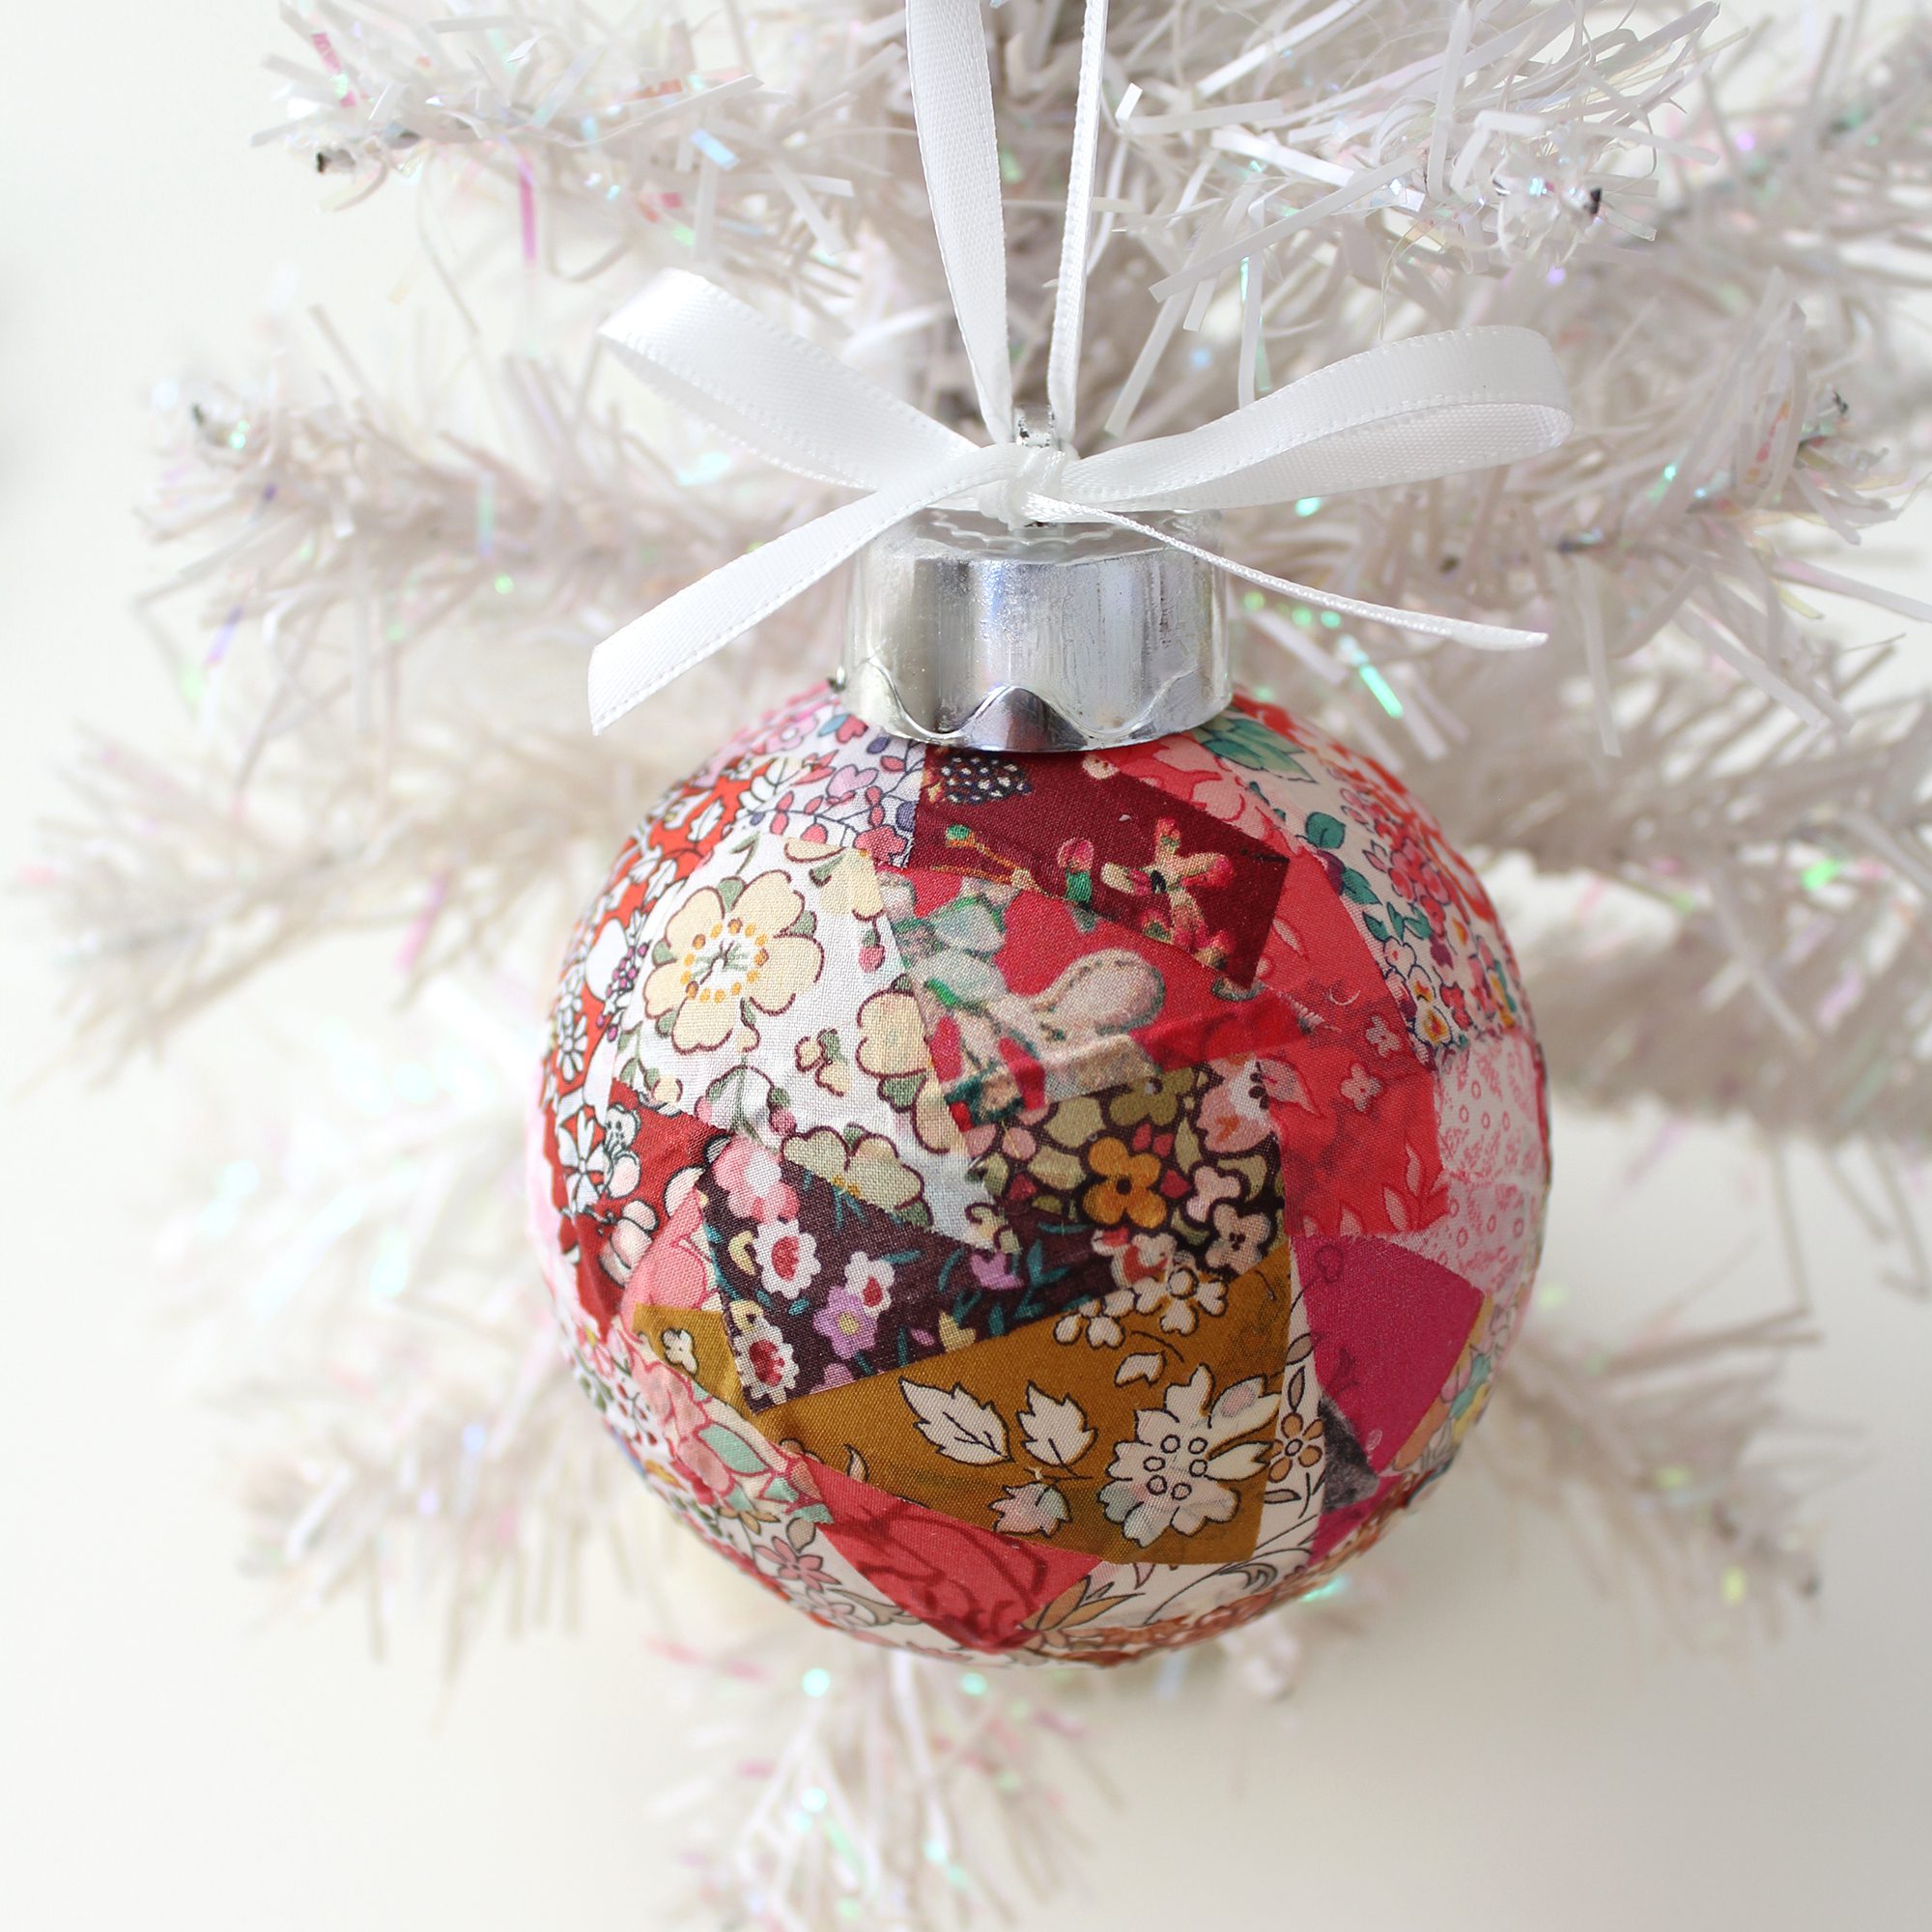
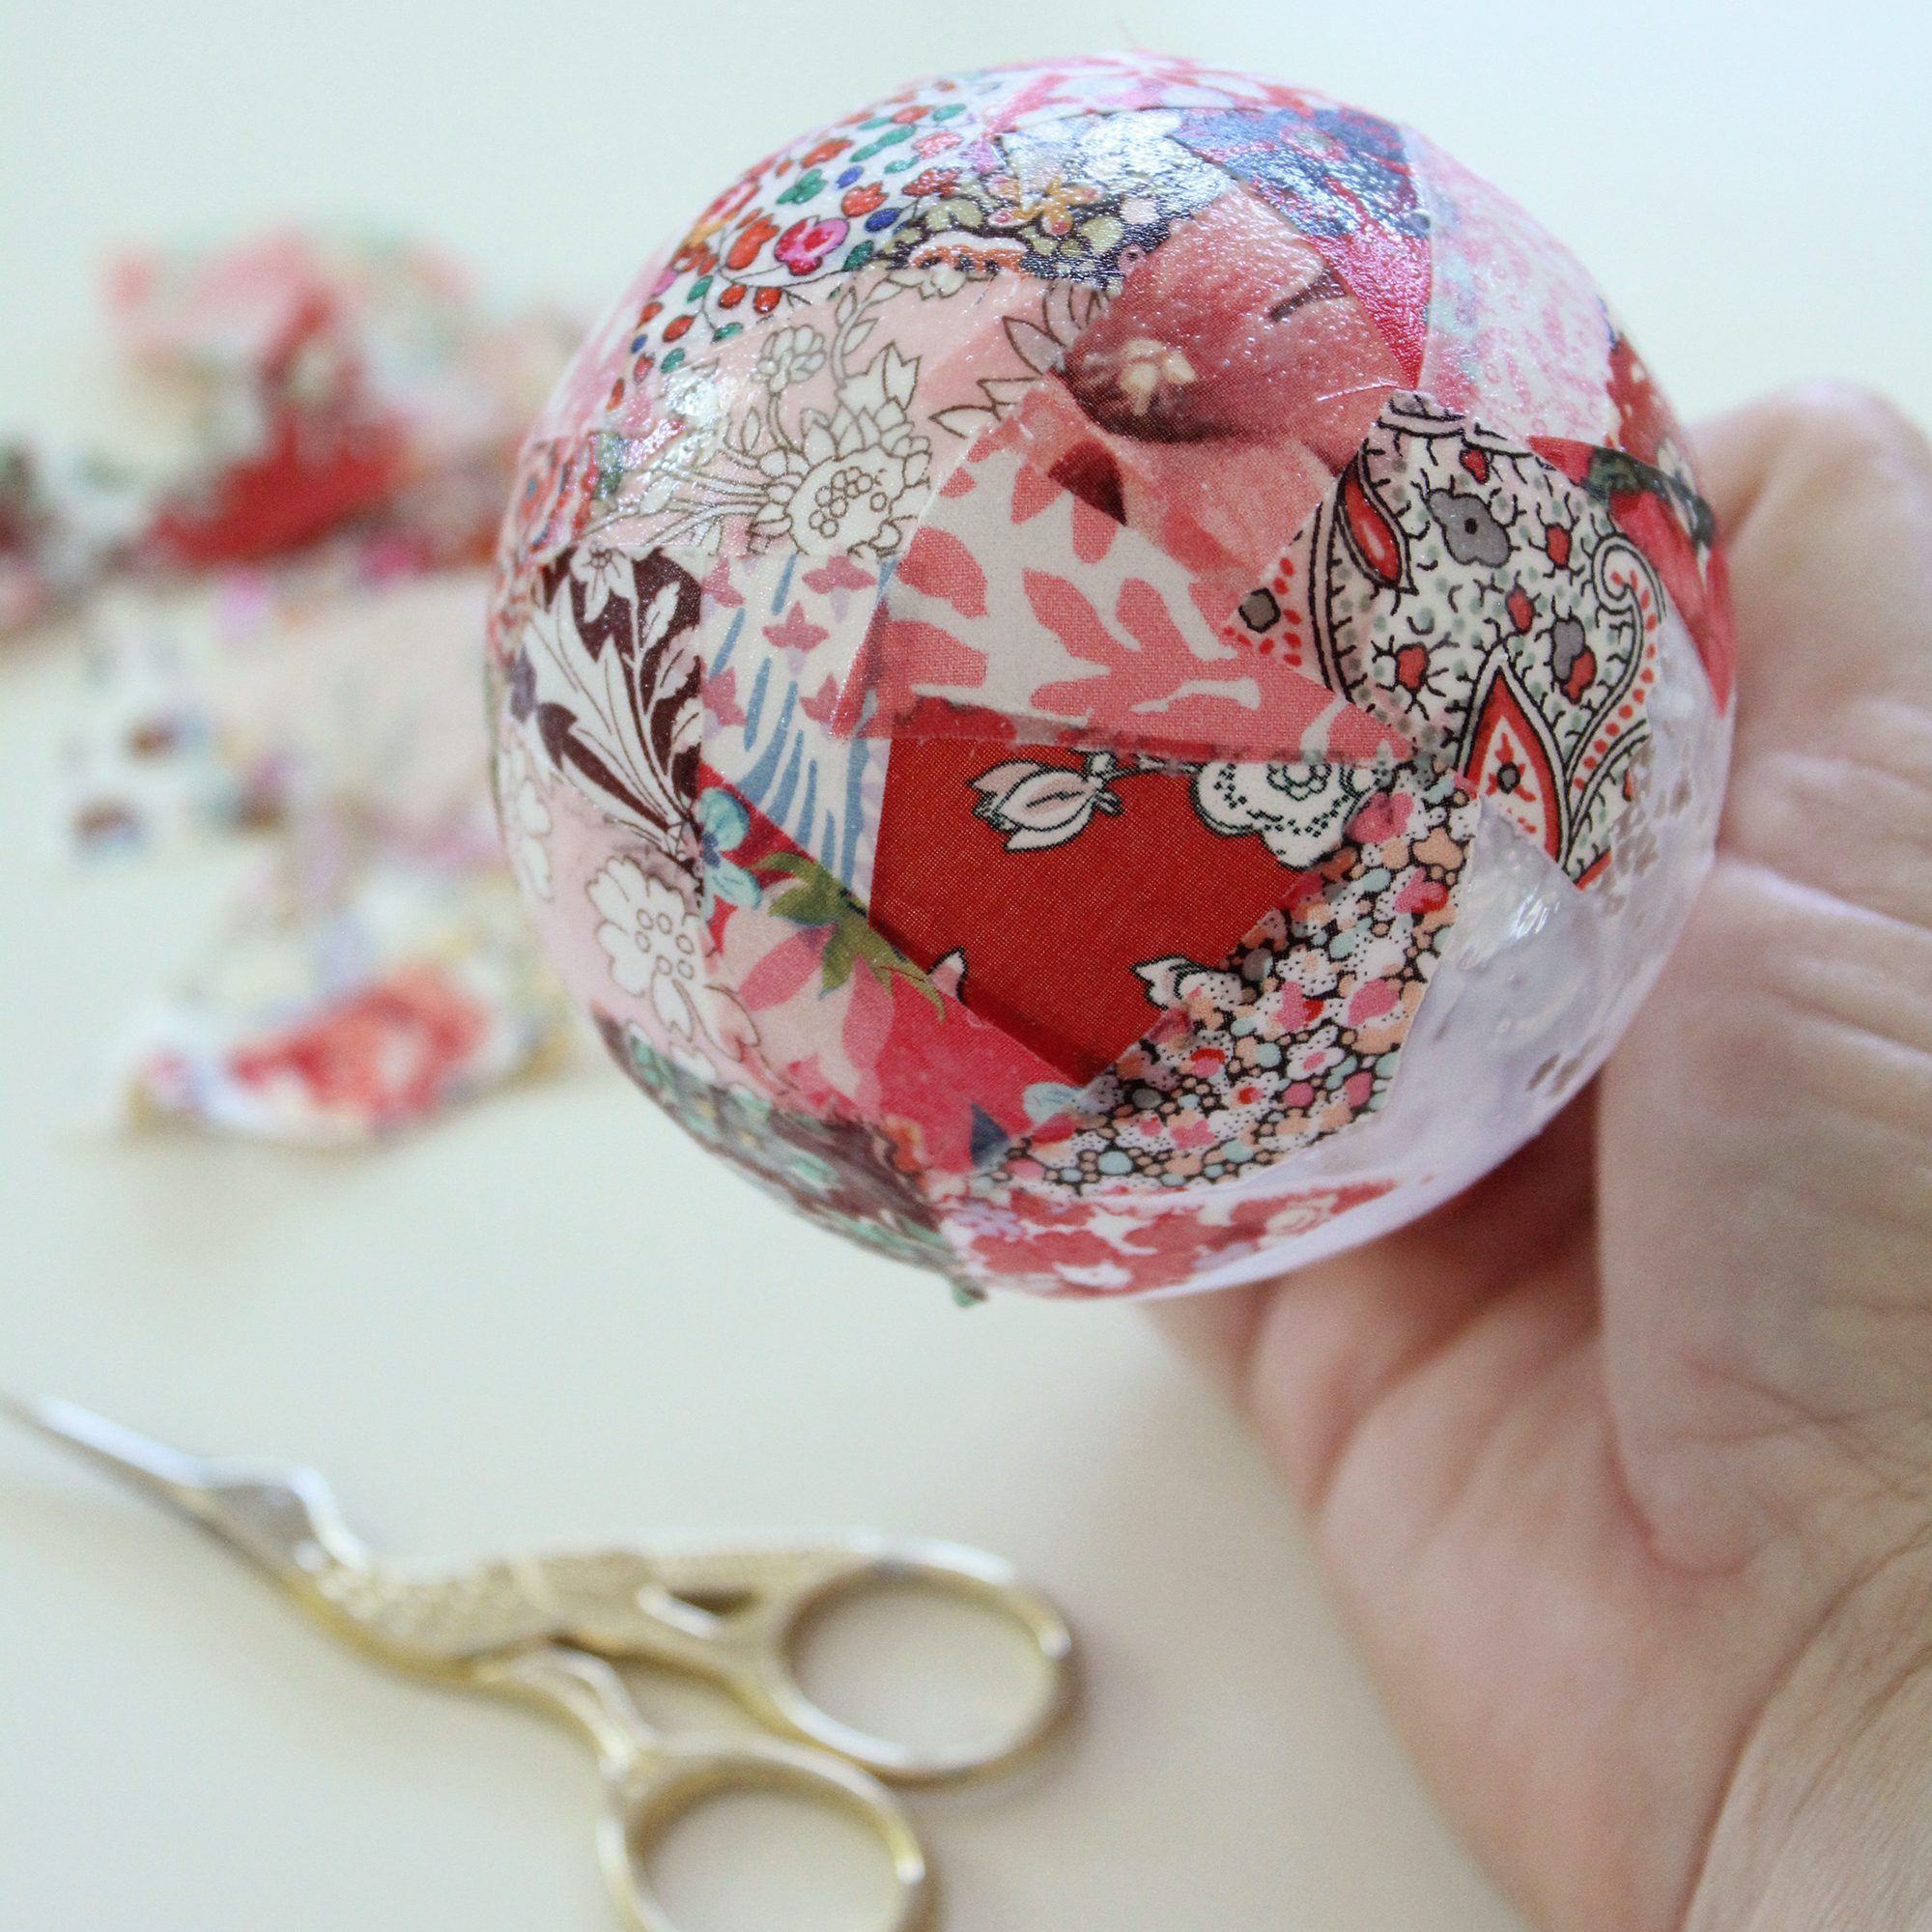
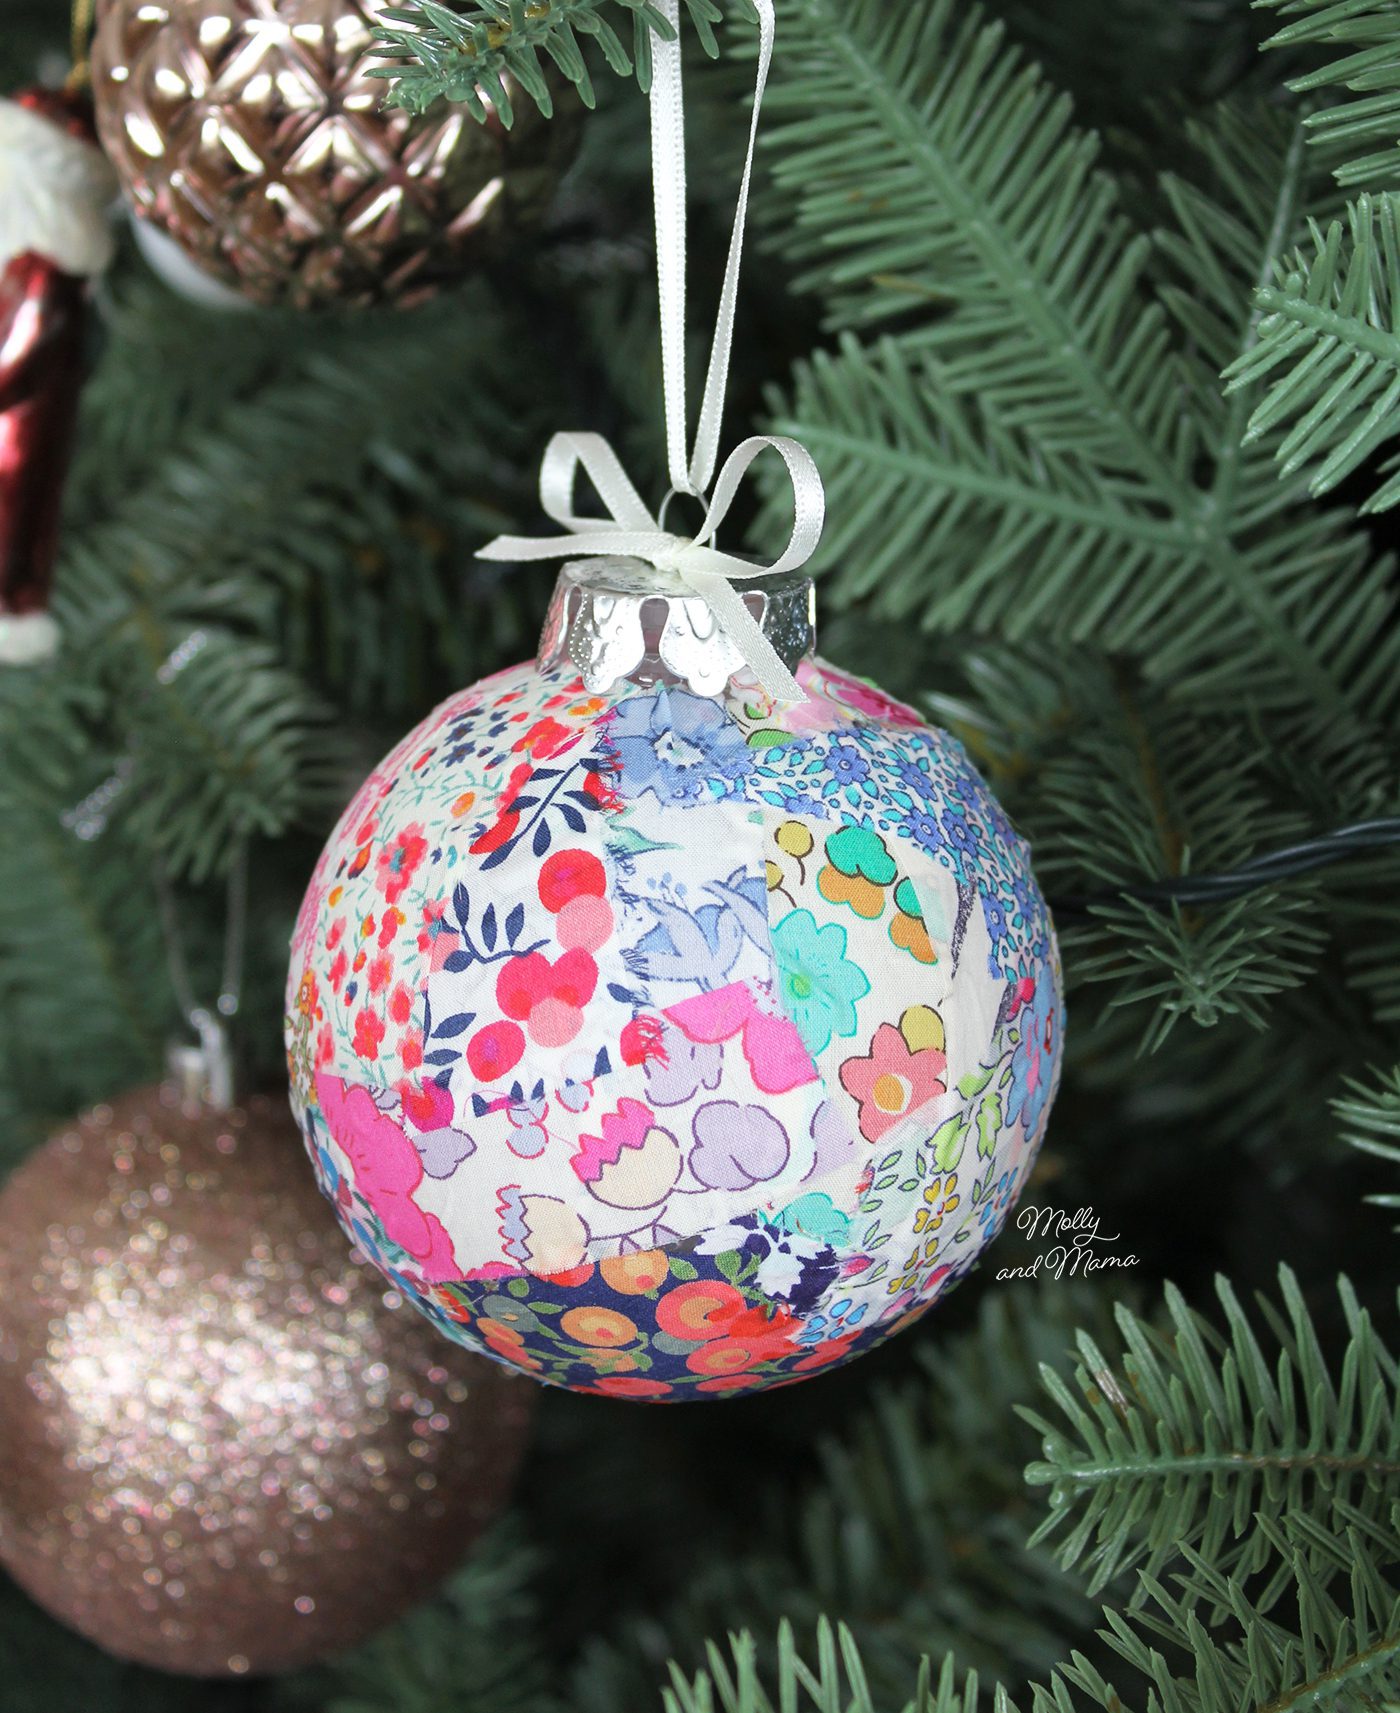
To create these beauties, you can use any fabric you like. But if you’ve been following me for a while you’ll know that I have a deep love for Liberty fabric, especially the fine tana lawn. And because these fabric scraps are so precious, I feel like this project is the perfect way to show them off!
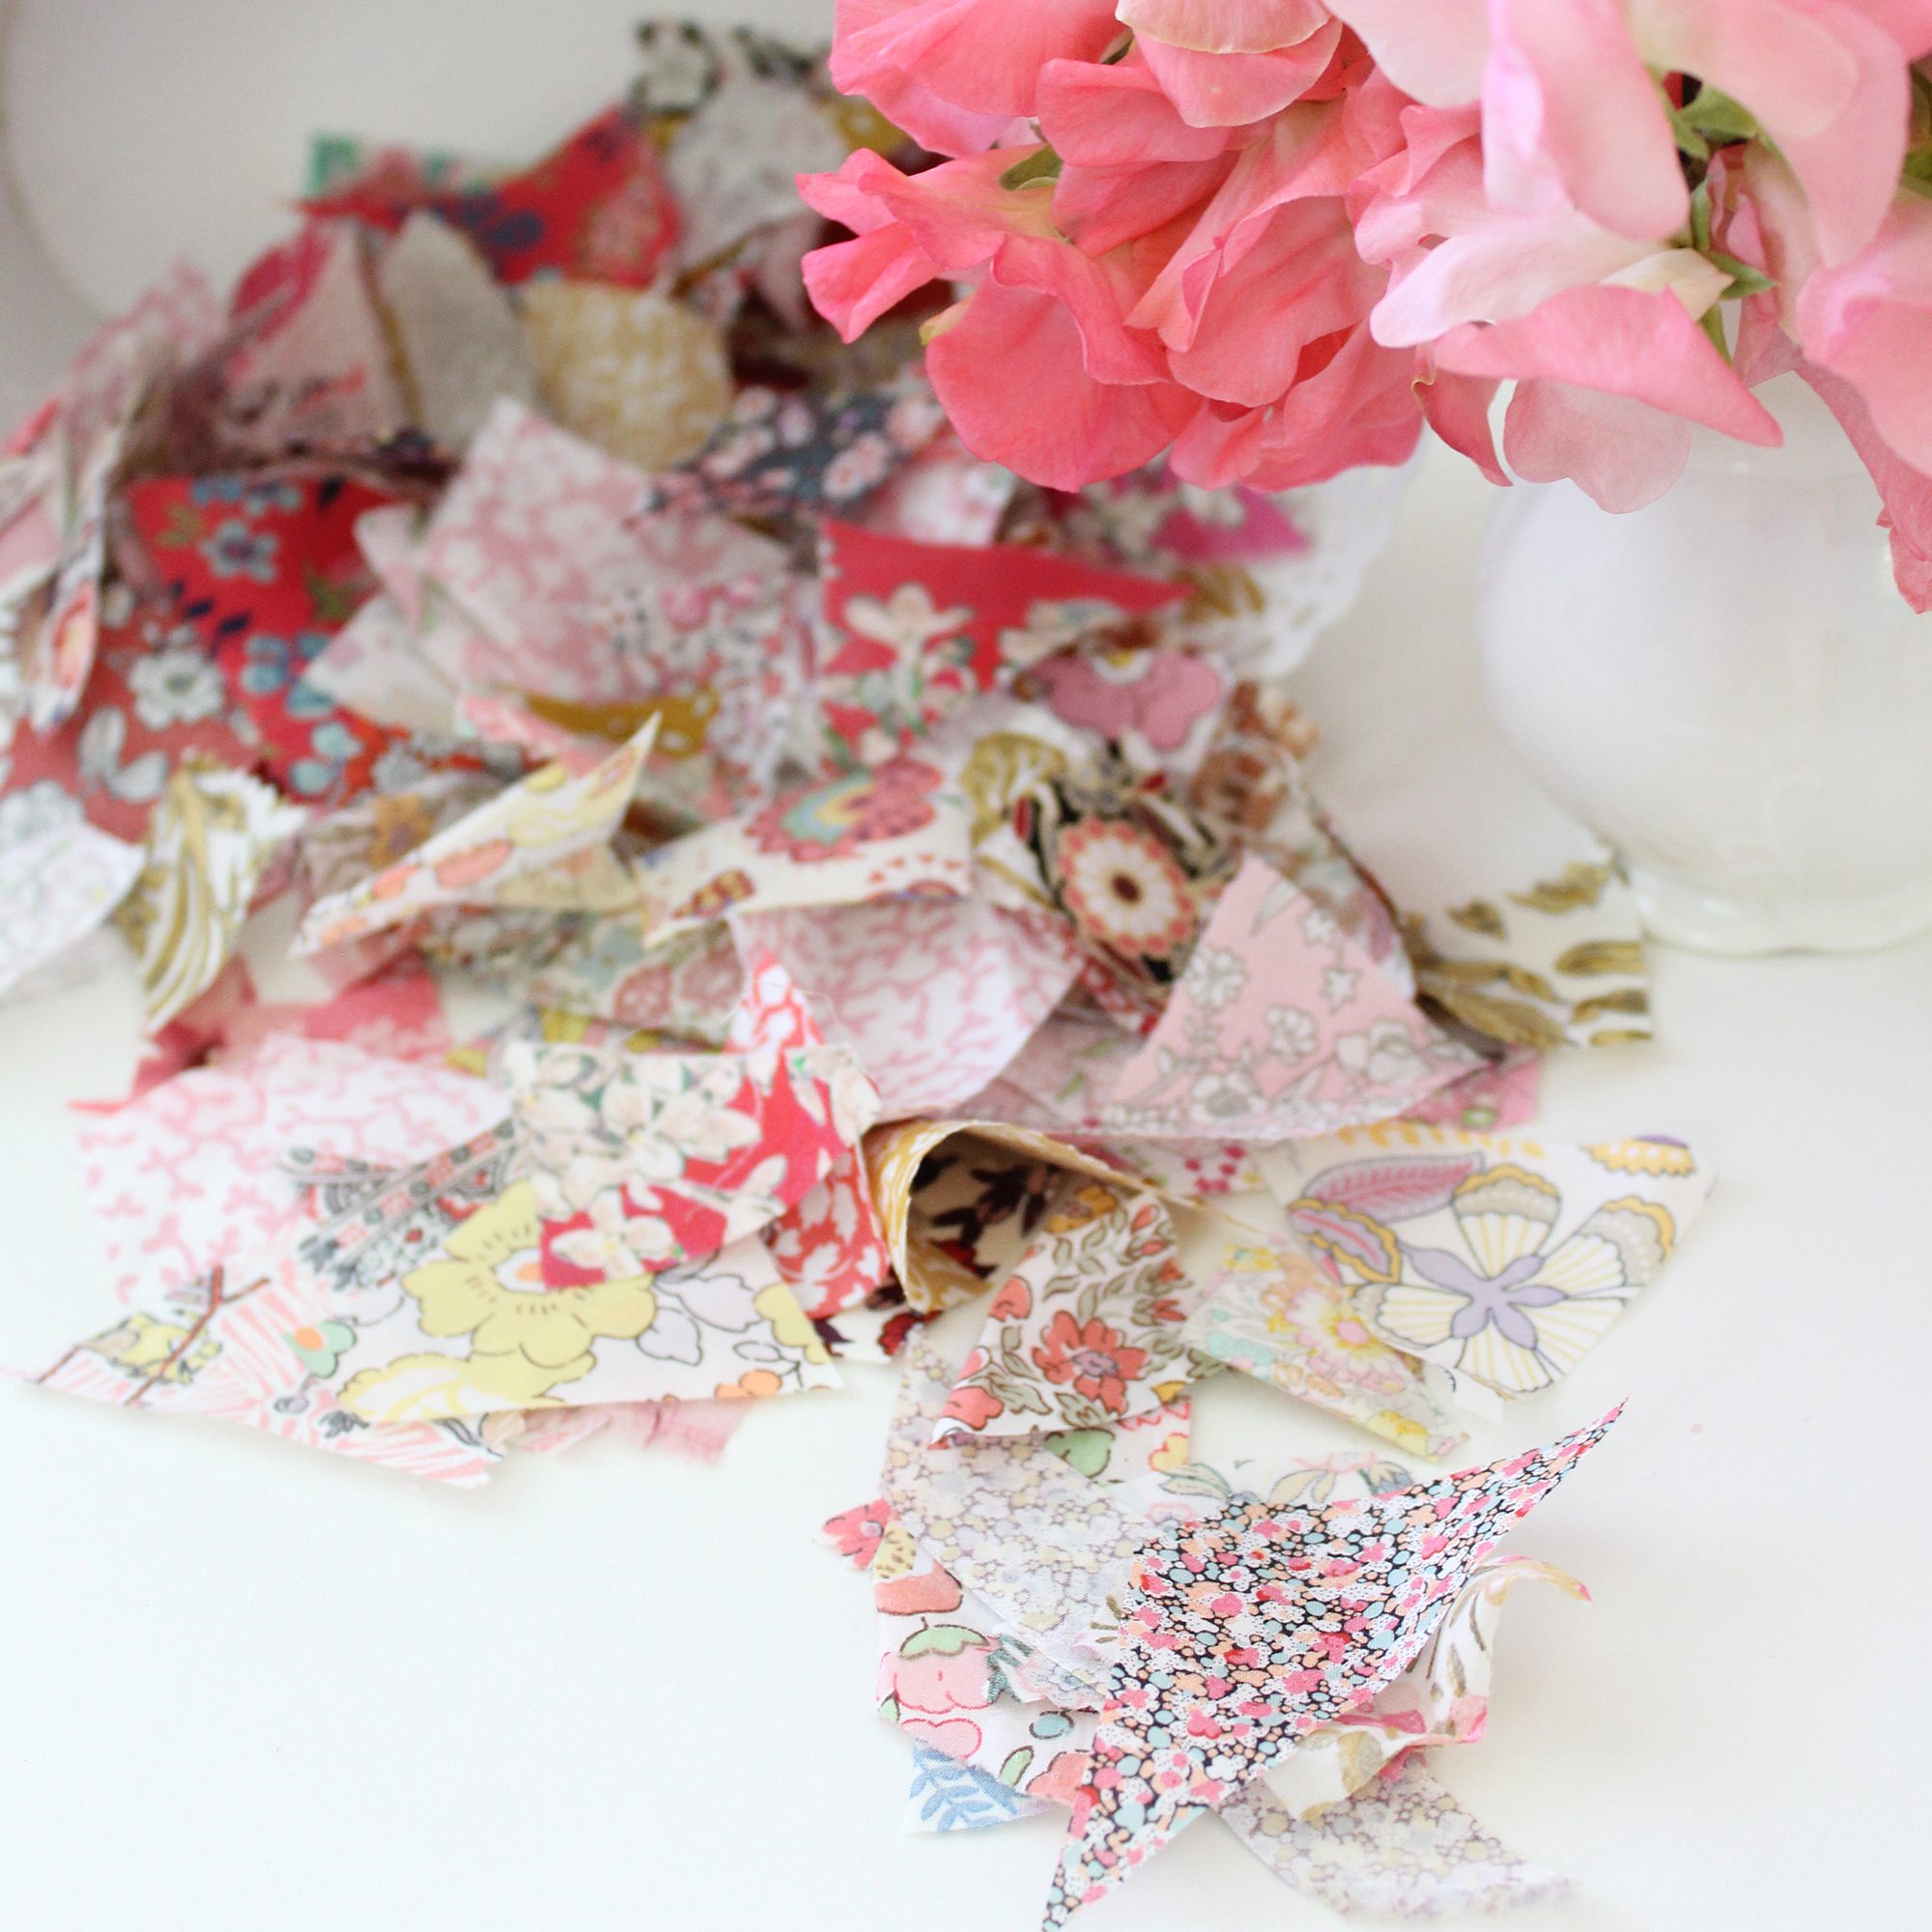
Choose fabric colours that complement your festive decor, or create bright and cheerful baubles using a mixture of prints, patterns and shades.
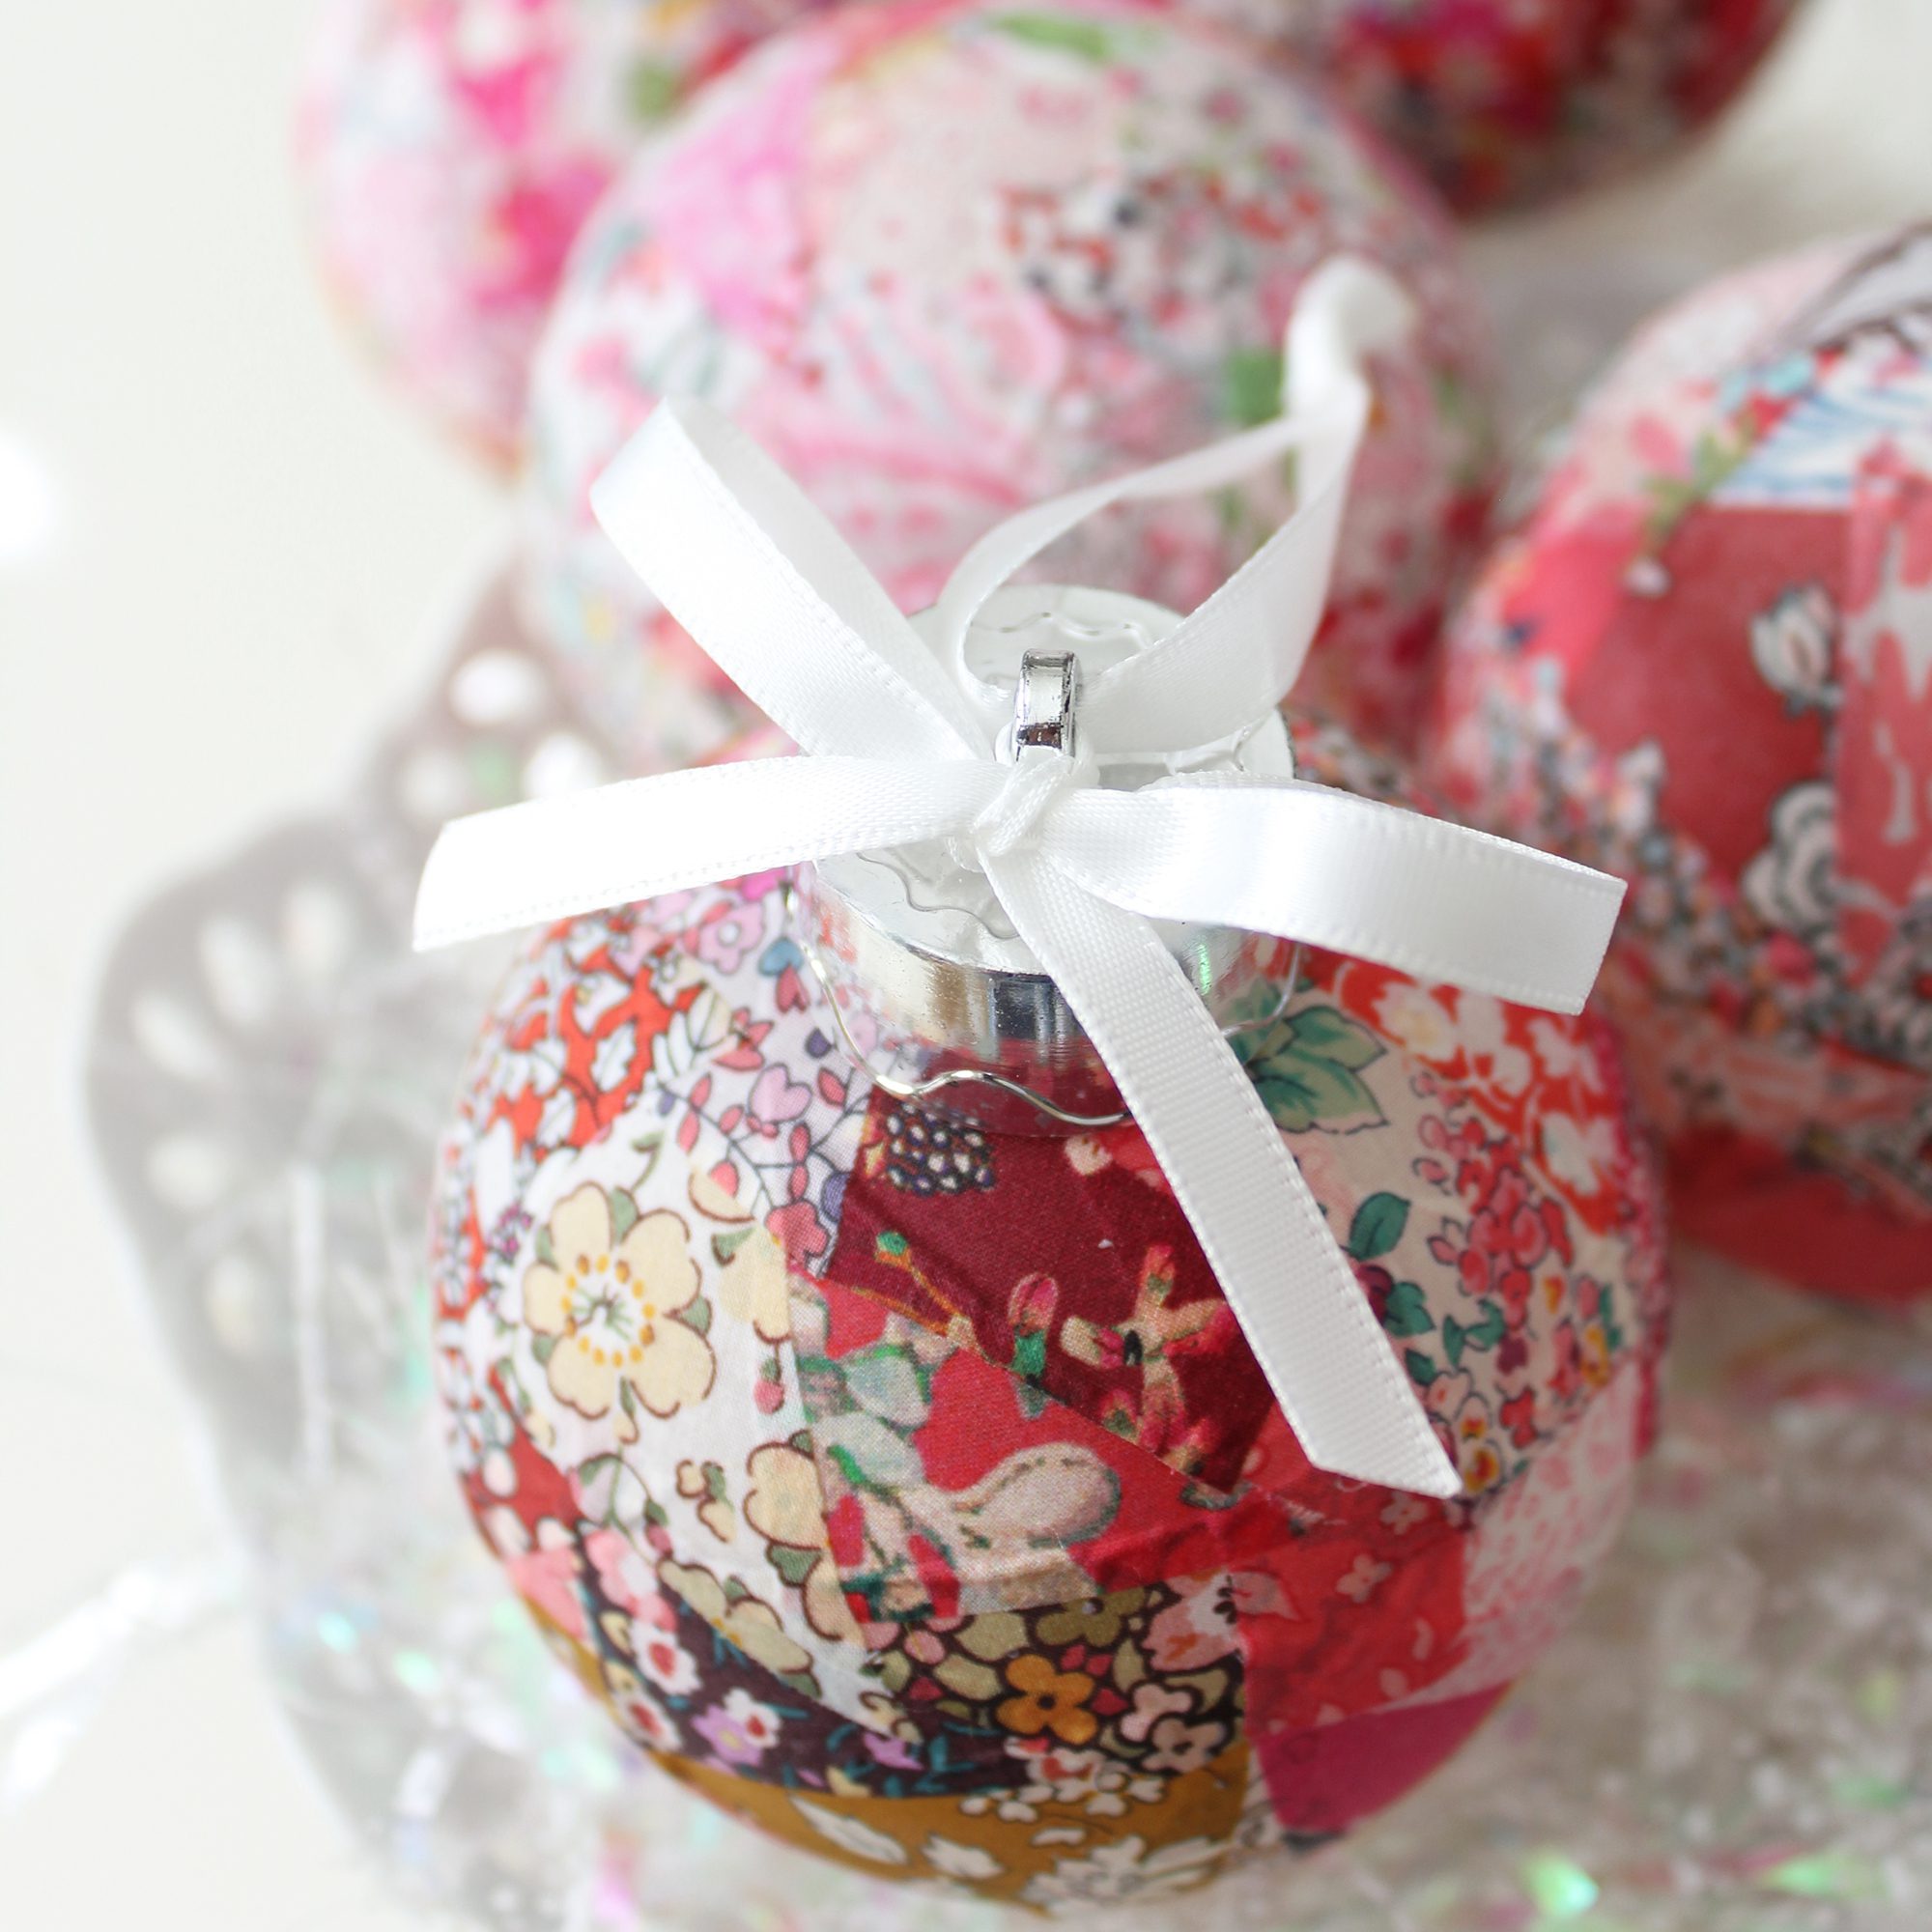
I like using the plastic baubles with a removable or screw on top (as shown below). They’re easy to handle and you can use the opening at the top to hold them. But I have also used papier mache baubles that are coated in fine craft paper and they work well too.
You can also used different shaped ornaments too. The options are endless!
What Glue Do You Use?
Just take the top off the ornament before you start, then use PVA glue (or any clear drying craft glue) to secure your scraps. Overlap them as you go.
When your ornament is completely covered, let it dry before adding another layer of PVA glue or varnish. Then add a hanging loop and bow and your ornament is all ready for the tree.
They make such beautiful festive decor.
If you make some of these beauties, be sure to let me know. Tag me on Instagram with #mollyandmama or get in touch.
If you’d like to see more Christmas ideas, I’ve recently written a round up of all of my favourite Molly and Mama patterns and projects. Check it out HERE.
Happy festive crafting, Lauren x
Would love the PDF tutorial for scrappy baubles. I just discovered this site and am so excited to explore more of what you have to offer.
Hi Desiree, just use the link in the post to sign up for the newsletter and access the PDF pattern. Thanks, Lauren.
These are beautiful ❤️
Thank you Kim.
I would love the scrappy bauble instructions
Many thanks
T
Please use this link to sign up: https://view.flodesk.com/pages/6192245c3a0e5bcf6f542109
I would love to be on your list to receive the pattern for the Christmas ornament.
Thank you
Please use this link to sign up: https://view.flodesk.com/pages/6192245c3a0e5bcf6f542109
I recently made an ornament, left the hanger on during the process. I used 2 tall cans from my pantry, ran a pencil through the hanger, suspended ornament over the can so drying was a breeze
That’s a great tip for drying the ornaments. Thanks for sharing Sharon!