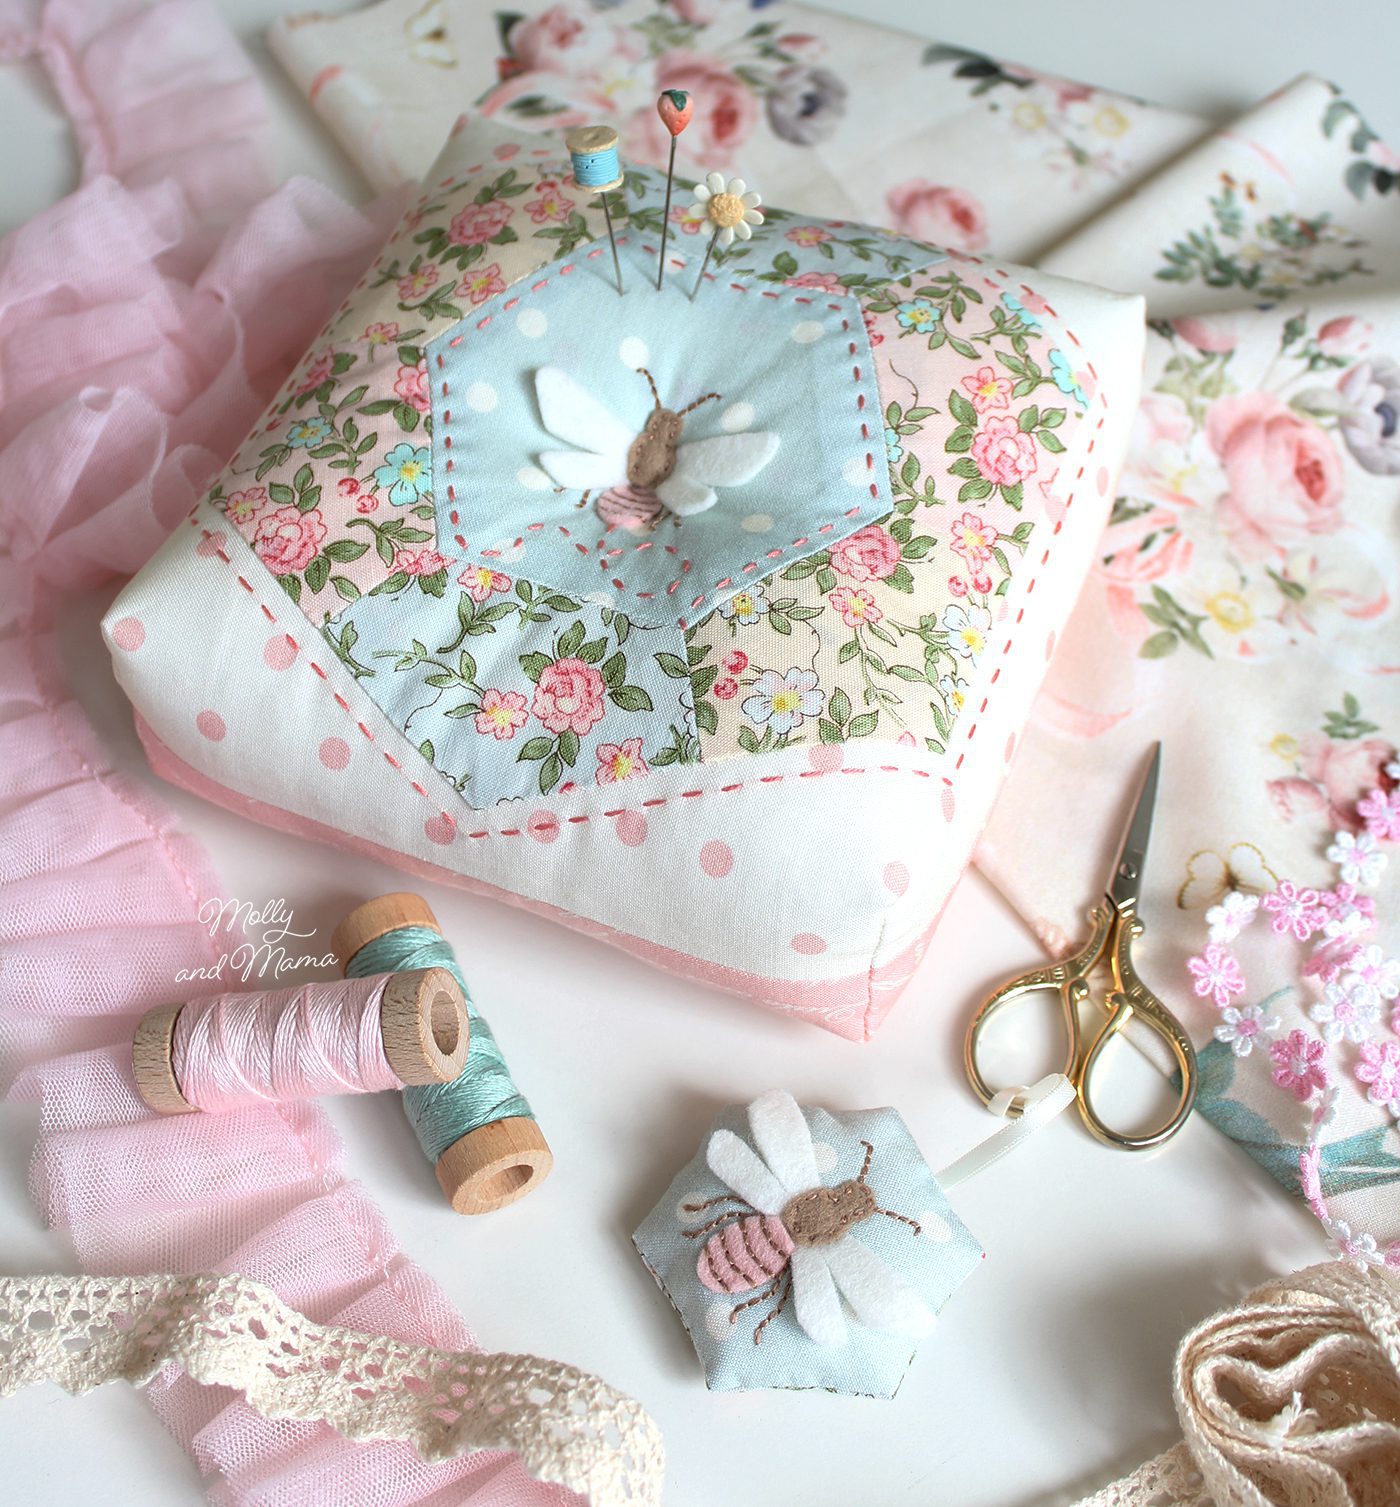
Make a Pretty Pin Cushion with a Lucky Four-Leaf Clover

I have to confess that I’m a little bit addicted to the humble pin cushion! Follow this easy tutorial to make a simple pin cushion using your favourite scraps of fabrics and trims, as well as treasured embellishments.
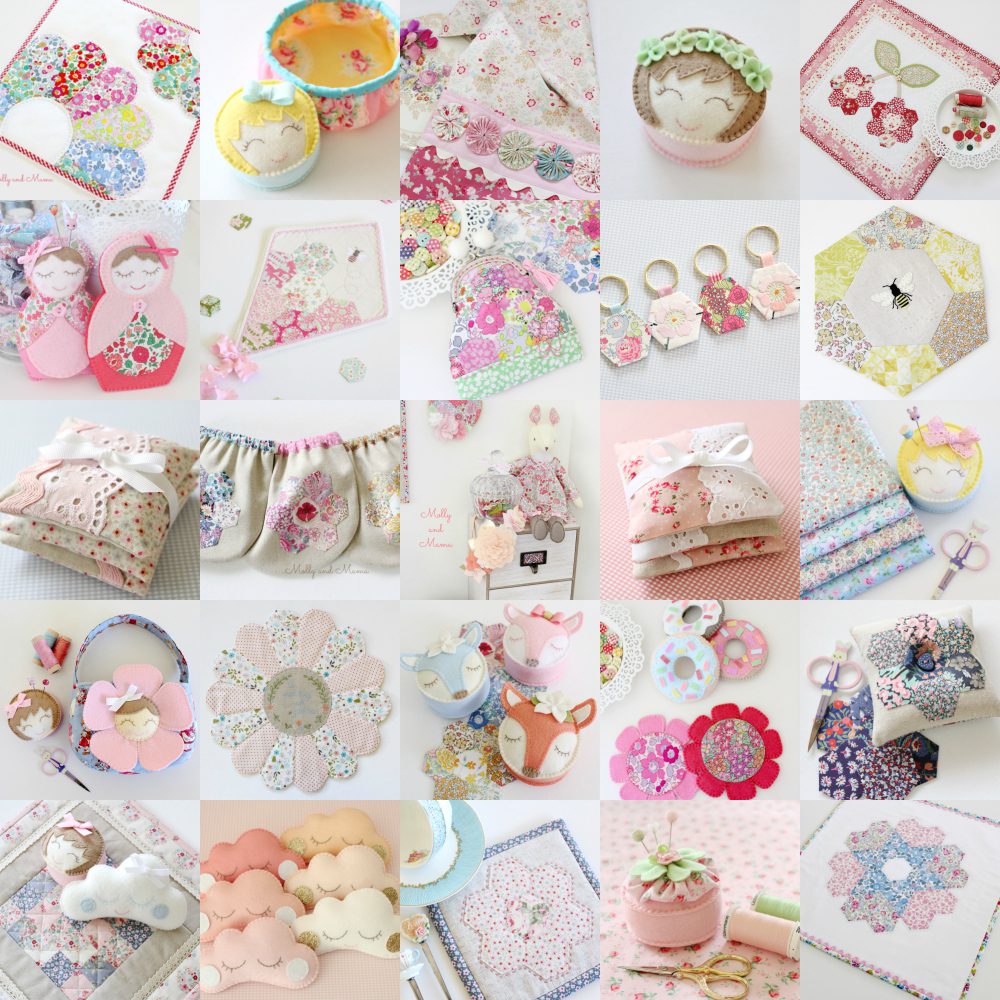
There are just so many ways to make pin cushions beautiful! From fabric to felt, trims, embroidery and more. Click HERE to see a few I’ve created in the past. I also have some gorgeous pin cushion patterns available in my store.
Here’s a simple and sweet pin cushion project that you can stitch up in no time. These make the perfect gift for a crafty friend. At 4″ (10cm) x 6″ (15cm) they’re a handy size, but you can make them in any dimensions you wish.
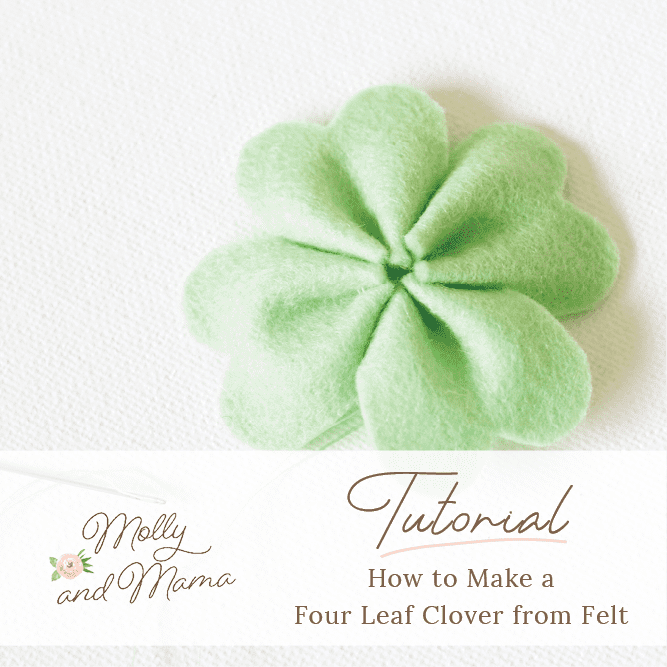
I’ve added a sweet wool felt ‘four-leaf clover’ (for a bit of added luck). If you’d like make your own four-leaf clover, or felt flower, you can see the tutorial HERE. Or sign up to receive a free PDF file with all the instructions to make simple felt flowers using the template. They’re so easy!
Let’s get started.
You Will Need
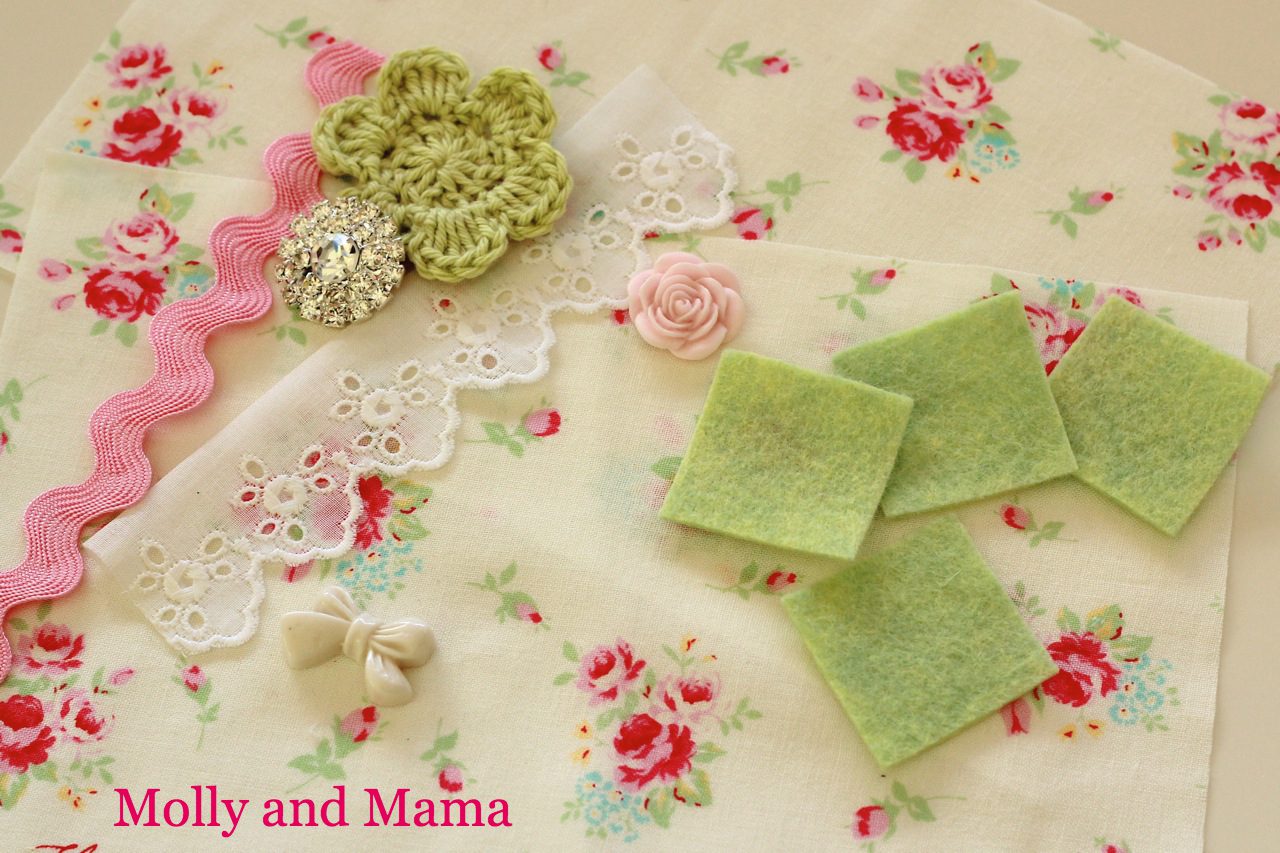
- Fabric scraps for the front and back. I used two pieces measuring about 5″ (12.5cm) x 7″ (18cm).
- 5″ (12.5cm) of lace or trim for the front. I used some vintage cotton lace from my mum’s stash, and a left over remnant of pink ric rac.
- Stuffing. I used hobby fill. Many use soft steel wool, or crushed walnut shells as both are great to help keep pins sharp.
- 3″ (8cm square of 100% wool felt (if you want to add a clover or felt flower)
- Pretty buttons, flowers, bows and bits. Use up some goodies from your stash. Try different combinations together to get your preferred look. I didn’t end up using everything I chose in the beginning.
- General sewing supplies
Let’s Get Making
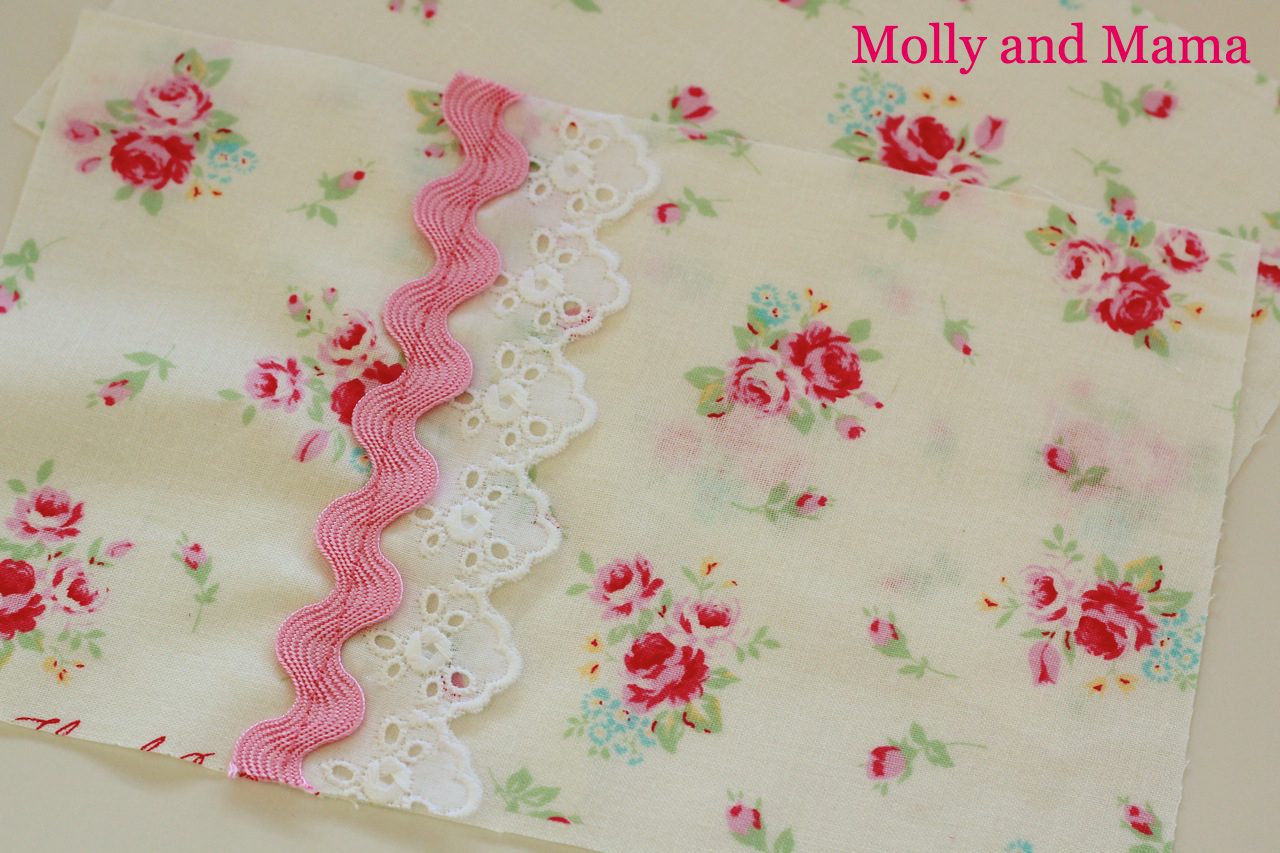
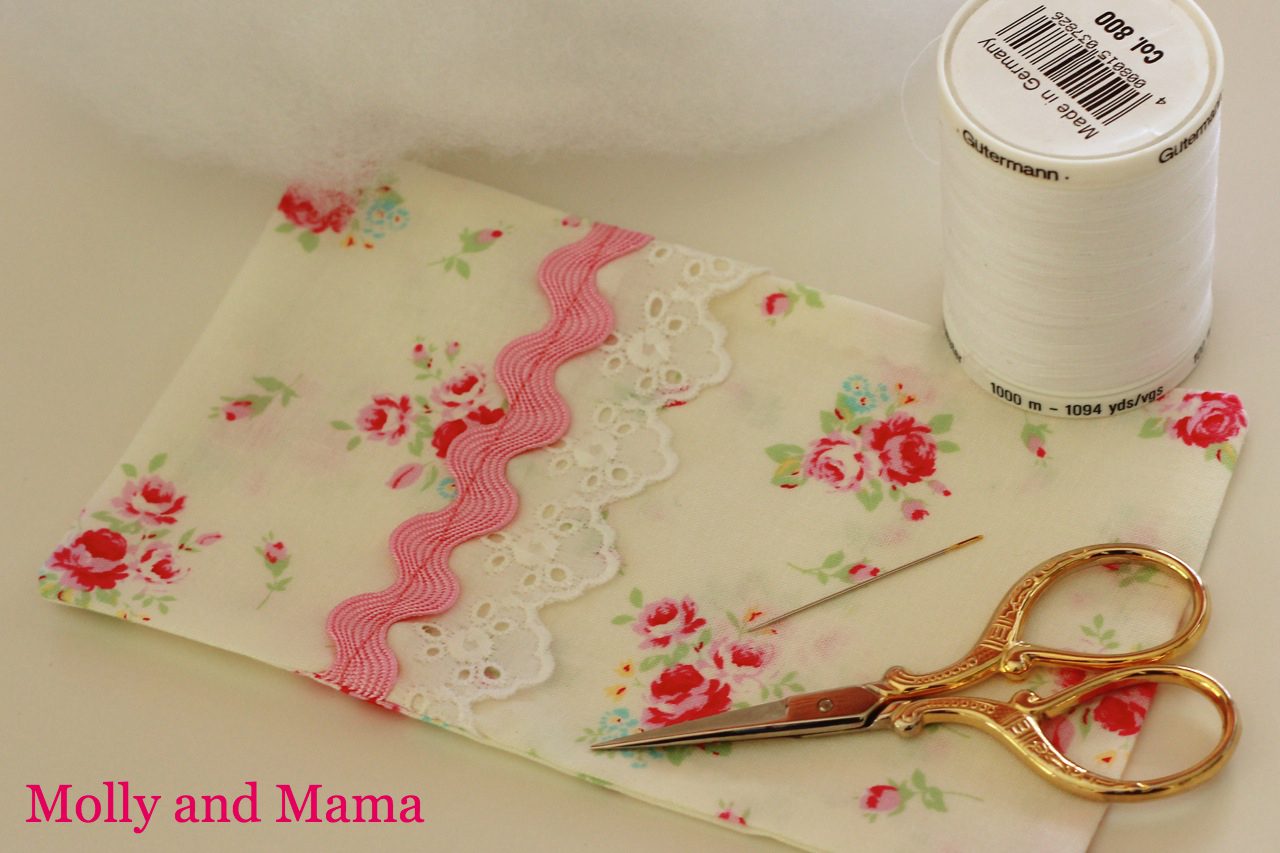
Arrange your trims on the ‘right’ side of your top pin cushion fabric piece. Pin them down and stitch them in place on the sewing machine using coordinating thread.
Place your two pin cushion pieces with their right sides together, and pin in place. Stitch a seam around three sides leaving one end open for stuffing. I used a 3/8″ seam allowance.
TIP: Be sure to use a small stitch length if you are stuffing the pin cushion with crushed walnut shells!
Trim your excess seam allowance with pinking shears or scissors on the three sides you stitched. Trim away the corners (being careful not to cut your stitching). This helps the pin cushion sit neatly. Turn it out the correct way.
Press your pin cushion and press your side seam allowance under. You’ll use it as a guide for hand stitching.

Stuff your pin cushion firmly. Use the point of your closed scissors to gently manoeuvre stuffing into the corners.
Double the thread on your needle and secure the end with a knot. Using a neat and small ladder stitch, sew up the side seam of your pin cushion.
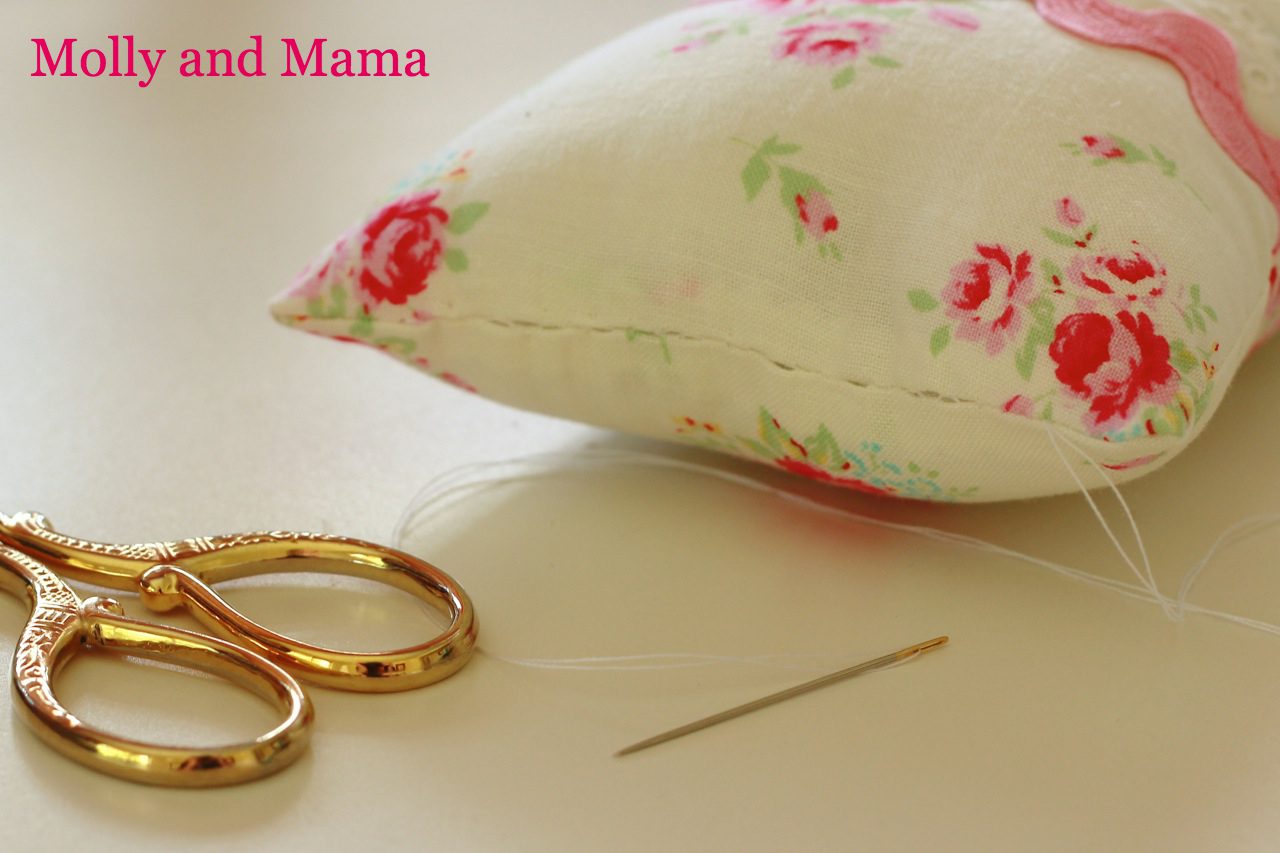
Now it’s time to decorate! I carefully stitched on my felt clover, crochet flower and ribbon bow with carefully hidden stitches. I then used hot glue to attach my resin flower and diamanté button.

Add your sewing pins and you are all good to go!

I’d love to see your pin cushions! So feel free to share your own projects. And let me know if you have some other great tips and tricks for our readers.
Happy stitching, Lauren.
Reblogged this on MaggieMart and commented:
I found this gorgeous project while searching for some St. Patrick’s Day Crafts. Enjoy!
Reblogged this on MaggieMart and commented:
I found this gorgeous project while searching for some St. Patrick’s Day Crafts. Enjoy!
Are those gingher scissors I spy! This is super cute, I like the green and pink combo.
Thanks so much Swoodsonsays! I must confess that pink and green is my favourite colour combination!
Are those gingher scissors I spy! This is super cute, I like the green and pink combo.
Thanks so much Swoodsonsays! I must confess that pink and green is my favourite colour combination!
That is beautiful.
Thank you! Glad you like it! Lauren
That is beautiful.
Thank you! Glad you like it! Lauren