Make Nautical Felt Anchor Coasters, Ornaments and More
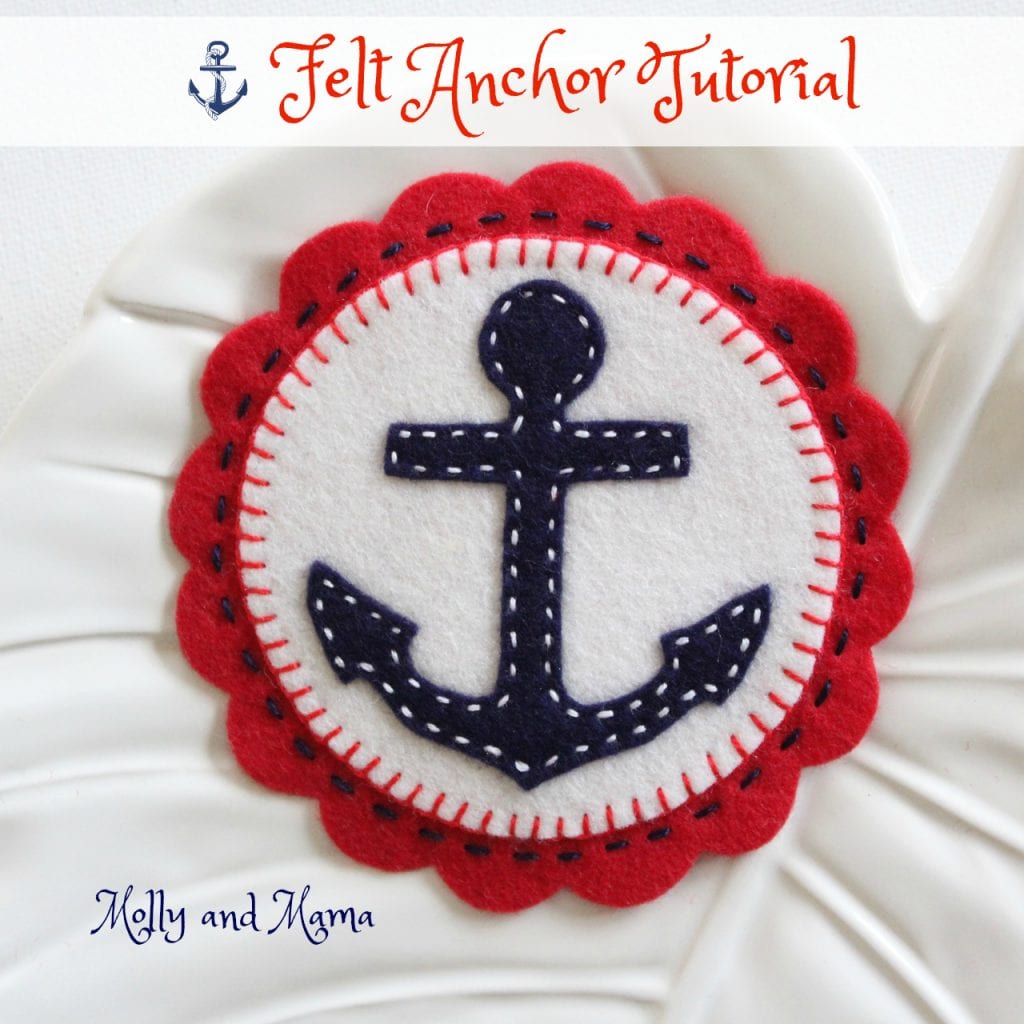
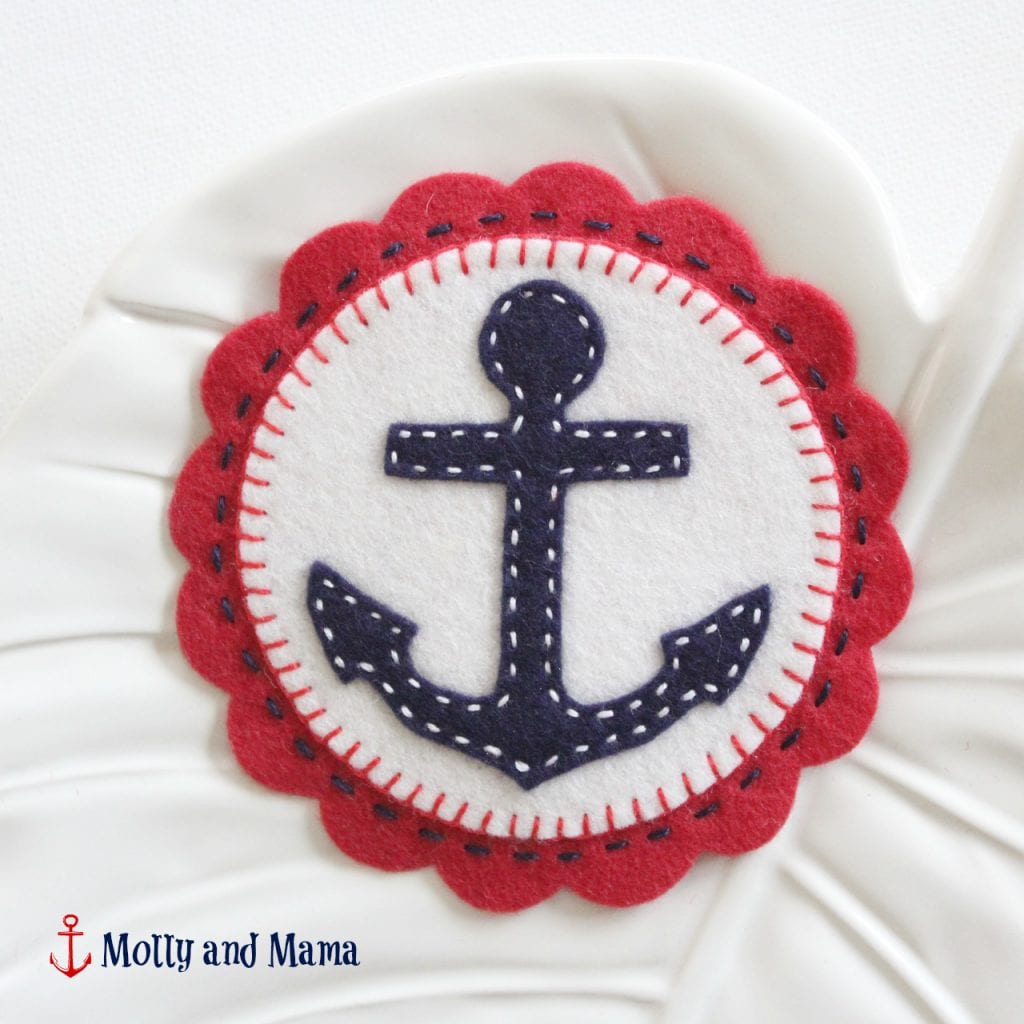
I’m so excited to share this nautical felt anchor project with you. I’ve always had a thing for anything related to the sea. It must be the ‘pisces’ in me. And I love this little anchor project, because it’s so simple but it looks so effective made in such striking nautical colours.
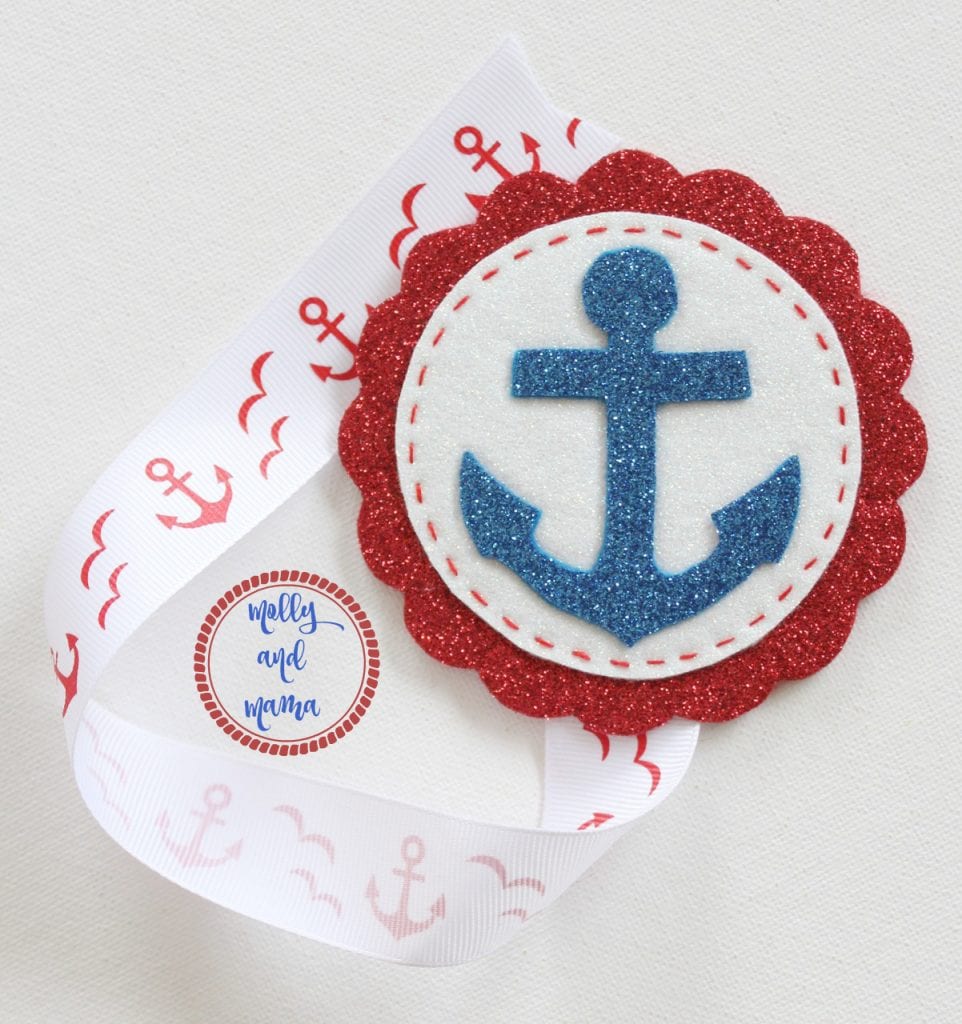
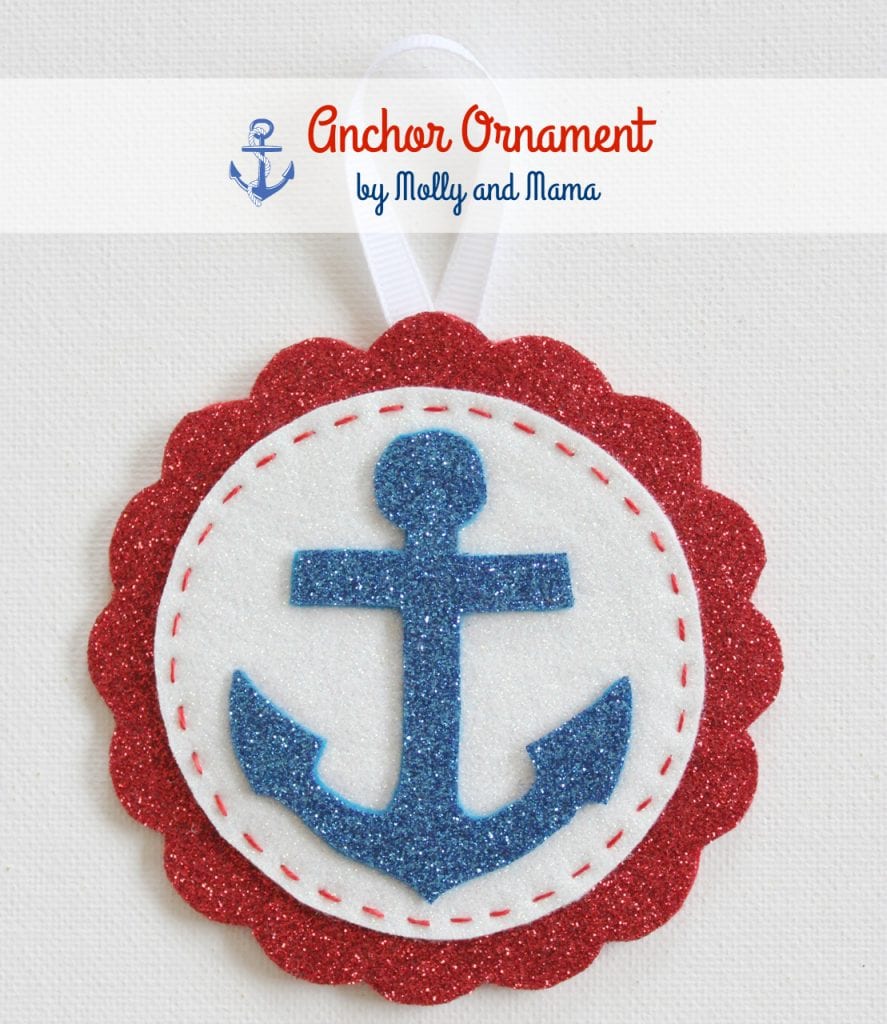
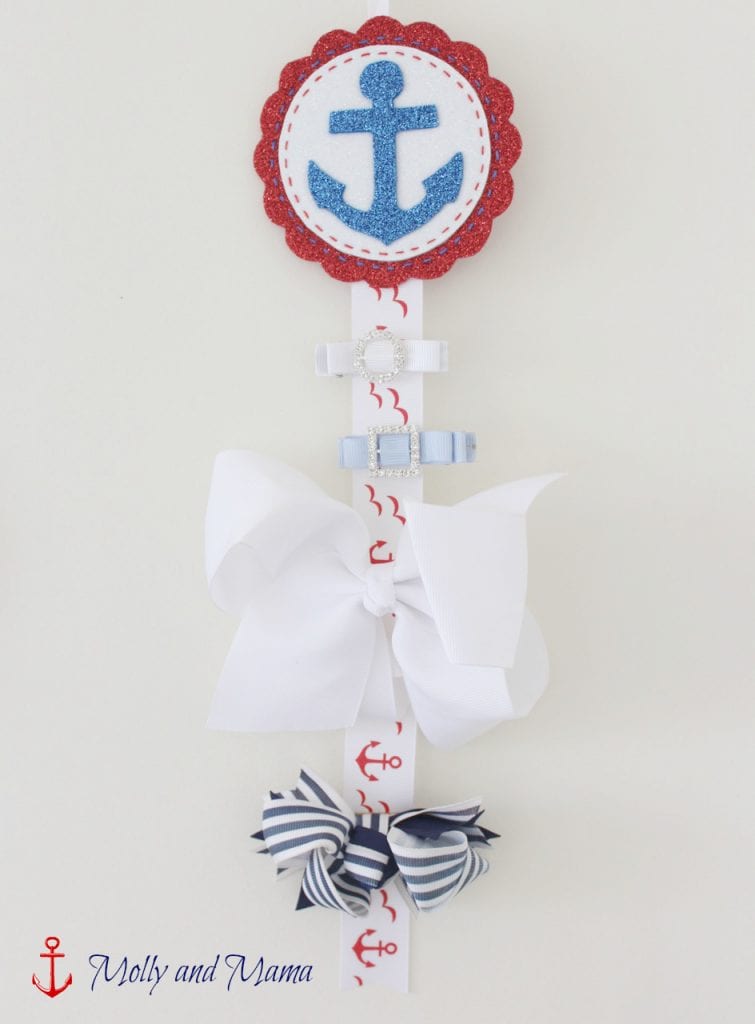
To create this felt anchor, you’ll need a small amount of felt, some floss and an hour or so. Use the anchors for coasters, add a ribbon loop to make a hanging ornament or create a book mark or hair accessory holder. You could even make it into a brooch, or add an alligator hair clip for a lovely hair accessory.
FINISHED ANCHOR SIZE
- approximately 4″ (10cm) across
YOU WILL NEED
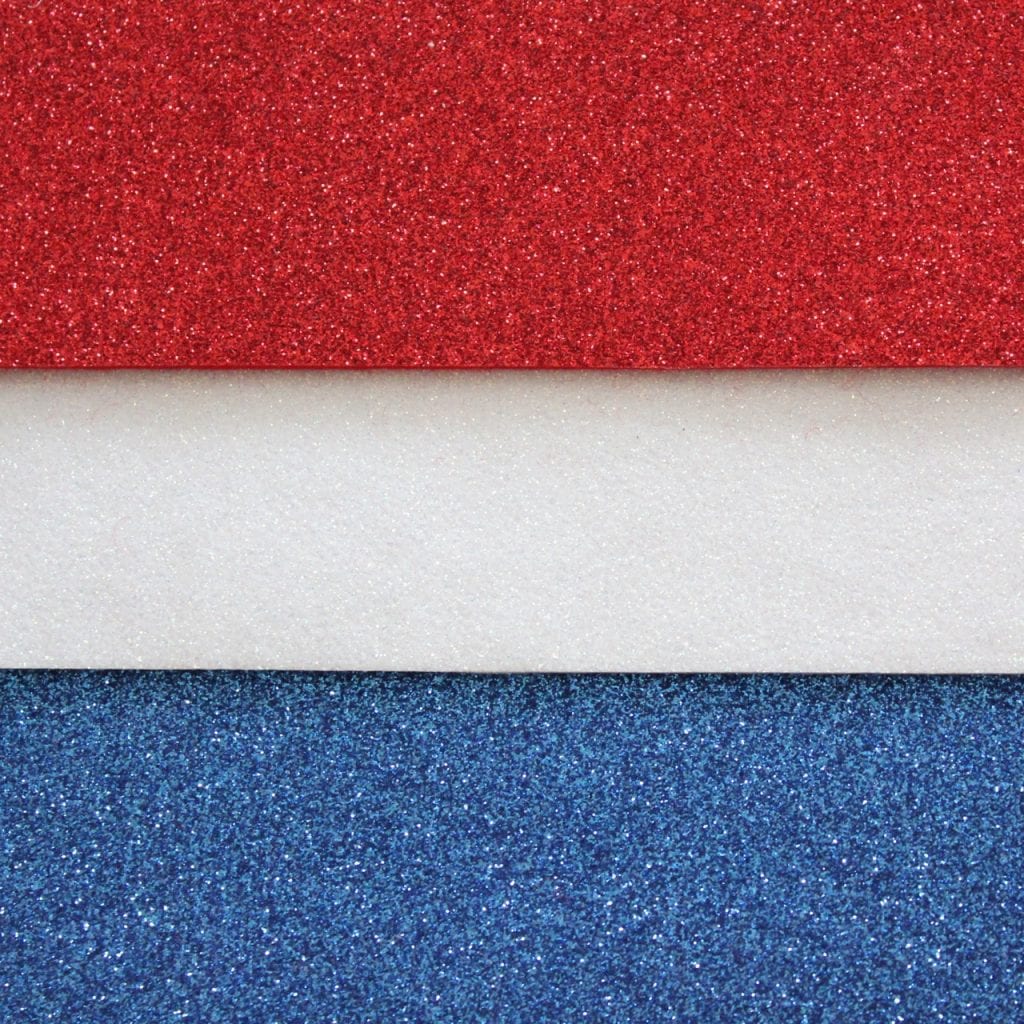
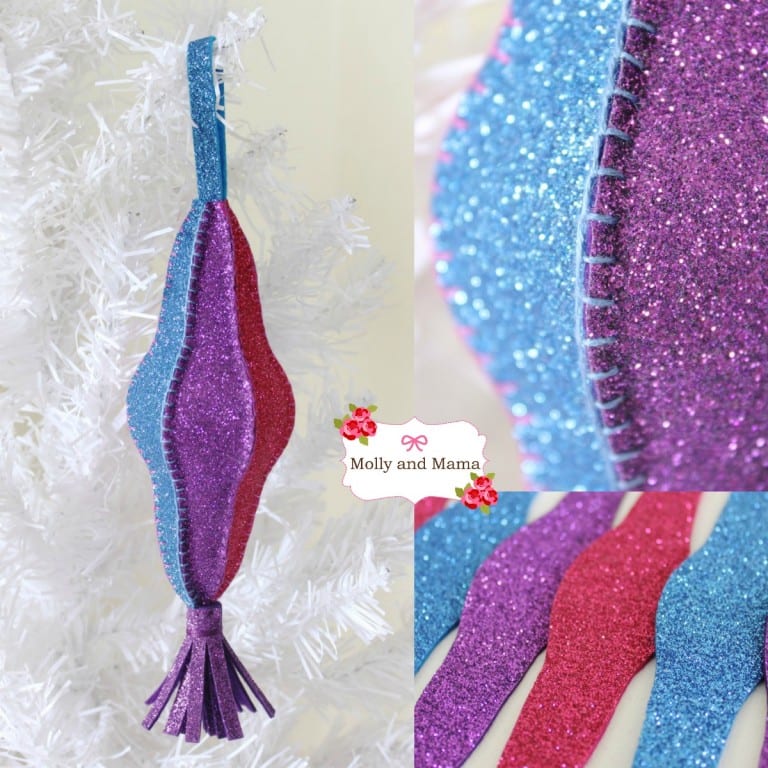
100% wool felt (I buy mine from Rose Petal Collections). You might also like to try glitter felt for some extra sparkle!
- 8” (20cm) x 4” (10cm) of Red felt
- 3” (8cm) square of White felt
- 3” (8cm) square of Navy Blue felt
(Using wool felt is an absolute MUST. If you’d like more information about why wool felt is better than acrylic craft felt and blended felt then feel free to read my Tips for Working with Wool Felt.)
- embroidery floss in colours to match your felt. I used navy blue, bright blue, red, and white
- embroidery needle
- 10” (25cm) x 4” (10cm) of fusible webbing like vliesofix or heat ‘n’ bond
- small scissors with short, sharp blades for cutting felt
- paper scissors
- pen
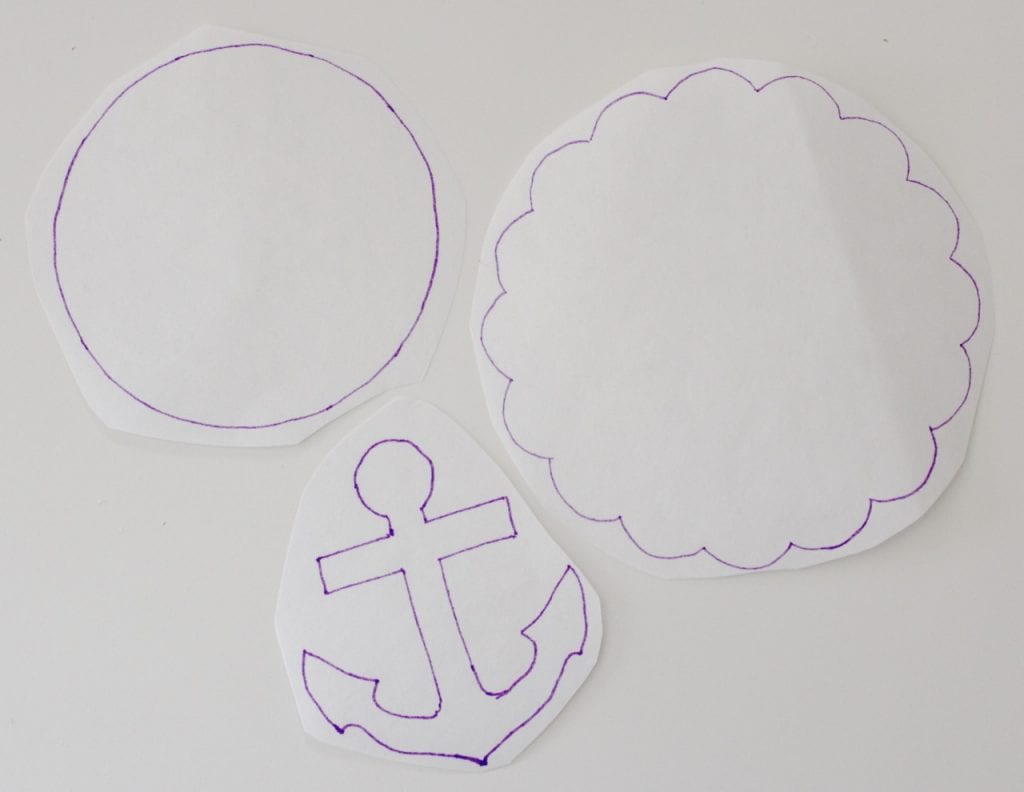
- printout of the paper template. Click HERE to download the PDF template.
- 5” (12.5cm) of narrow ribbon or cord to add a hanging loop (optional)
- 11” (28cm) of 1” (2.5cm) wide ribbon to make a book mark or hair clip holder.
TO MAKE THE BASIC ANCHOR
- Print your pattern template in full size without any scaling or cropping. To make anchors that are larger or smaller, just enlarge or reduce the template size by changing your printer settings.
- Trace one anchor shape, one circle shape and one scalloped circle shape onto the paper side your fusible webbing (vliesofix), and cut roughly around the outline using your paper scissors.
- Secure the vliesofix to one side of the felt using a warm iron. Place the anchor shape onto navy blue felt and iron in place (following the manufacturers instructions). Do the same with the circle shape in white felt, and the scalloped shape in red felt. If you use glitter felt, be sure that the vliesofix templates are ironed onto the wrong side of the felt.
* Please note, if using glitter felt or polyester / wool blend felt, make sure you cover the felt with a press cloth or scrap of fabric so you don’t damage the felt with the heat from the iron.
- Cut out the three felt pieces on the template lines. Use very small and sharp scissors that have short blades. This will give your felt a neat edge.
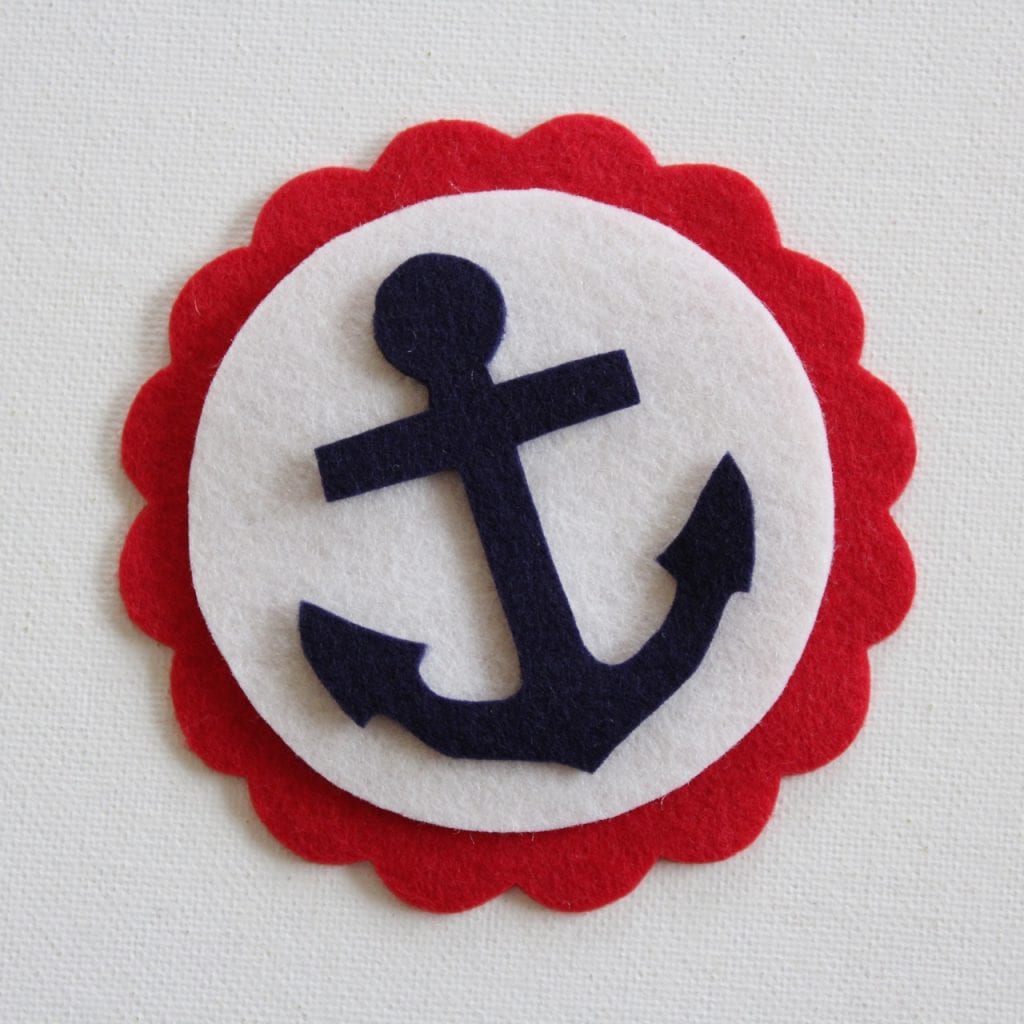
- Remove the backing paper behind the anchor shape and position it over the centre of the circle shape (so that the fusible webbing is between the two layers of felt). Iron the felt in place. Remember to cover the felt with a cloth if needed.
- Remove the backing paper behind the circle shape and centre it over the scallop shape. Iron the felt in place.
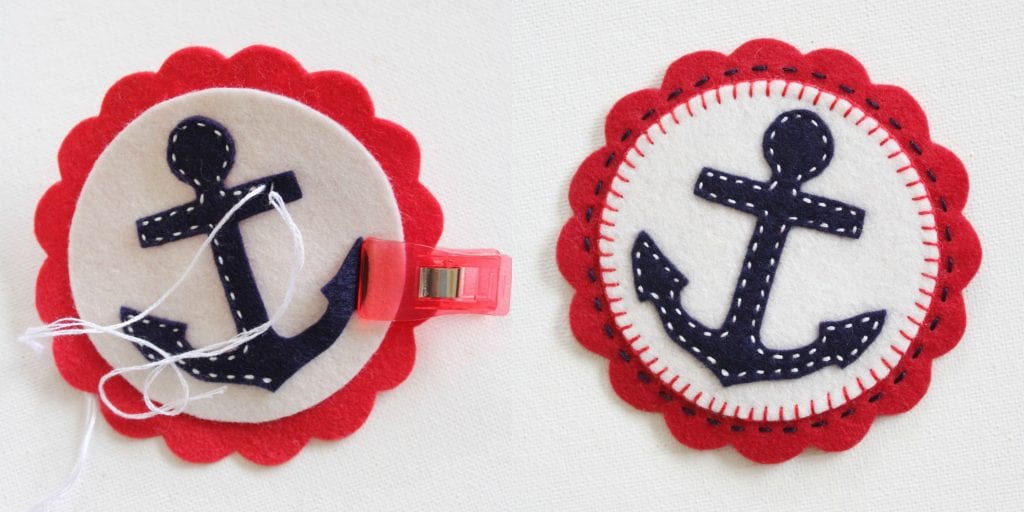
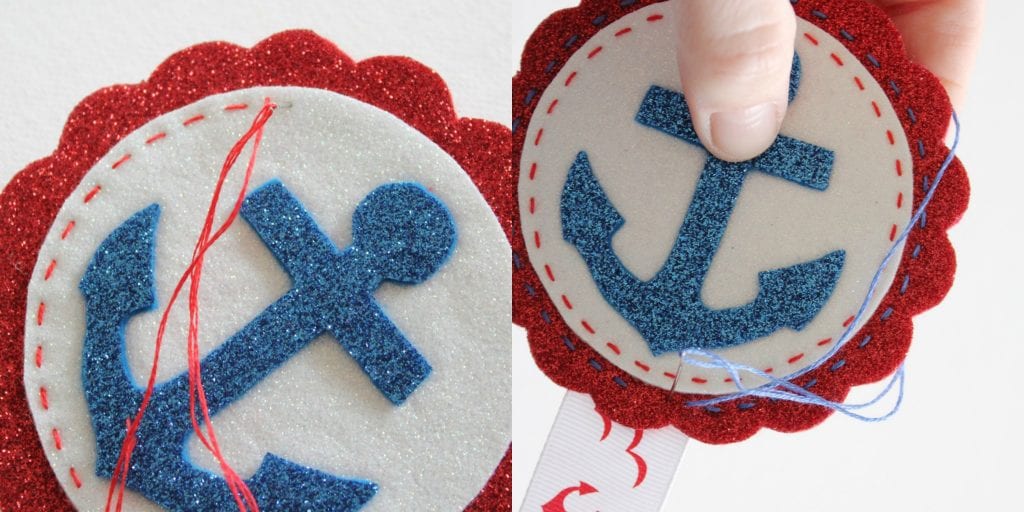
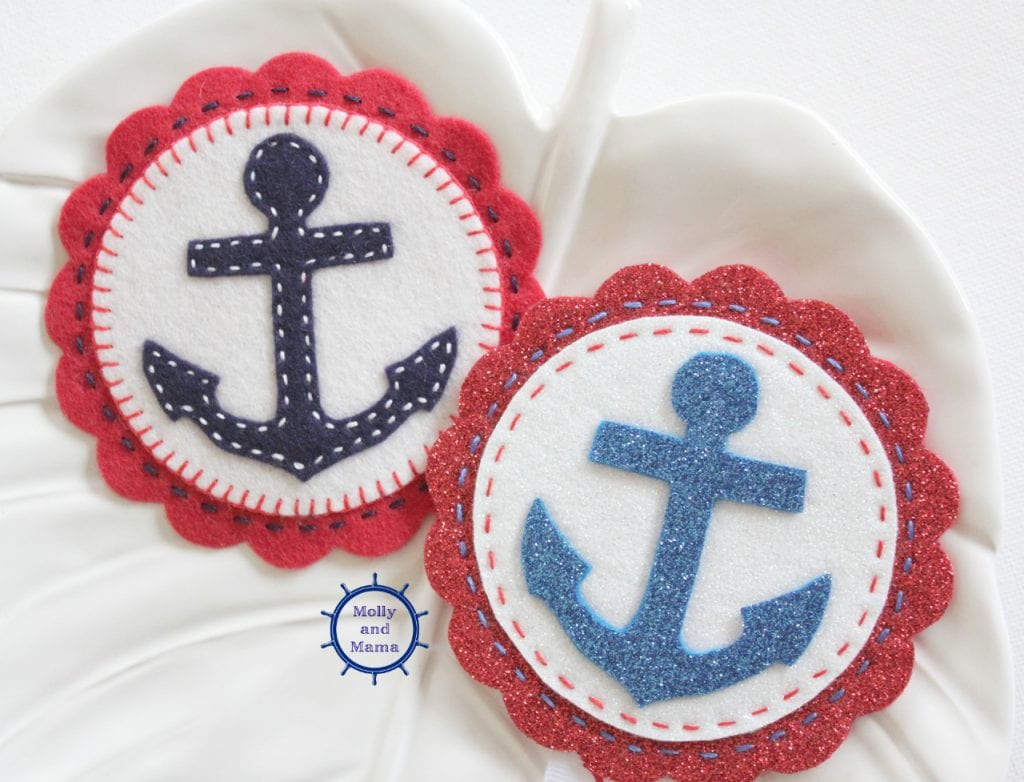
- The vliesofix will keep the felt layers together, so there’s no need for stitching. But adding a border of running stitch or blanket stitch around the anchor or the circle, really helps bring out the features of the felt. To sew a decorative stitch, remove the backing paper from behind the scallop shape. Thread your embroidery needle with two strands of contrasting embroidery floss and stitch away. You can see the running stitch and blanket stitch details on the wool felt and glitter felt examples below.
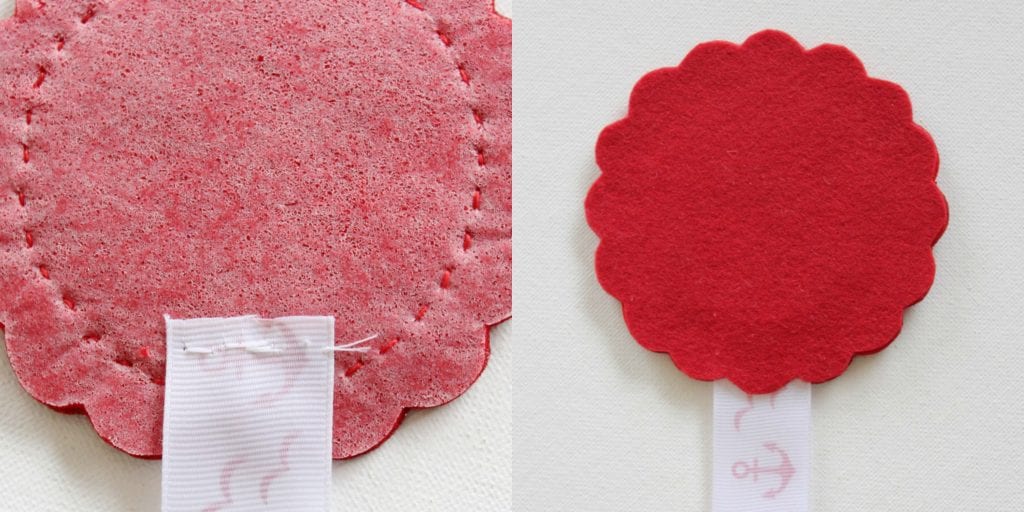
- Now that the front of your anchor is complete, it’s time to add the backing. To make a basic anchor shape like a coaster, simply iron another piece of red felt onto the back of the scalloped piece of felt. Trim around the outside so that both scalloped pieces of felt are the same size. Now your felt will have a backing that will disguise all your stitching.
- To make a bookmark, simply sew a piece of 1” (2.5cm) wide grosgrain ribbon to the base of the back of the felt, before you iron on the extra piece of red backing felt. Be careful not to snip your ribbon when trimming away the excess red felt. My ribbon was 11” (28cm) long, but you can cut the ribbon to any length suitable for your book, planner or diary. Make sure you heat seal the ribbon ends to prevent fraying.
- If you’re making a hanging ornament, use the same method for the bookmark explained in step 9 above. However sew a 5” (12.5cm) loop of ribbon to the top of the anchor shape (behind the anchor head). Then, iron on the extra piece of red backing felt (being careful not to melt the ribbon)! Ensure you do not accidentally cut the ribbon when trimming away the excess red felt around the scalloped shape.
- Add both a hanging loop to the top and a ribbon to the base (as explained in steps 9 and 10 above) if you’d like to make the felt anchor into a hair accessory holder. Then simply hang it on the wall, and add clips to the ribbon. What a stylish way to display hair clips for a little miss.
- To make a hair accessory, simply line an alligator clip in 10mm wide grosgrain ribbon, then attach it to the back of the felt. To learn more about covering hair clips you can see this tutorial.
These felt anchors are such a simple project, and I just love them in red, white and blue. But if you get creative, and try some different felt colours, be sure to let me know. Share your sewing here, on facebook at the MOLLY AND MAMA PAGE or tag #MollyandMama on Instagram. I love to feature creations made from Molly and Mama patterns and tutorials on my social media!
Happy stitching, Lauren x
This post was written by Lauren Wright and appeared first on Molly and Mama http://www.MollyandMama.com.au


Beautiful Handiwork Lovely! Of course my favorite is the Glitter Wool Felt version, but my goodness how adorable is the Wool Felt! Love your work Lauren xxx
Candice xx
Rose Petal Collections
Thank you Candice. You’re a sweet heart!
I purchase modern love purse as a kit
I am now ready to sew the purse but have been unable to locate the instructions using the QR code on pattern
Could you please assist by sending me the link to pattern instructions
Regards
Karen
Hi Karen, Sorry, but I don’t sell kits or patterns for a project called Modern Love Purse. But I will respond to your query via email. Best wishes, Lauren.