Hand Embroider a Simple Hoop Art Project
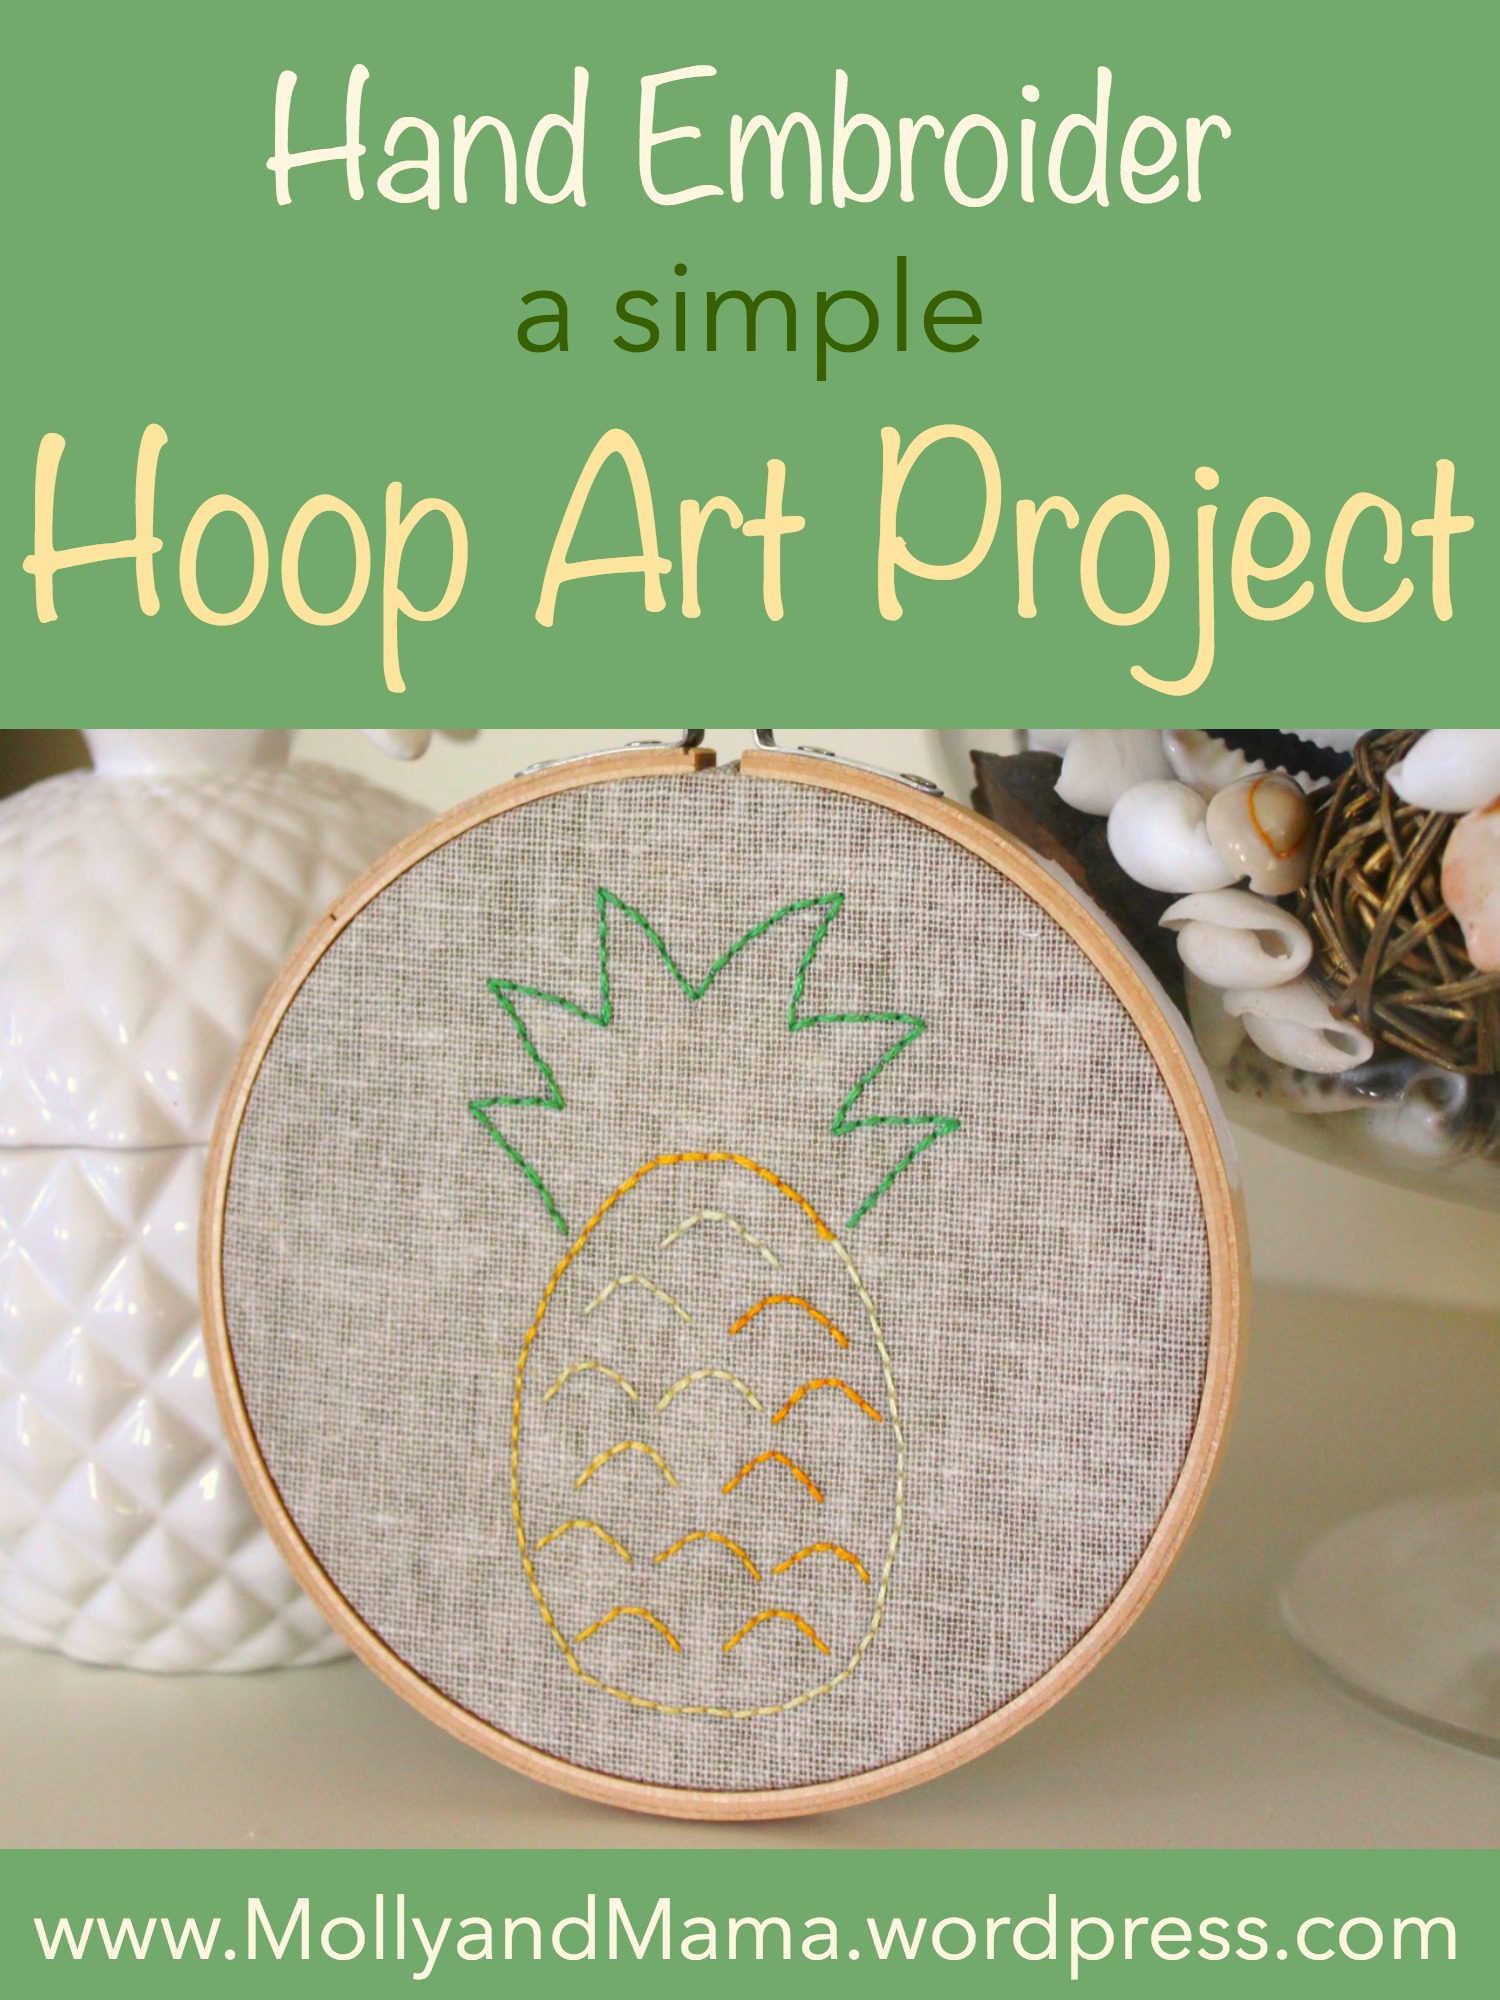
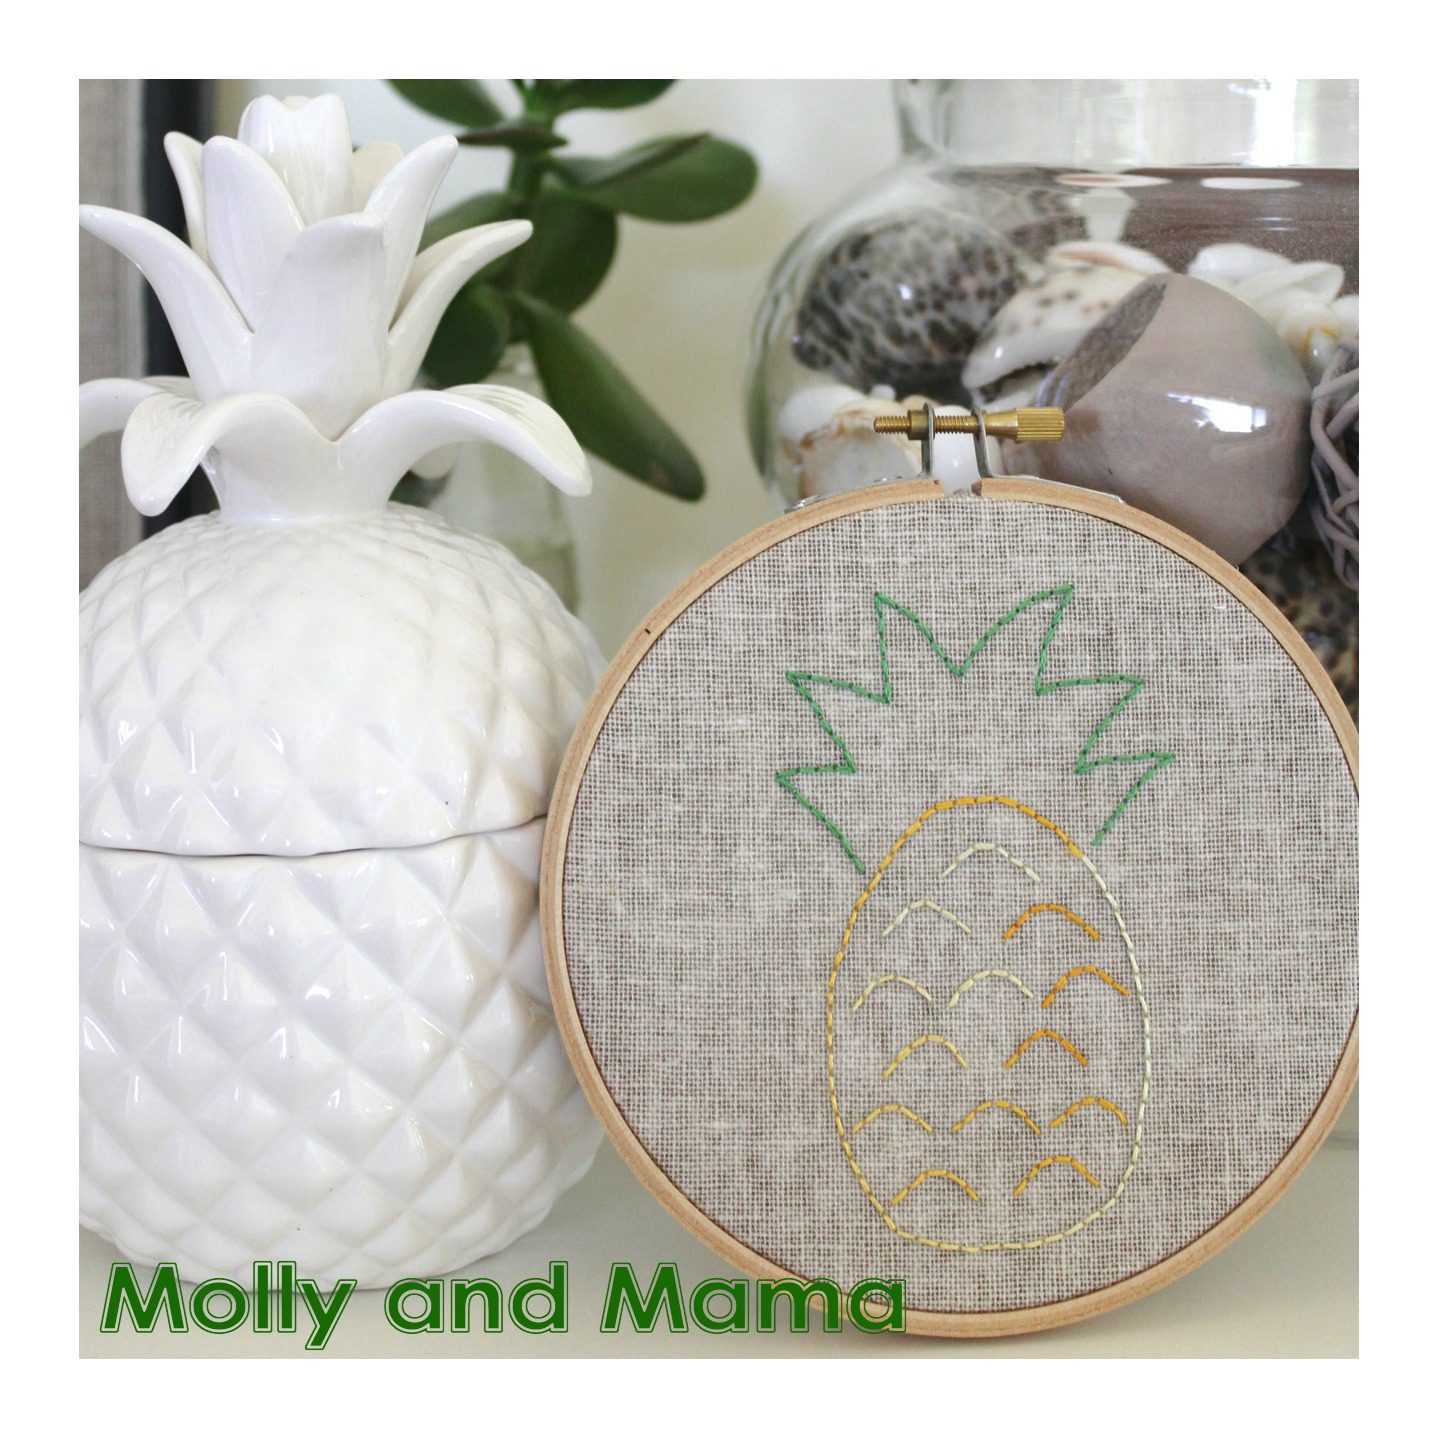
It’s high Summer here and it’s not long until we celebrate our national day; Australia Day. When I think of our gorgeous country, I think of green and gold, the beach, the summer, the sun, and our tropical surrounds. I really feel like this pineapple embroidery is a fantastic representation of what summer in Australia is all about!
I’d love to show you how I created this Hoop Art Project and I hope it inspires you to get hand stitching. Hand embroidery is such a relaxing, portable project and a lot of fun. And this hoop art is so easy!
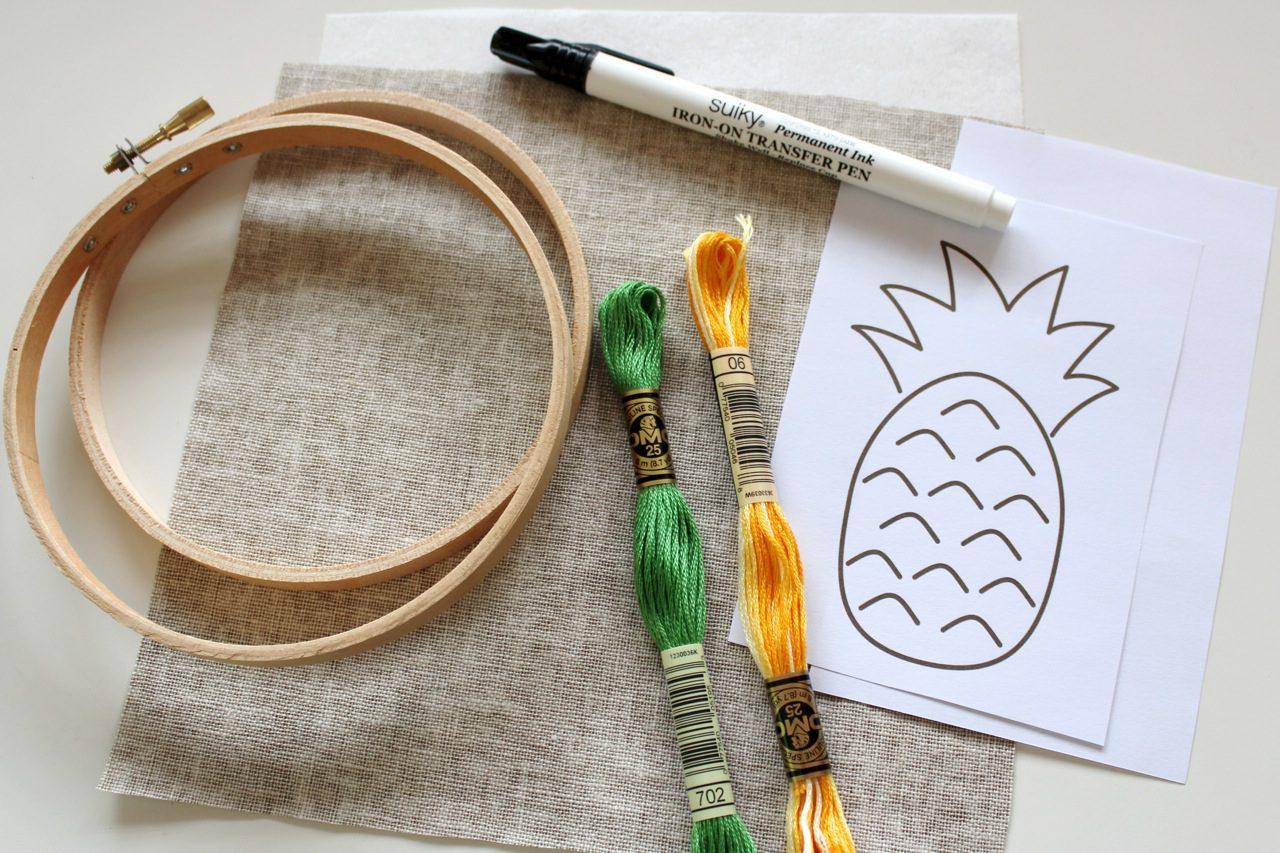
TO CREATE A SIMILAR PROJECT, YOU WILL NEED;
- square piece of linen fabric – mine was 9 inches / 23cm
- square piece of iron-on interfacing slightly smaller than your fabric square
- embroidery floss like DMC thread. I used variegated thread for this
- an embroidery needle
- small, short blade embroidery scissors
- a wooden hoop – mine is 5 inches / 12.5cm
- a design to transfer – my pineapple was 4 inches / 10cm high
- a Sulky iron-on transfer pen or similar product
- a piece of plain white paper
- an iron
- pinking shears (optional extra)
- a needle and thread
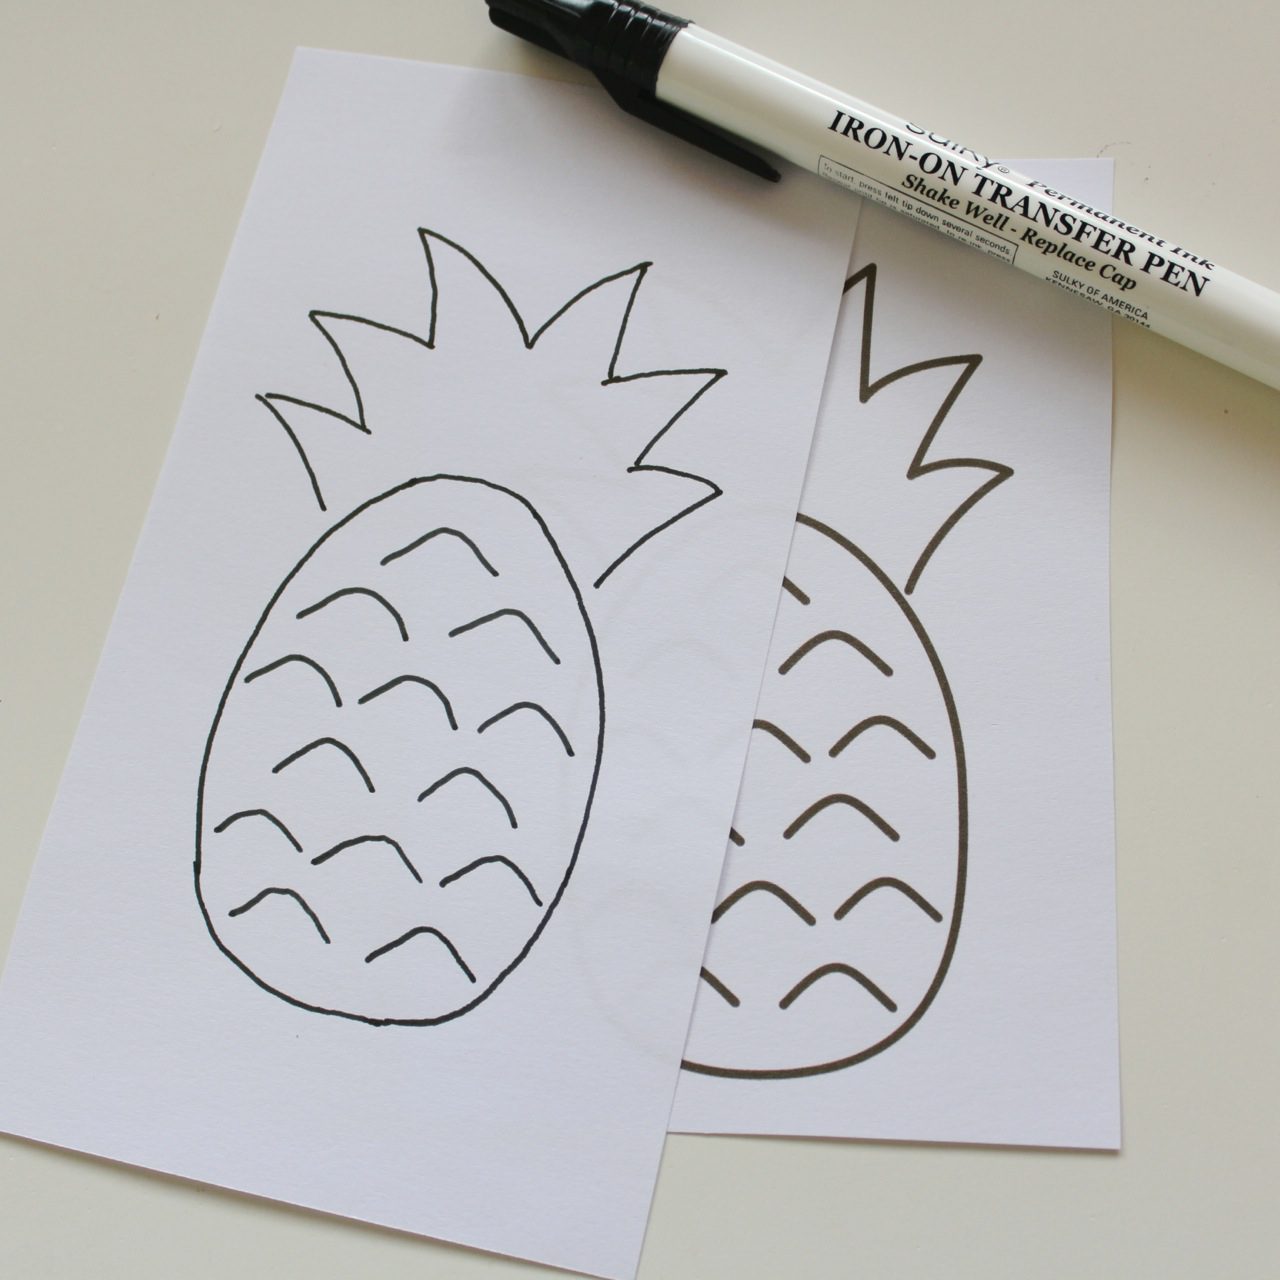
TRANSFER YOUR EMBROIDERY DESIGN
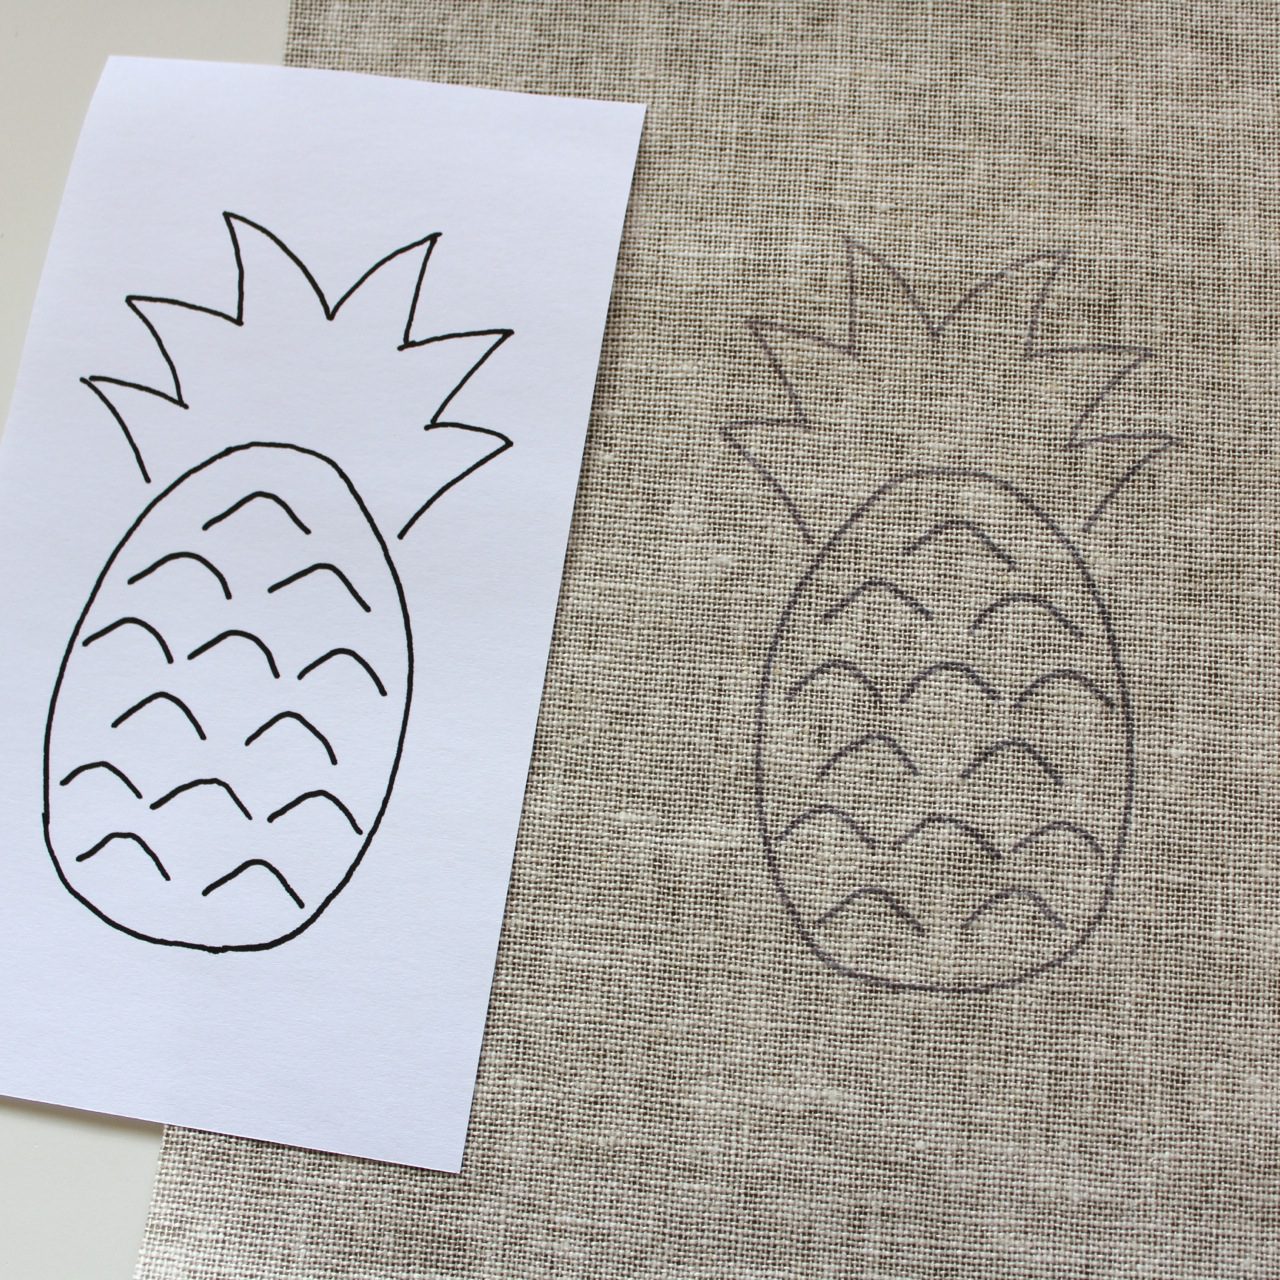
I simply printed the design and cut out the pineapple. I then traced the design onto plain white paper using my Sulky iron-on transfer pen. I followed the recommendations that came with the pen’s instructions, to achieve the best results.
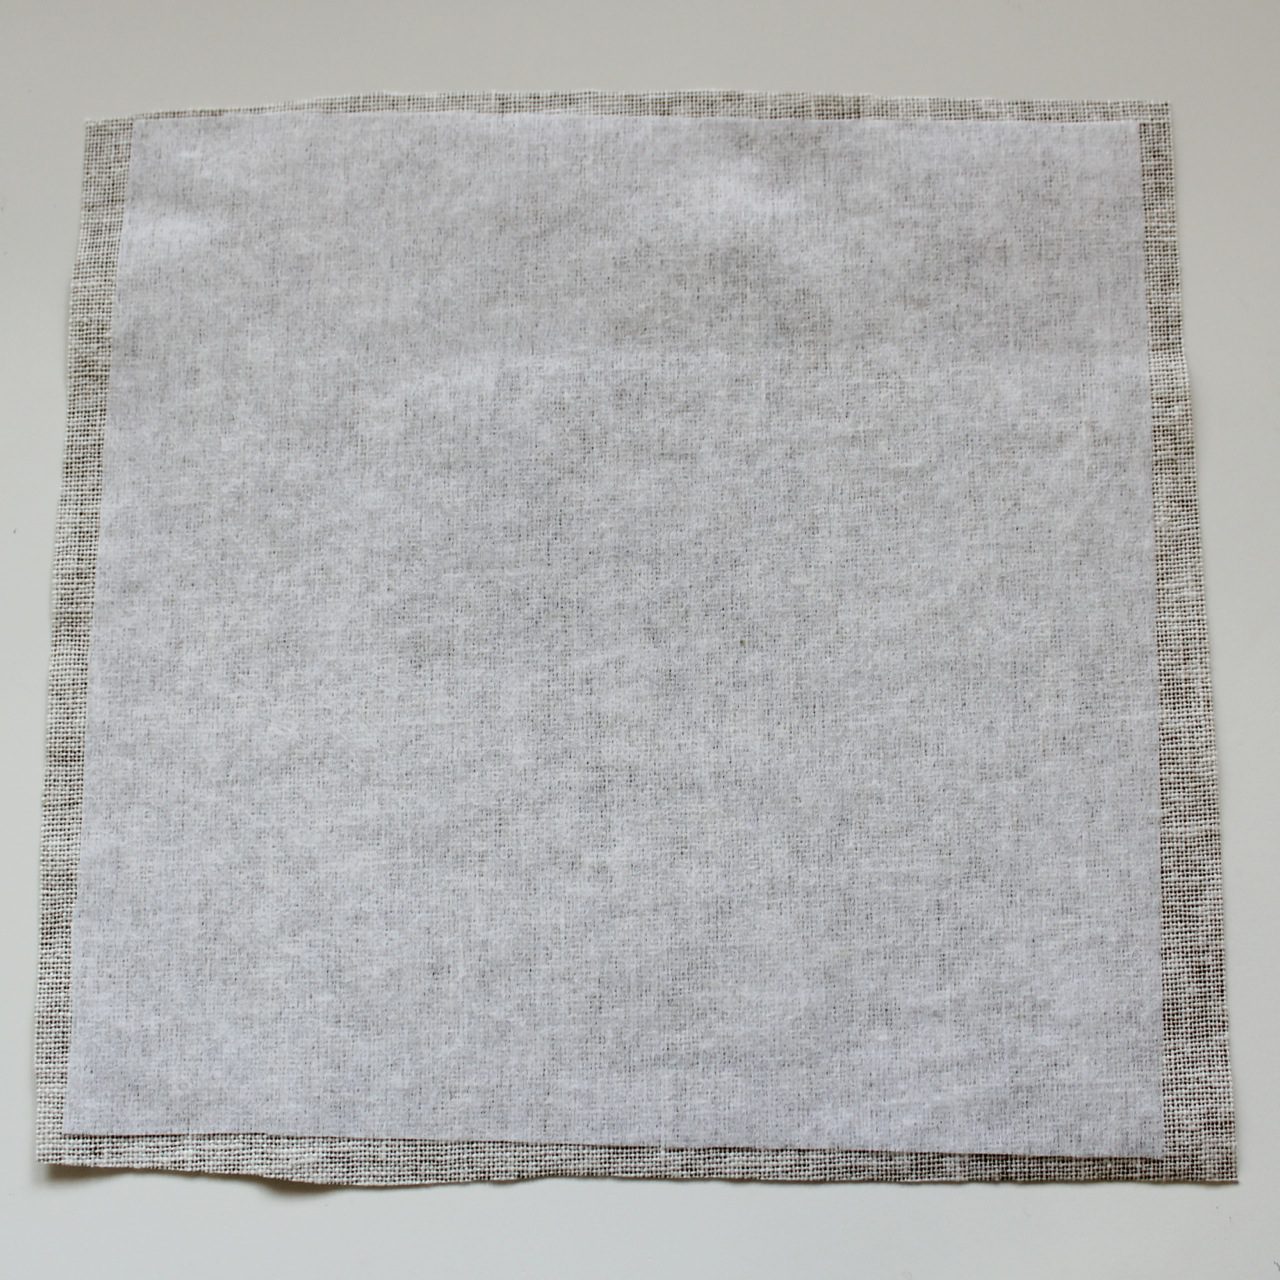
PREPARE YOUR FABRIC
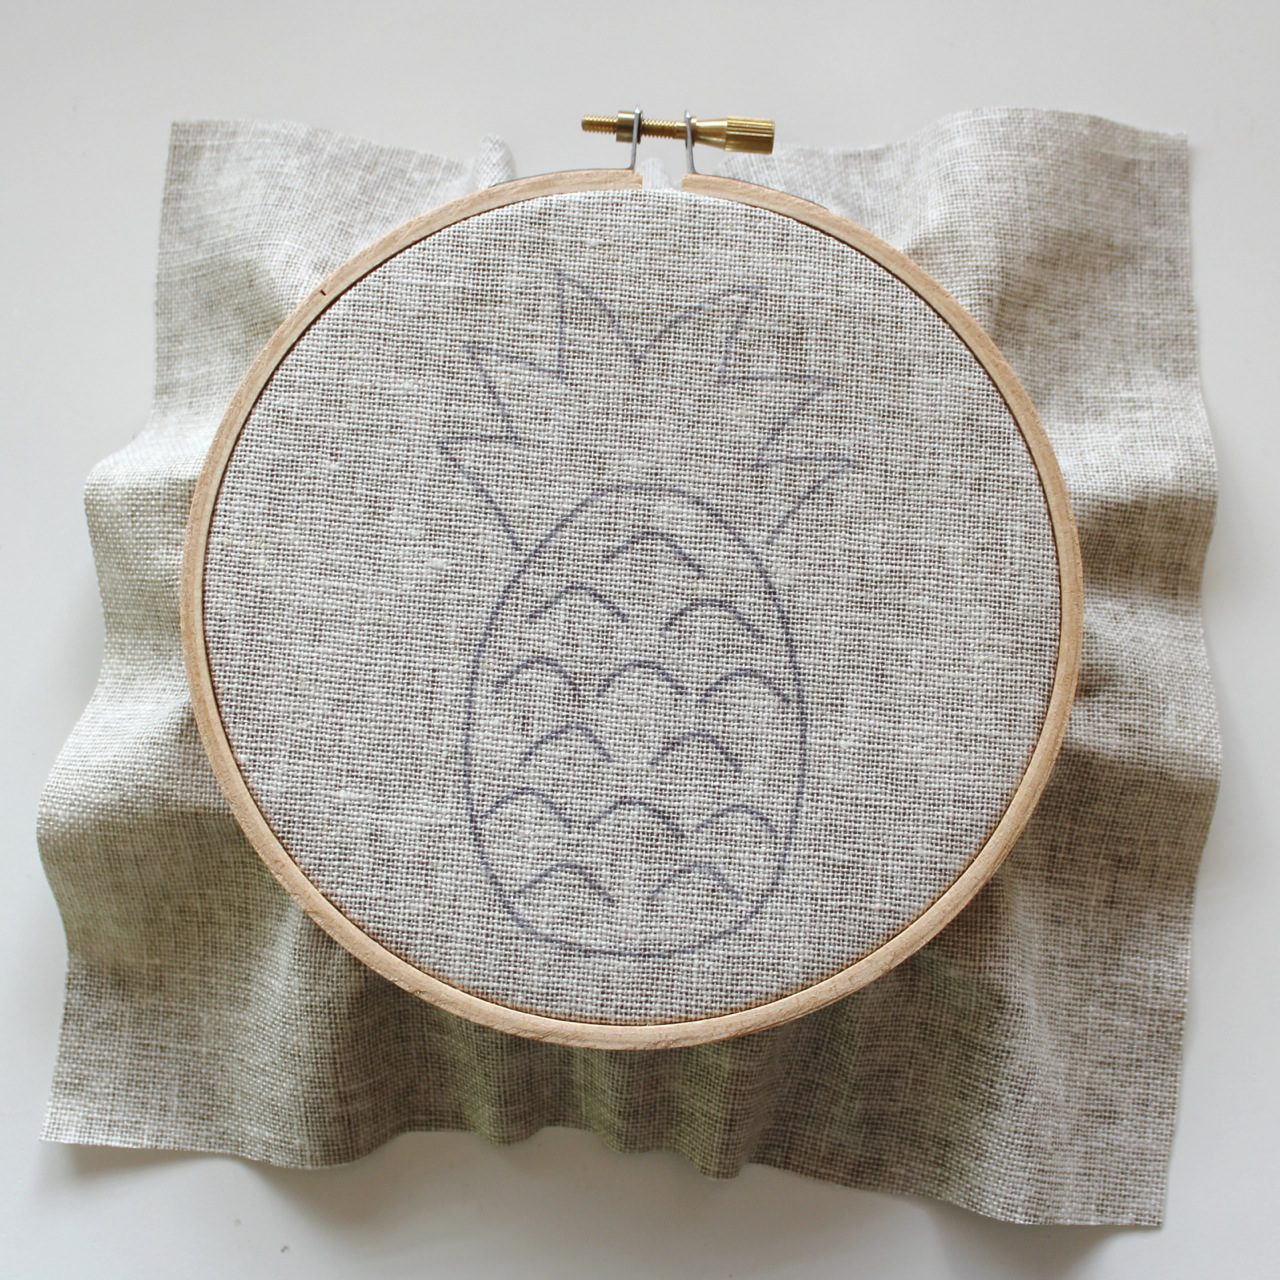
Iron your linen fabric so it’s smooth and flat. Attach the square of iron-on interfacing to the back or wrong side of the linen.
Transfer the design to the front of your linen, following the instructions that come with the pen. Centre the traced design face down on the right side of the linen fabric. Use a warm iron (with no steam) to transfer your design to the fabric. Don’t forget that your design will appear as a mirror image of the original, so any text needs to be written in reverse.
Place the fabric in your embroidery hoop ensuring your embroidery design is centred. Adjust the tension so that your fabric is taut.
PREPARE TO EMBROIDER
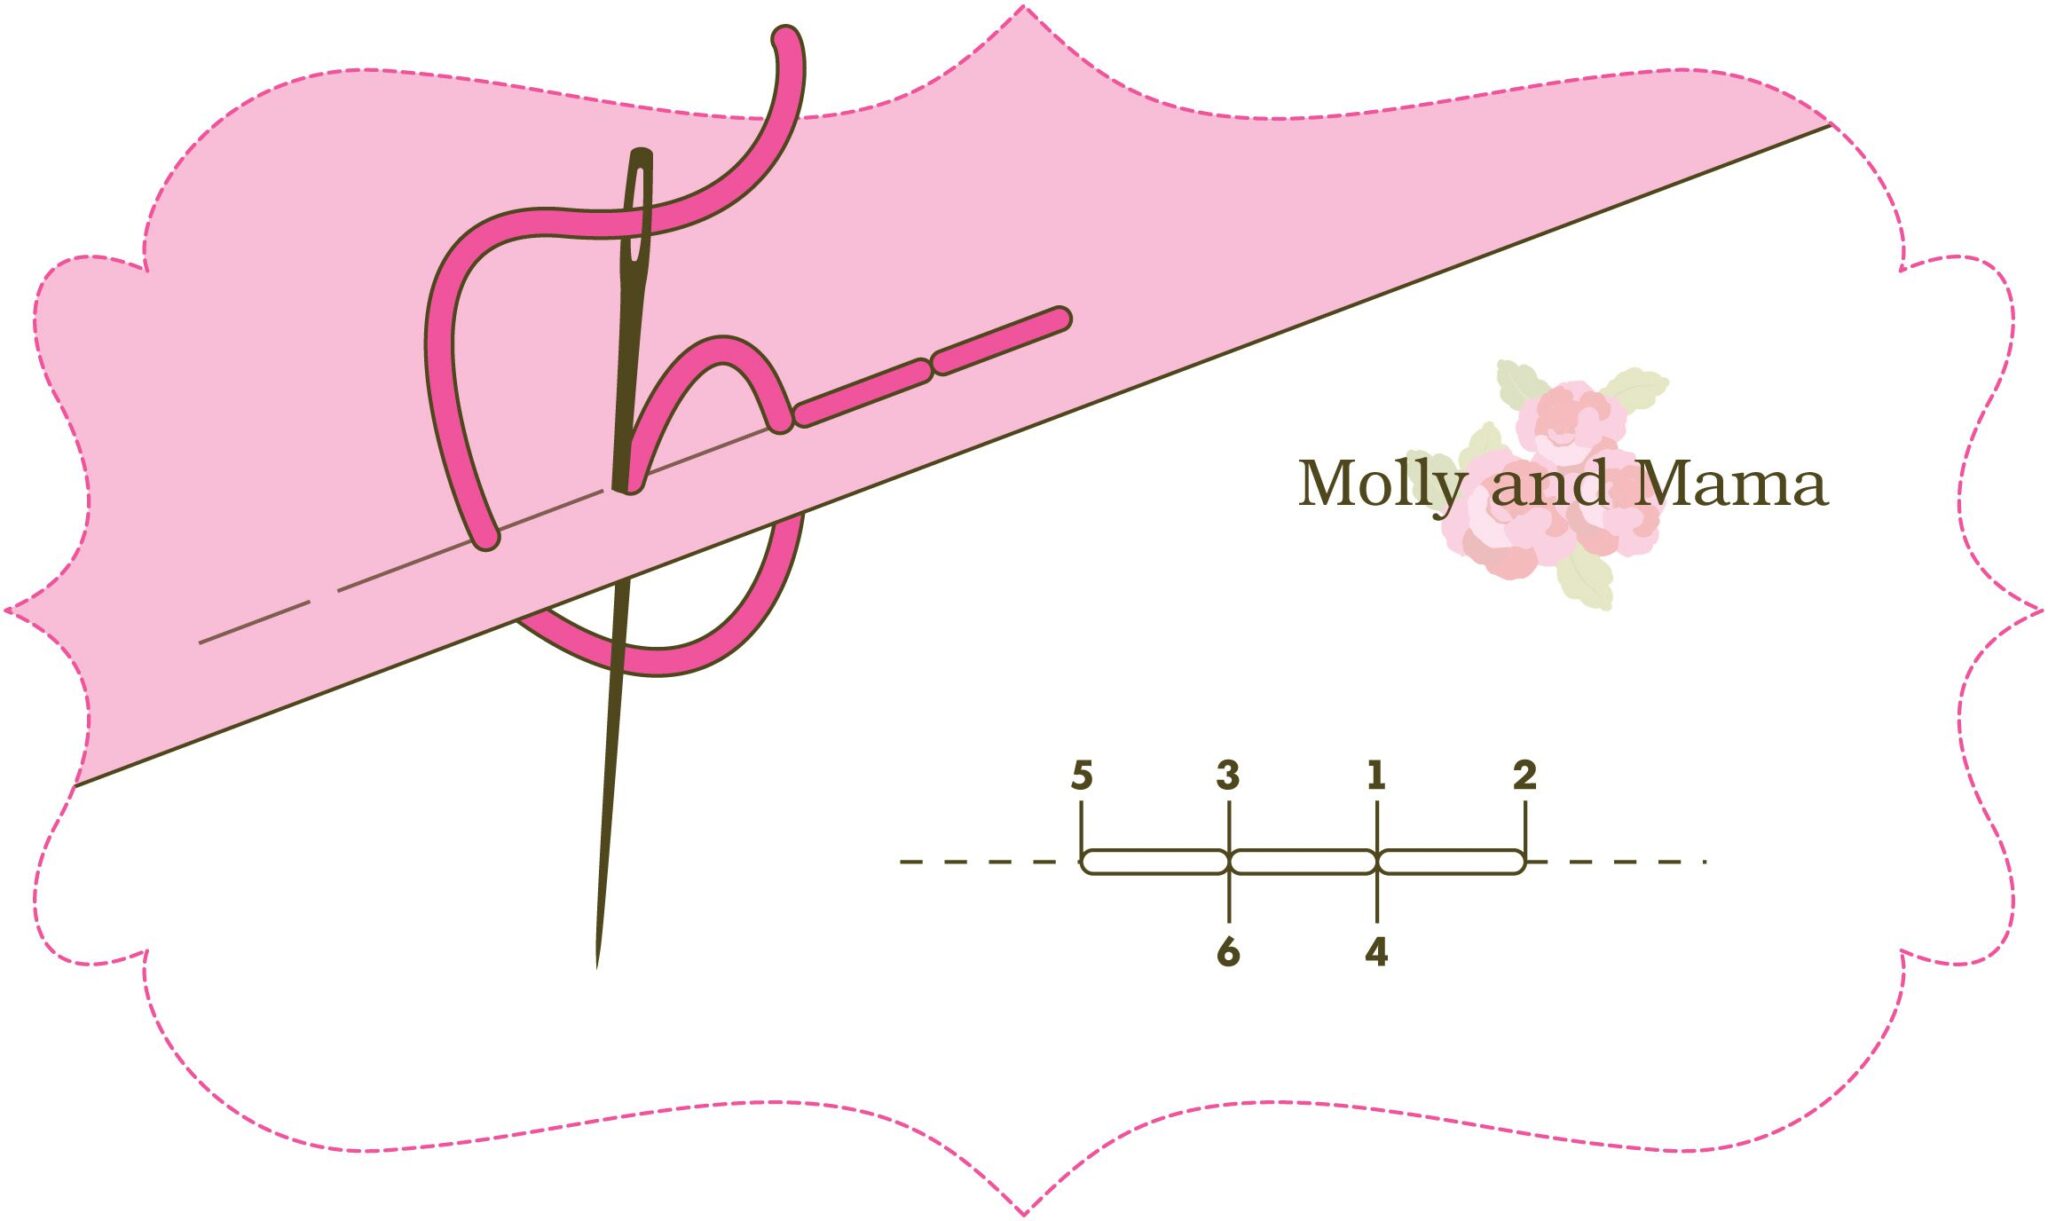
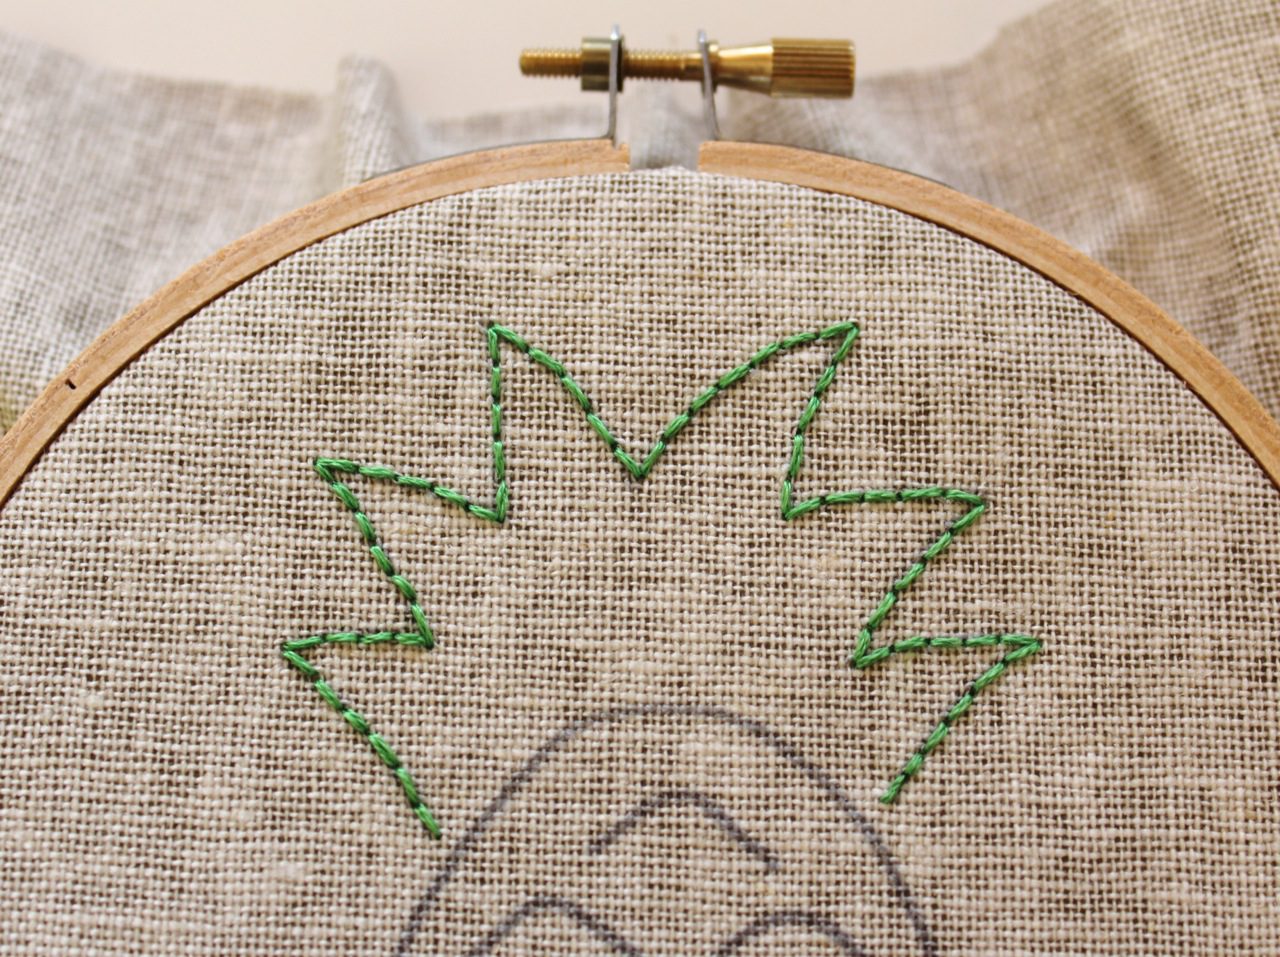
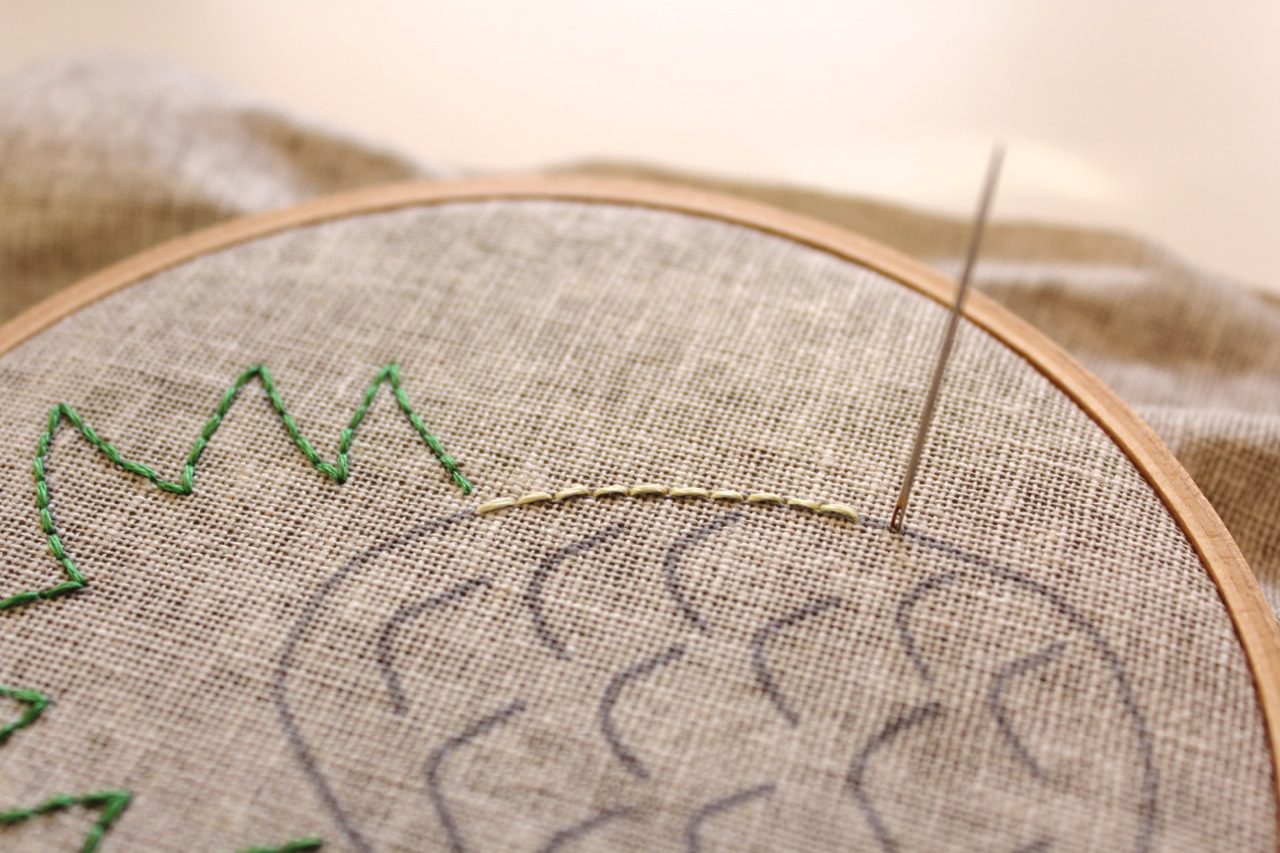
Use back stitch to embroider over the lines of the design. If you’re unsure how to back stitch, I have written a detailed tutorial with extra tips HERE. However, this image is a great refresher.
Before you begin, consider where you will start your stitching and where you will end. It helps to know where you’re heading so that you avoid any unnecessary wastage of time and thread. And you’ll have less thread shadows to show through lighter fabrics if you limit criss-crossing the back of the fabric. Try and make sure your stitches are even in length too.
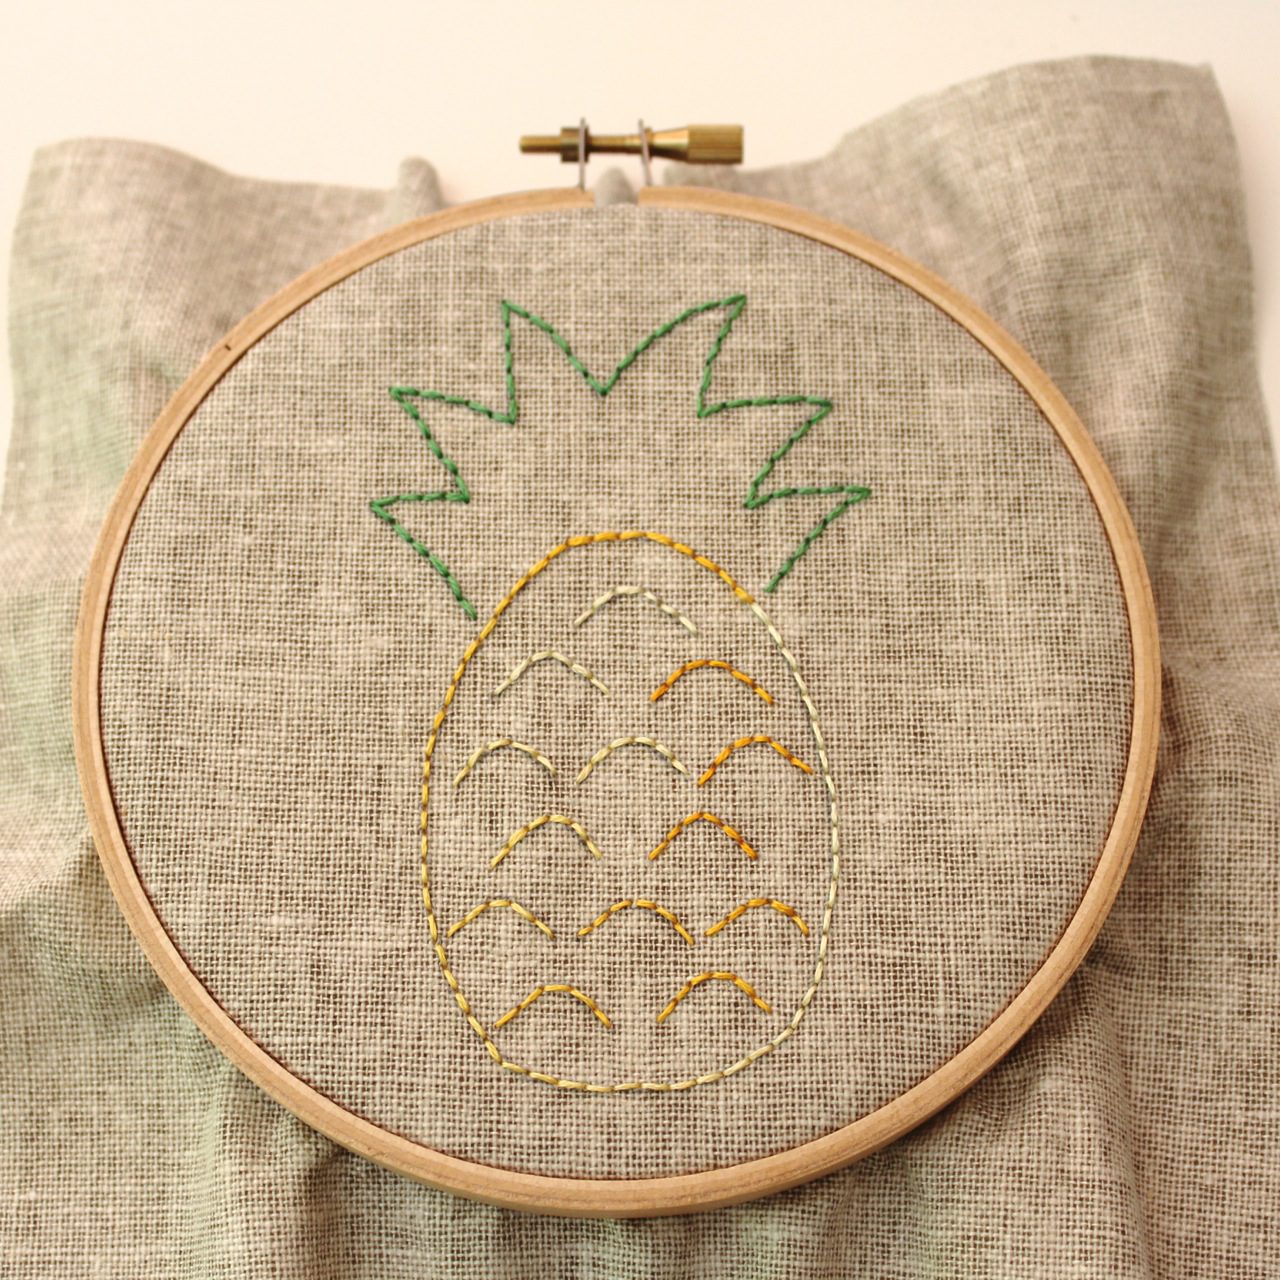
Use two or three strands of the 6 strand skein of DMC thread. I used three here.
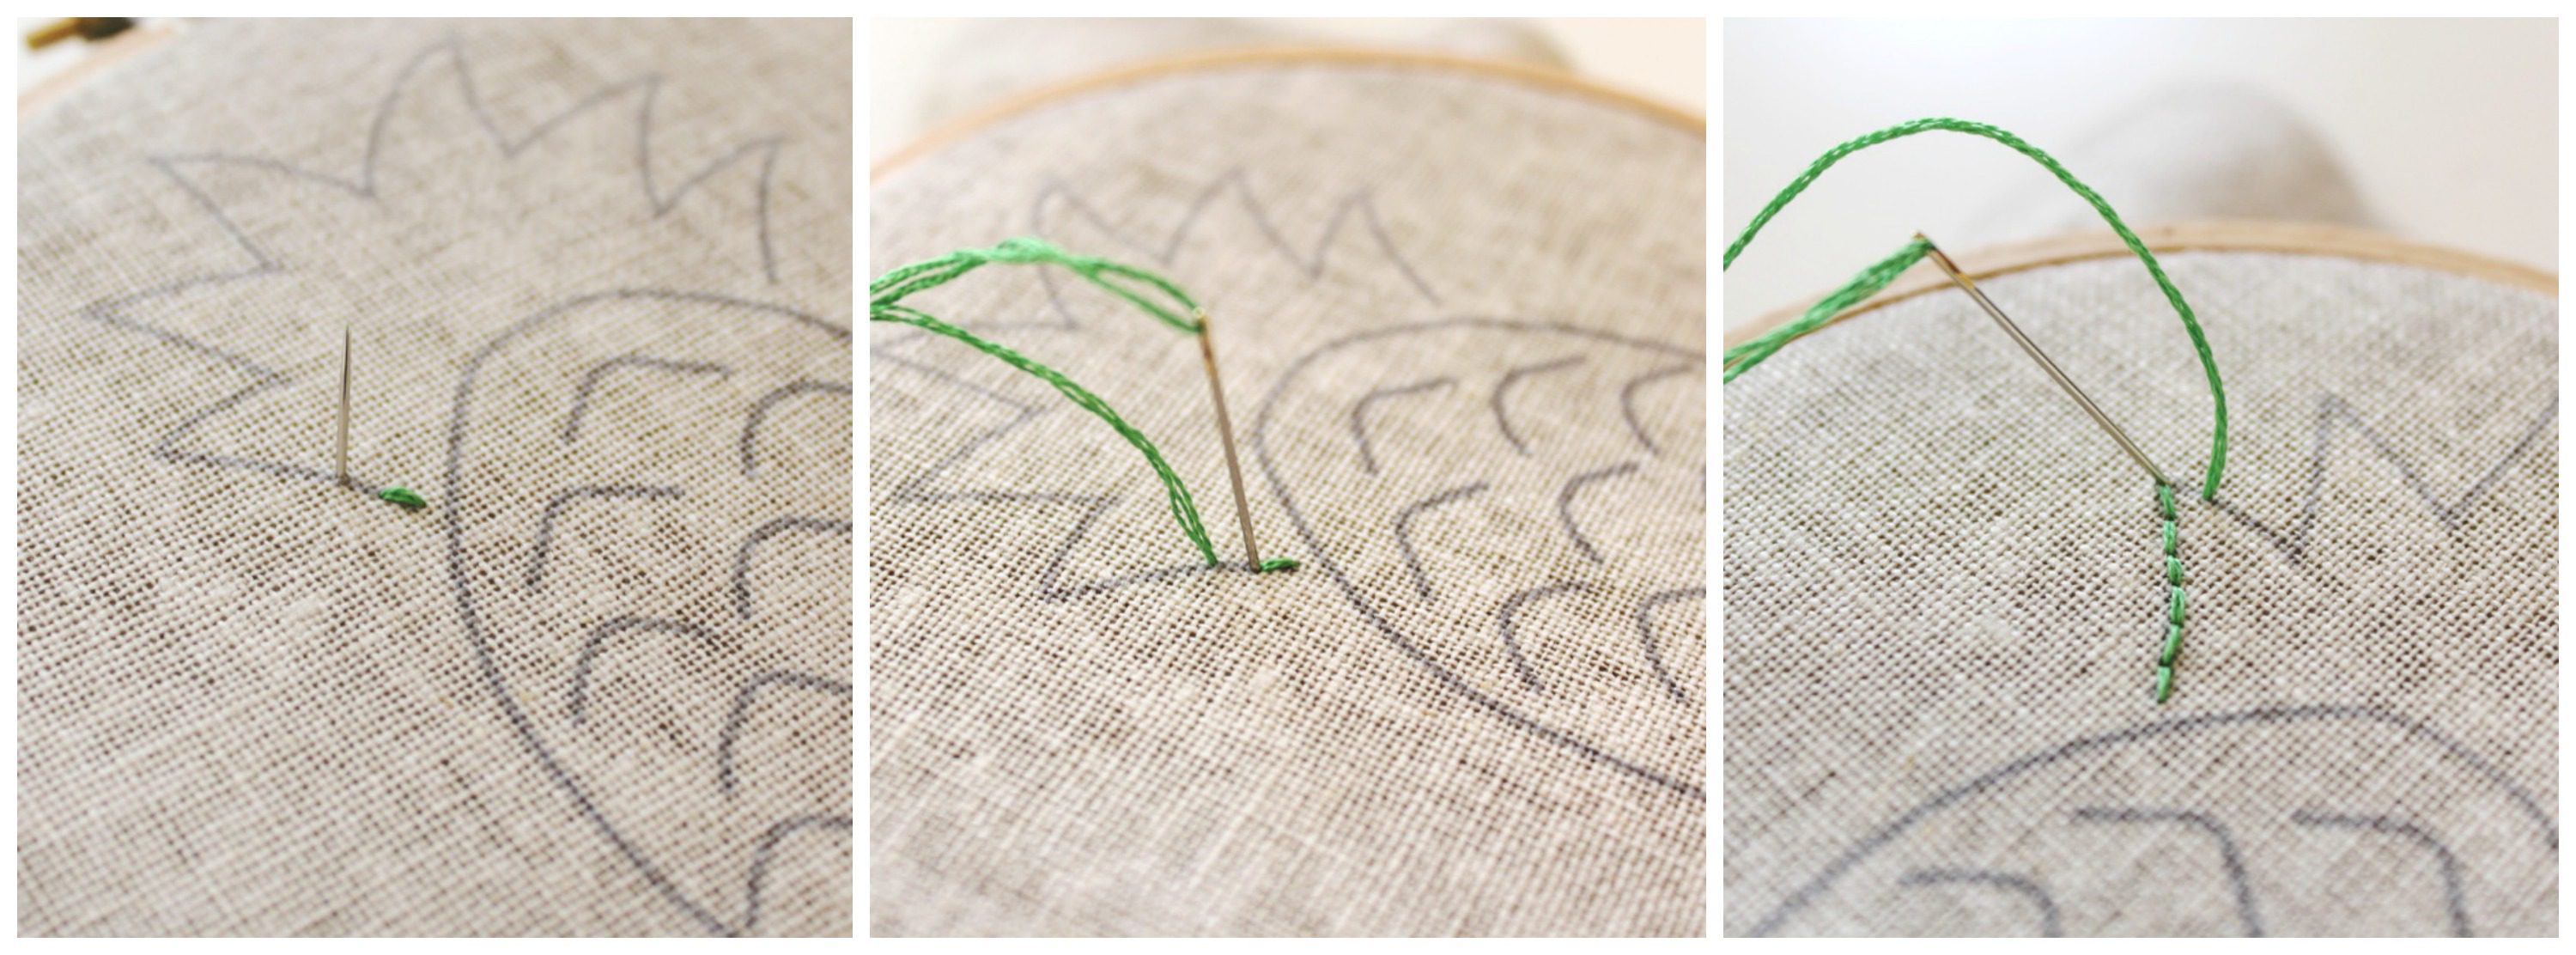
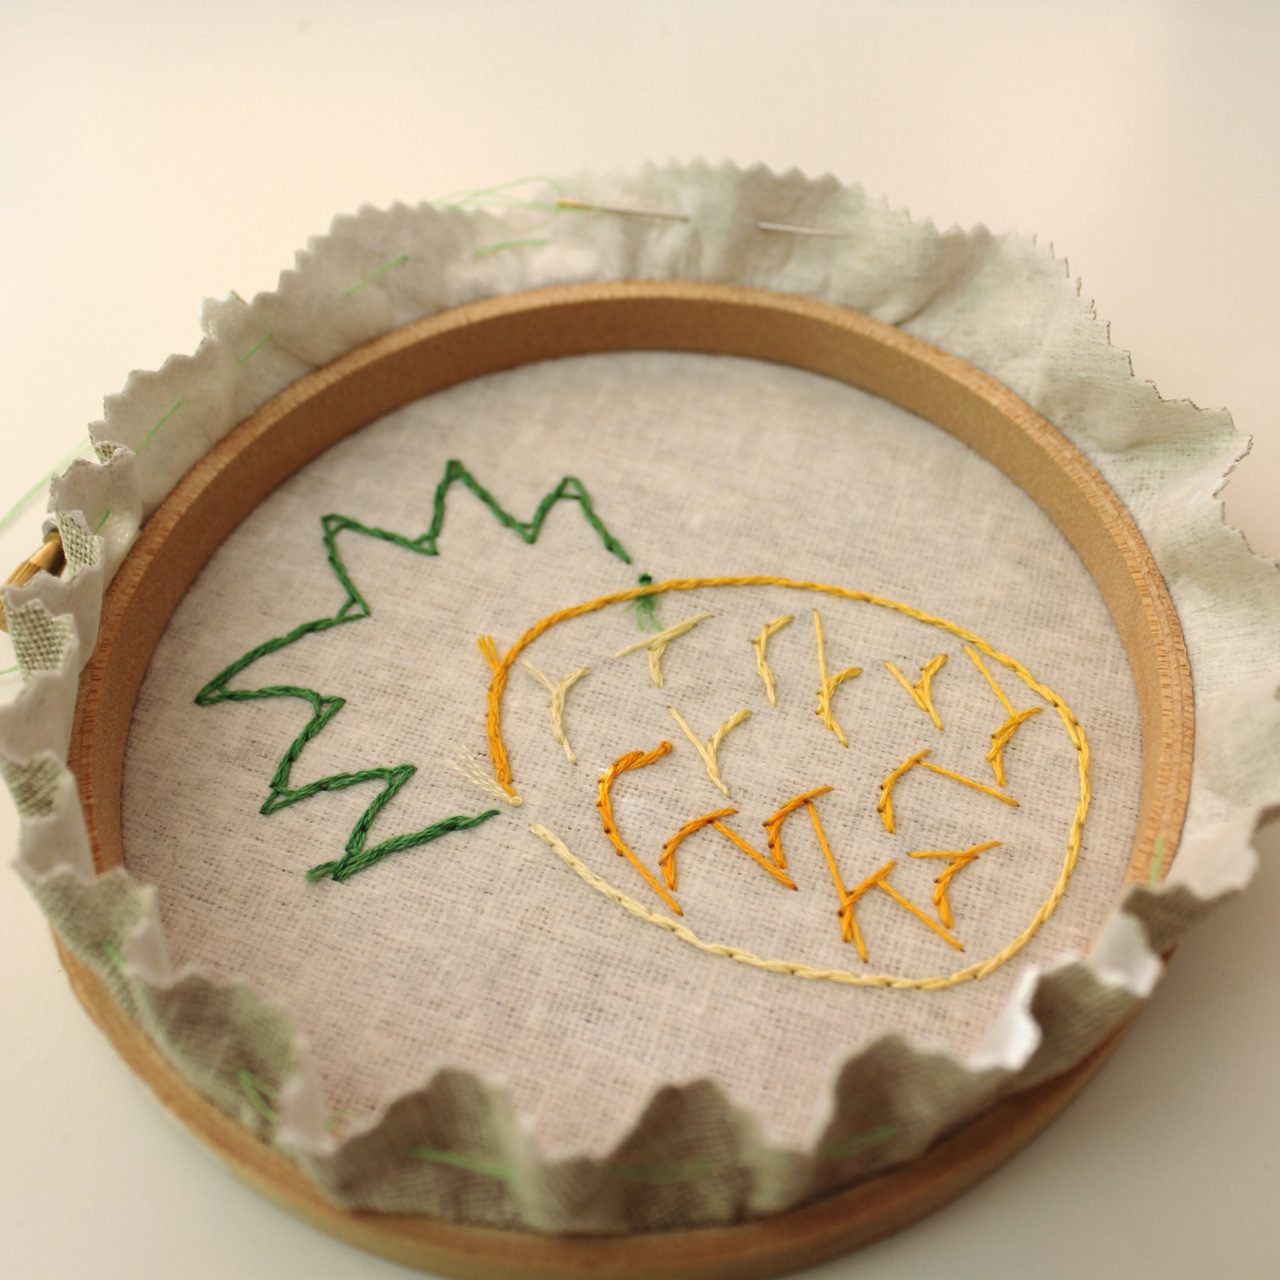
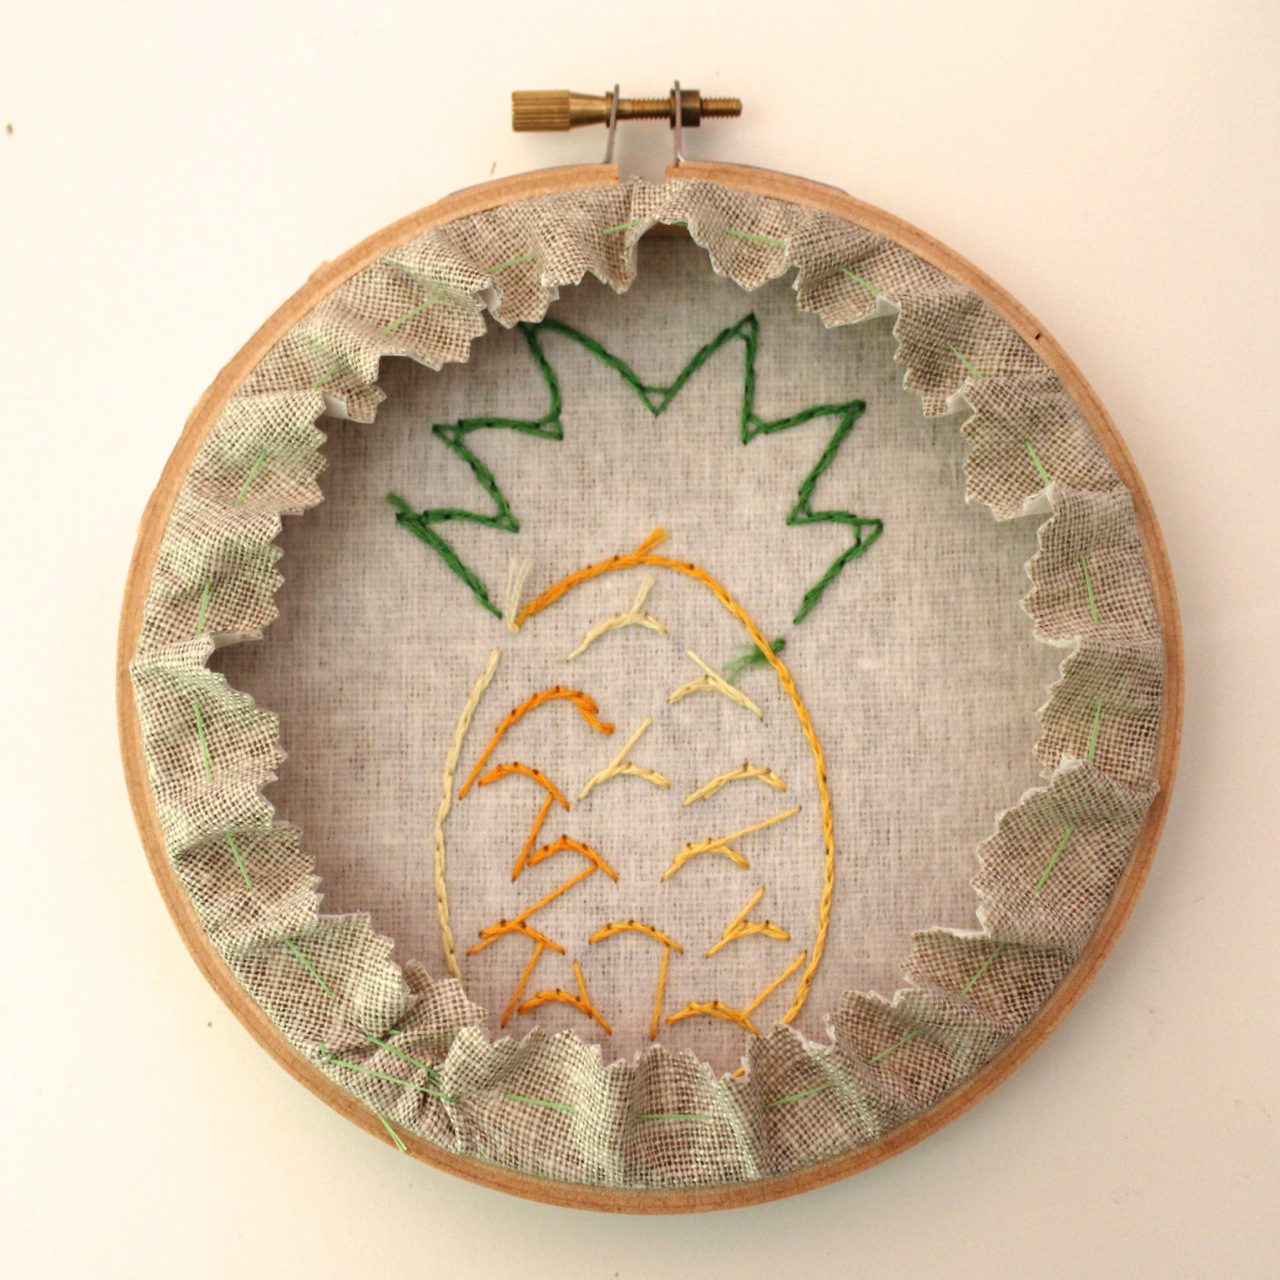
I stitched the pineapple top first.
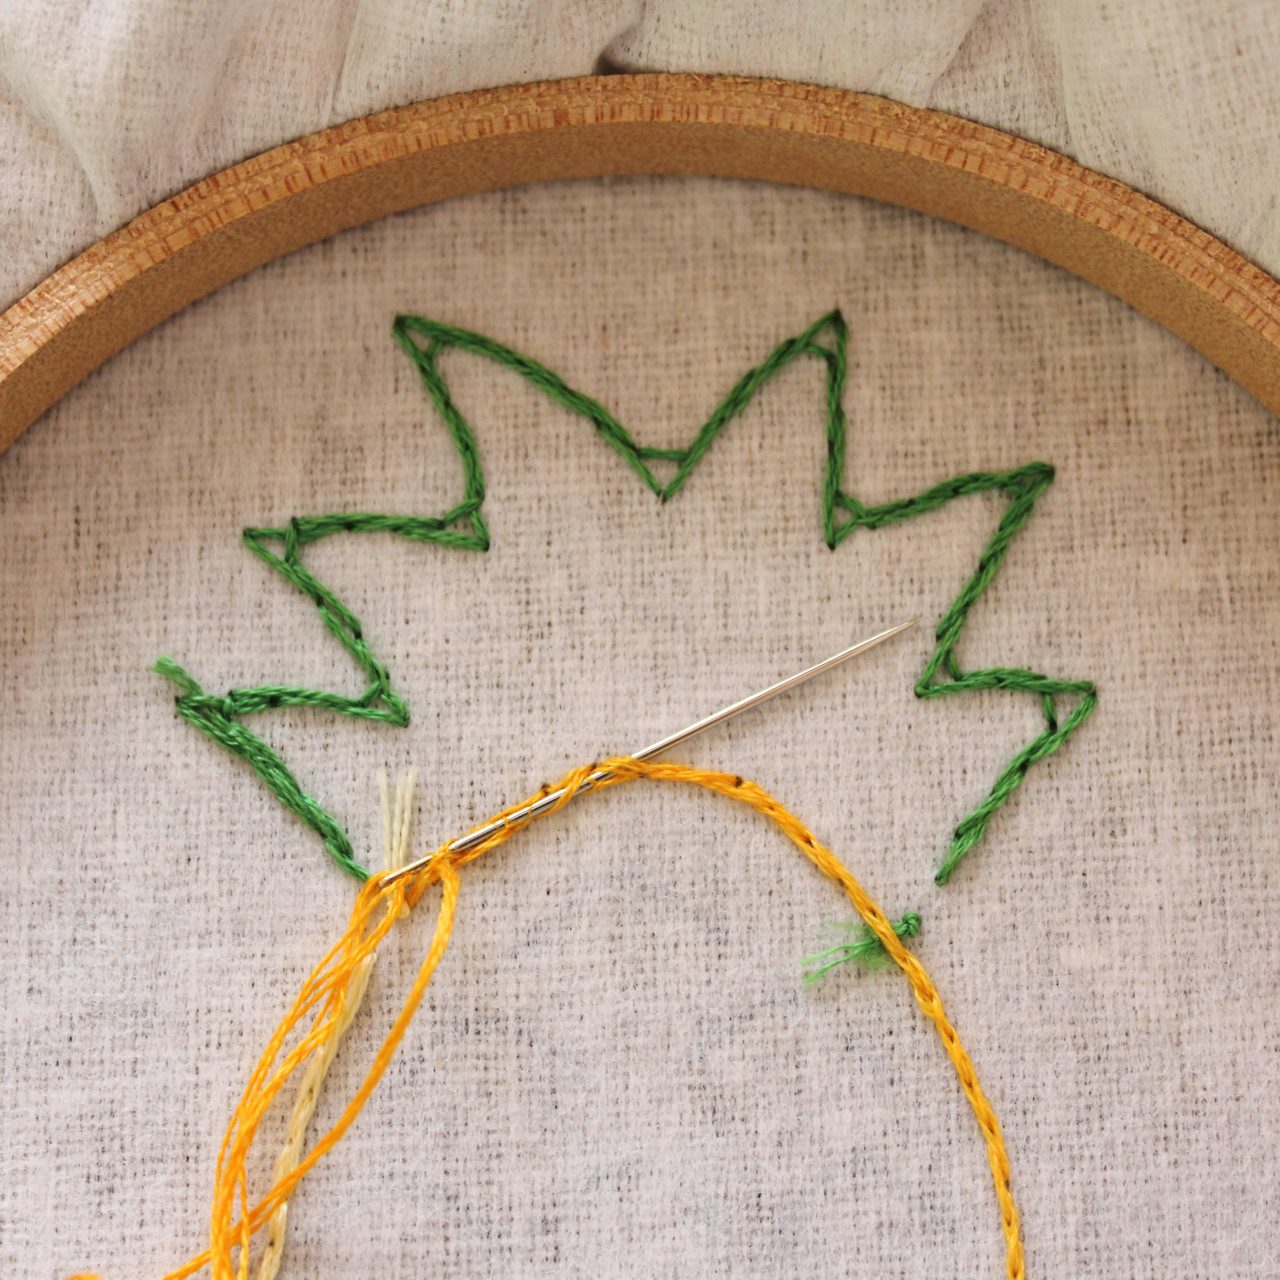
I then changed thread and stitched the perimeter of the pineapple and then the centre detail.
Be sure to secure your stitching well at the back of the embroidery, every time you change thread or colour. You can see the detail here below.
Once your stitching is complete, trim around the excess fabric using your pinking shears. Leave about an inch of fabric (3cm).
Thread your needle with ordinary sewing cotton and secure it with a knot. Start at the base of your design and stitch a loose running stitch around the perimeter of the fabric. Stitch a half an inch in from the fabric edge (or 1.5cm). When you reach where you started, draw the cotton taut. It will gather your fabric and bring your overhang under the hoop. Secure your cotton well to keep your fabric out of the way. You can also use hot glue on the inside rim of the hoop and gently stick your excess fabric to it.
There are certainly more glamorous methods of covering the back of your hoop art, (you can read one HERE). But this way is simple, effective and quick.
And when you flip it over, it’s a beautiful piece of art ready to be hung or displayed!
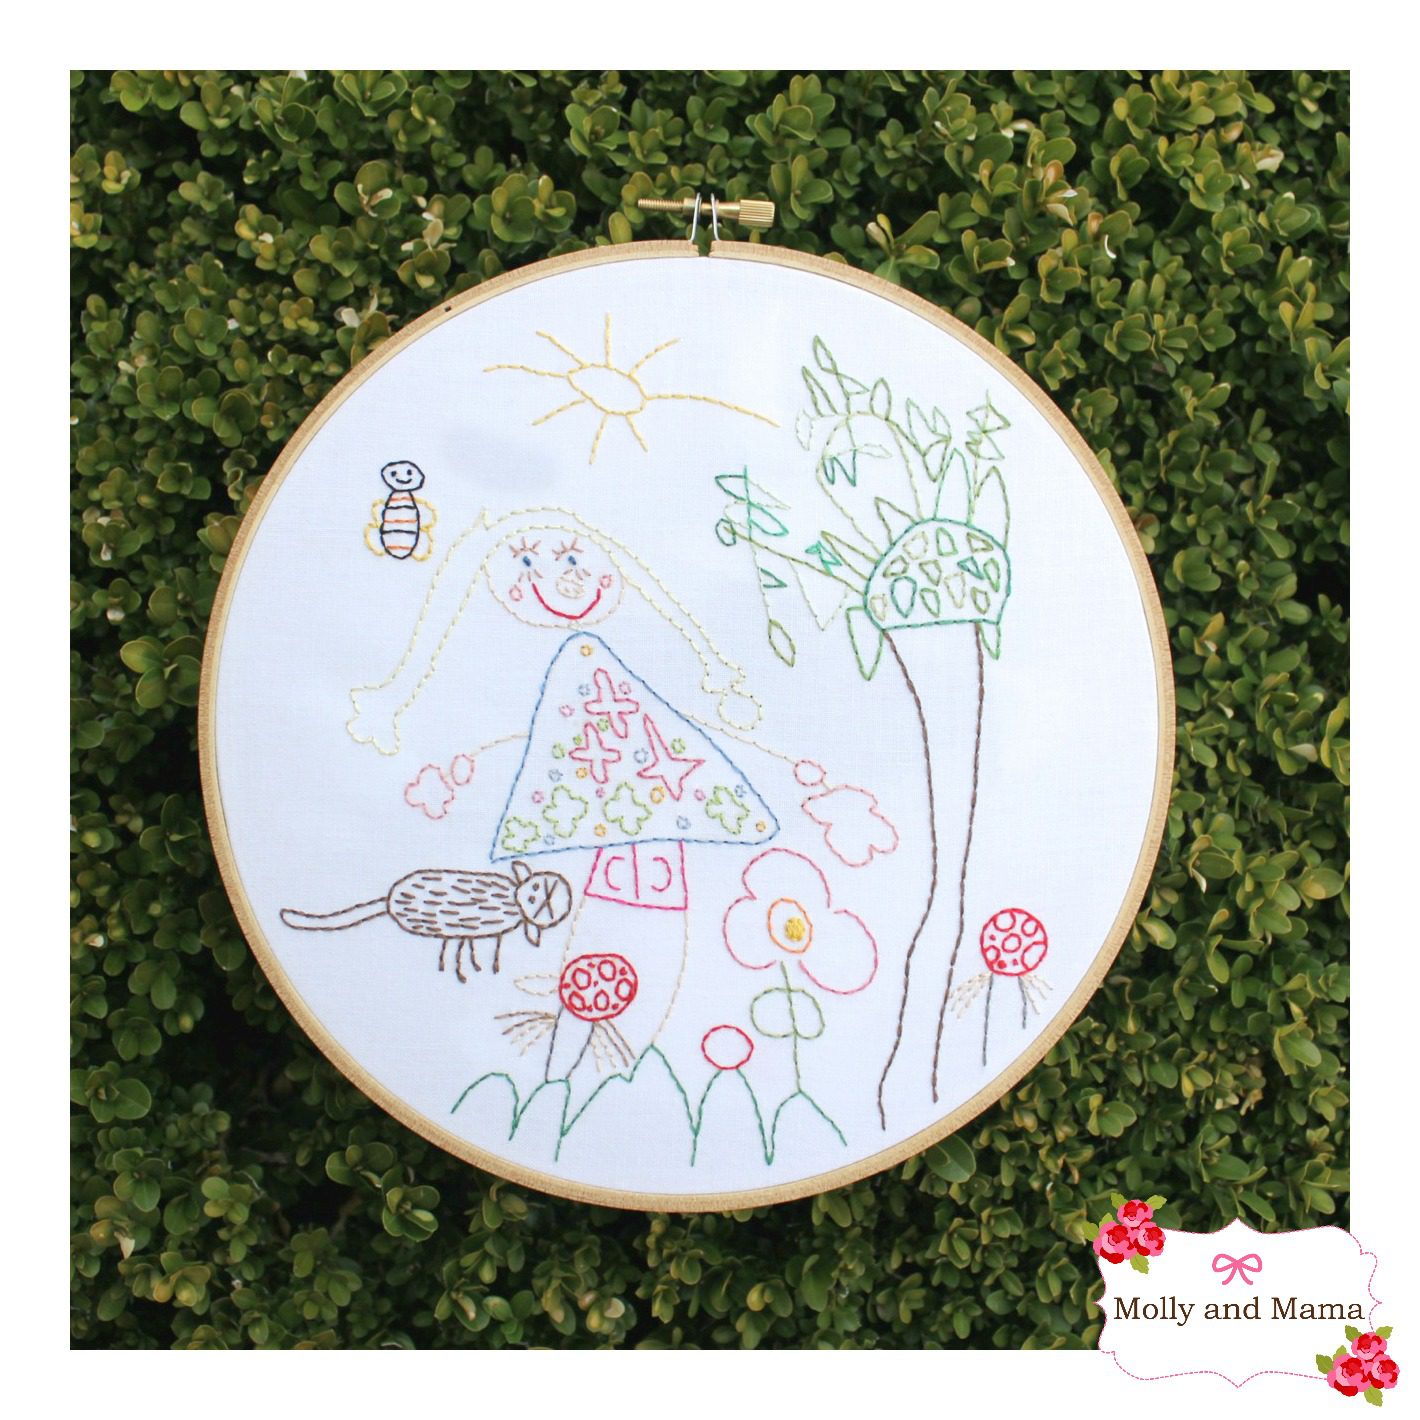
You could use your children’s art work for inspiration. My five year old drew this lovely design and I carefully embroidered it for her.
Whether using hand embroidery, appliqué, or other techniques, hoop art projects can be a simple and adorable way to decorate. And there’s nothing more special than a hand made project you’ve created yourself. I’d love to see what you make. Feel free to head over to Facebook to share! And for more ideas, check out Pinterest.
For those of you in Australia, happy Australia Day! Enjoy the celebrations!
Happy stitching, Lauren x
This tutorial was written by Lauren Wright and appeared first on Molly and Mama http://www.MollyandMama.com.au
Very nice project! Really love it. Thanks for sharing.
You’re welcome. Thanks for your lovely comment. Lauren.