Week 8 – Forest Family Quilt Along

It’s the final week of the Forest Family Quilt Along and we’re putting on the finishing touch – the quilt binding. I have to confess that I really enjoy this very last step. And I really look forward to sitting down to hand stitch the binding in place. But I do love a good slow stitching session!
Have you been keeping up with the previous weeks’ content? Head to the Quilt Along Welcome Post to find all the links for each week if you need to. Otherwise, let’s drive right in.
Make The Binding
Follow the instructions provided in the pattern to cut, join and press the white fabric strips into one continuous length of binding fabric. If you’d like more detailed instructions on this step and then the rest of the quilt binding process, please visit my ‘How to Bind a Quilt’ post. I have been wanting to put together a beginners guide like this for a long while. So this sew along was the perfect motivation!
Machine Sewing The Binding
Quilt binding is pretty straightforward. The part that seems to be the most confronting, is the process of joining the binding strips together at the base of the quilt. The Quilt Binding tutorial goes into more detail, but I find that taking a little extra time and care at this stage can really help achieve beautiful results.
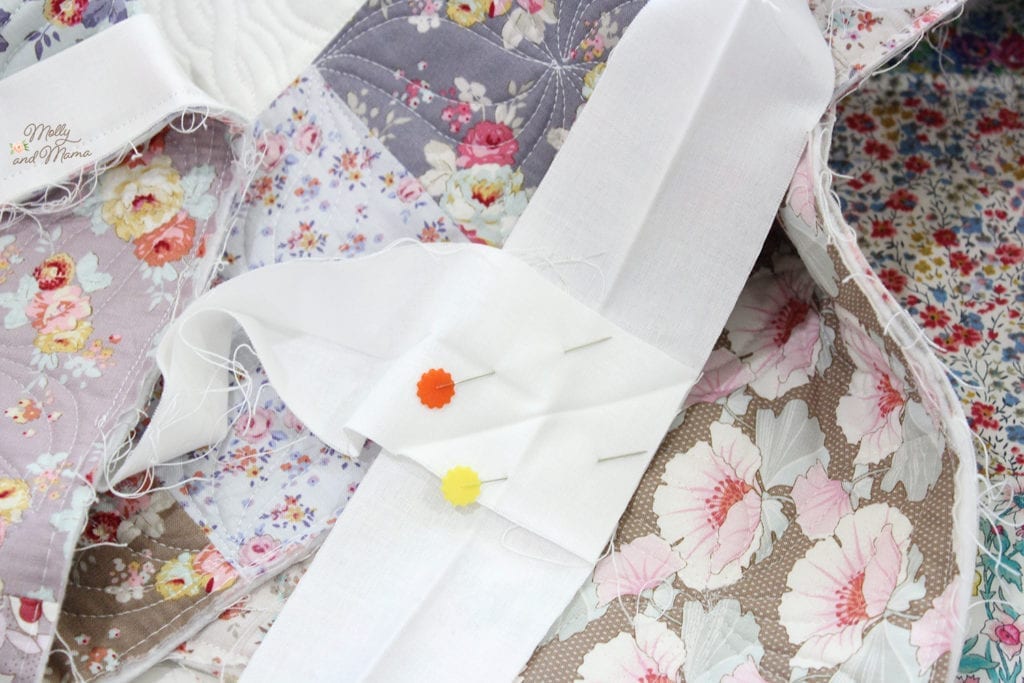
TIP: When sewing the binding to the quilt, start at the bottom of the quilt and centre the pointed tip of the binding directly under the bear in the middle (and in between the 6th or centre square on the bottom border). This means that when you join the binding in the final step, it will be centred at the base.
Hand Stitching The Binding
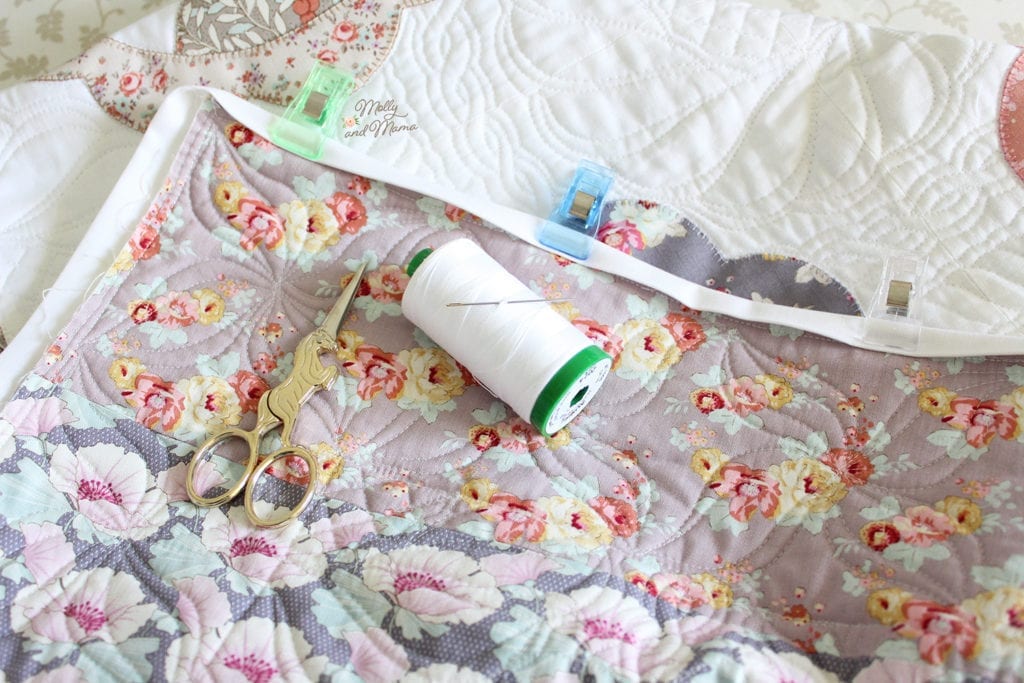
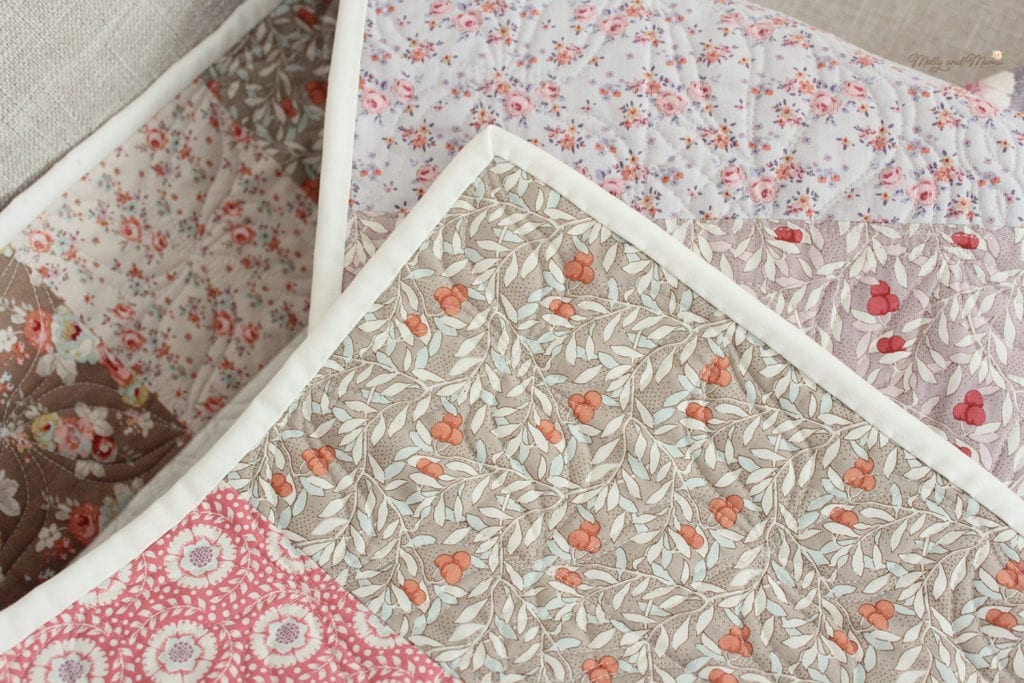
Once the binding is stitched to the front of the quilt, pull the binding towards the back of the quilt and give it a gentle press. Fold the binding over towards the back and use pins or clips to hold it in place before you hand stitch. Be careful when you mitre the corners.
For hand stitching, I used a single strand of Aurifil 40 weight, cotton thread in white.
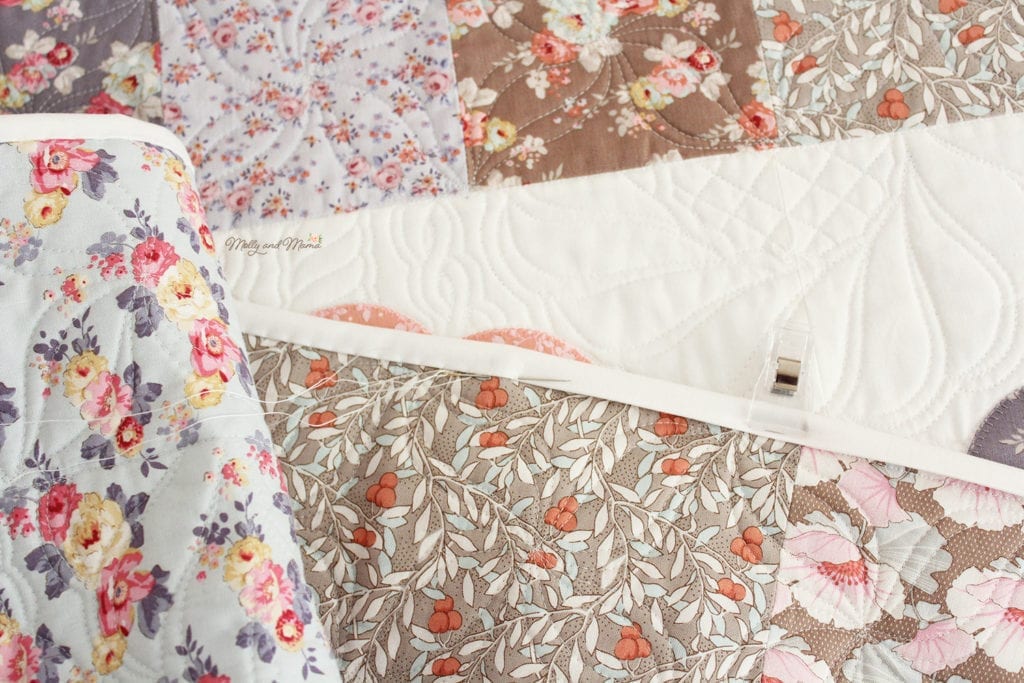
The blind hem stitch is an easy one to master and is explained more fully in the Quilt Binding tutorial. Here you can see my stitching, with each stitch about 1/4″ or 5mm or so apart. (My stitching might be in a different direction to you though as I am left handed.)
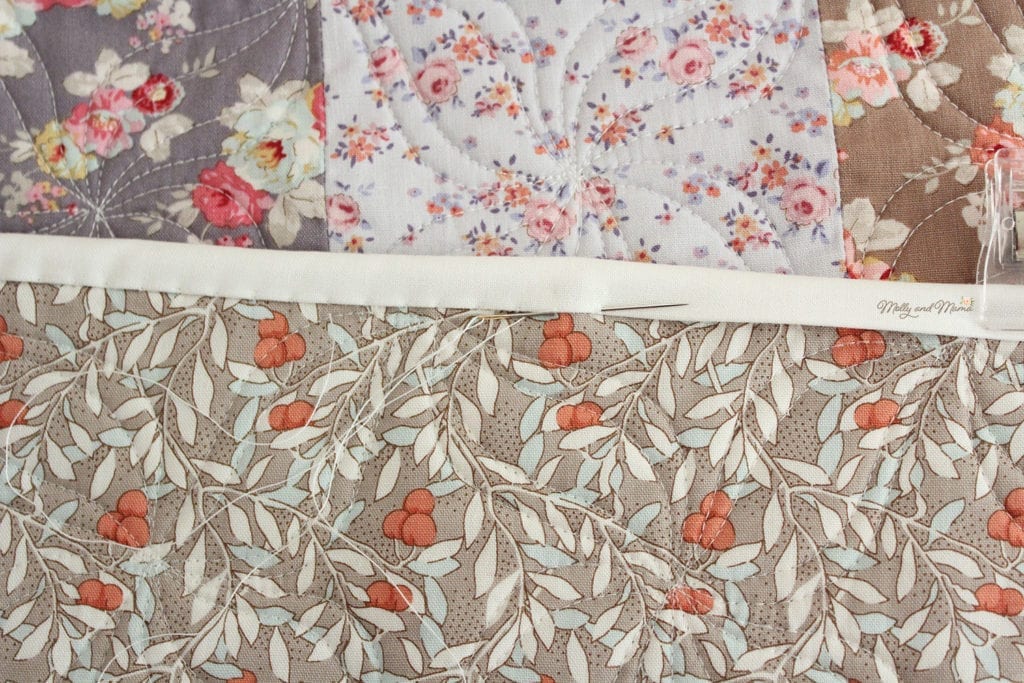
It doesn’t take long for those bound edges to be securely stitched. And they’ll look amazing! Here’s a preview of my quilt, but I’ll be sharing the finished product with you next week. I can’t wait!
What stage are you up to? If you’ve followed along each week, I must congratulate you! But if life has got in the way, then please don’t worry. The content will remain here on the blog until you are ready for it. And there’s no rush at all.
Have a wonderful week and I’ll see you back here to wrap things up soon.
Happy stitching, Lauren x

I love your work, new designs and the colors are beautiful. I am ordering your book and can’t wait to get it.
Thanks so much for your support Holly!