Molly and Mama

Studio for Pretty Stitches - Inspiring ideas for Felt, Stitchery and Patchwork

  • Home
  • Start Here!
  • PATTERNS
    • PDF Pattern Shop
    • Paper Pattern Stockists
    • Pattern Corrections
  • TUTORIALS
  • Classes
  • BOOK
  • Contact

Halloween Felt Pencil Toppers Tutorial
October 2, 2018 By Lauren at Molly and Mama 4 Comments

Hello and welcome to everyone who has found their way here for the Sew a Softie for Halloween blog hop! Back in July I joined Sew A Softie month with my tutorial for Cinnamon Kitty!

So what’s Sew A Softie? Trixi from Coloured Buttons founded the initiative to ignite a love of hand sewing in a new generation. That’s exactly the reason for my own blog, so I loved joining July’s softie sewing fun and now I’m here again with a softie (of sorts) for Halloween.

Before we jump in to the sewing, if you’d like to see more Sew A Softie tutorials, head to the website, the Coloured Buttons facebook page or join the Facebook group for daily updates and links for October’s Halloween fun.

If you’re new here, take some time to look around. Head to the Tutorials tab too, because I have some really sweet projects you might like to make after this one! I design for beginners and I like to make my instructions really clear. But if you have any questions, feel free to get in touch. I hope you learn some new tips and tricks in this tutorial that you can use in your other sewing projects too.

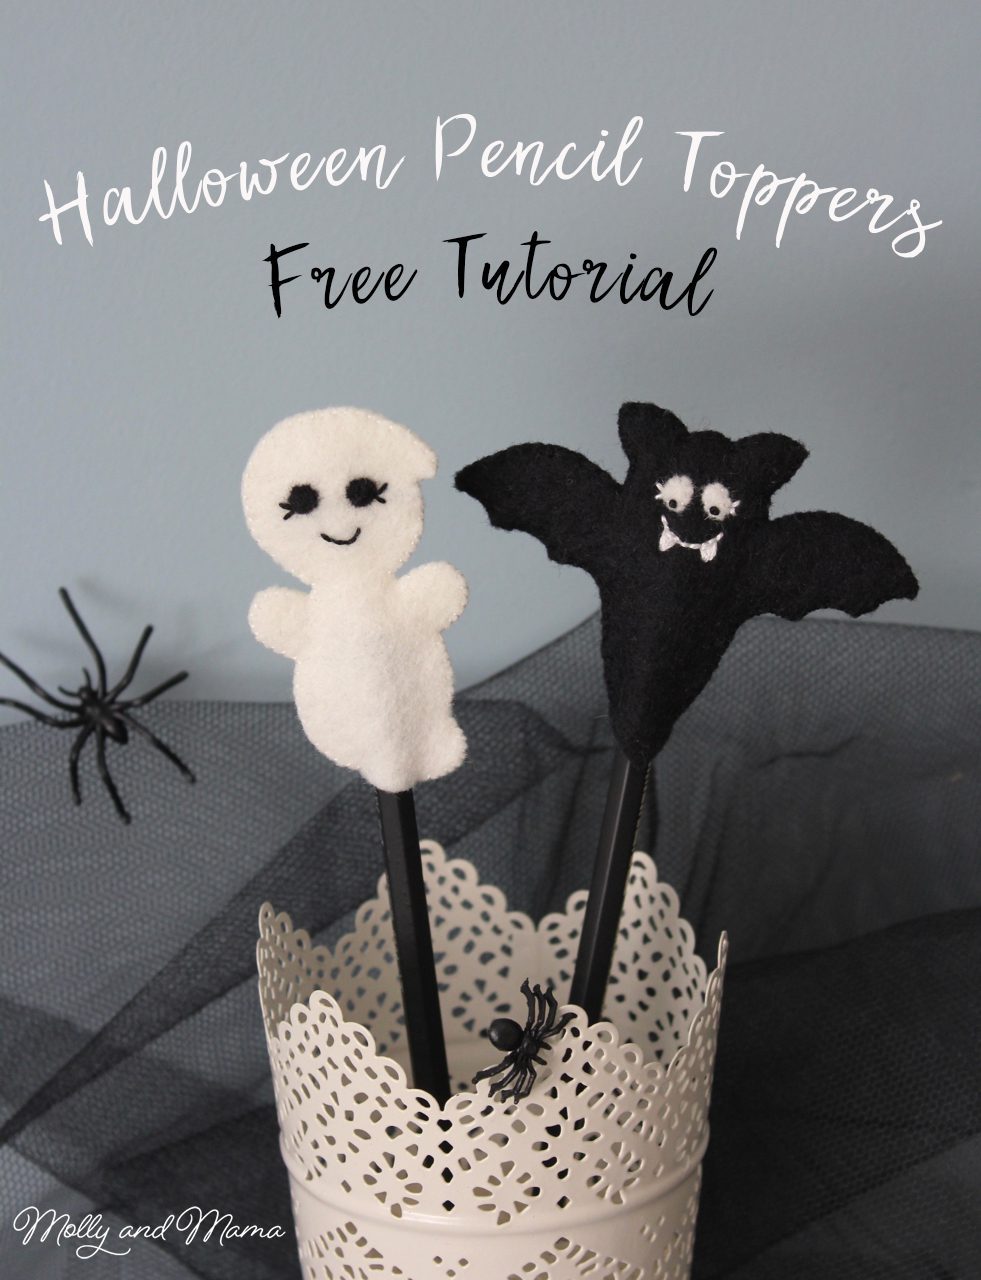
So what’s a Softie? A soft toy! Today’s tutorial is definitely soft, but not exactly a softie as such. Introducing Gertie Ghost and Bertie Bat! These two felt friends were designed as pencil toppers. But you could modify the project and enlarge the template to make soft toys, Halloween hanging decorations, hair clip toppers or even finger puppets. A friend suggested I should also make my pencil toppers in pastel shades to match my blog. Black and white is so bold for me!

LETS MAKE GERTIE GHOST AND BERTIE BAT

YOU WILL NEED

  • 3″ x 8″ of black felt for Bertie Bat, plus some white felt scraps for the eyes
  • 3.5″ x 4″ of white felt for Gertie Ghost plus some black felt scraps for the eyes
  • black and white embroidery floss
  • embroidery needle
  • small sharp scissors for felt cutting
  • tracing or tissue paper (I use thin lunch wrap paper)
  • 2 pencils
  • freezer paper
  • pen
  • a print out of the TEMPLATE

INSTRUCTIONS

1. Print out the TEMPLATE. Ensure you print at 100% with no cropping or scaling. To make larger or smaller bats and ghosts, simply adjust the print size.

DOWNLOAD TEMPLATE HERE

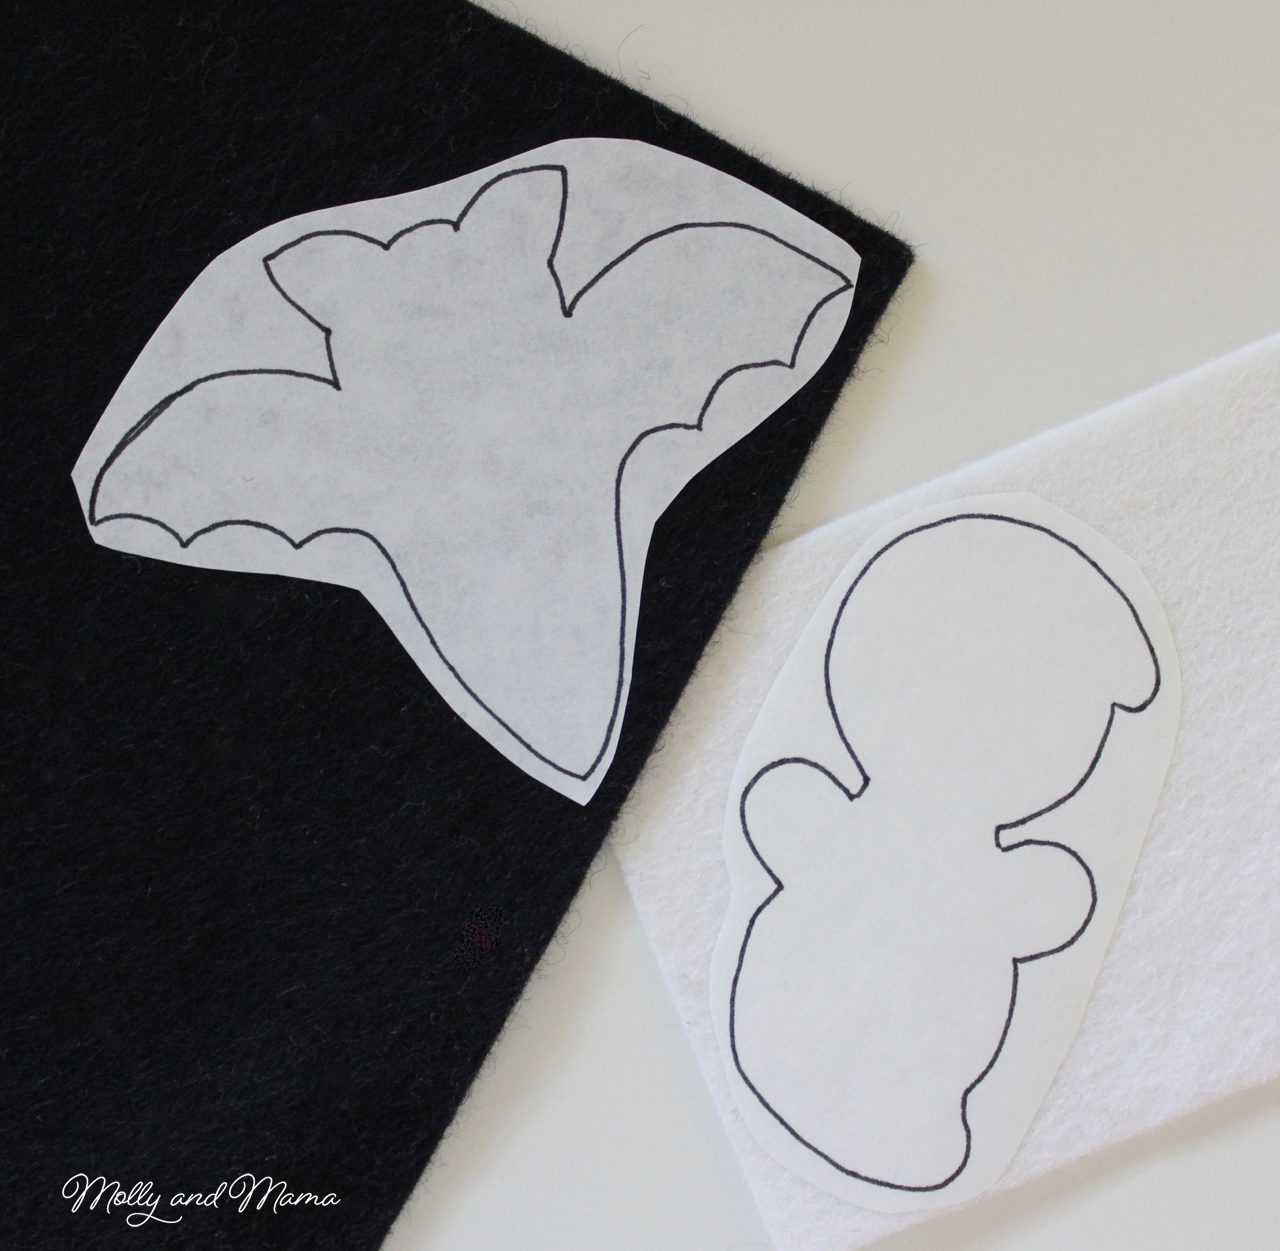
2. Cut out 2 ghost or bat bodies from felt. There are a couple of ways you can transfer your pattern template to your felt, in preparation for cutting. When cutting your felt use small and sharp scissors that have short blades (like embroidery scissors). This will give your felt a neater edge, and you’ll also find your shapes are more accurate.

Pinning the Template: Roughly cut around the outside of your template leaving a small margin between the paper edge and the template lines. Lay your paper template over your felt and pin it in place. Carefully cut out the template by precisely following the template lines. This method won’t be suitable for cutting out small pieces of felt though. You can stick the template pieces in place with low adhesive sticky tape, and peel off the tape after cutting out each shape. Alternatively, you can also use freezer paper to help with this process. It’s a much easier method to use!

Using Freezer Paper: Freezer paper can be purchased online, or often at your local Quilting Store. It comes in a pack of pre-cut sheets (suitable for your printer), or is sold by the metre from a large roll.

Print (or trace) your template onto the paper side of the freezer paper. Roughly cut around each template piece and lay it on the felt.  Using a warm iron, run it over the paper side of the template*. The heat will help the plastic underside of the freezer paper to adhere to your felt. Cut out the template pieces on the line, and then simply peel the paper away. It comes away easily and leaves no residue. Use the template to cut out a second shape.  Then keep the freezer paper templates as these can be reused a number of times.

*This process is best suited to wool felt. Test a small area of your felt with the iron and paper before commencing. Please be sure to cover your felt with a press cloth (or scrap piece of cotton fabric) so as not to damage it (especially if the felt is not 100% wool).
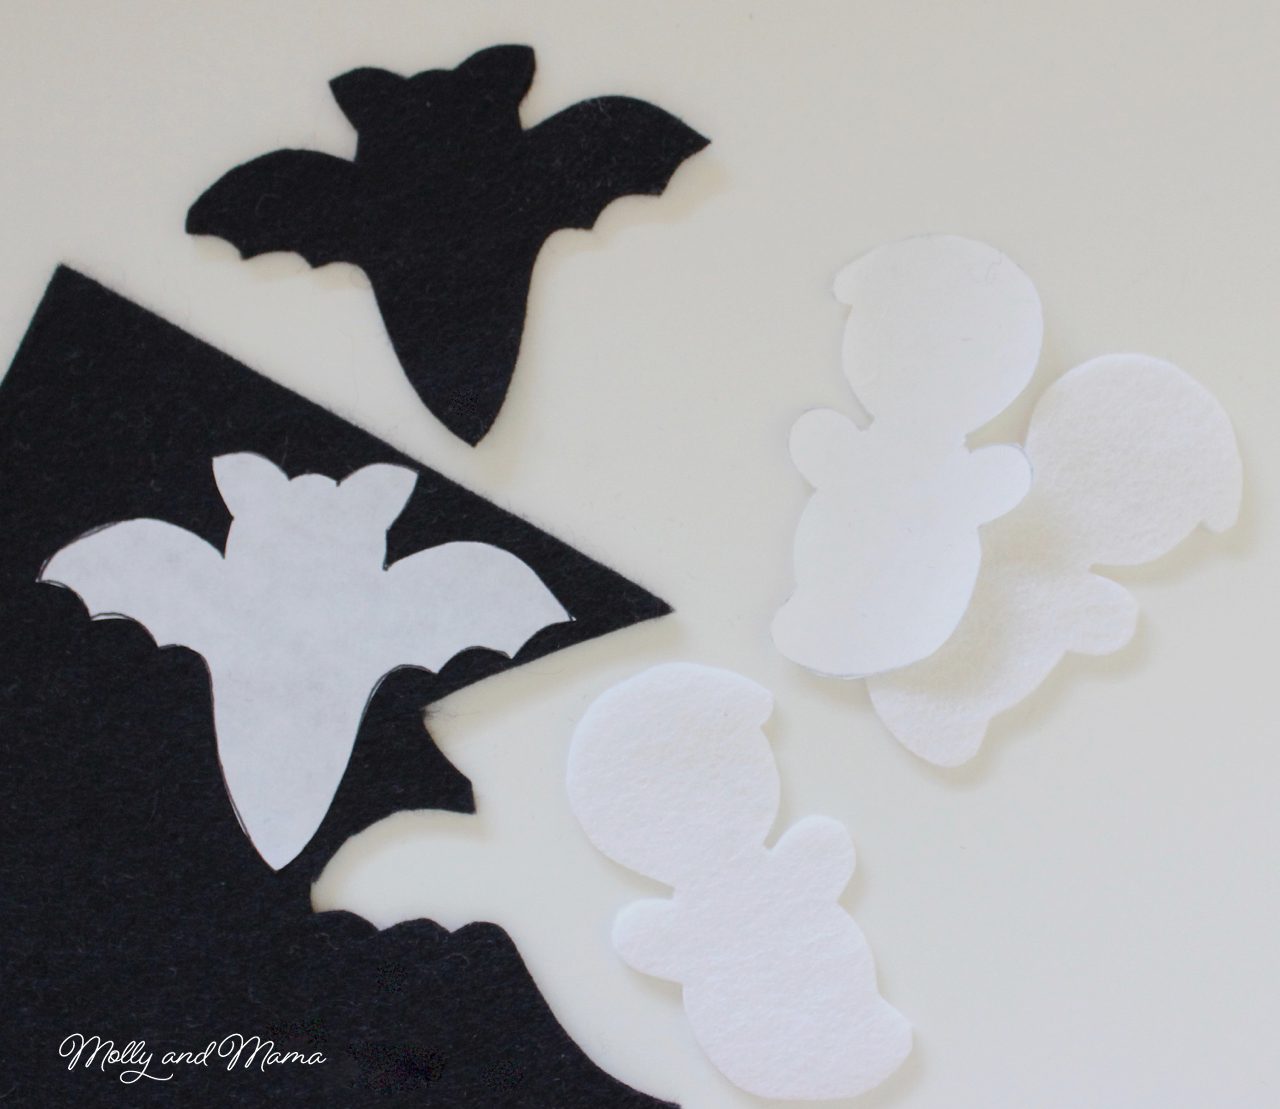
When you have all of your felt pieces cut, you’re ready to start stitching!
3. Take one piece of felt for the ghost or bat front. Embroider the eyes and mouth details on the felt using three strands of embroidery floss in white for the bat or black for the ghost. Use the template as a guide for placement. Draw the features on using an erasable pen or use the handy trick described below. (As an alternative, you could also sew on glass beads for the eyes (if the item is for an older child), glue on plastic googly eyes, or even draw the facial details on with a permanent marker.)

  • Trace the bat or ghost shape and facial details onto a small piece of thin lunch wrap paper or tissue paper. Tip: Don’t trace the details with lead pencil, as the lead will ‘muddy up’ your floss as you stitch!
  • Cut around the outside edge of the paper. Pin the paper over one felt shape, making sure everything lines up.
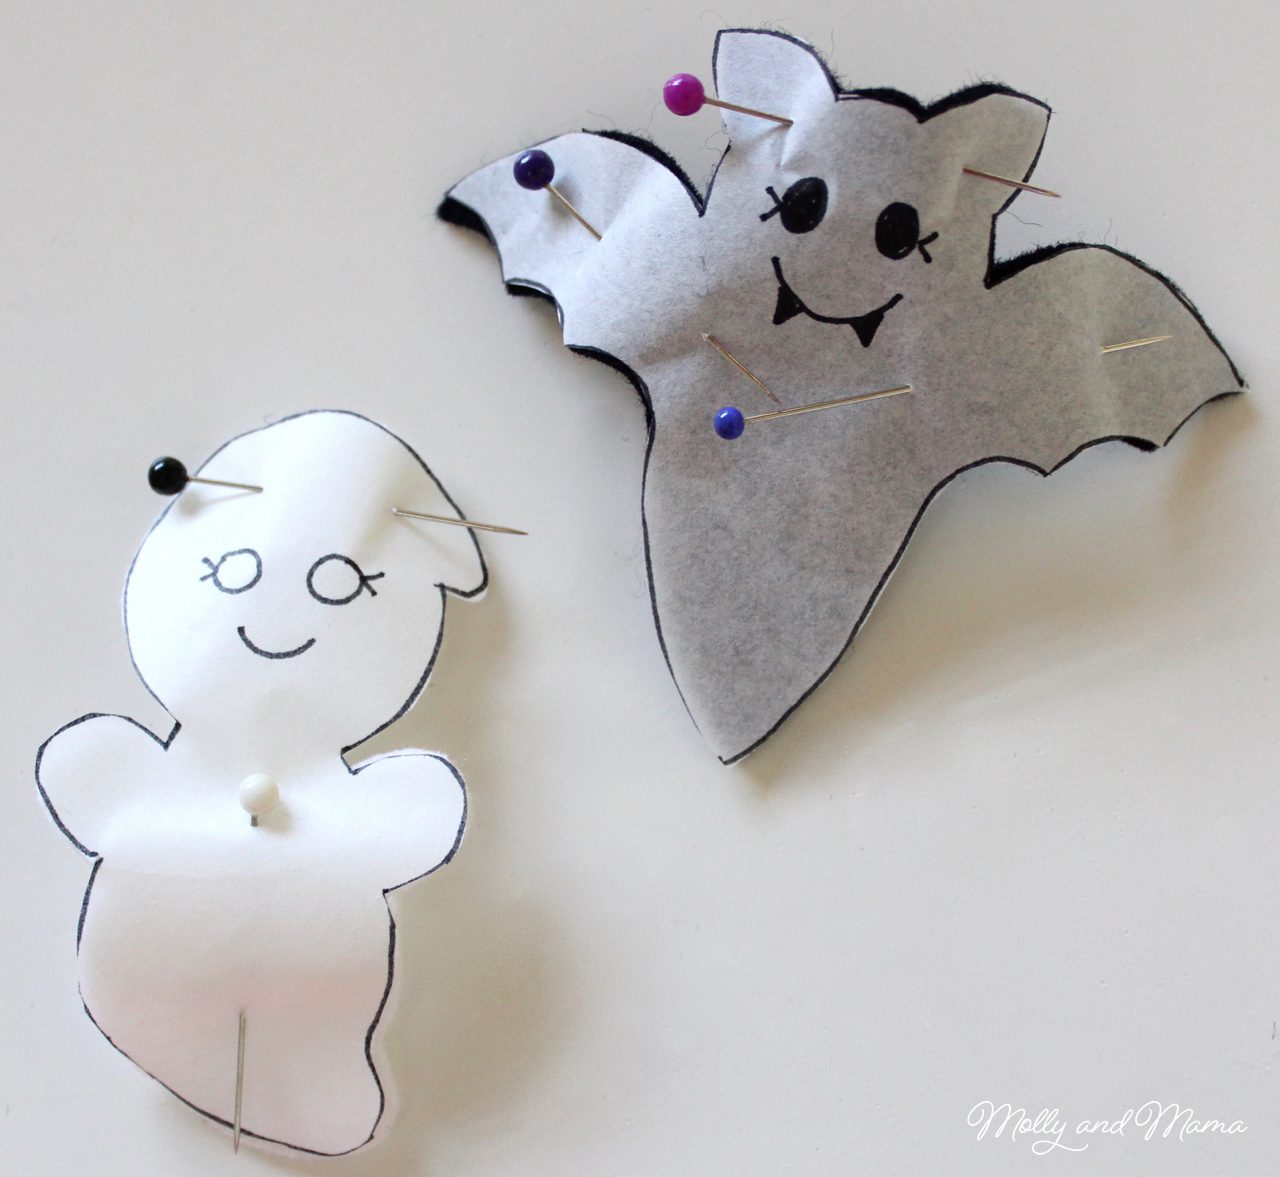
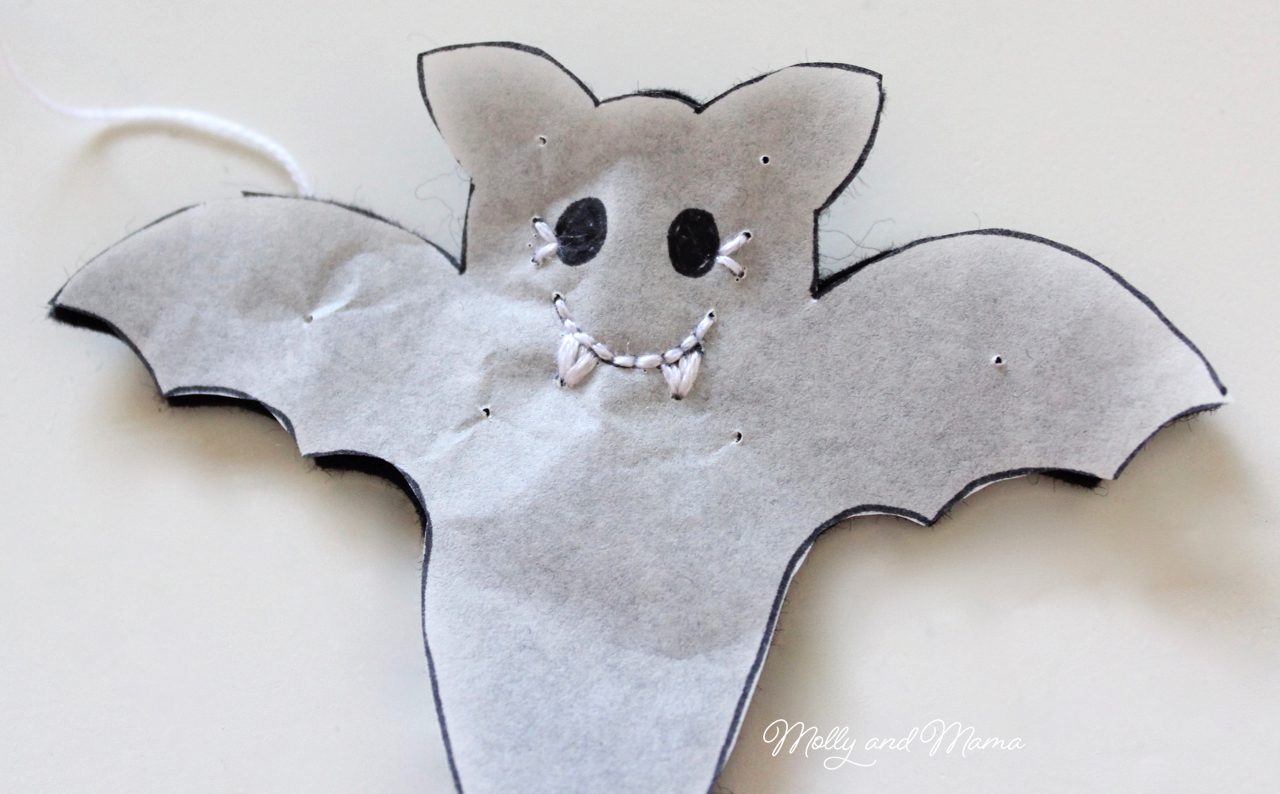
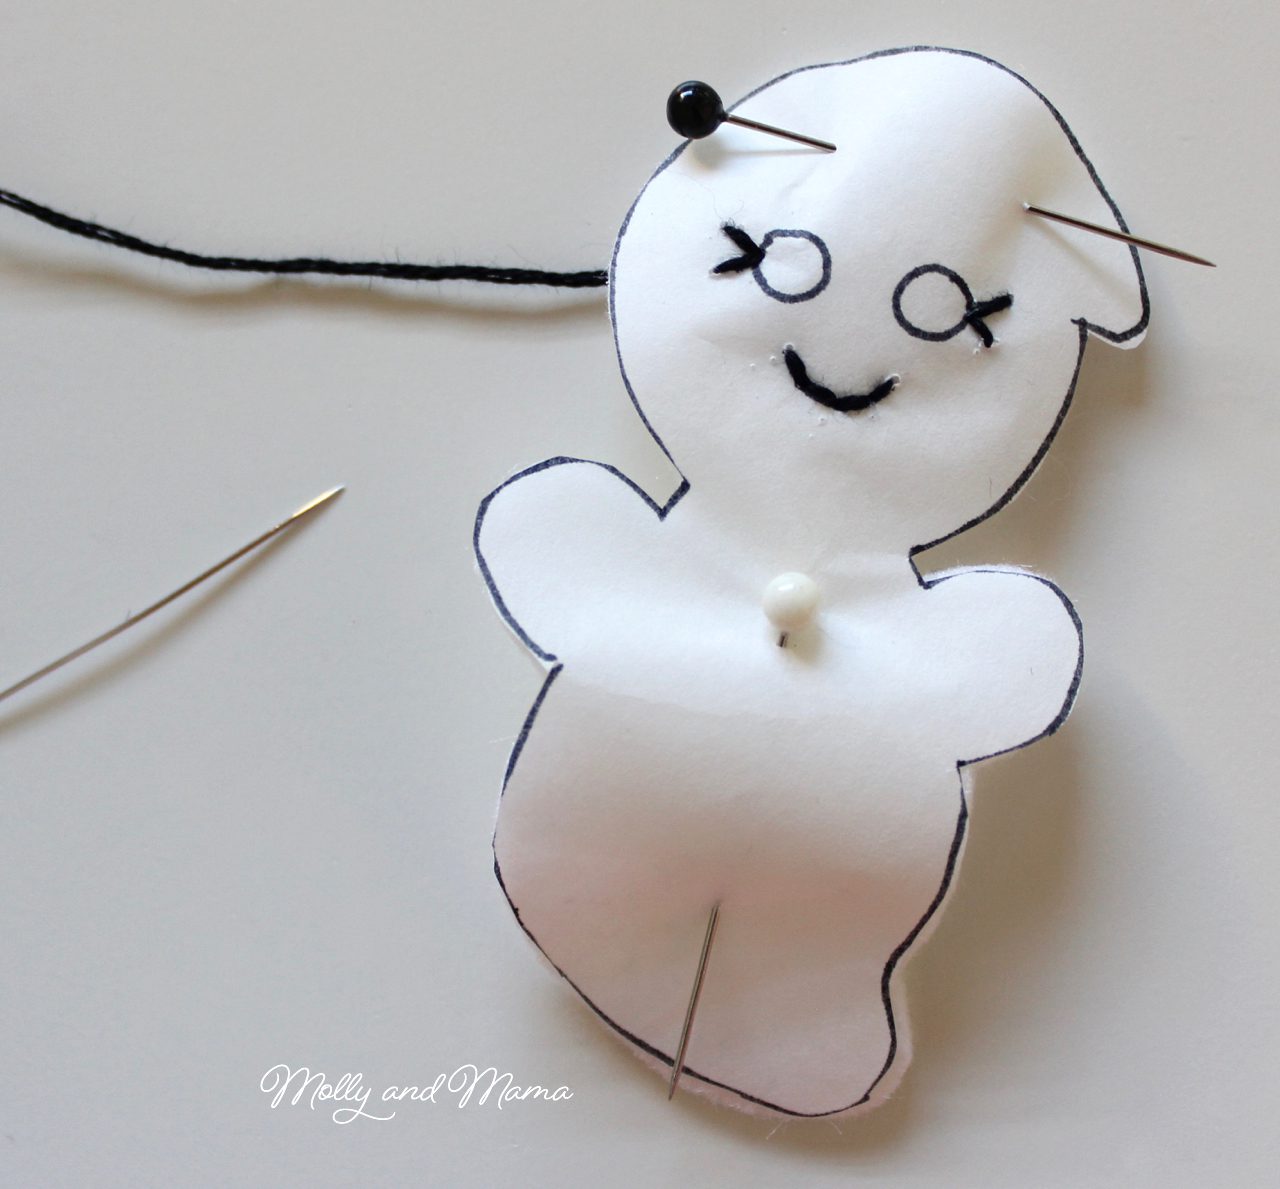
  • Using back stitch, sew the facial features by stitching directly through the paper. First, follow the lines to sew the mouth with small back stitches (and fangs with straight stitches). Then stitch the eye crinkles.
Here’s a little refresher on how to back stitch. You might also like to read this tutorial.

  • When you’ve finished stitching, hold the stitches with one hand as you gently tear away the paper with the other. Use your needle to help tease any stray bits of paper out from under the stitches (if necessary).

6. Next, use the template as a guide to cut out two tiny felt eyes for the bat and the ghost. Hold them in place (beside the eye crinkles) and then stitch down using a single strand of matching floss and small, fine whip stitches.
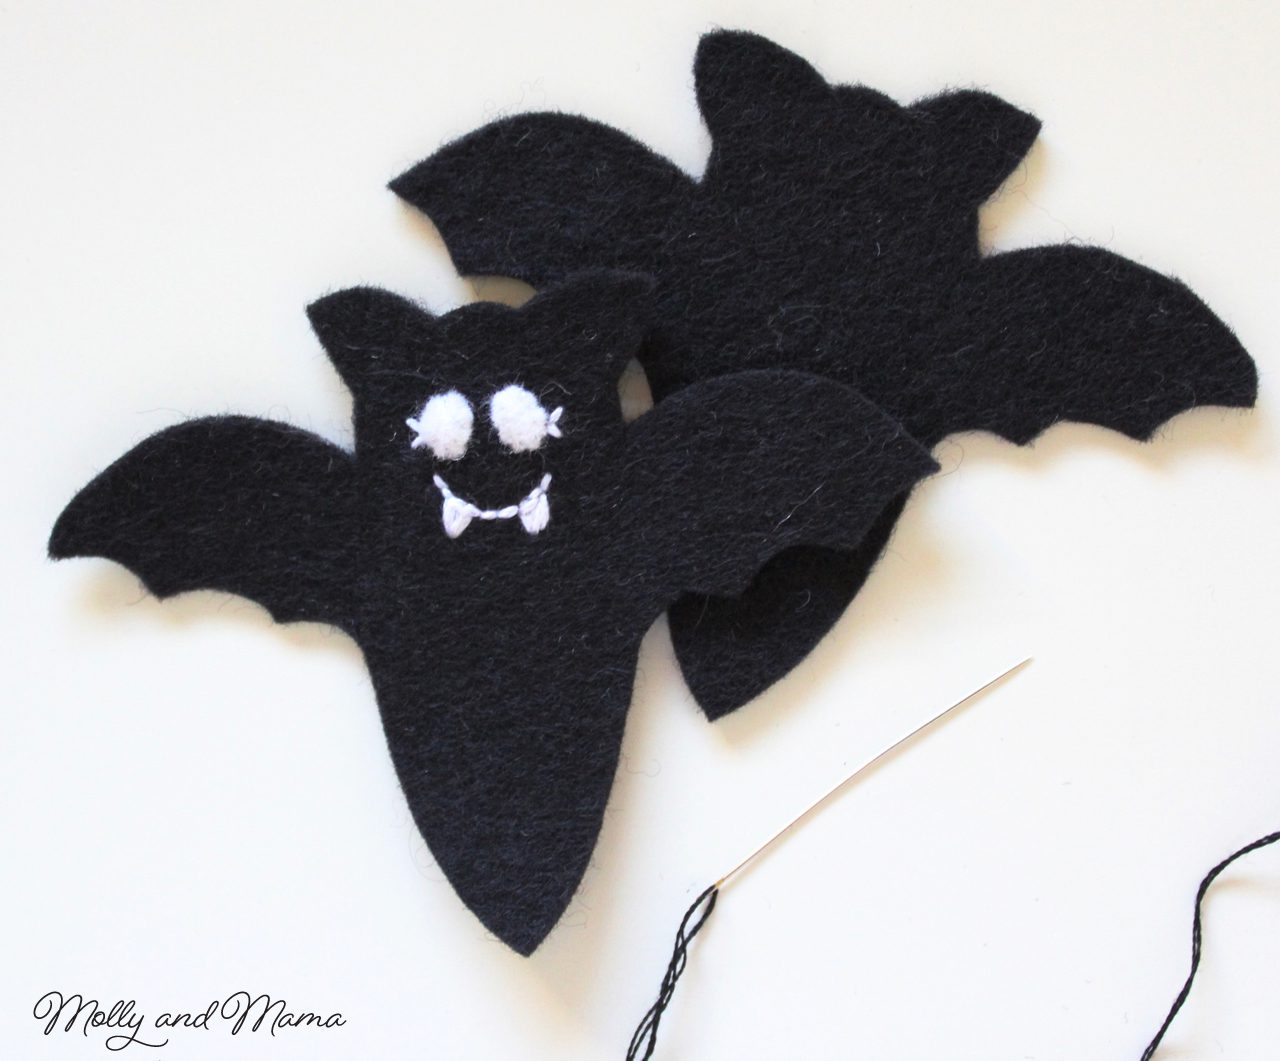
You also might like to add a French knot for the eyes to help them stand out (as I ended up doing for Bertie Bat).

7. Pin the two bat or ghost shapes together. Place a pencil over the shapes so that you can see where to start your stitching (beside the edge of the pencil). Using two strands of matching embroidery floss, whip stitch the two shapes together. Hide the start of your stitching (your knot) inside the shapes. Start sewing at the base of the shape, then up and around the shape and back down to the other side. Remember to leave a gap big enough to fit your pencil (or to add polyester hobby fill if you’re making a softie). Finish your stitching well.
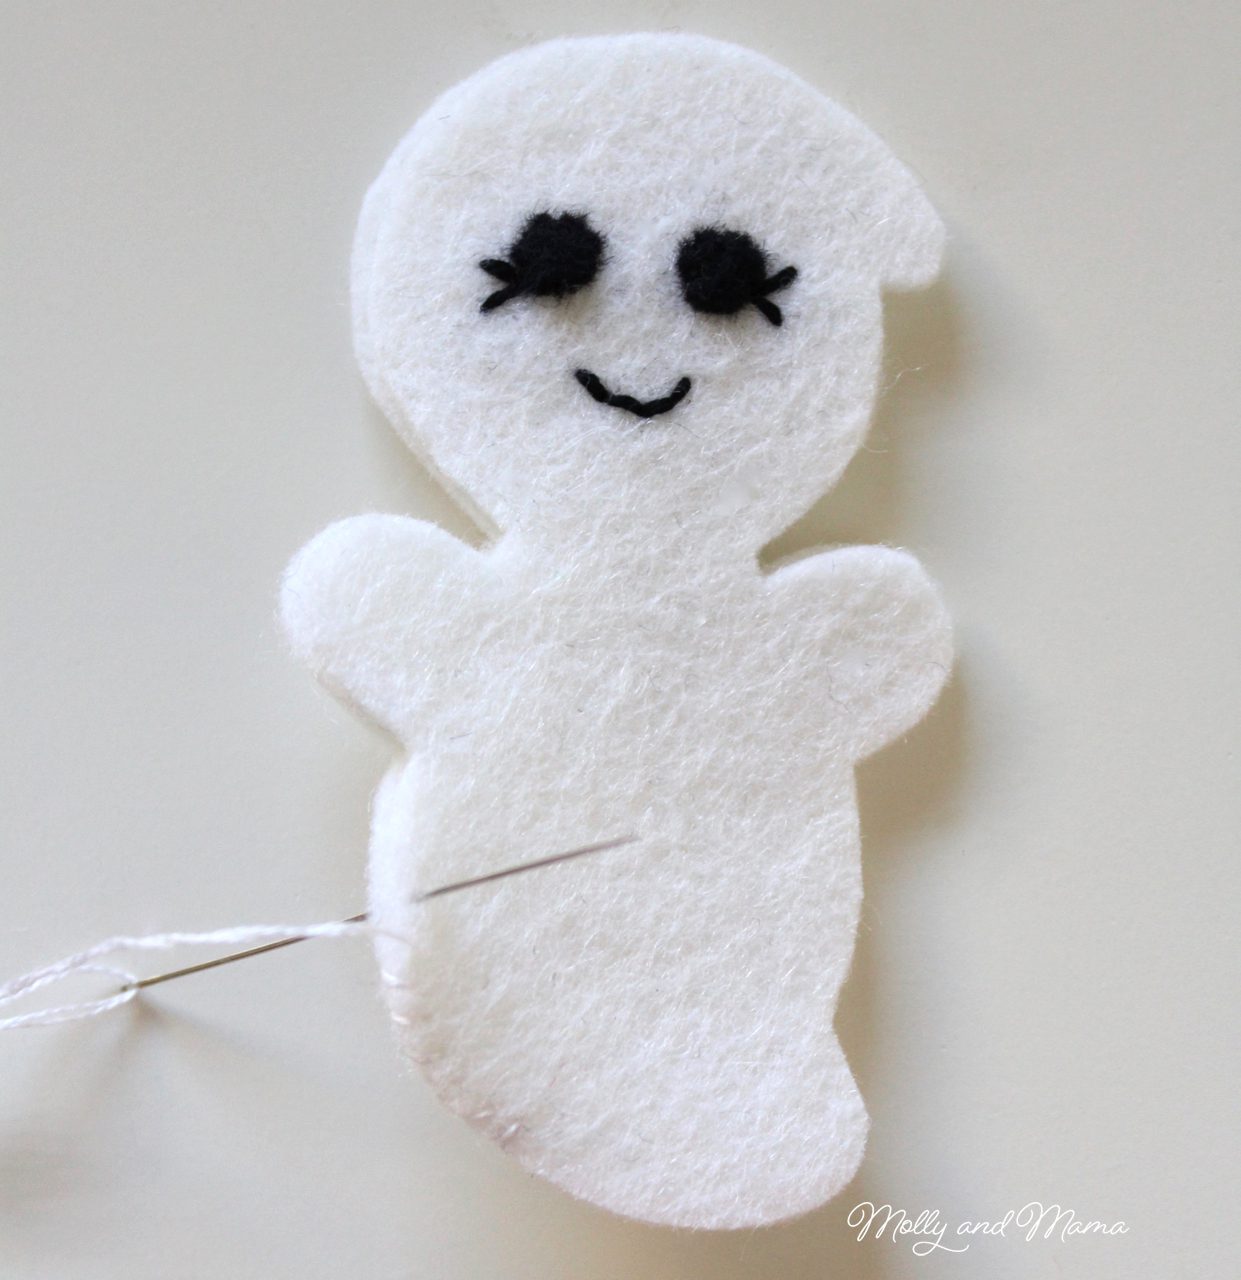
8. Insert a pencil into the base of the bat or ghost for a seriously cute Halloween decoration.
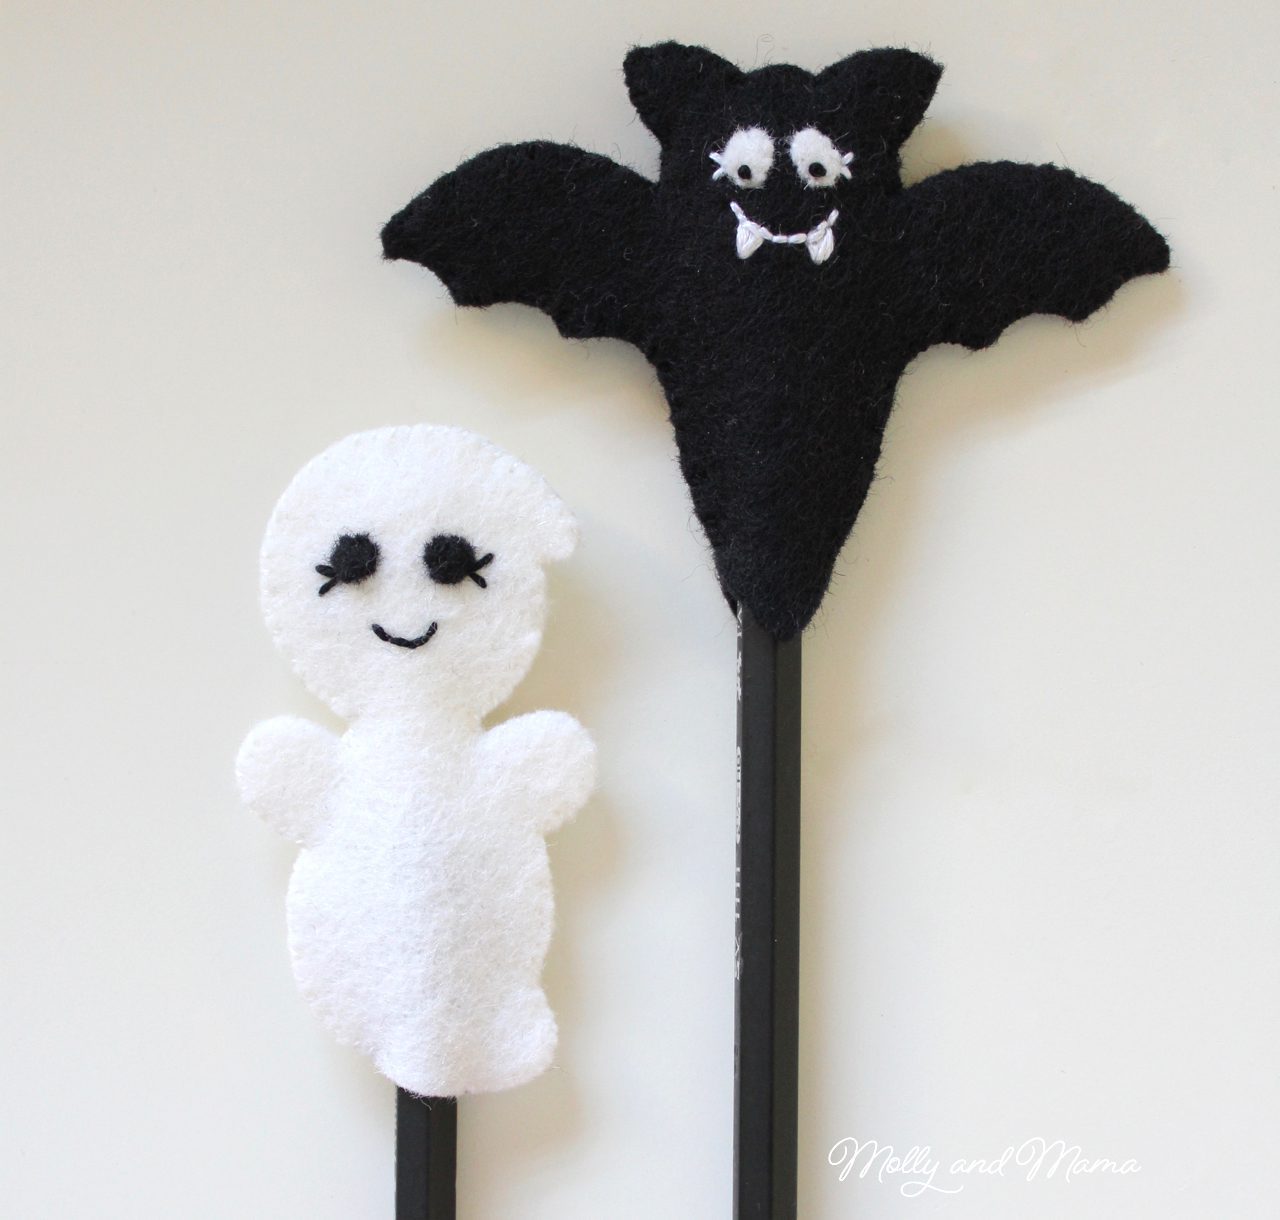
Wasn’t that fun?

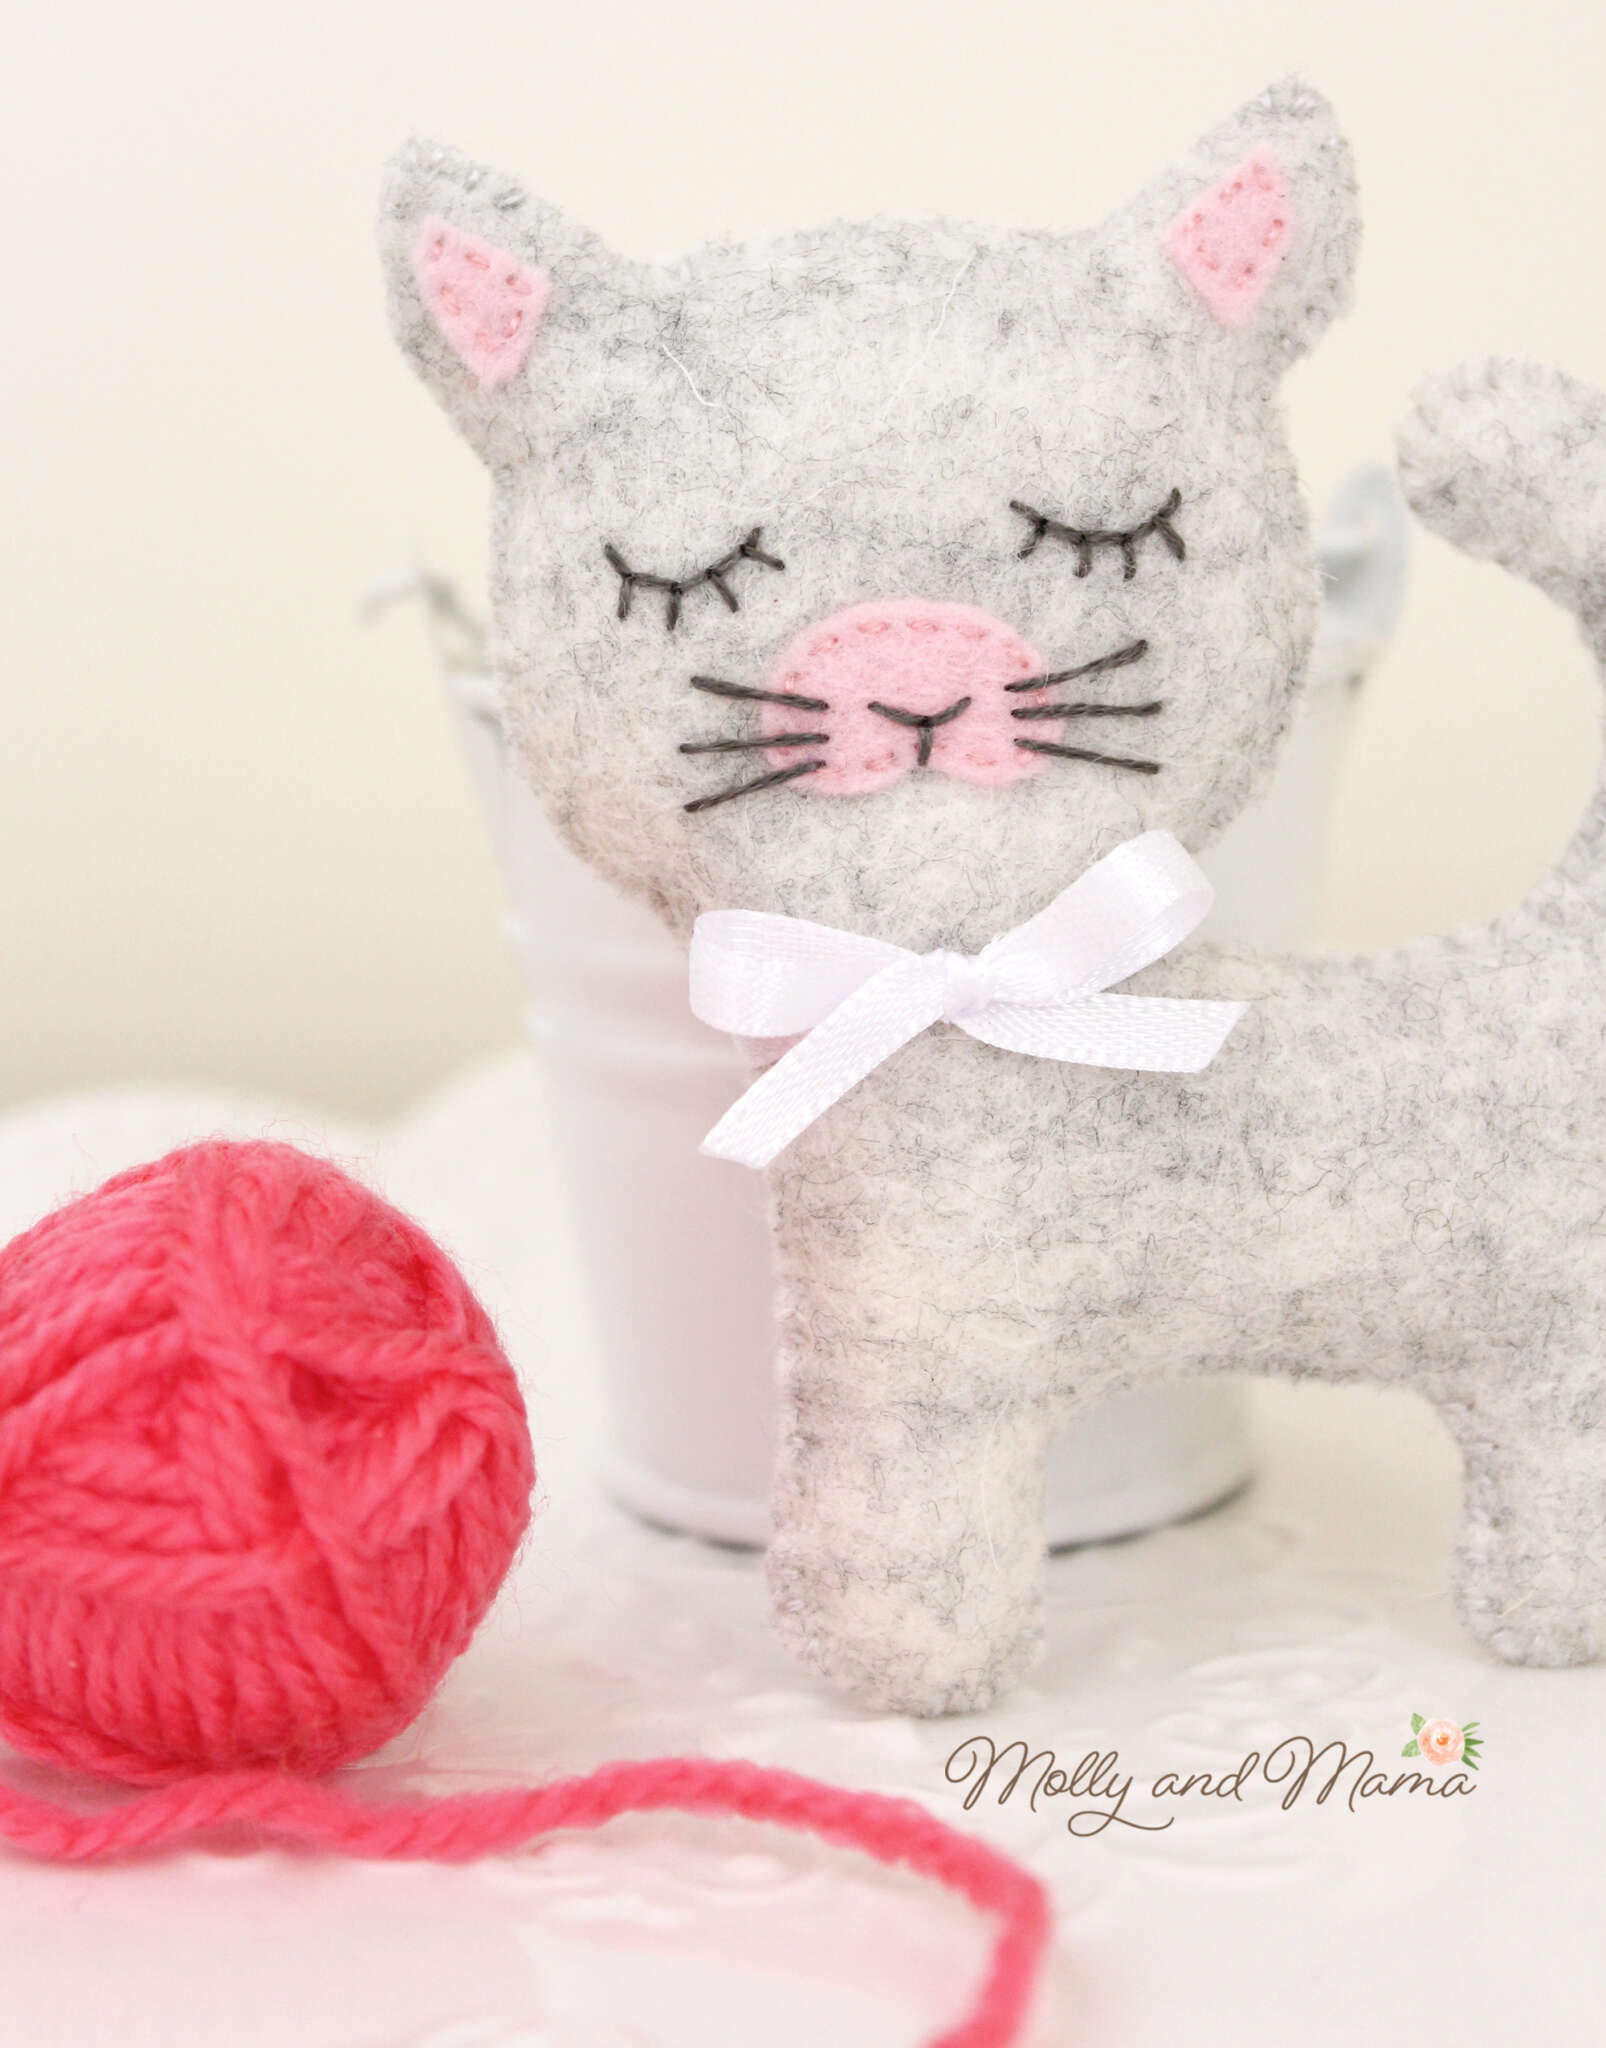
If you’re looking for more Halloween fun, you could also sew my Cinnamon Kitty in black felt and add some scary details!
Thanks for joining the Sew A Softie initiative! If you’ve had a look around the blog and you like what you see, you might want to join me on Facebook or Instagram. I love making new friends so be sure to say hello and share your sewing with me!

Head to my Etsy Store to see my range of ‘beginner friendly’ instant download PDF sewing patterns too. I hope you find something you like.
Happy stitching, Lauren x

This post was written by Lauren Wright and appeared first on Molly and Mama http://www.MollyandMama.com.au

Filed Under: Felt Fun, Holidays, Projects Tagged With: felt, halloween, pencil toppers, Sew A Softie, tutorial

Comments

  1. trixi symonds says

    October 2, 2018 at 12:50 pm

    Gertie and Bertie are such sweet additions to the Sew a Softie family. Thanks for joining in and for your amazing tutorial 🙂

    Reply
    • Lauren at Molly and Mama says

      October 5, 2018 at 8:30 pm

      Thanks for having me Trixi x

      Reply
  2. Julie says

    October 4, 2018 at 1:39 am

    These are so sweet, such a fun idea and perfect to make for friends.

    Reply

Trackbacks

  1. Halloween Finger Puppet Patterns - Felt With Love Designs says:
    October 6, 2019 at 8:31 am

    […] Halloween Felt Pencil Toppers Tutorial – The most adorable bat and ghost! These were designed as pencil toppers” but I see finger puppets every time I see them. They have been on my to-do list since they were published! Lauren also has an adorable kitty pattern that can be sewn up as a black cat for Halloween! […]

    Reply

Leave a Reply Cancel reply

Your email address will not be published. Required fields are marked *

Categories

  • Christmas (37)
  • Christmas Stocking Sew Along (6)
  • Easter (10)
  • Embroidery For Beginners (6)
  • English Paper Piecing (10)
  • Felt Fun (12)
  • Forest Family Quilt Along (10)
  • Holidays (11)
  • Molly and Mama Patterns (56)
  • Pattern and Book Reviews (38)
  • Projects (40)
  • Quilting Help (3)
  • This and That (53)
  • Tutorials (49)

mollyandmama

Lauren Wright
🐰💙 Easter will be here before we know it. Pl 🐰💙 Easter will be here before we know it. Please enjoy 20% OFF my Easter instant download patterns in my store. Use the link in my profile or head to mollyandmama.etsy.com. 

T&C’s: The offer is only available until Easter Sunday for PDF patterns. No coupon code required. 

#mollyandmama #rosierabbitornament #feltbunnies #easterbunny #feltsewing #feltbunny #felt #woolfelt #merinowoolfelt #myfeltlady #easter #eastersewing #eastercraft #handmadeeaster #embroidery #handembriodery #handstitched #handmade #easterbunny #eastergifts #eastertree #eastertreedecorations #easterdecor #easterdecoration
🐰💕 This free felt Easter tutorial is a hit e 🐰💕 This free felt Easter tutorial is a hit every year! These simple to sew bunnies are the perfect beginner project. Find the tutorial and all the details on the blog (link in bio). There’s also a direct link in my stories today. 

@myfeltlady has felt packs that work perfectly with this project. 

Visit @aspoonfulsugar for the fabric basket tutorial too 😍.

#mollyandmama #feltbunnytutorial #felt #woolfelt #myfeltlady #feltbunny #feltrabbit #rabbitsewing #bunnysewing #eastersewing #eastertutorial
🐇🌸🐇 I have only a few of these bunny fram 🐇🌸🐇 I have only a few of these bunny frame and embroidery kits on hand, so I have listed them in the store (link in bio- swipe to see more). There’s the big Beatrice Bunny frame or the twin pack of Baby Beatrice Minis which includes a necklace and a brooch option. 

Both kits come with the preprinted linen so all you need to do is embroider the design with your favourite floss and add a wool felt crown. If you leave me a comment when you purchase, I’ll even throw in some felt for you 😍. Australian postage only sorry. Express post upgrades are available too! 

#mollyandmama #creativeabundance #beatricebunnyframe #babybeatriceminis #bambooframe #embroideryframe #embroideryhoop #animalframe #felt #feltflowers #merinowoolfelt #woolfelt #flowercrown #feltflowercrown #handstitched #embroidery #embroiderersofinstagram #feltersofinstagram #eastersewing #eastercraft #chocolatefreeeaster #eastergift #glitterfelt #embroideryfloss
Tilly’s Tea Party Table Runner is almost due for Tilly’s Tea Party Table Runner is almost due for release! I’m really pleased with how this design turned out 💐🤍

Sign up for the newsletter now (link in bio) to receive the 20% off discount code only for subscribers. 

#mollyandmama #tillysteapartytablerunner #epp #englishpaperpiecing #tablerunner #tablerunnerpattern #hexagons #hexies #jewel #equilateraltriangle #aurifil #aurifilthread #aurifilartisan #aurifilartisanchallenge #stitchersofinstagram #slowstitching #slowsewing #handstitching  #roseandvioletsgardenfabric #roseandvioletsgarden #missrosesisterviolet #rileyblakedesigns #iloverileyblake #embroidery #embroiderersofinstagram #stitchersofinstagram #floralembroidery #flowerembroidery #embroideredhexies
🎀❤️ There’s a new post on the blog, shari 🎀❤️ There’s a new post on the blog, sharing a brand new design made with the Strawberry Honey fabric range from @burlapandblossompatterns for @rileyblakedesigns. It was lots of fun learning more about my new @janomeaustralia machine too. I see lots more appliqué projects in my future! 

Check the blog link in my bio or head to mollyandmama.com.au to see more photos of this bow quilt. Sign up to the newsletter to be notified when the pattern releases too ❤️. 

#mollyandmama #bowquilt #bowapplique #rawedgeapplique #appliquequilt #bowappliquequilt #burlapandblossompatterns #rileyblakedesigns #iloverileyblake #janome #janomeaustralia #memorycraft9450qcp  #janomememorycraft9450 #strawberryhoneyfabric #fatquarterbundle #fabricpull #fabriccollection
🎀🧡 I’ve been playing with the appliqué fu 🎀🧡 I’ve been playing with the appliqué function on my new @janomeaustralia Memory Craft 9450 QCP. There’s been lots of learning and trying different stitch types and lengths, but I’ve settled on my favourite settings now 😁. 

🍓🐝 This Strawberry Honey fabric collection from @burlapandblossompatterns for @rileyblakedesigns is perfect for this sweet bow quilt. I can’t wait to show you more! 😍

#mollyandmama #bowquilt #bowapplique #bowappliquequilt #burlapandblossompatterns #rileyblakedesigns #iloverileyblake #janome #janomeaustralia #memorycraft9450qcp  #janomememorycraft9450 #strawberryhoneyfabric #fatquarterbundle #fabricpull #fabriccollection
🐰🥕 It’s not too late to start your Easter 🐰🥕 It’s not too late to start your Easter sewing! These Bitty Bunnies are teeny tiny and make a super cute chocolate-free treat! I use mine as tree decorations. Sweet, right? And @myfeltlady has felt kits!!! Find the pattern in my store (link in bio) or ask for it at your favourite shop. This project is always so popular at this time of year 😍 

#mollyandmama #bittybunnies #bittybunniespattern #feltbunnies #easterbunny #feltsewing #feltbunny #felt #woolfelt #merinowoolfelt #myfeltlady #easter #eastersewing #eastercraft #handmadeeaster #embroidery #handembriodery #handstitched #handmade #easterbunny #eastergifts #easterdecor #easterdecoration
🐰💗 The Easter Dilly Bag is perfect for hidin 🐰💗 The Easter Dilly Bag is perfect for hiding tiny treats in those sweet front pockets, or holding all the Easter eggs inside the drawstring pouch. Such a sweet accessory for egg hunts and gift giving! Have you made one of these cute pouches? 

Be sure to use the hashtag #EasterDillyBag so that I can check out your gorgeous sewing! You can find a link to my pattern shop in my profile, or ask for the printed pattern at your favourite Quilting Store. @creative_abundance can help with wholesale shop orders. 

#mollyandmama #easterdillybag #creativeabundance #eastersewing #bunnyembroidery #rabbitembroidery #easterbag #easteregghunt #eastergift #embroidery #easterembroidery #yoyos #suffolkpuffs #drawstringbag #quiltedbag #bagpattern #bagsewing #tildafabrics #tildahappycampers #tildaaustralia
I loved sewing up these cute projects last year us I loved sewing up these cute projects last year using the Boho Blooms collection from @nancyarcherillustration, designed for @studio_e_fabrics. The drawstring pouch uses my Easter Dilly Bag pattern! You can read about it on the blog (head to the blog via the link in my bio and use the search tab to look for Boho Blooms). 

#mollyandmama #bohobloomsfabric #studioefabrics  #easterdillybag #eastersewing #nancyarcherillustration
Load More… Follow on Instagram
© Copyright 2020 - Molly and Mama