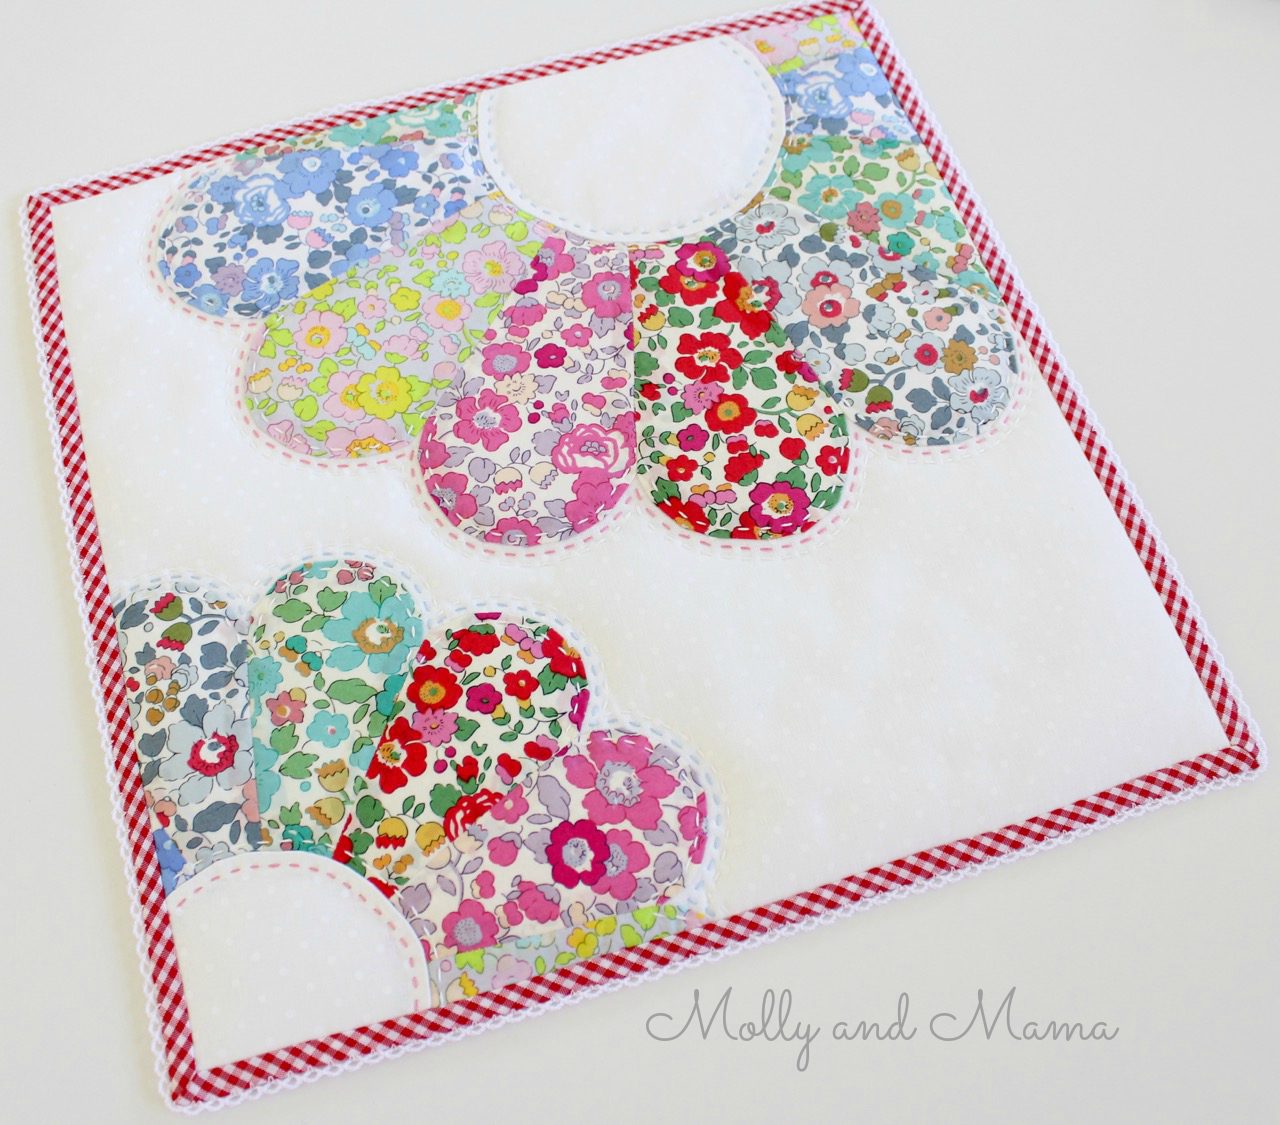
Make a Love Heart Mini Quilt
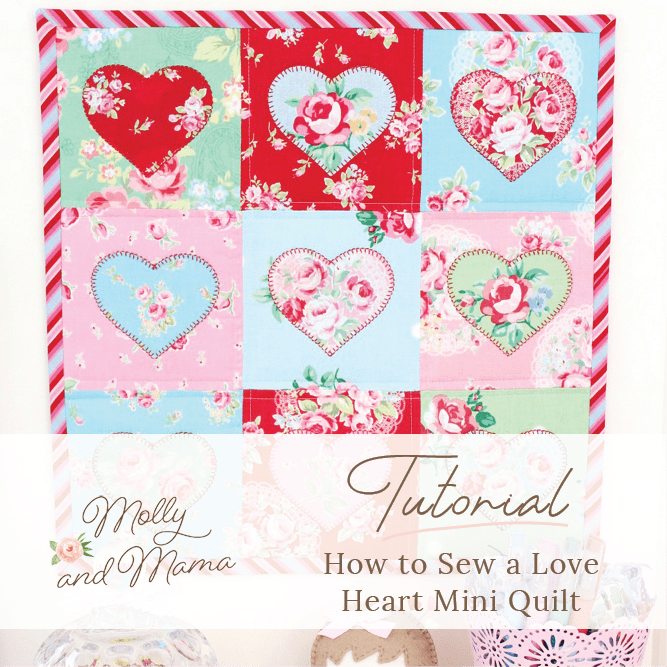
This cute little mini quilt is perfect for Valentine’s Day sewing or for gifting to a loved one. Read on to create your own mini patchwork quilt with raw edge appliqué hearts. It’s a lovely introduction to sewing a nine patch quilt block, adding appliqué and quilt binding too.
NOTE: Post updated January, 2024.
I have always had a thing for Lecien fabrics, especially the Flower Sugar ranges. So I pulled some of the bright and pretty prints out of my scrap stash for this project. Then I got to work with my Sizzix Big Shot machine to cut out some hearts. But you can also make these y hand. Putting everything together to make a bright and beautiful quilt couldn’t be easier.
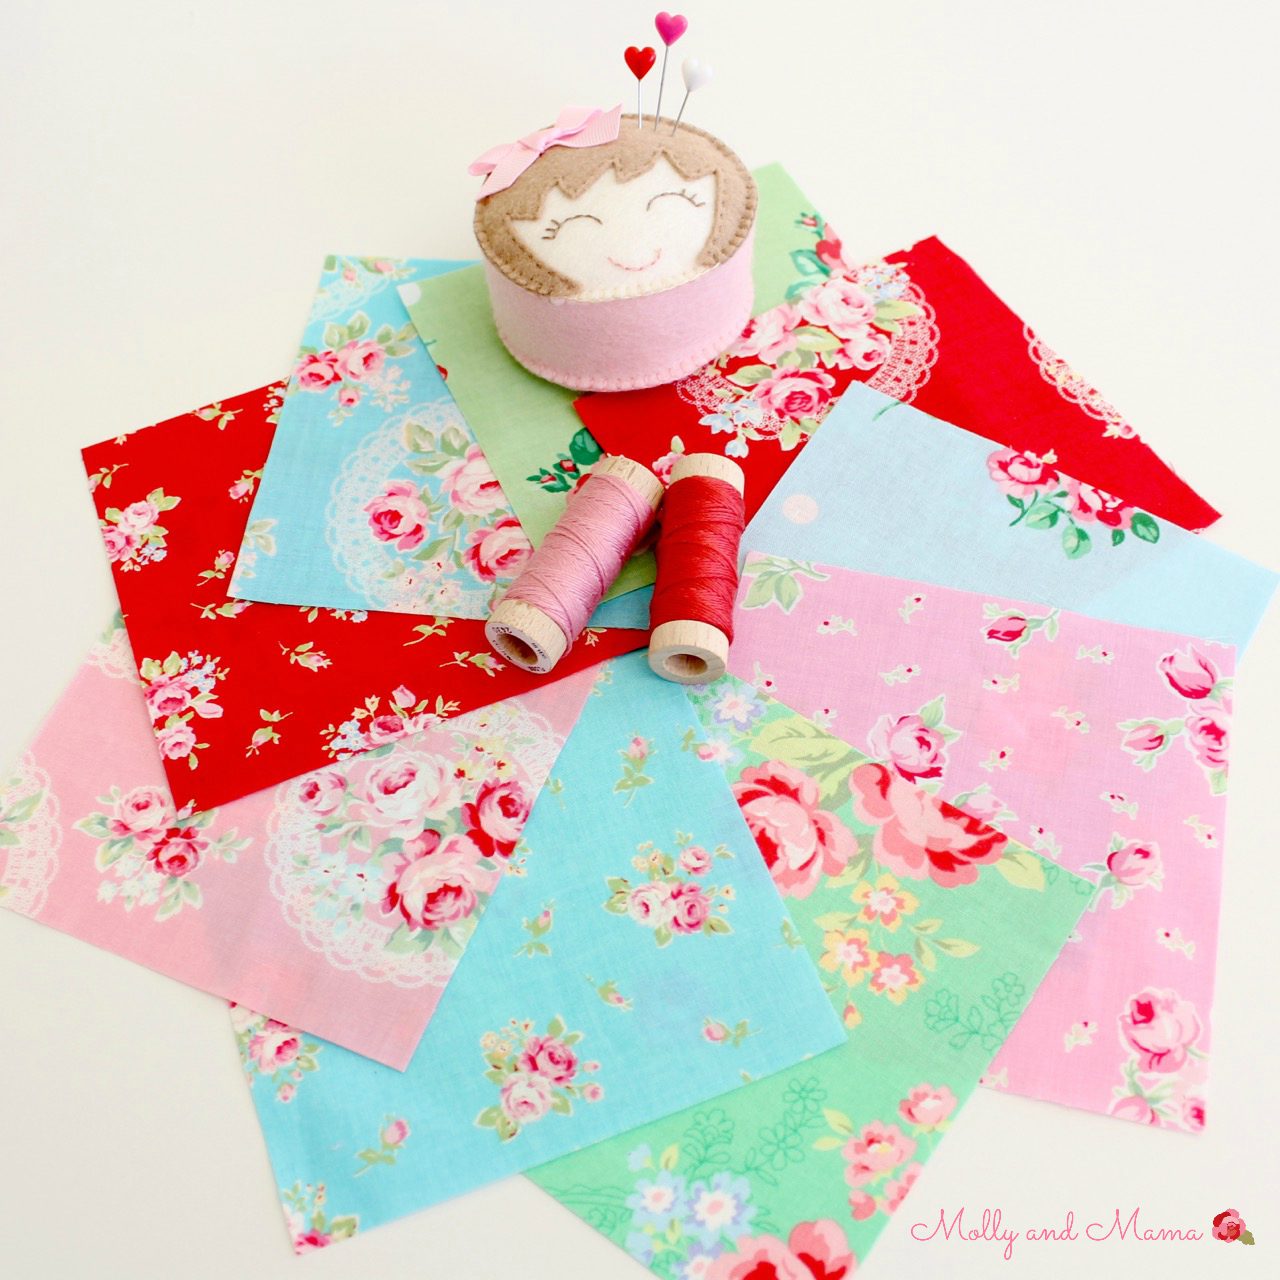
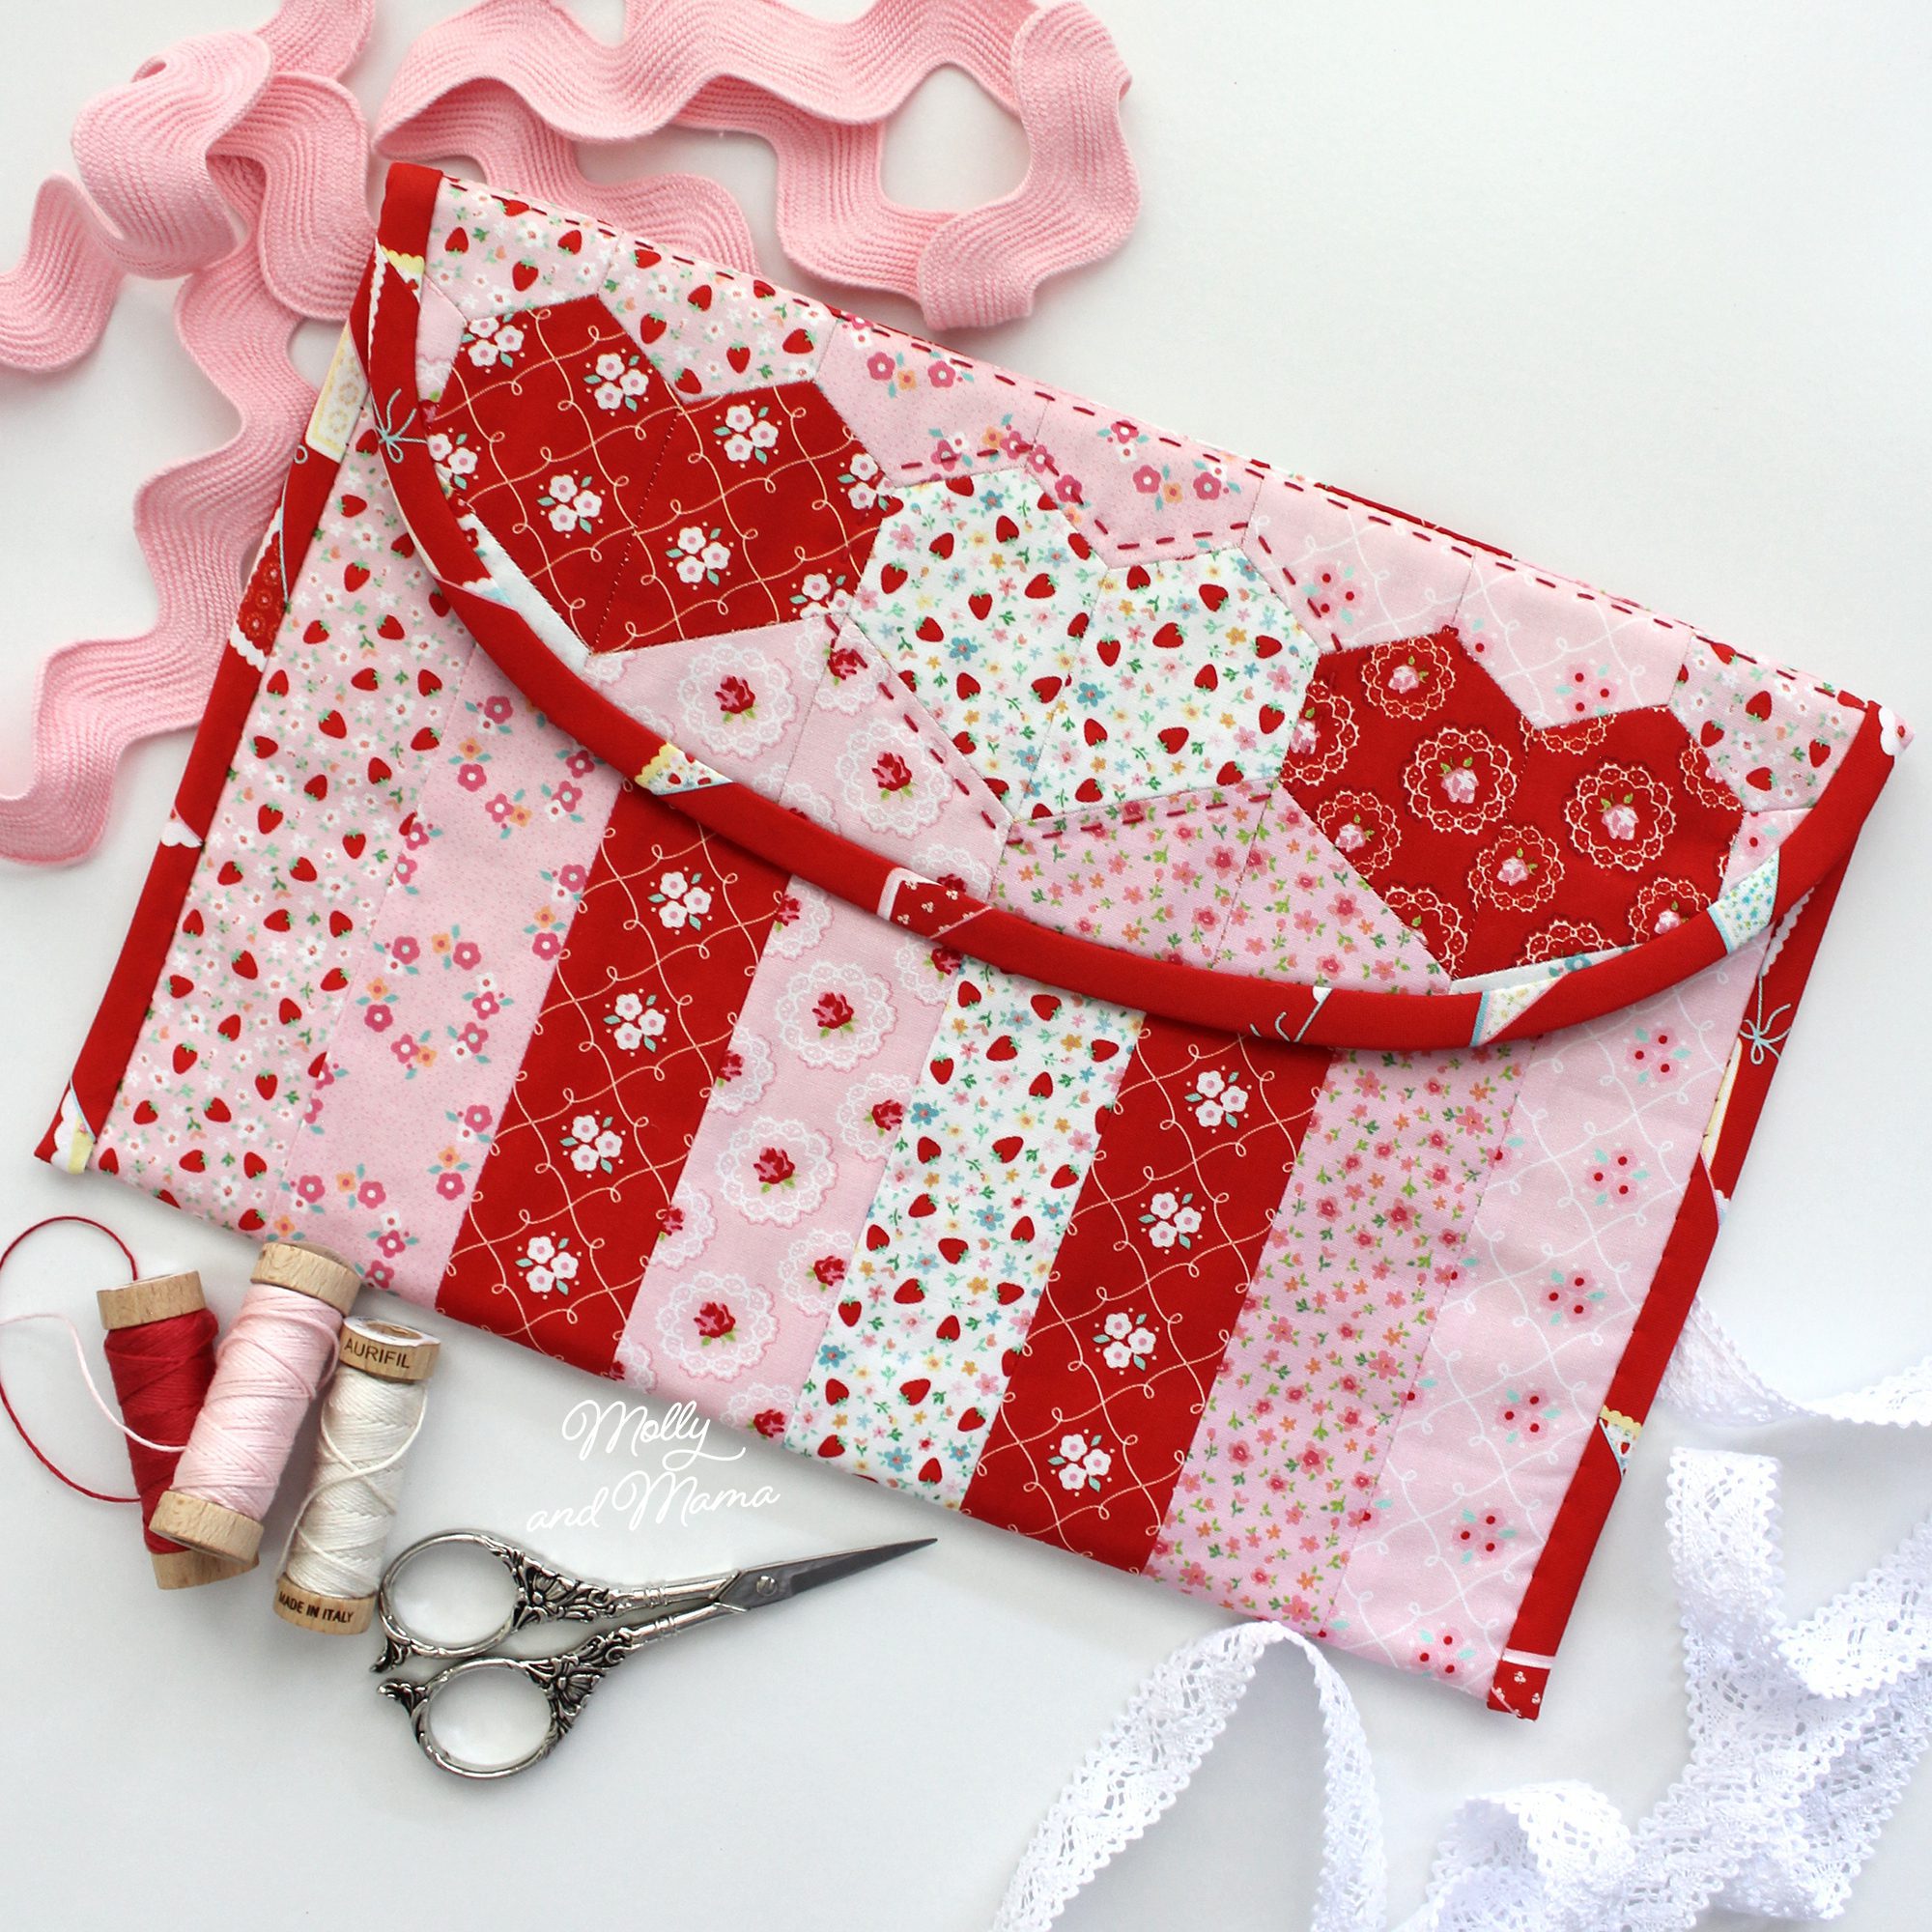
If you like the pretty pin cushion in the images, you can make your own using the Miss Molly and Friends PDF pattern available in my store.
MAKE A MINI HEART QUILT
Finished Size: approximately 13.5” (34.5cm) square
Seam allowance: 1/4 inch
Tips: Use a walking foot on your machine for quilting and a clear based appliqué foot on your machine for the heart appliqué.
Be sure to press each piece of fabric well before sewing.
Appliqué Tips: Head to my detailed tutorial for more help and tips for raw edge fabric appliqué.
YOU WILL NEED;
- nine x 5″ (12.5cm) squares of different fabrics for the patchwork top
- nine x 4″ (10cm) squares of different fabrics for the appliqué hearts (you can use the same nine prints as the 5″ squares)
- fusible heat bonding web for appliqué (like Vliesofix)
- 15″ (38cm) square of quilt wadding
- 15″ (38cm) square of backing fabric
- 62″ (158cm) of pre-made, double fold, 1″ wide, bias binding (or make your own from 2″ fabric strips)
- Sizzix Big Shot machine and Sizzix Bigz Die – Hearts to cut out the fabric hearts OR a print out of the 3 inch heart shaped template
- quilt basting adhesive spray
- needle and thread for stitching down quilt binding
- quilt clips or pins
- rotary cutter, acrylic patchwork ruler and self-healing cutting mat
- general sewing supplies
LET’S GET SEWING
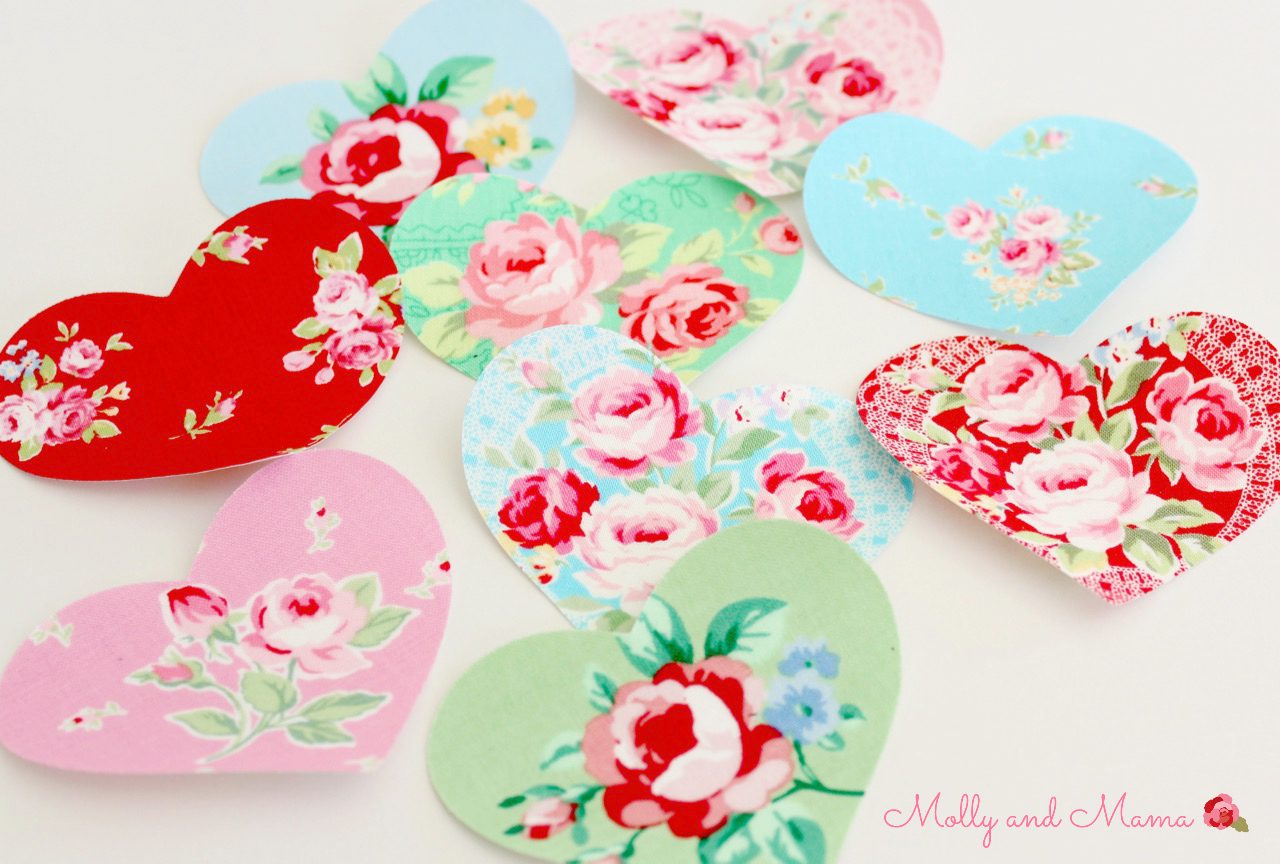
Create nine love hearts for appliqué. If you’re using the Sizzix big shot machine, use a warm iron to fuse nine 4″ squares of vliesofix onto the wrong side of the nine 4″ squares of fabric. Then cut out nine of the largest hearts using the Hearts Bigz Die (one from each fabric).
Alternatively, print out a copy of the template (at 100%, without any scaling or cropping). You can measure the 1 inch test square to make sure the template printed at the correct size. Then trace nine heart shapes onto the vliesofix and roughly cut around the outline of each one. Iron each heart shape onto the wrong side of the nine 4″ fabric squares. Cut out each heart on the line.
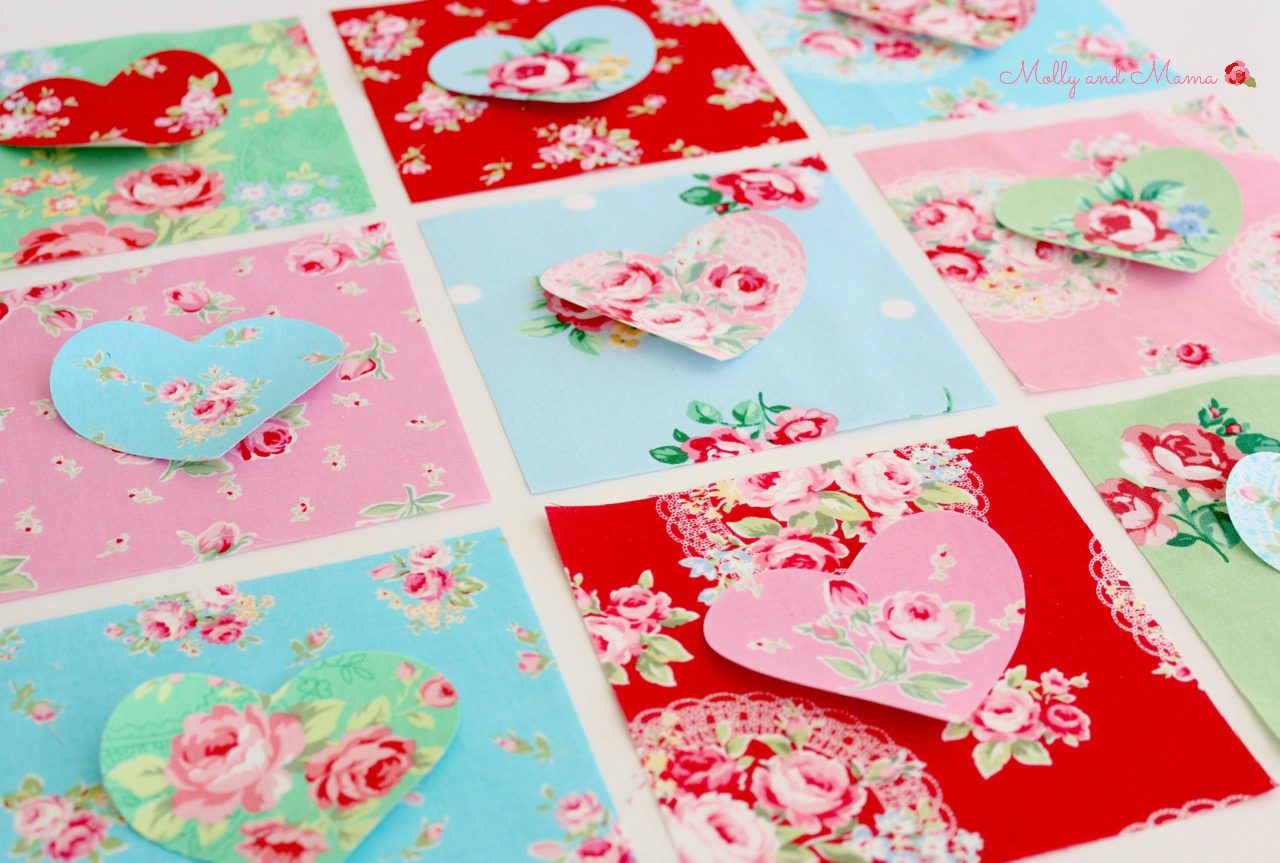
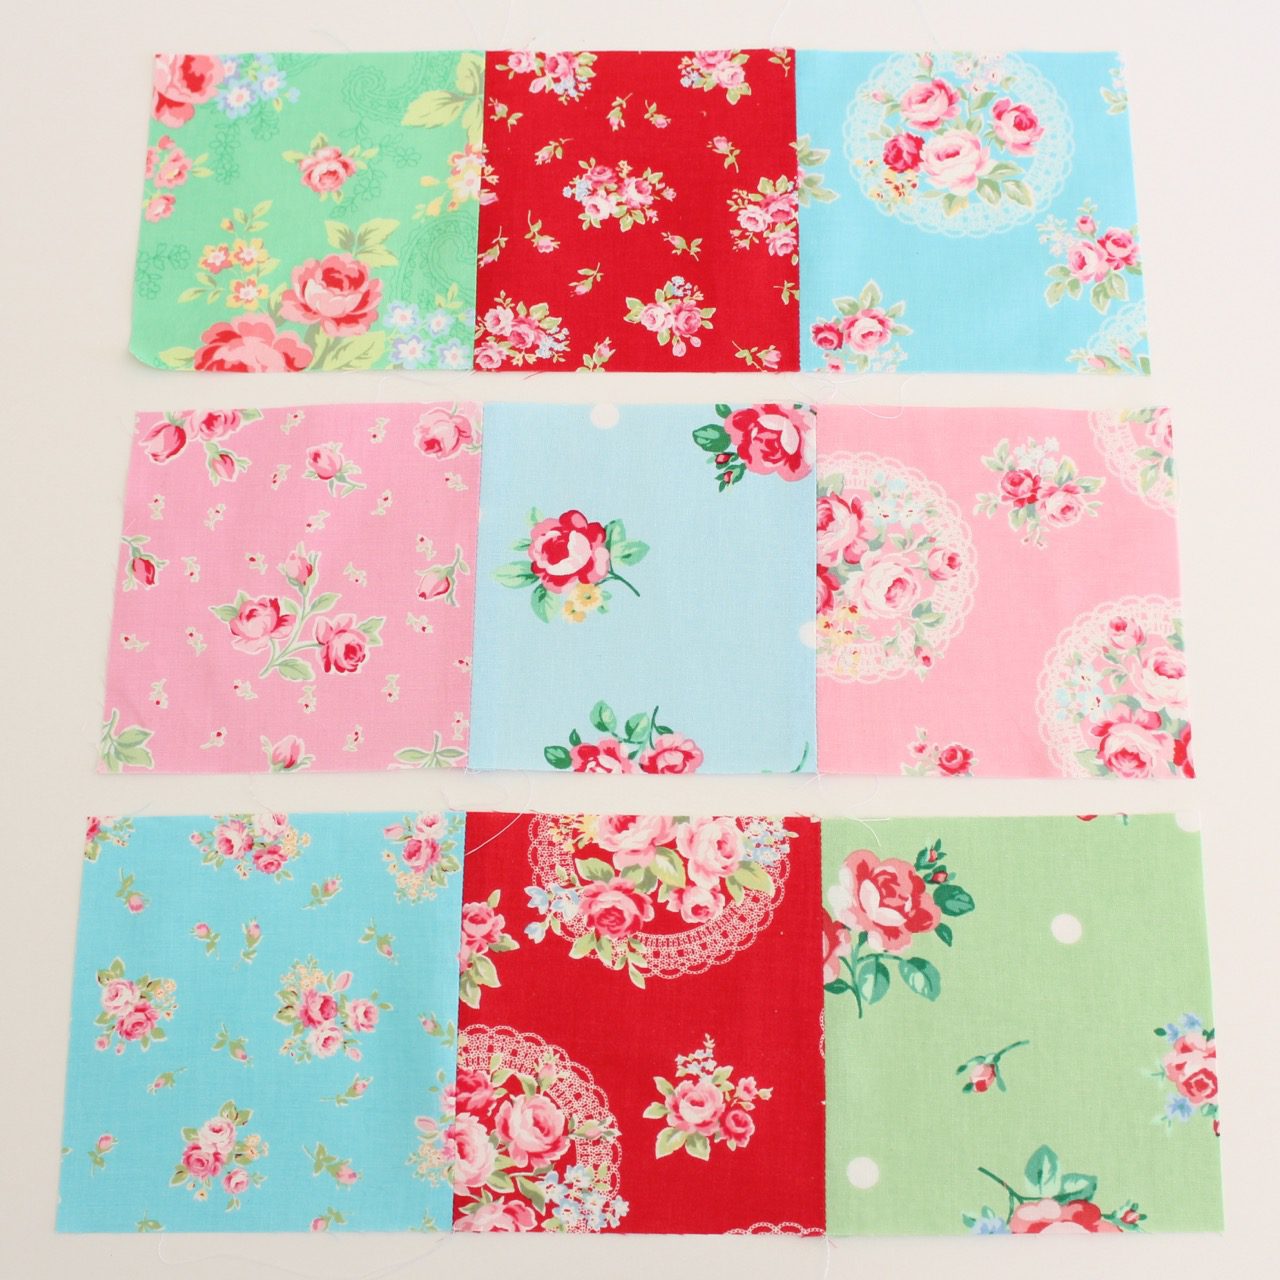
Play around with the lay out of the squares and hearts until you have a combination you are happy with. Photograph the layout so you can refer to it as you sew.
Arrange the nine 5″ squares into a block of three rows by three squares. Join the squares along the vertical sides to make three long rows. Press the seams open.
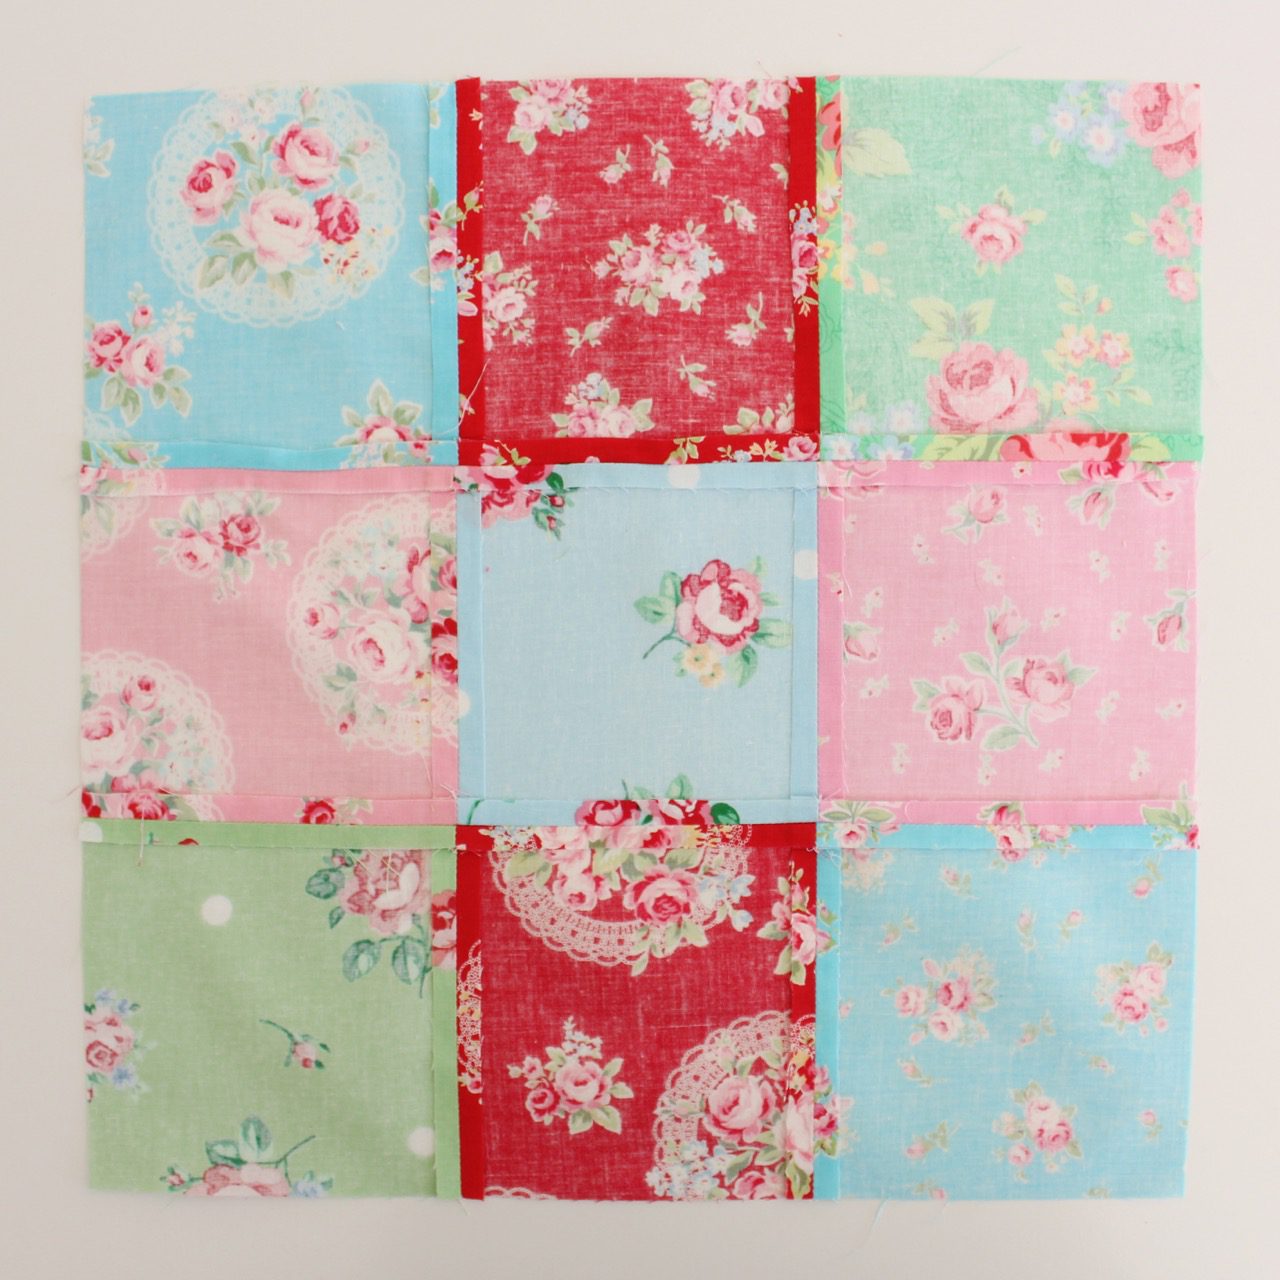
Join each row together, being sure to line up the seams.

Press the seams open. Now you have a 9 patch quilt block. Here’s a view of the back below.
NOTE: If you’re making a larger quilt with 9 patch blocks, you would nest the seams, but that’s a tutorial for another day!
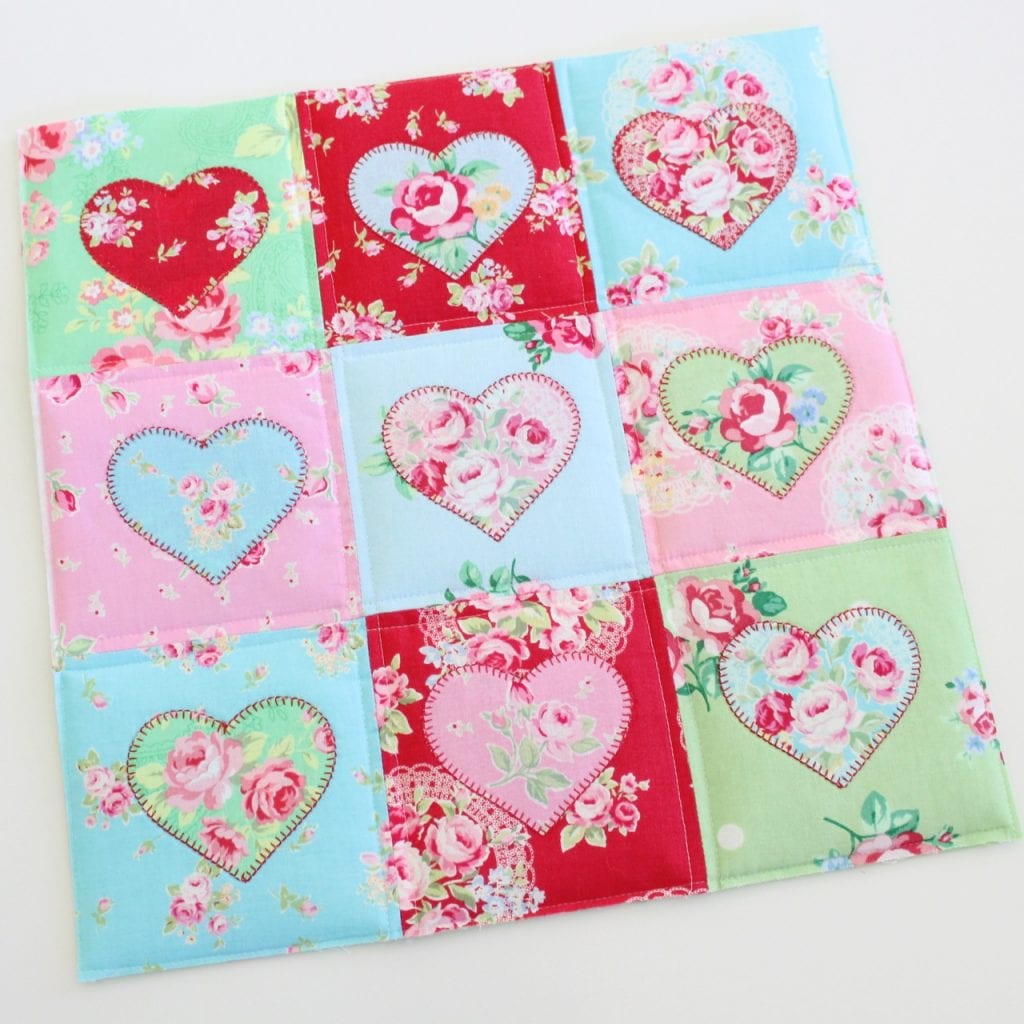
Peel the backing paper off the hearts and centre them on each of the nine squares. Press them in place with a warm iron. Remember to leave a 1/4″ gap around the outside of the quilt edge for the seam allowance. This will change where you position your hearts!

Appliqué around the raw edges of each heart. You might like to hand sew them with blanket stitch, or sew them on your machine. I used a small, tight blanket stitch setting on my machine and stitched the outside edge of all the hearts with red sewing thread. For more tips on the appliqué process, be sure to visit this tutorial.

Put your quilt sandwich together by using quilt basting spray to attach the square of quilt wadding or batting to the wrong side of the quilt backing fabric.
Then attach the quilt top to the other side of the quilt wadding to create a sandwich.
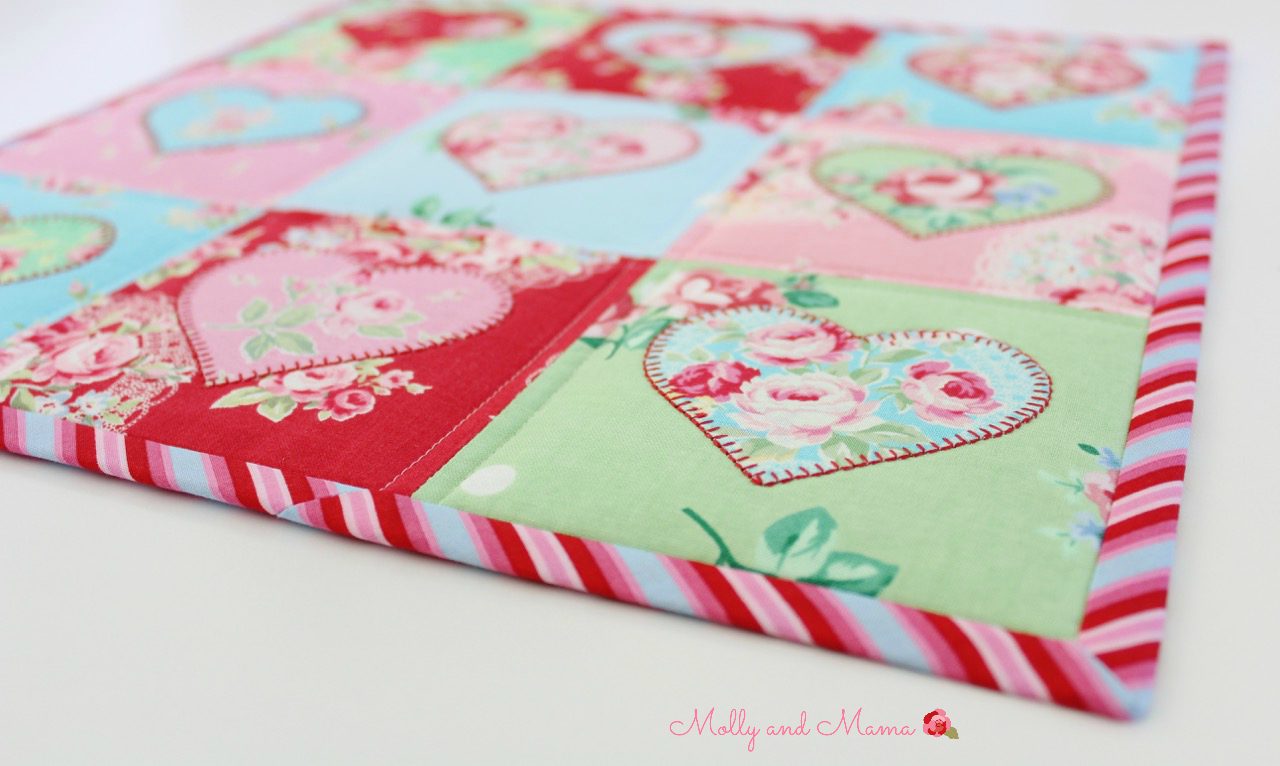
Quilt the sandwich using your desired method. I chose to sew a simple straight line 1/4″ from each side of each seam line.
Trim the quilt sandwich down so that it is the same size as the quilt top. Then sew a seam with a scant 1/8″ seam allowance around the outside edge of the quilt. The quilt is ready for binding.
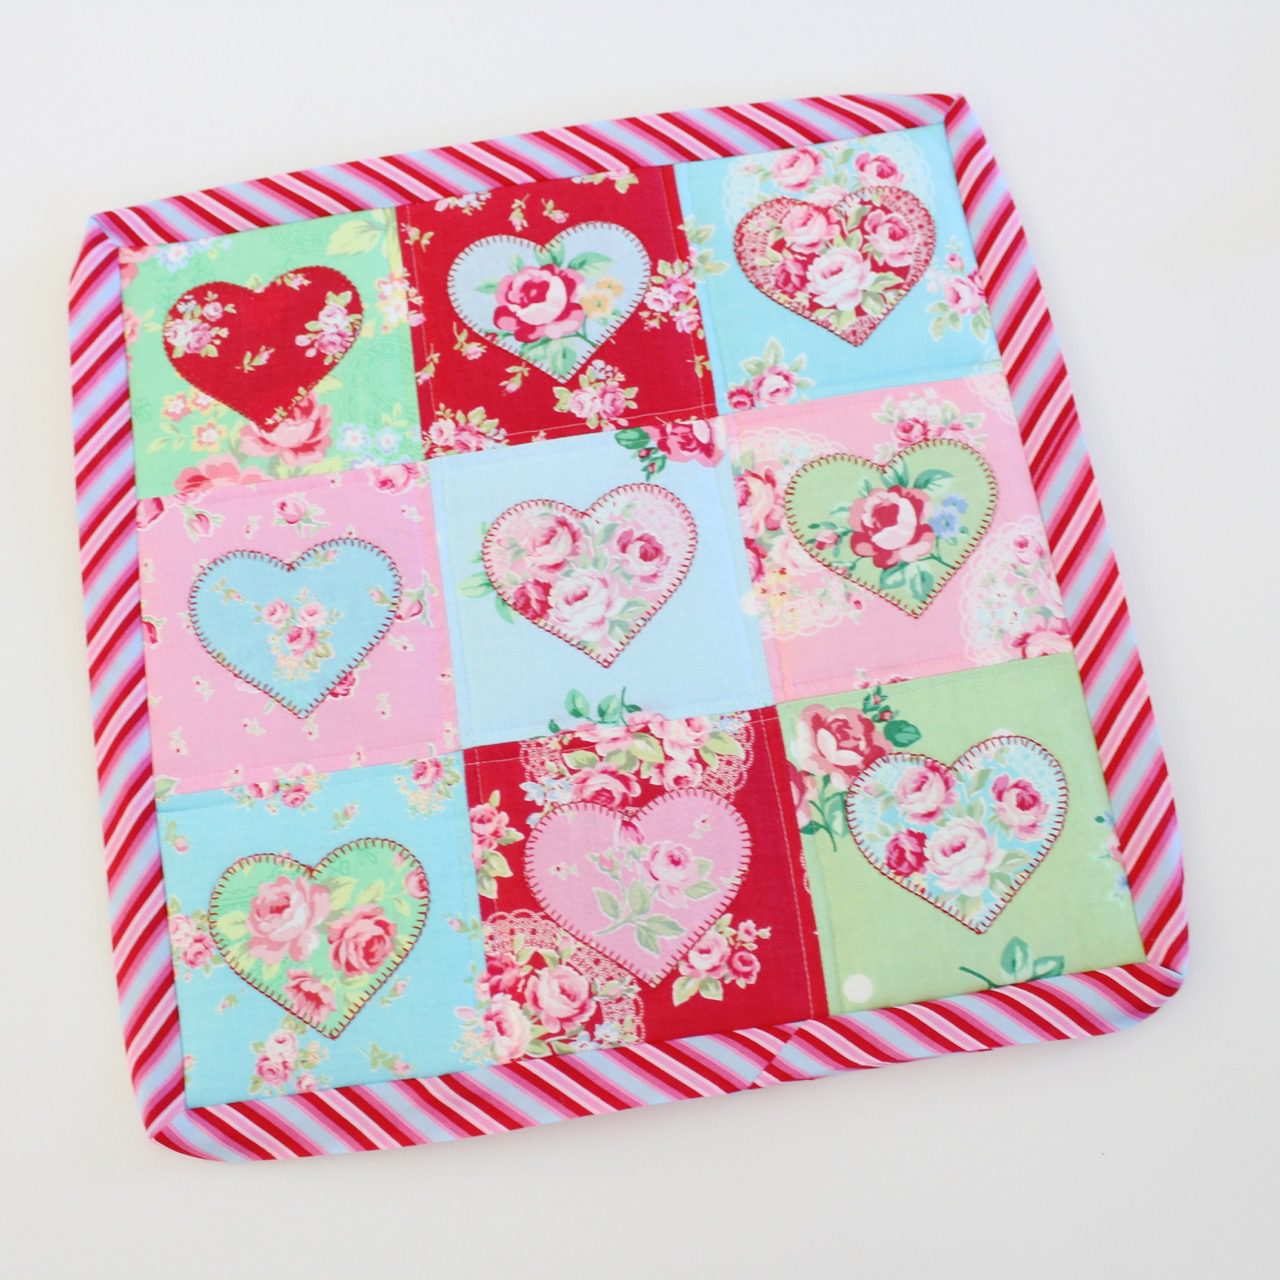
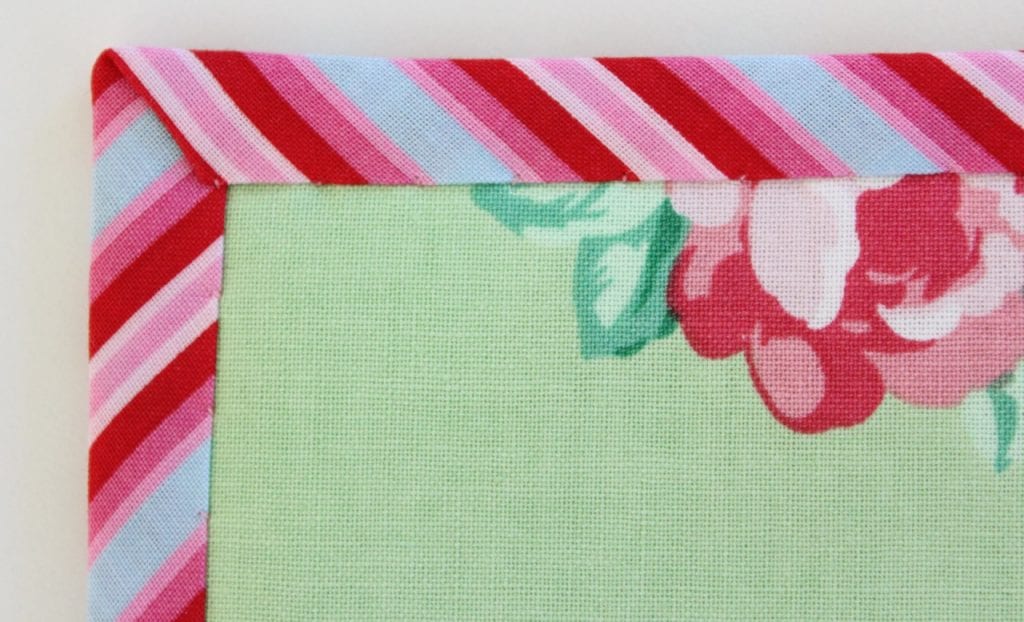
Attach the binding to the quilt front using your preferred method, being sure to carefully mitre the corners. If you’d like extra details about binding, please visit my beginner’s tutorial.
Press the binding towards the back of the quilt.
Mitre each corner and pin or clip the binding in place, before stitching it down using a blind hem stitch.
Your quilt is complete!
How easy was that? I’m sure you’ll use your own ideas and different skills and techniques to really make this adorable mini your own!
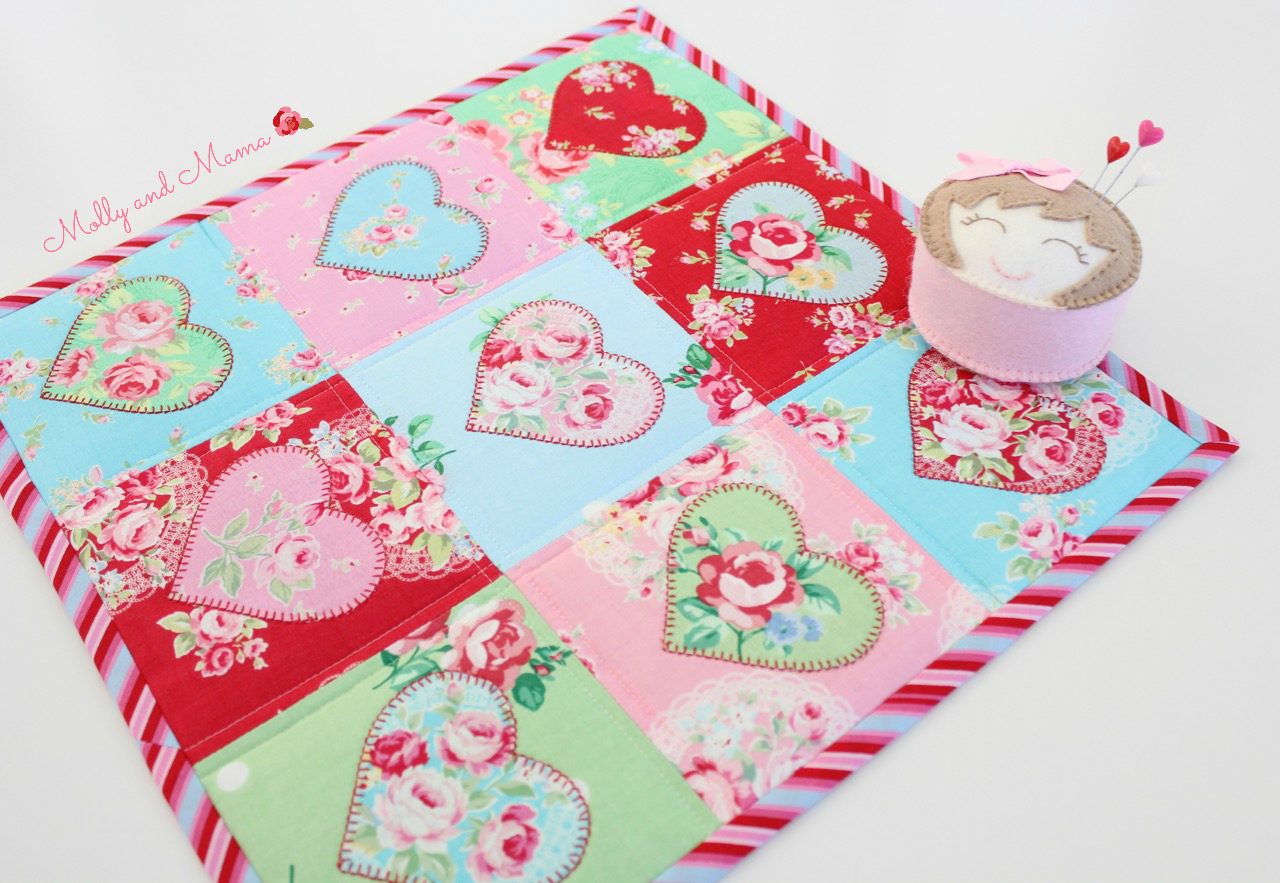
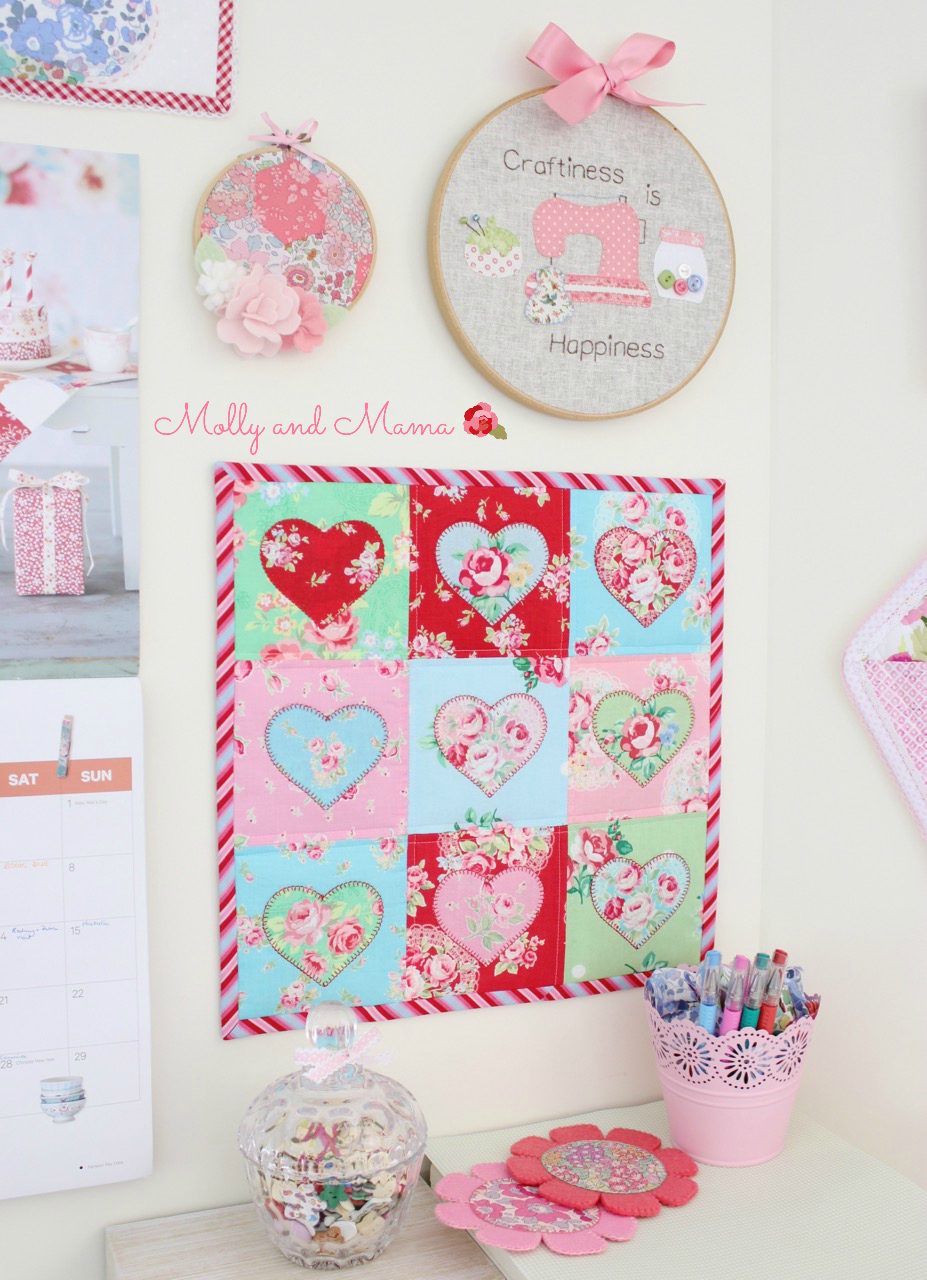
It would make a lovely table topper for a Valentine’s Day party or even a pretty placemat. But I love it best on my studio wall.
What are you sewing for Valentine’s Day? I’d love to see! Be sure to tag me on Instagram using the #mollyandmama hashtag, so I can take a peek.
Happy sewing, Lauren x
This post was written by Lauren Wright and appeared first on Molly and Mama http://www.MollyandMama.com.au

Just lovely. I love my sizzex machine and now need to buy hearty die cut too. x