Stitch A Felt Christmas Ornament
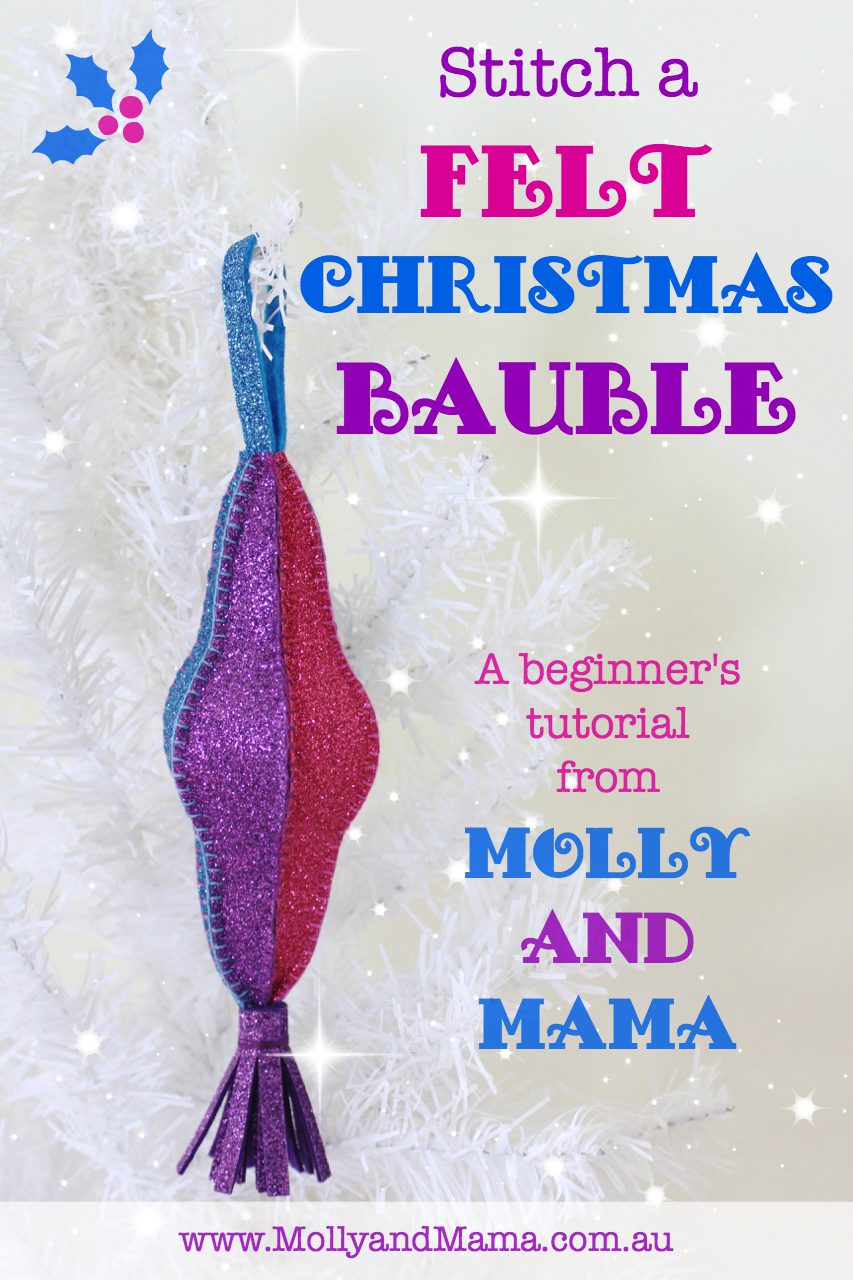
This amazing glitter felt made it’s way to my studio this week, and I have been desperate to stitch something with it! So I designed a simple Christmas ornament that would really showcase this stunning felt. The great thing is though, you can make this decoration out of any felt you like. I can even picture it adorned with beautiful beads and metallic thread! So I decided to share the tutorial with you because I’d really love to see what you create.
This completely hand-stitched bauble can be made in just a couple of hours. And it’s super simple and easy to put together. My kind of project!! Read on to see how.
Are you popping over from Sew Mama Sew’s ‘Handmade Holidays’ series? A big Aussie welcome to you! Lovely to have you here. Be sure to stick around and have a look through the blog. You might even like to sign up for emails so you don’t miss the next free ornament tutorial!
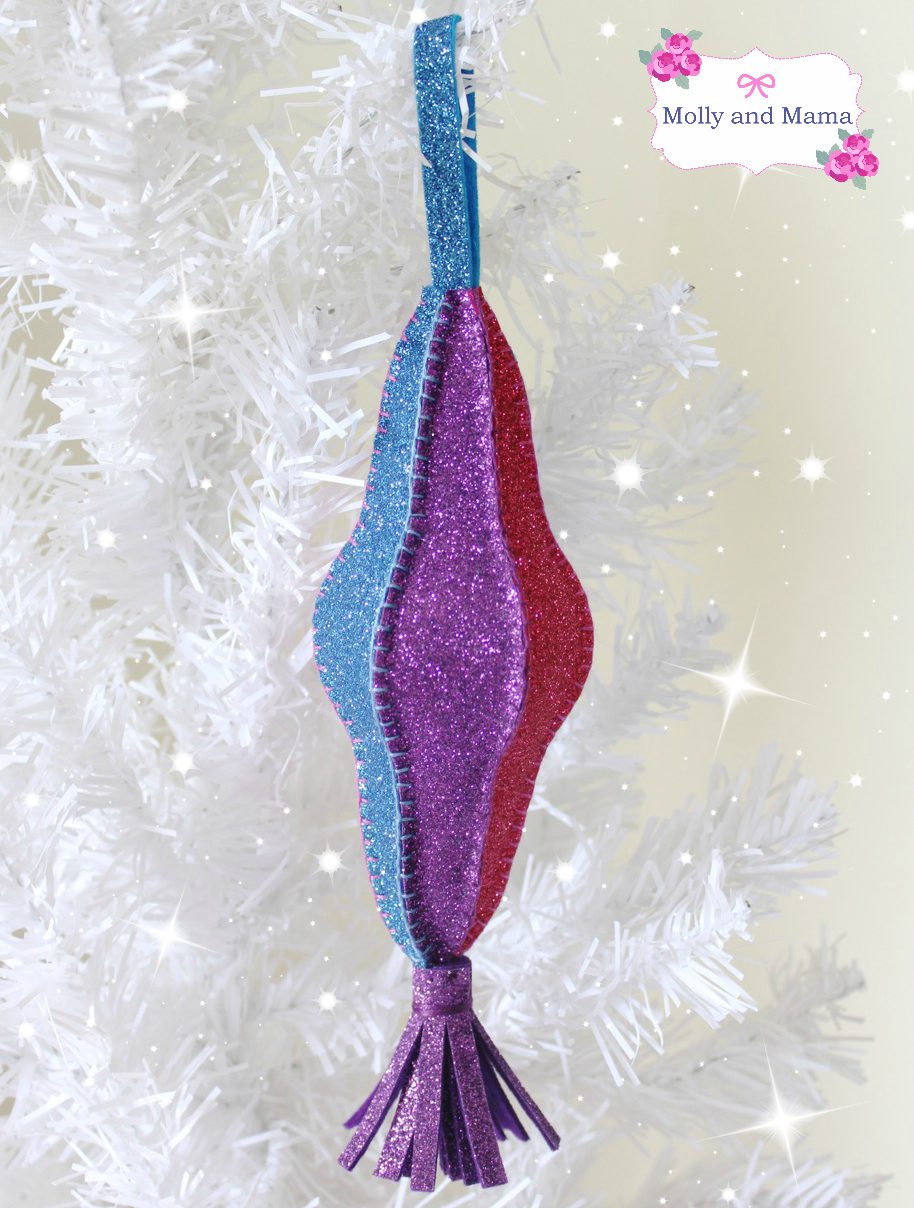
Finished Size (including hanger and tassel) – approximately 9 1/2″ (24cm) by 2 1/2″ (6.5cm)
MATERIALS
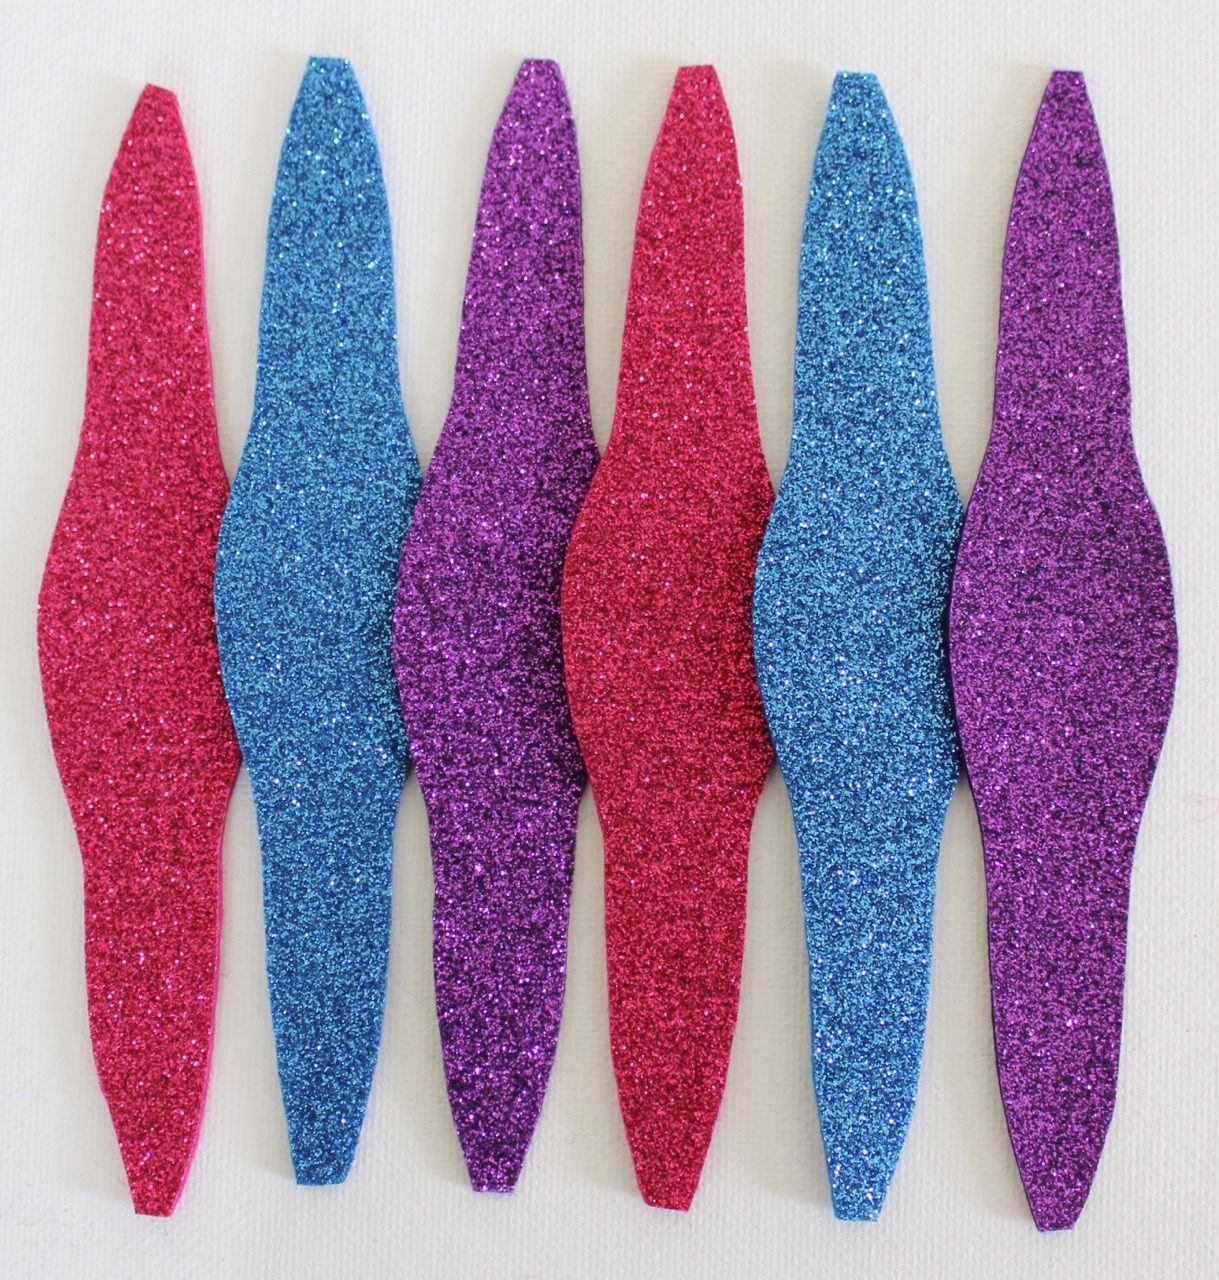
- wool felt* – I have used three shades of glitter felt; blue, pink and purple. You’ll need 3 pieces 12″ (31cm) x 3″ (8cm) for the bauble sides, and a strip 1/4″ (6mm) x 5 1/2″ (14cm) for the hanger, plus a rectangle 4″ (10cm) x 1 3/4″ (4.5cm) for the tassel.
- coordinating embroidery floss – I love DMC floss for their range of colours
- small sharp scissors with short blades for cutting felt
- polyester stuffing or hobby fill
- a printed copy of the template, which you can find HERE
*A note about felt – I LOVE using wool felt for all of my felt projects. It keeps its shape, is easier to cut and sew, and doesn’t stretch or pill like acrylic craft felt does. To find out more, visit my Tips for Working with Wool Felt.
LETS GET STARTED!
Cut Out Your Felt
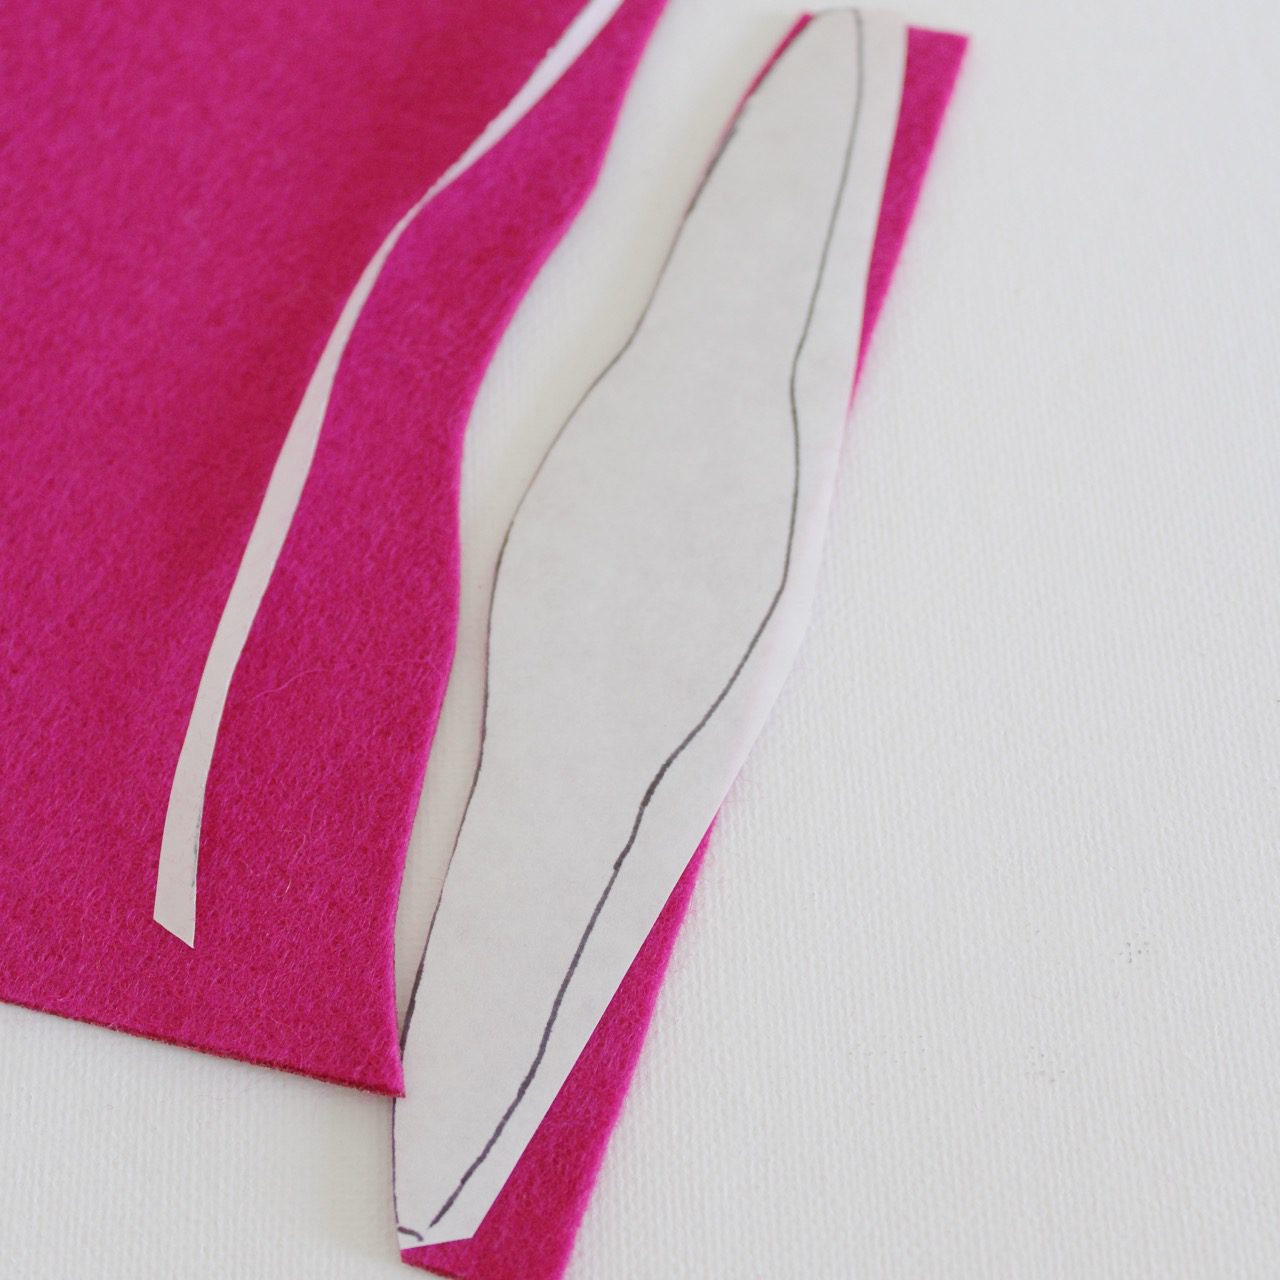
Choose your colours and cut out all the felt pieces you’ll need. Be sure to have a rectangle 4″ (10cm) x 1 3/4″ (4.5cm) for the tassel, and a strip 1/4″ (6mm) x 5 1/2″ (14cm) for the hanger. You’ll also need to cut 6 bauble pieces using your template as a guide. You can find a copy of it to save and print HERE. I cut two in each of my three colours. I used freezer paper to iron the template to my felt, but you can also pin the template in place and cut around each piece. Use your small scissors with short blades. They’re easier for working with felt.
Stitch Your Ornament
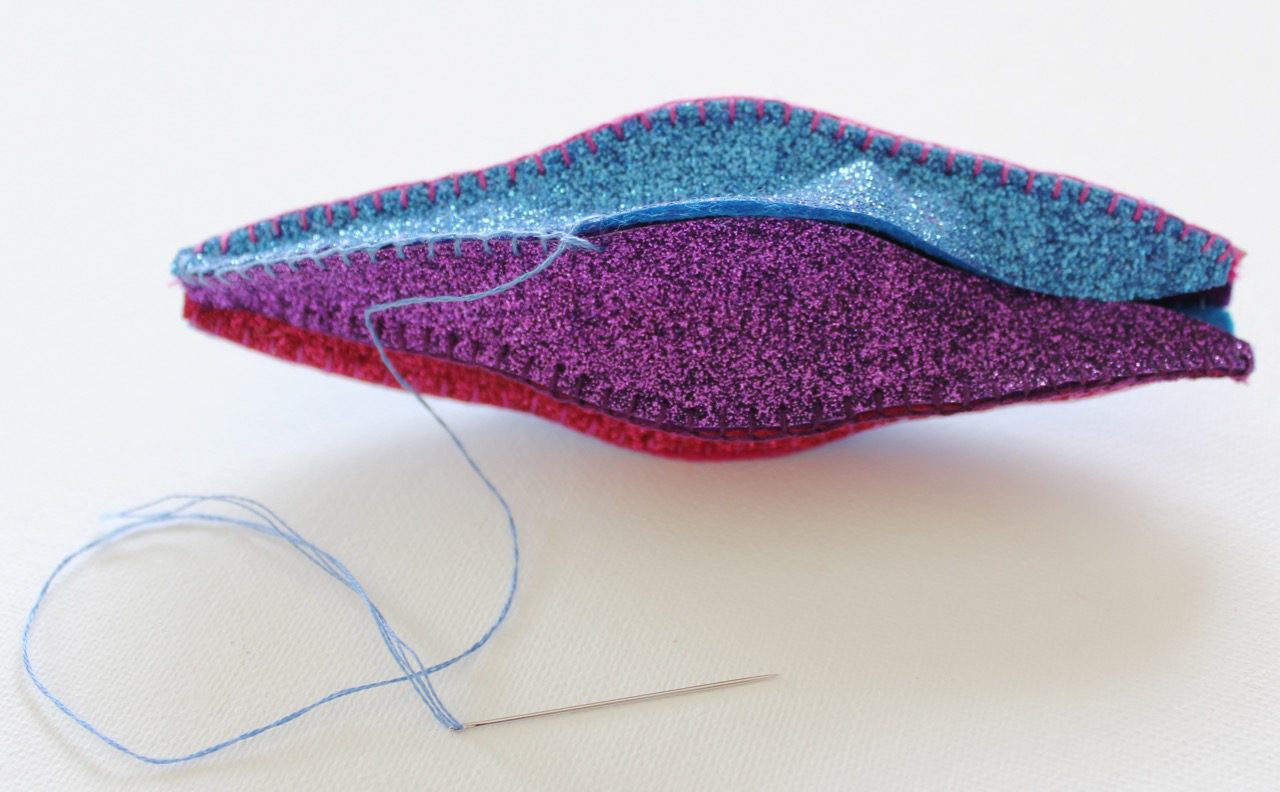
Start by stitching two pieces of felt (wrong sides) together with blanket stitch. Thread your needle with two strands of embroidery floss, and knot the end. Start at one end and stitch all the way to the top. If you haven’t mastered blanket stitch (pictured below), use a whip stitch instead. Although this project is a great one to practise your skills! My blanket stitches are about 1/8″ (3mm) apart and also the same length from the raw edge of the felt.
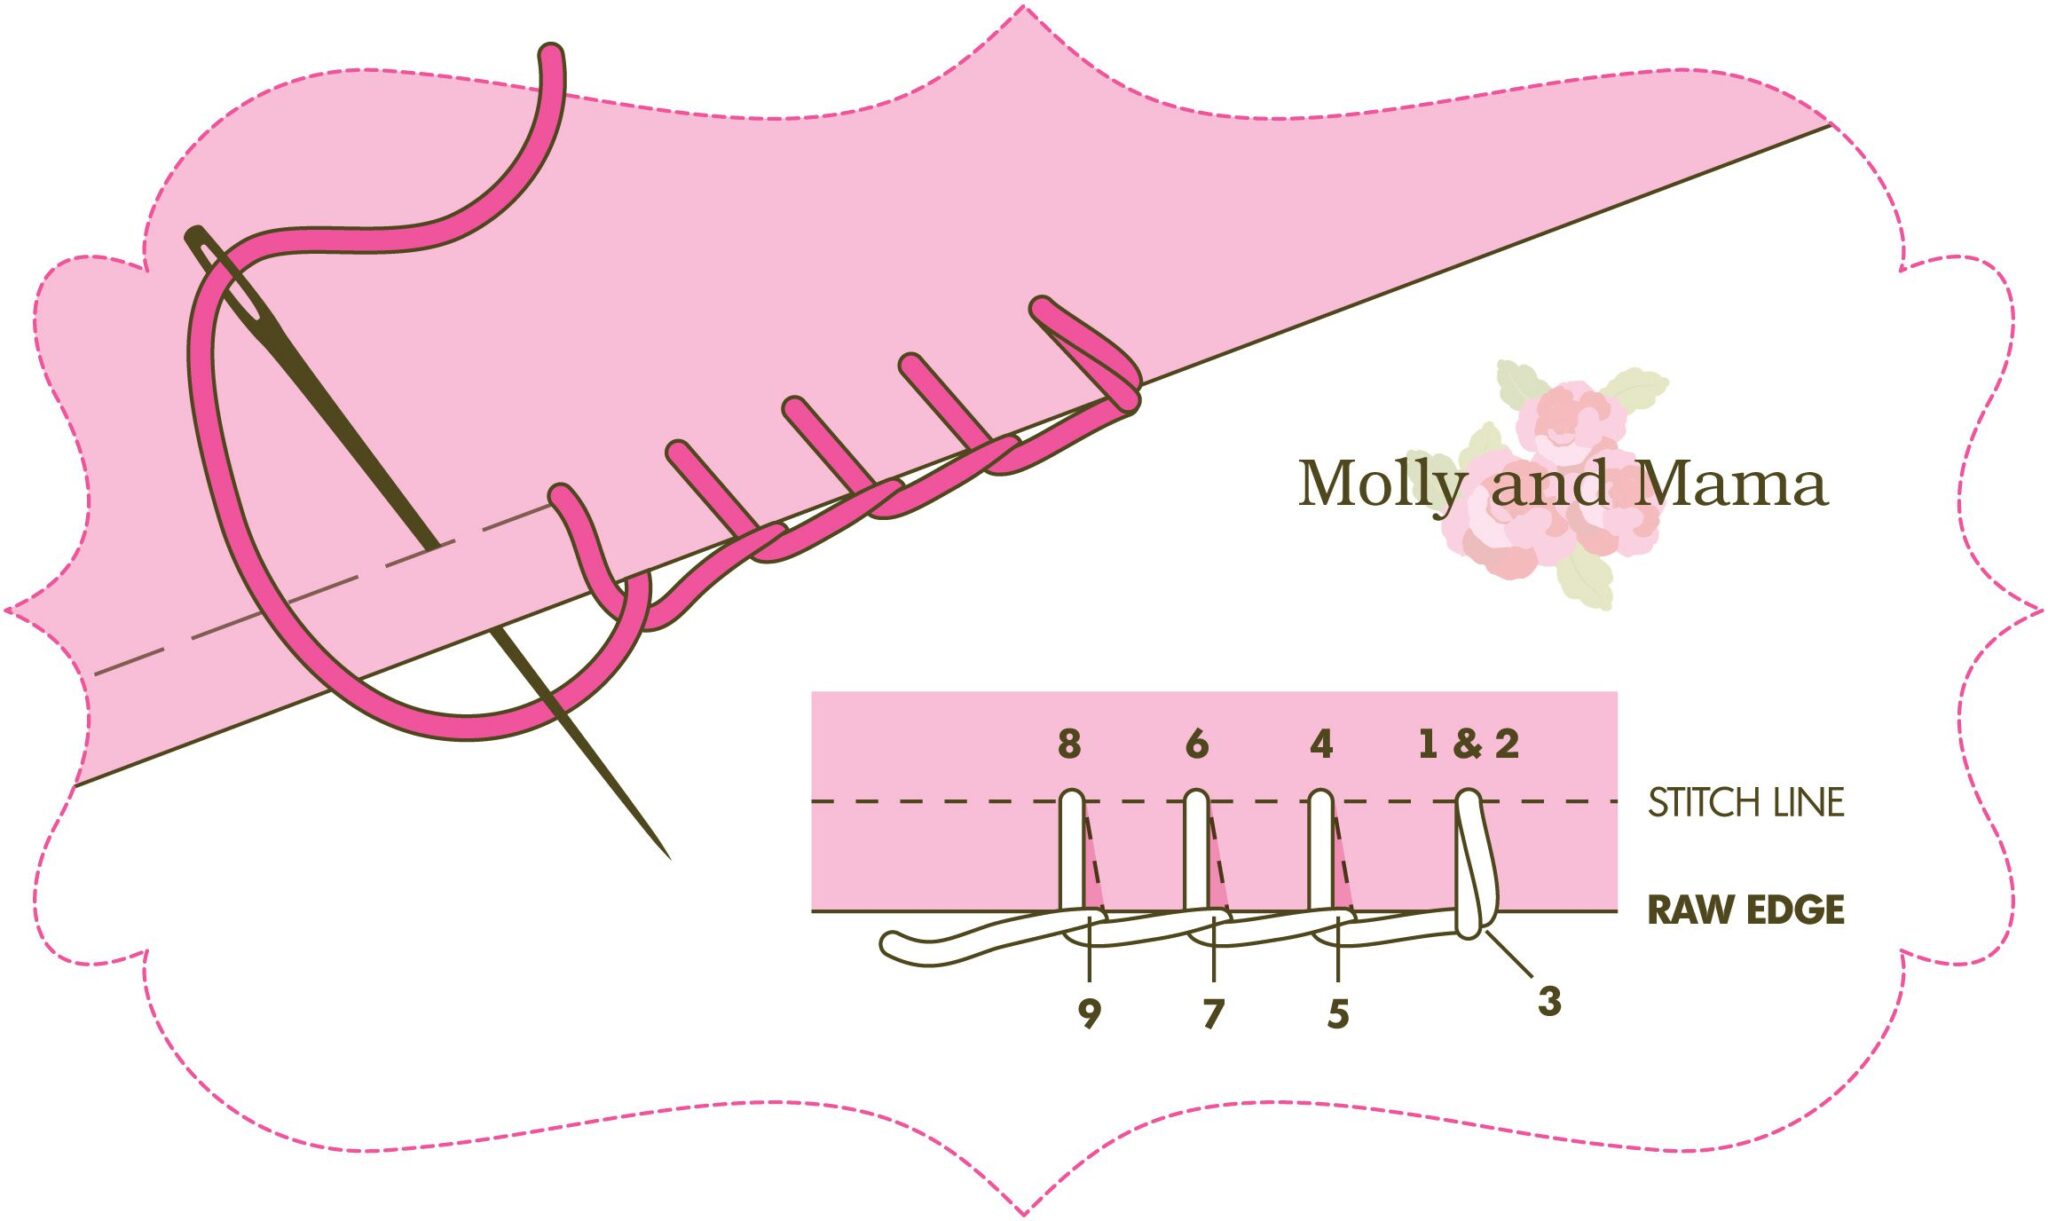
I used different coloured threads for each seam. And changed my thread each time I started a new side. After joining the first two sides, I selected my third colour and stitched sides two and three together.
Continue your blanket stitching until all six sides are attached, and there is just the final seam to do. On this last seam, stitch just past halfway up the length of the side.
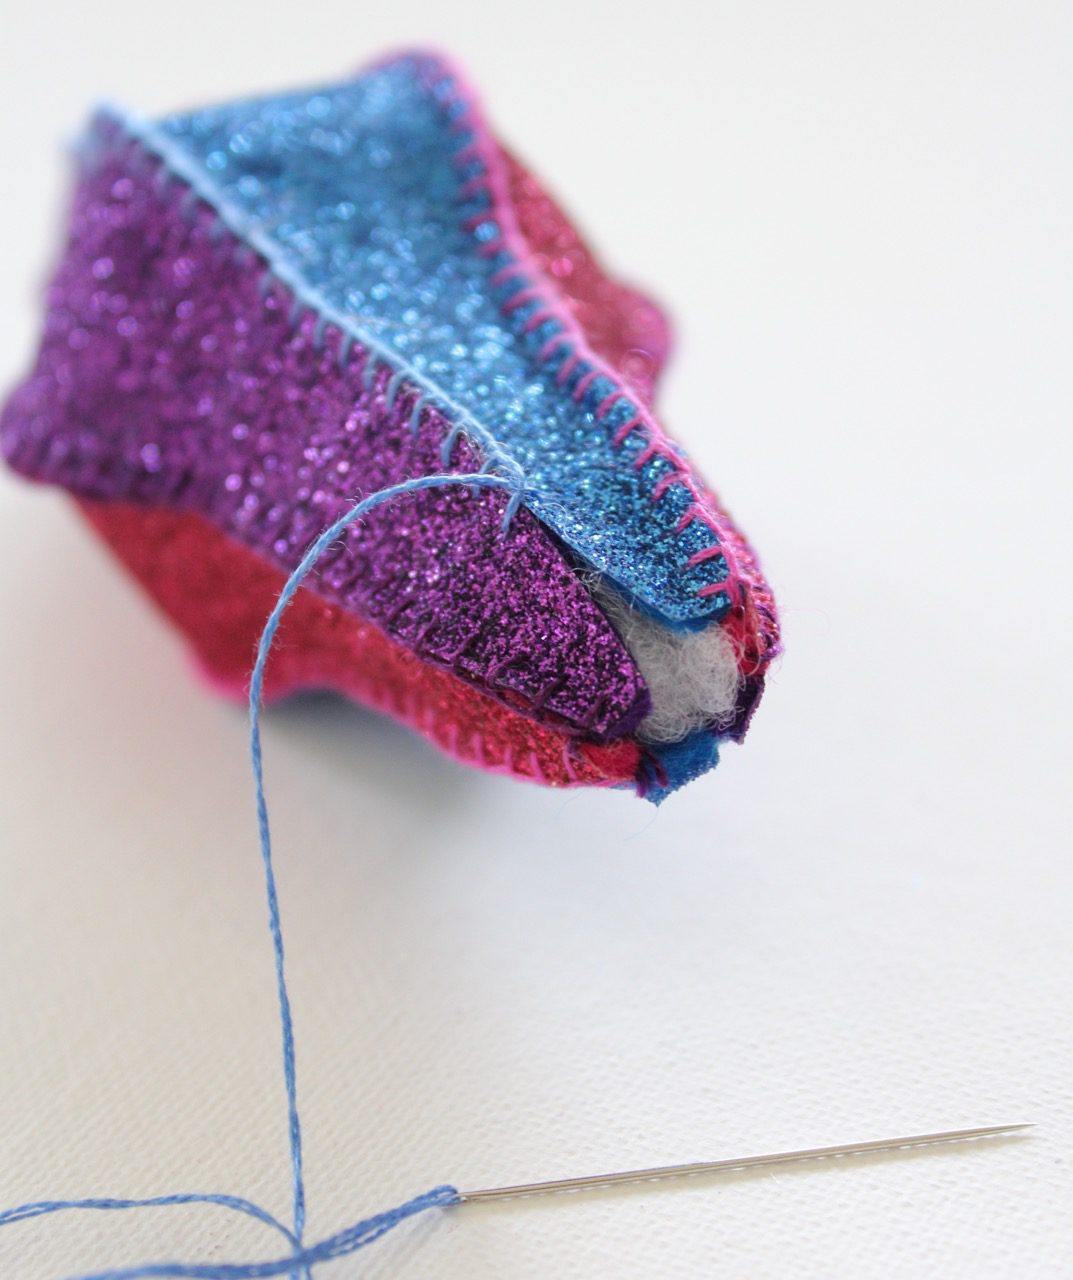
Stuff Your Ornament
Roll small handfuls of polyester stuffing into balls and gently manoeuvre them inside the base of your felt shape. I often use a pencil or chopstick to help reach tricky spaces. Continue stuffing the ornament with hobby fill until it is firm. Be sure it still keeps its shape though!
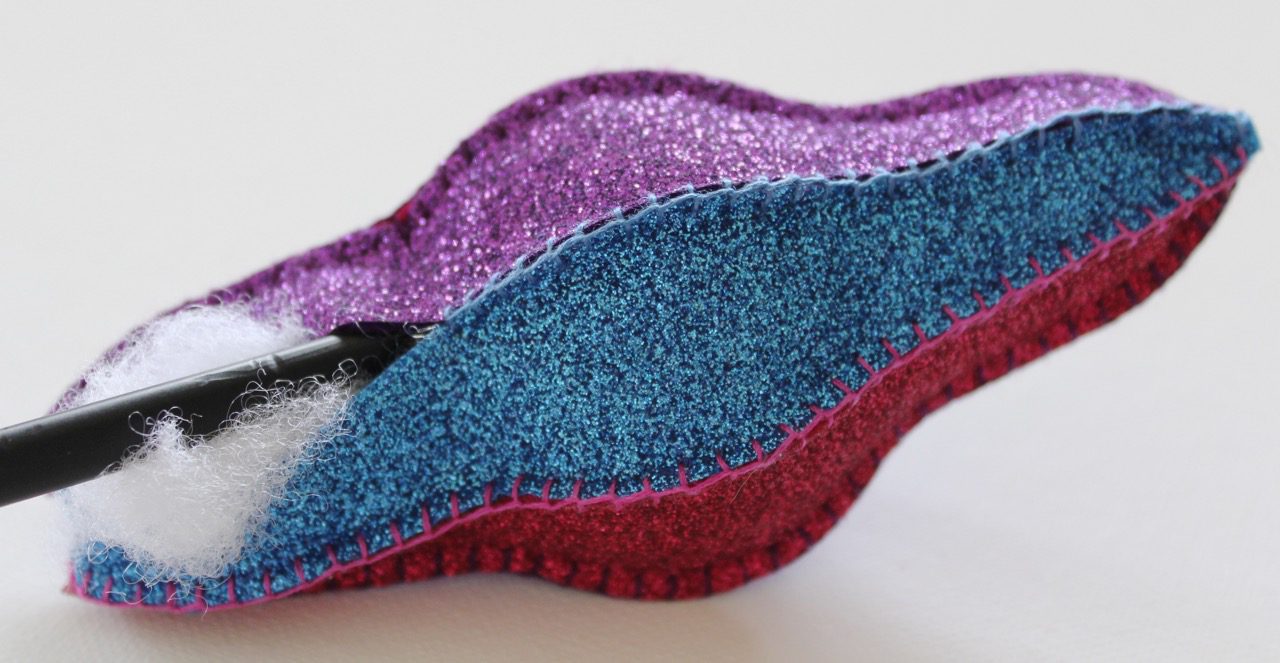
Continue to stitch and fill until you reach about 1/2″ (1.5cm) from the top.
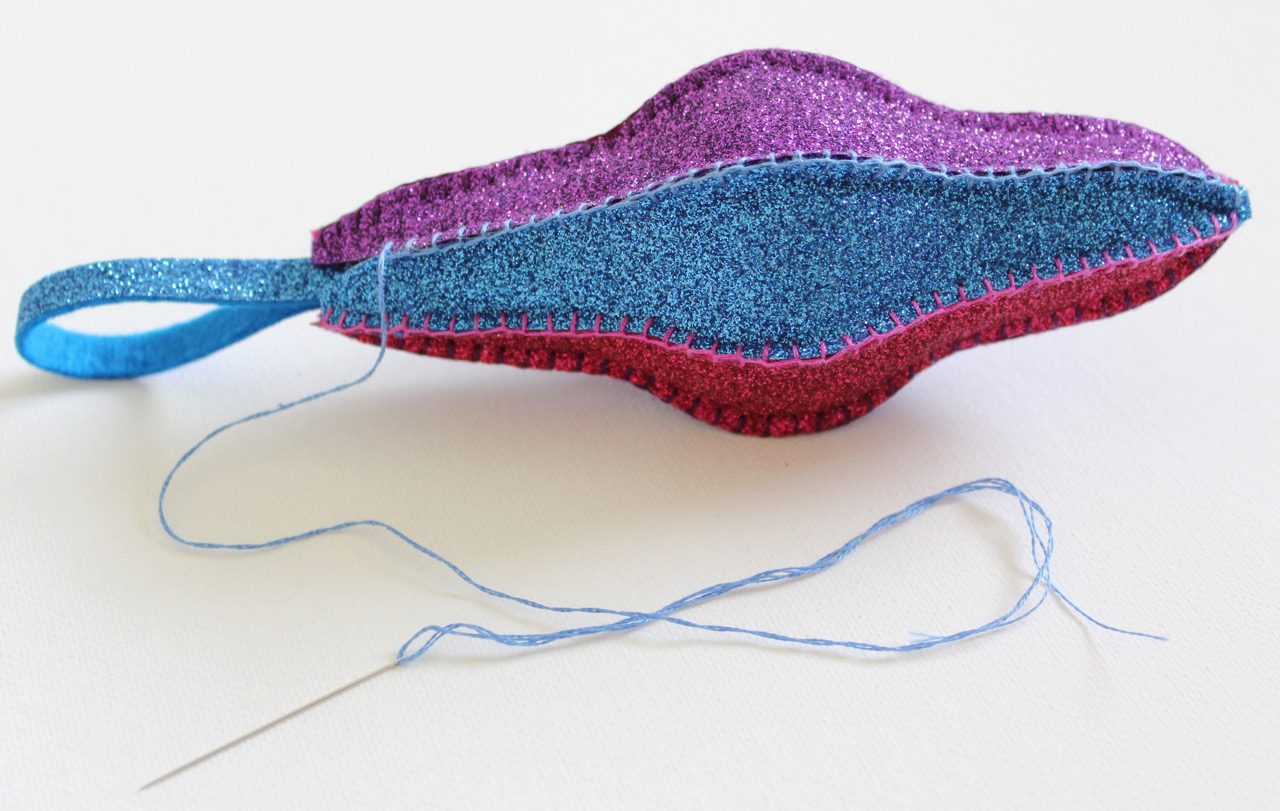
Add Your Hanging Loop
Fold your long strip of pre-cut hanging loop felt in half. Insert the ends of the loop into the top open end of the ornament. Continue to blanket stitch the ornament closed, and stitch the hanging loop securely at the same time.
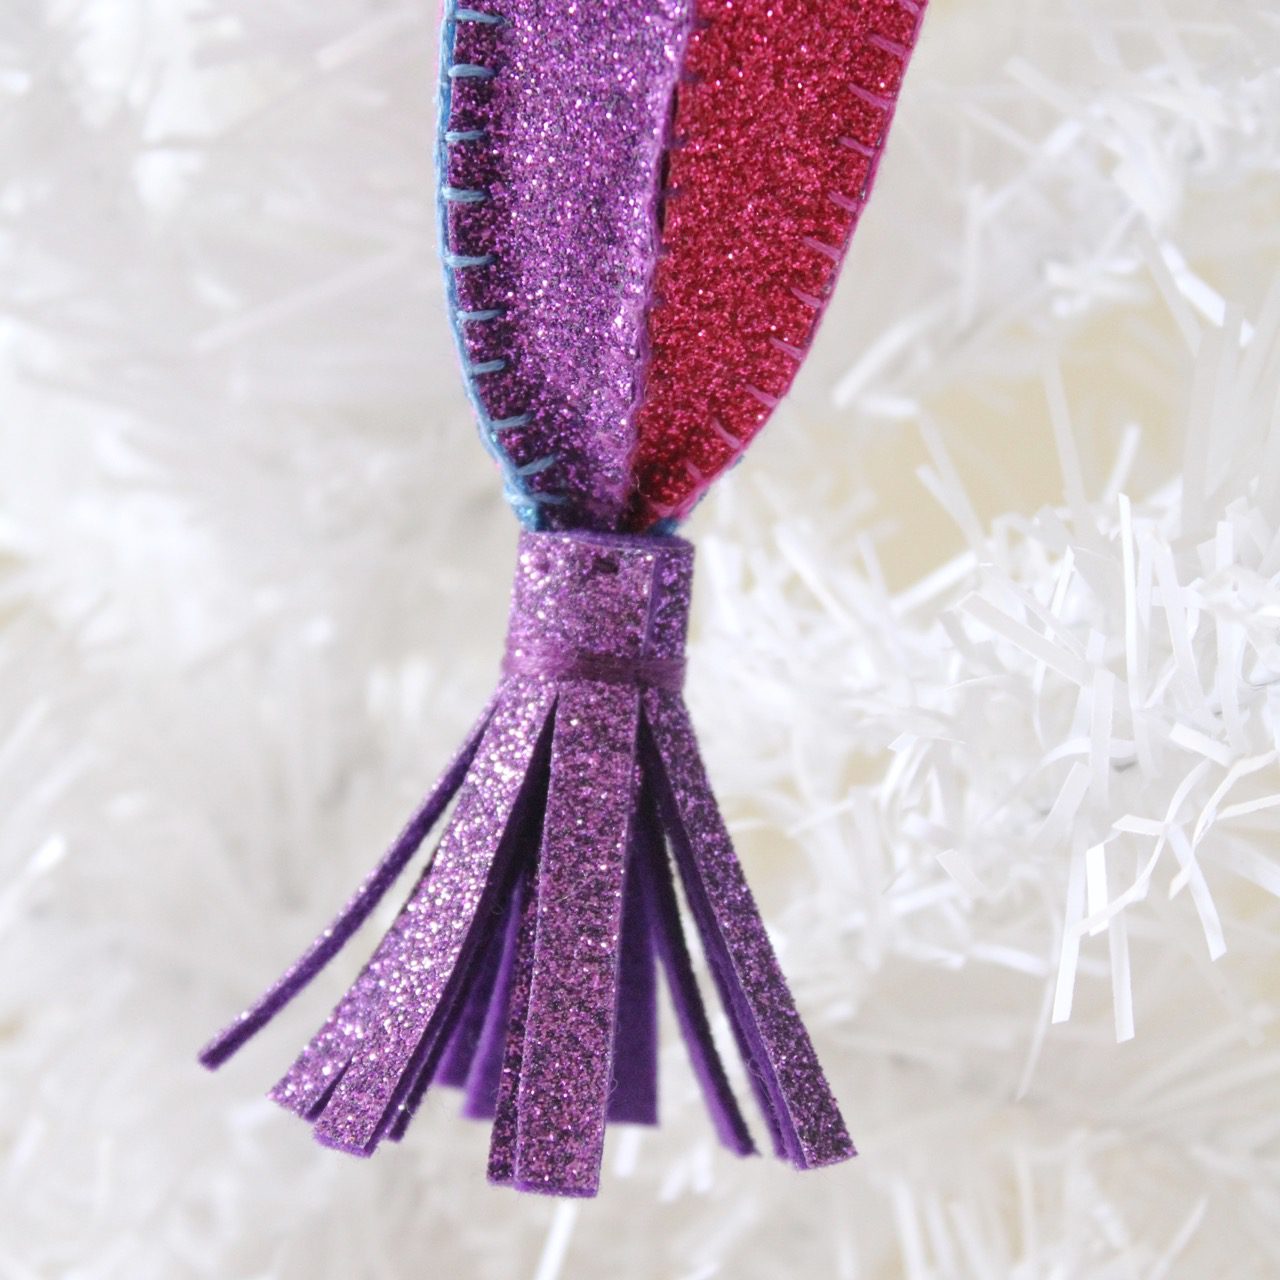
Make the Tassel
Cut strips in your rectangle of tassel felt that are 3 1/2″ (9cm) long and stop 1/2″ (1.5cm) from the top of the rectangle. Cut them 1/4″ (6mm) apart.

Roll the felt tightly. Hold the top of the tassel carefully, while you secure the rolled felt with some very small stitches through the width of the roll and around the top.
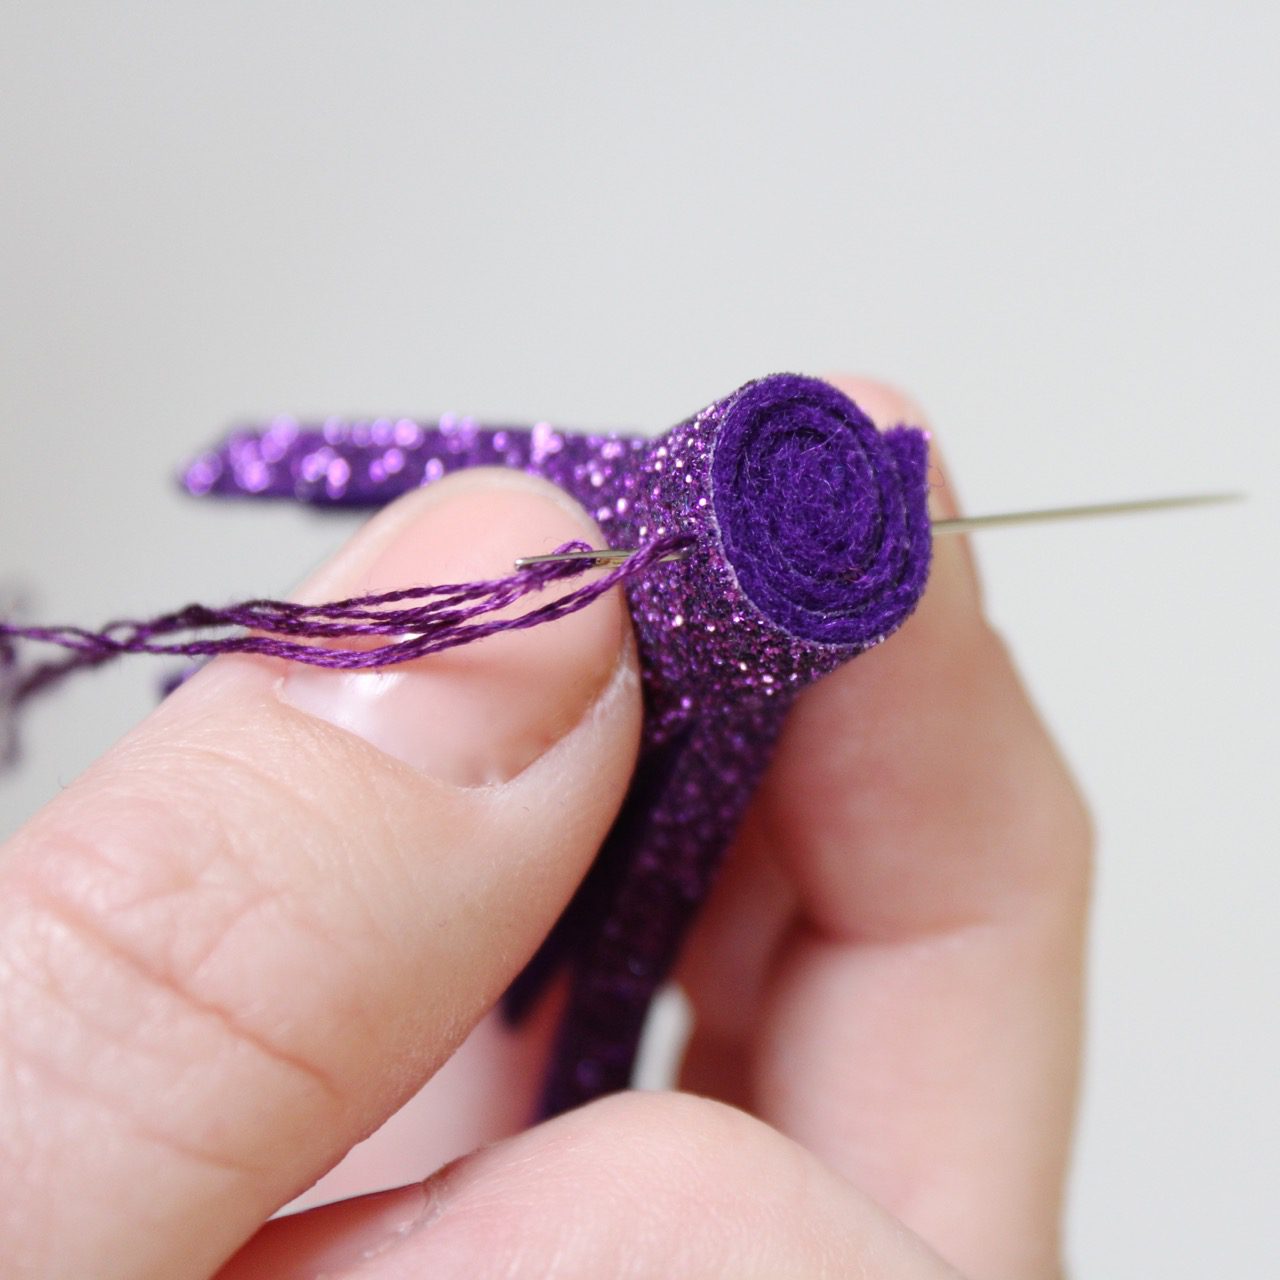
Also add stitches where the tops of the cut felt strips meet the top of the tassel. Wind some floss around this point to help secure the tassel. Finish off with some small invisible stitches, and then bring your needle up through the centre of the tassel.

Finish The Ornament
Stitch the tassel to the base of the ornament with some carefully placed, loose, stitches. You want the tassel to hang neatly from the base.
Now all that’s left, is to hang the ornament on the tree!
I can picture this lovely ornament made in rainbow shades of wool felt, with beads and embroidery as adornments. There’s so much you could create with this basic template! But I also really love the simplicity of it stitched in plain glitter felt. Because lets face it, the glitter does all the talking!
I’d love to see what you do with this pattern so be sure to use the Contact Tab to share links to your work. Otherwise, post a pic on the Molly and Mama Facebook page wall, or tag @MollyandMama on instagram.
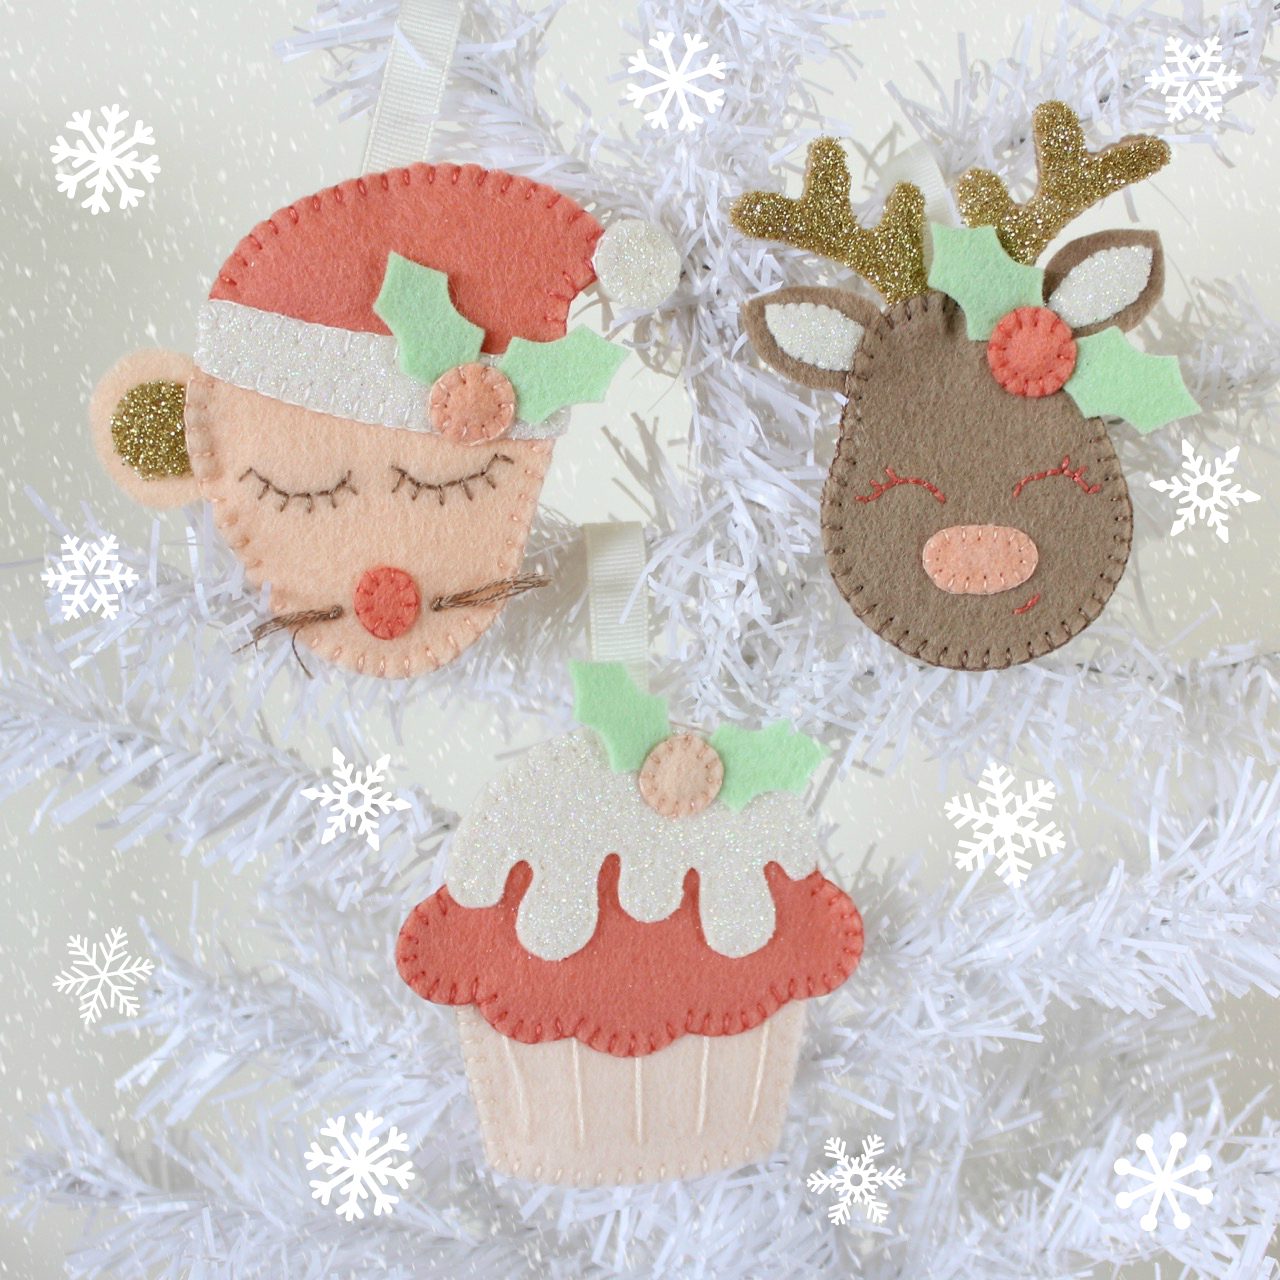
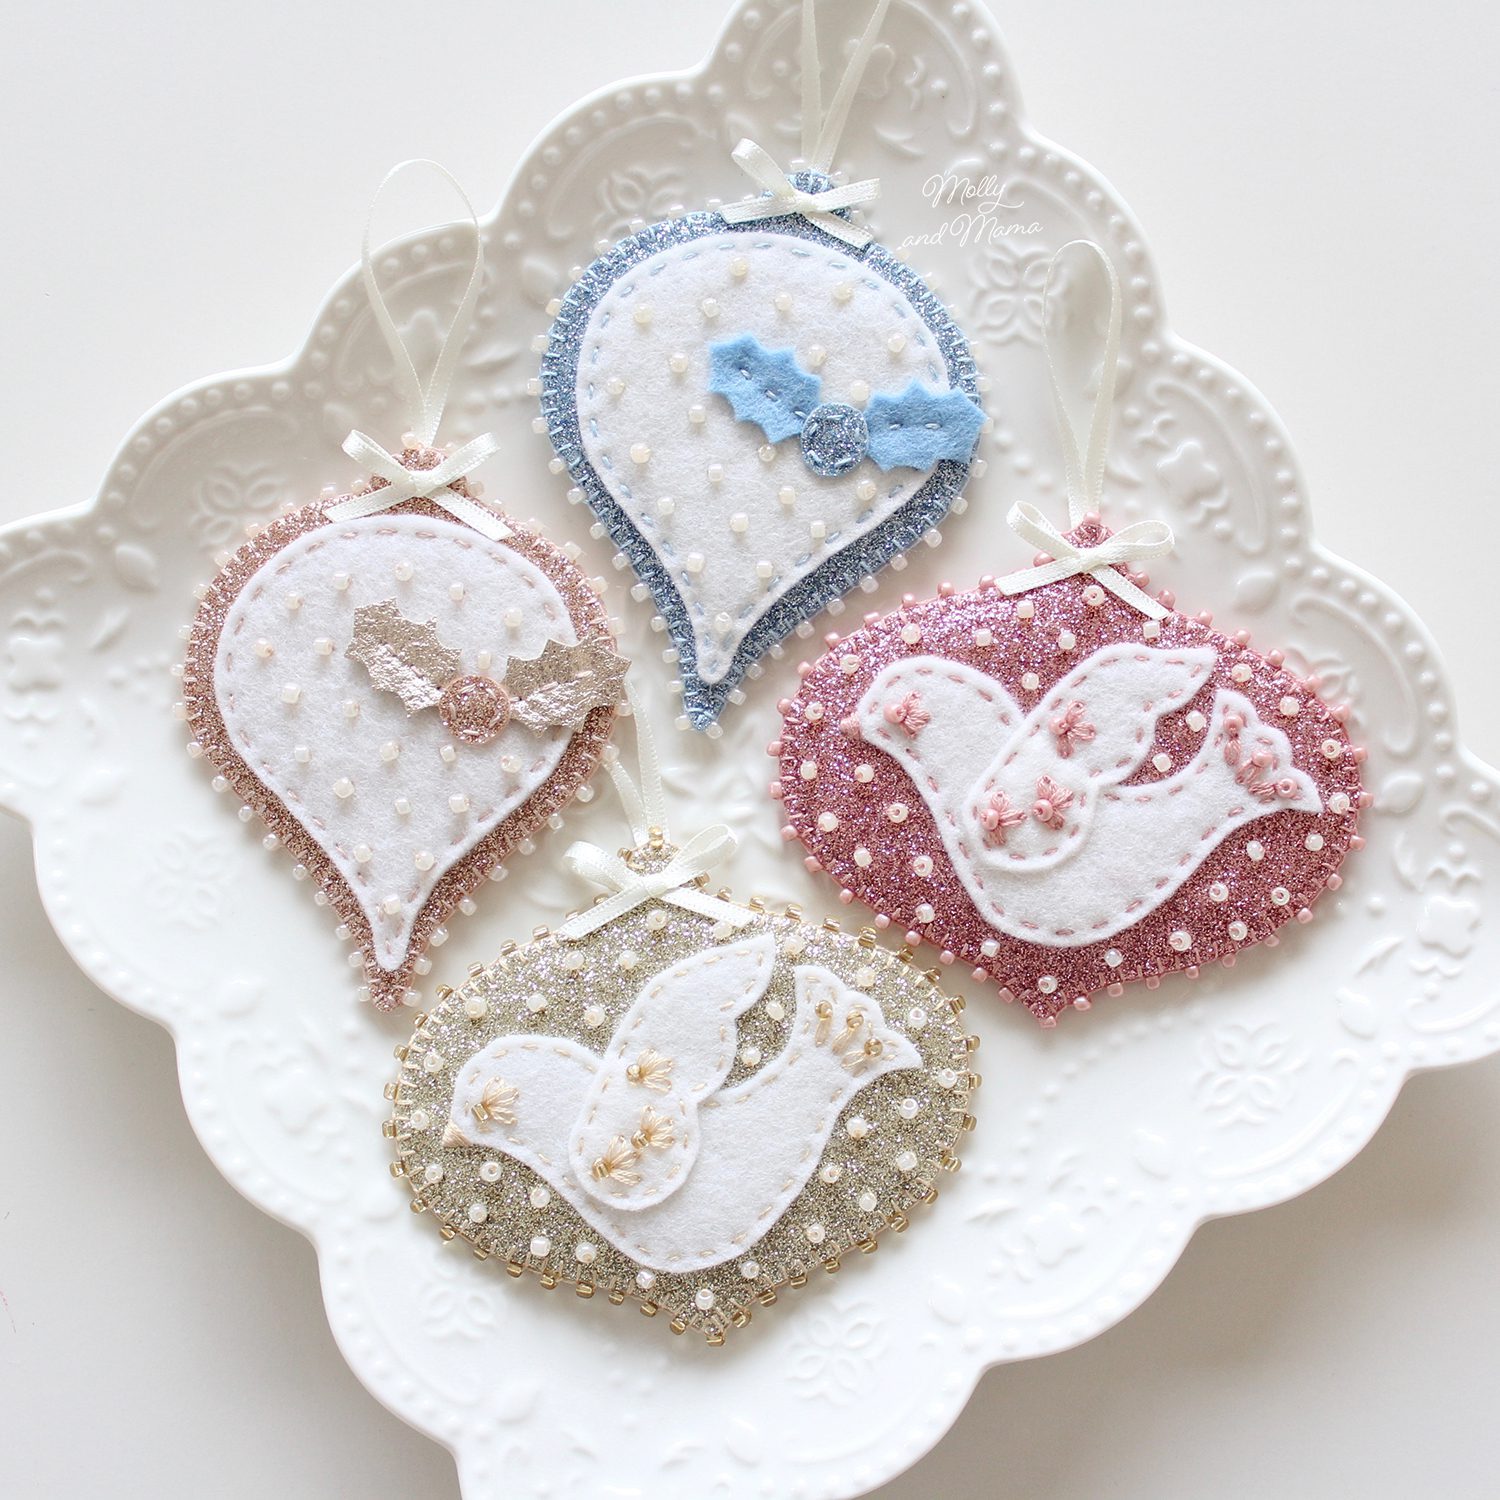
Feeling inspired to stitch more Christmas decorations in felt? The ‘Festive Felties’ pattern below will be released as part of Issue 9 of One Thimble Sewing E-Zine on Friday, 13th November. And you can also purchase the pattern on its own HERE (these are affiliate links). This little trio is great for making hanging ornaments, hair accessories, gift tags and more. Keep an eye on the blog for more ideas and a pattern hack, coming soon.
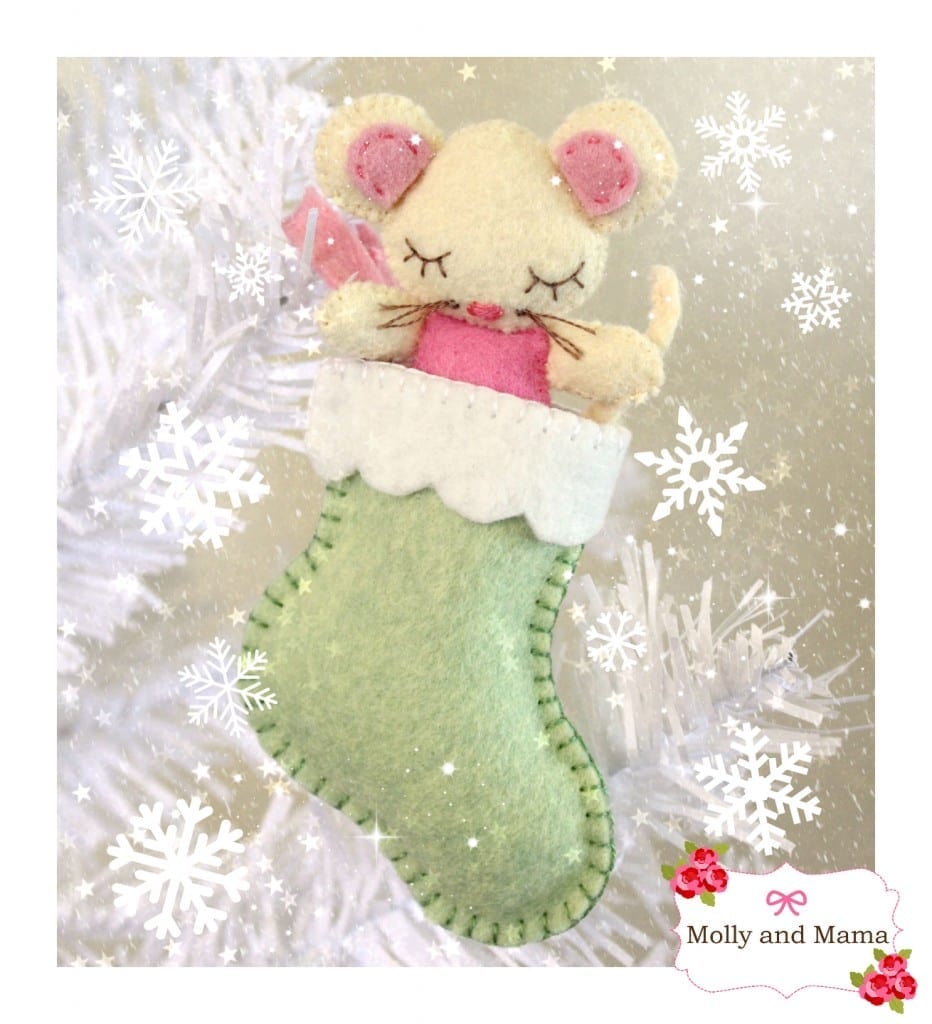
You might also like the FREE Molly and Mama ‘Christmas Mouse’ tutorial. It’s a reader favourite!!
The store also has some patterns you might enjoy, so make sure you take a peek!
It seems I have a ‘thing’ for fake snow and snowflakes. Here in Australia, it’s summer at Christmas time. So this is as close as I can get to a winter wonder! You don’t mind, do you?
Just lastly, if you’ve enjoyed this tutorial, leave me a little note. I’d love to hear what you’re making and creating! Thanks for reading along, and hopefully sewing too!
Happy stitching, Lauren x
This post was written by Lauren Wright and appeared first on Molly and Mama http://www.MollyandMama.com.au

Saw this on sew mama sew. Very cute! I’ve never seen glitter felt before but I’ve got some regular wool. Do you think I could tuck a jingle bell in the tassel? I need to make a few ornaments for our guild’s hospice tree and this caught my eye as a possibility.
Hi Jamie, thanks for your comment. You could stitch a bell to the top of the bauble, with the hanging loop, or even have it hanging down below the tassel. What a great addition that would be! Have fun stitching these up for your guild’s hospice tree!