Little Girl’s Bedroom Makeover – Tutorial Series
Welcome to the ‘Little Girl’s Bedroom Makeover’ series! I’ve been writing a selection of tutorials for the lovely Deanna at SewMcCool, and I thought it would be a beautiful idea to share how I’m ‘making over’ my daughter’s bedroom. She’s five going on 21! I have realised that I’ll have a very small window of opportunity to create her a pretty and precious bedroom set that we both adore. I’m fairly certain that in a few years time, she’ll be begging me to update the look again (and it might not be something we can both agree on). So I’m taking advantage of the fact that we both like similar things at the moment, and I can only pray it stays that way for a while!
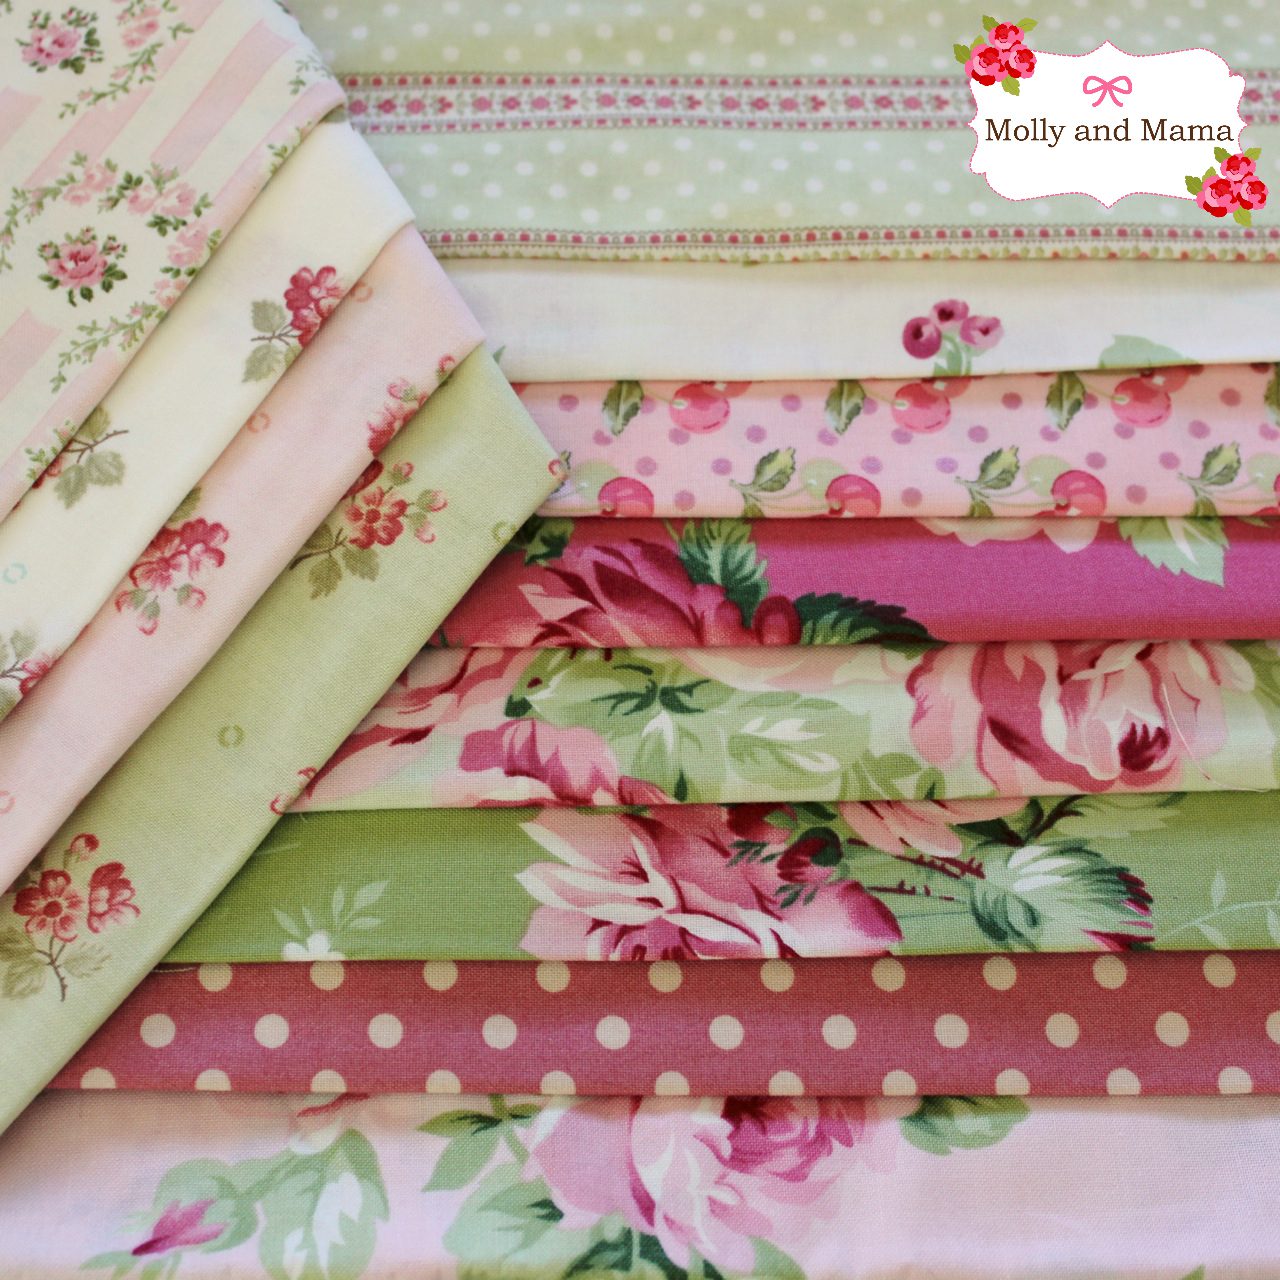
I bought a beautiful quilt kit a few years back, and I’ve been meaning to do something with it ever since. I felt like this was the perfect opportunity. So I’m using the included fabrics to inspire my colour palette.
I’ve also been collecting inspiration on Pinterest. I can lose hours browsing on there! If you’d like to follow my ‘Girls Bedroom Ideas’ board you can click HERE.
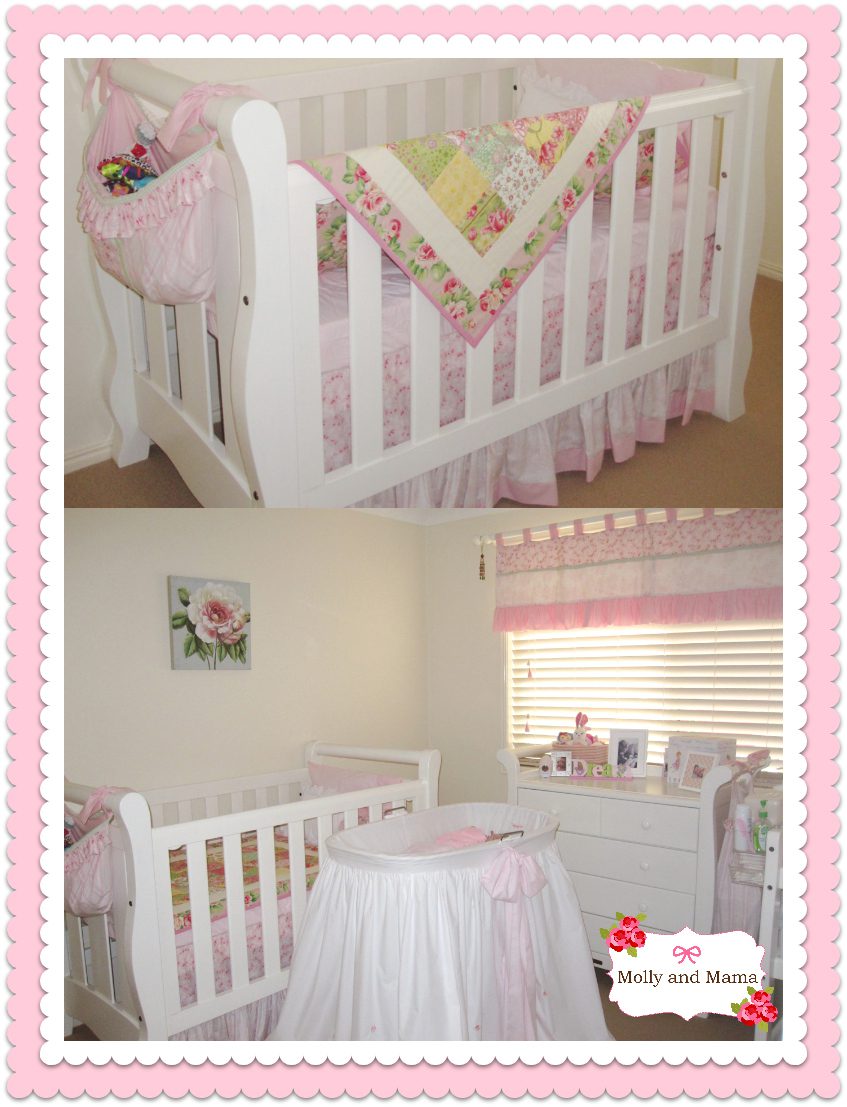
A few years ago, my mum created the most stunning nursery set when we found out I was expecting a daughter (the first grand-daughter too). It was frilly and pretty, floral and sweet. She created every piece, except the cot quilt (my very first quilting project).
So in keeping with that theme, I’ve planned a similar version. We’ll be making a complete bedroom set, including a pillowcase, a pillow sham, cushion covers, a bed runner, bed pocket, embroidery hoop art, and more. We’ll even look at some quilt ideas.
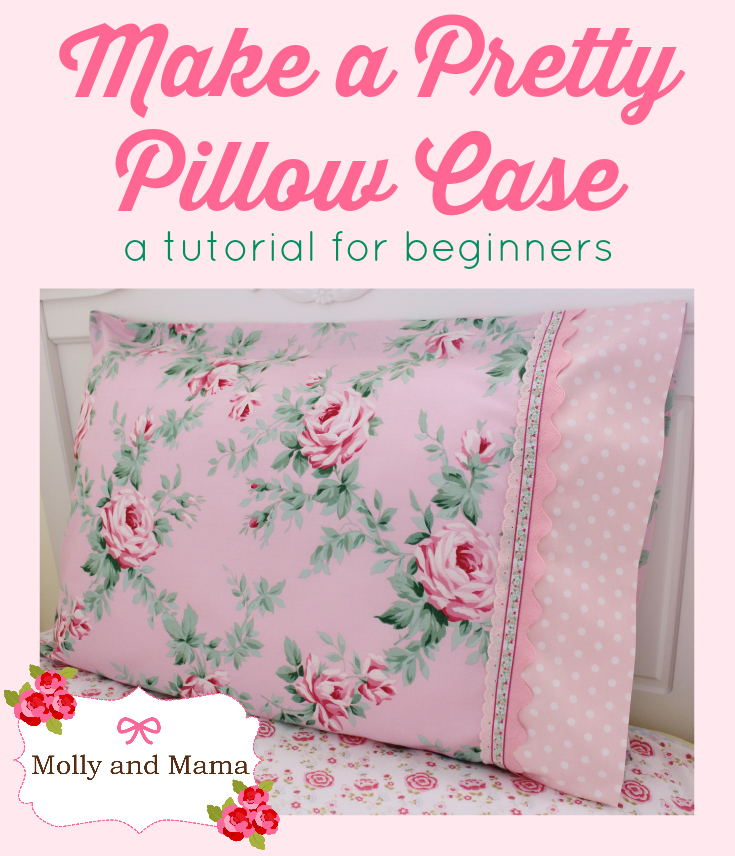
For my first tutorial, I decided to start with something simple but beautiful. So I put together a very easy to follow tutorial explaining how to create a pretty pillowcase using lace and trims. You can create your own by following all the steps in my tutorial.
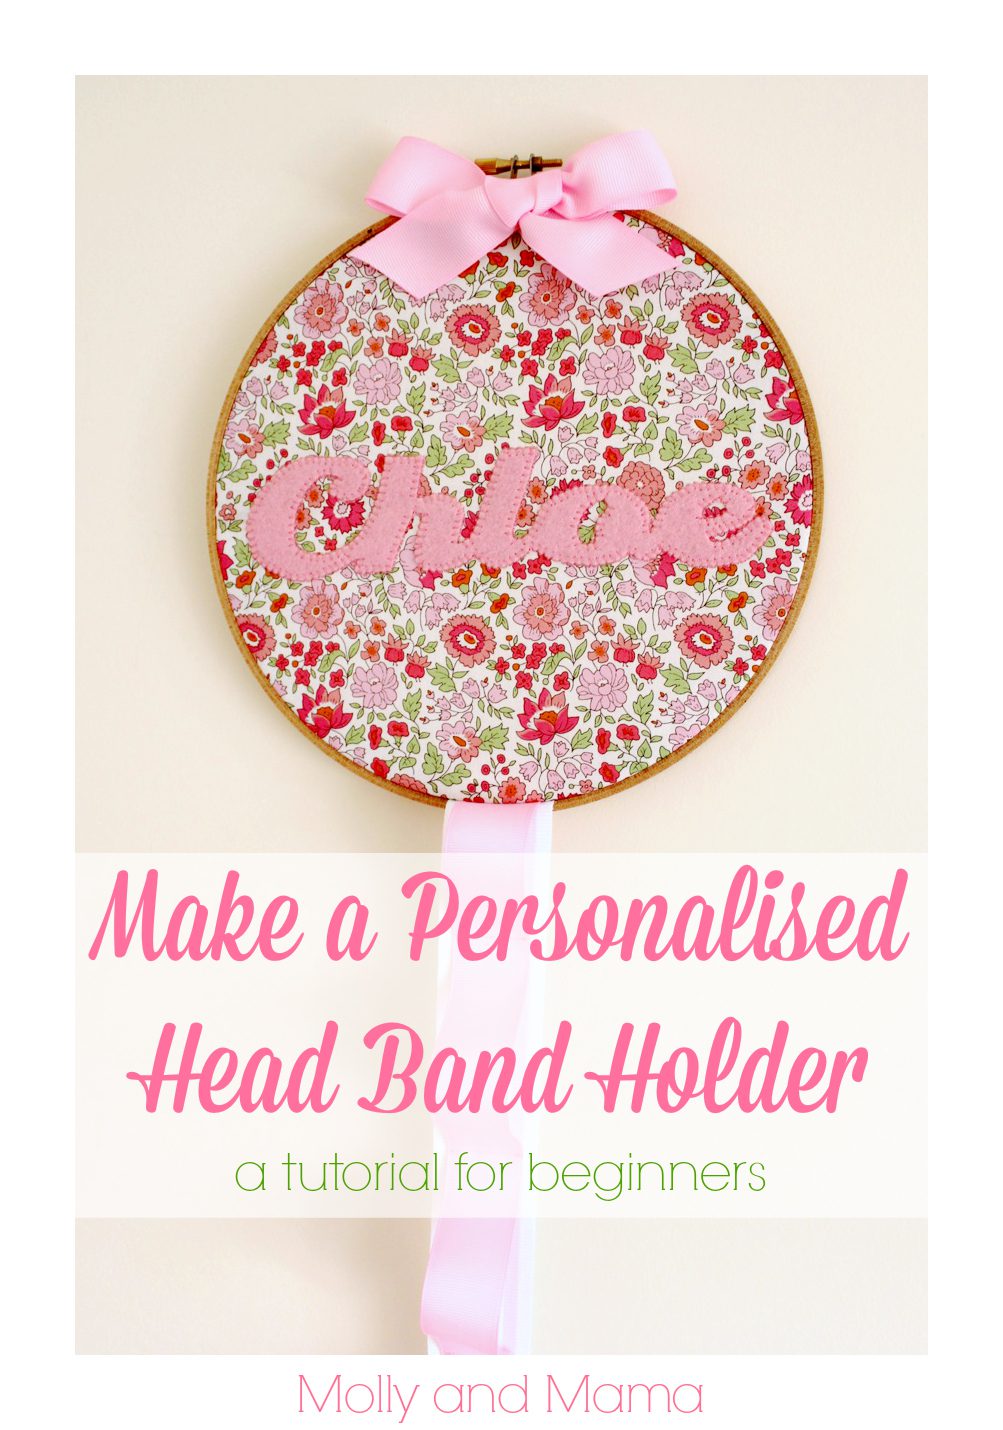
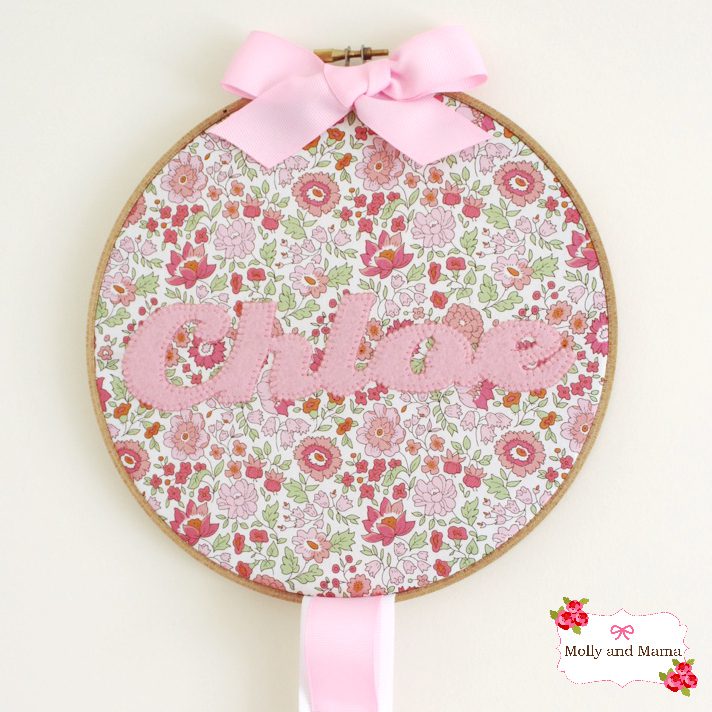
The next tutorial uses a wooden embroidery hoop. These practical pieces have certainly seen a resurgence in recent times. And it’s lovely to see them being used in new and alternative ways. For this project, I used some stunning Liberty lawn and pretty ribbons to make a personalised head band holder. Chloe has a hair clip holder that can display oodles of her beautiful hair pieces. But her poor old head bands were hiding away in the cupboard. Not any more!
Pop over HERE to find out how to create this project, with step-by-step instructions and lots of photos.
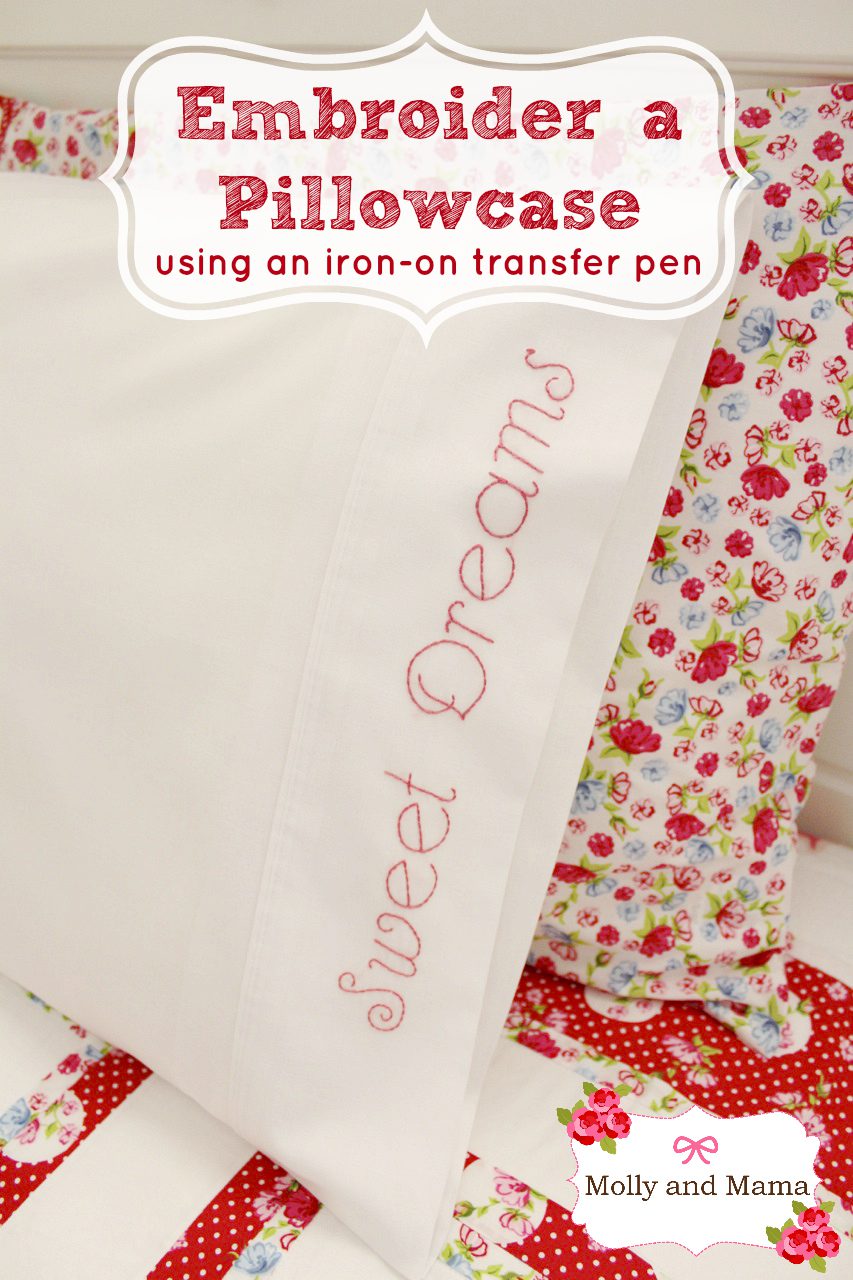
This tutorial is another variation on a personalised pillowcase. Simply embroider your favourite design onto a pre-made store bought pillowcase. It’s easy to transfer your design using an iron-on transfer pen. This pen has changed my life! If you’d like to read the tips and tricks for creating this easy project, stop by HERE.
Next in the bedroom makeover series, is a practical little post about making a cute bed pocket for books and bed-time teddies. This pocket is a terrific home for cuddly toys during the day, and it’s also a nice place to store a book so it’s handy for bedtime stories in the evening.
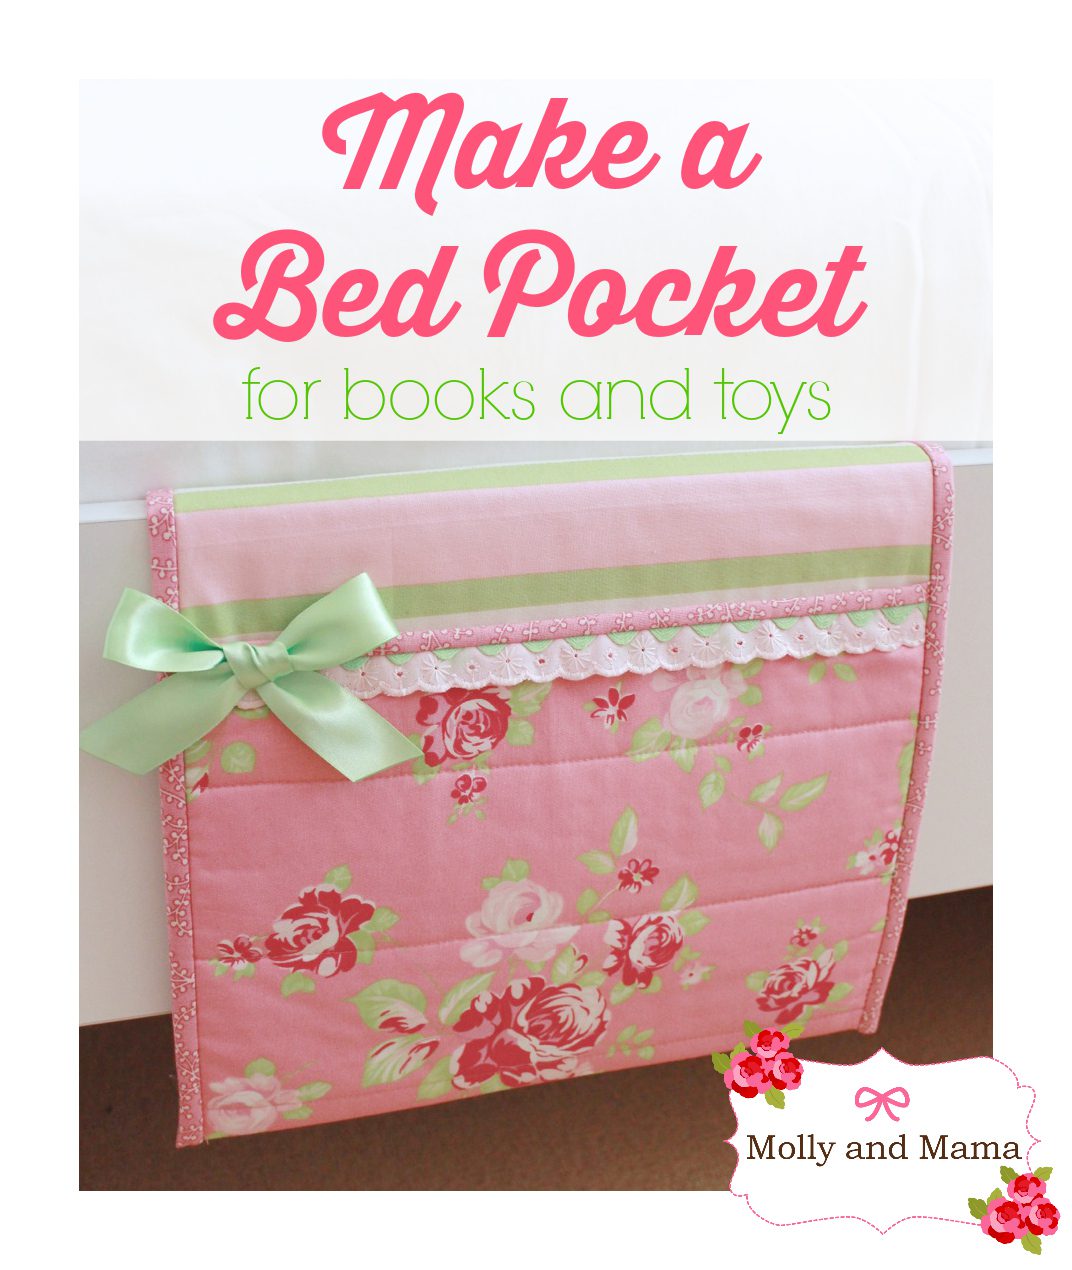
You’ll need to pop over to Sew McCool to view the full tutorial. It’s surprisingly easy, and it’s also a great introduction to many of the techniques used in quilting!
Stay tuned for more projects coming soon.
I’d love to see what you create, so please share your projects! Happy stitching, Lauren.
This post was created by Lauren Wright for Molly and Mama – http://www.MollyandMama.wordpress.com

2 Comments