Make Pretty Page Markers

Today I’m bringing you something a little bit different! We’ve been celebrating our love of books over in the Molly and Mama Makers Facebook Group and sharing projects, designs and craft ideas. One of the beautiful projects shared was some sweet little charm bookmarks created by The Enchanted Book Club host Hayley Solano. You can see her sweet bookmarks HERE.
I was inspired by Hayley’s lovely creations to create my own bookmarks using materials I had already purchased at my local bead and craft store. But I have included some links here to help you locate similar supplies online, if you need it.
Let’s Get Started
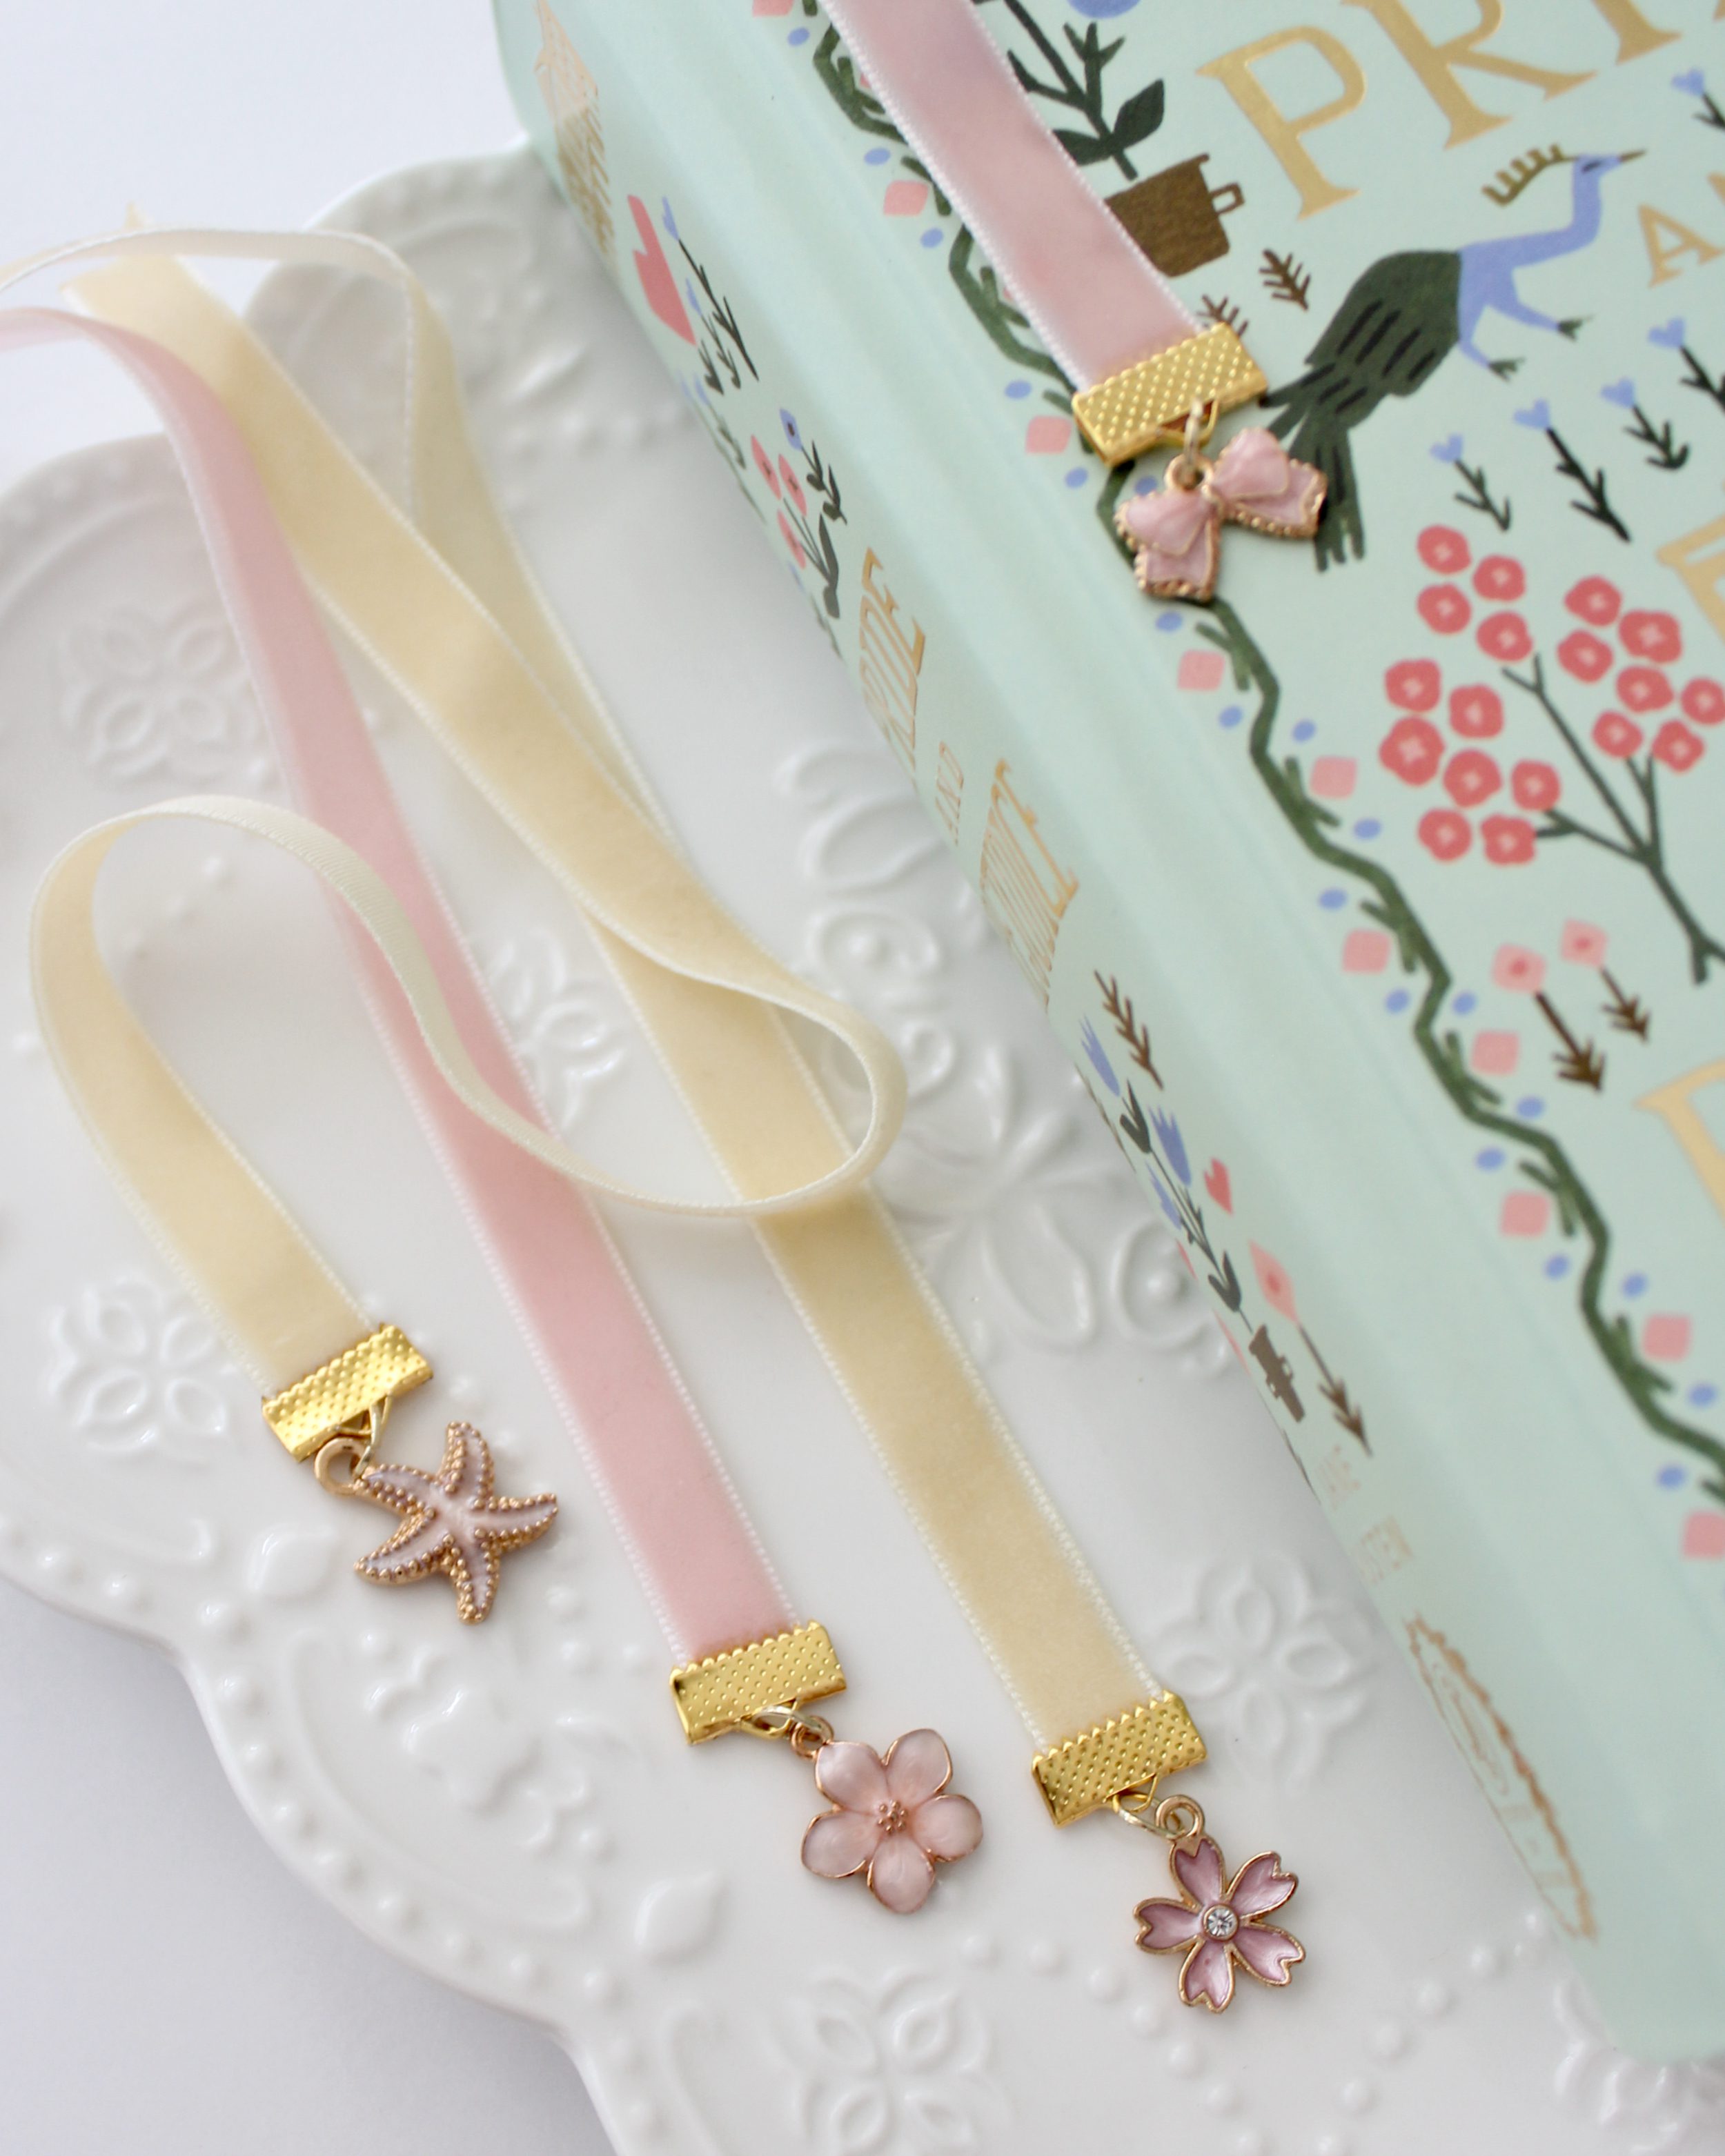
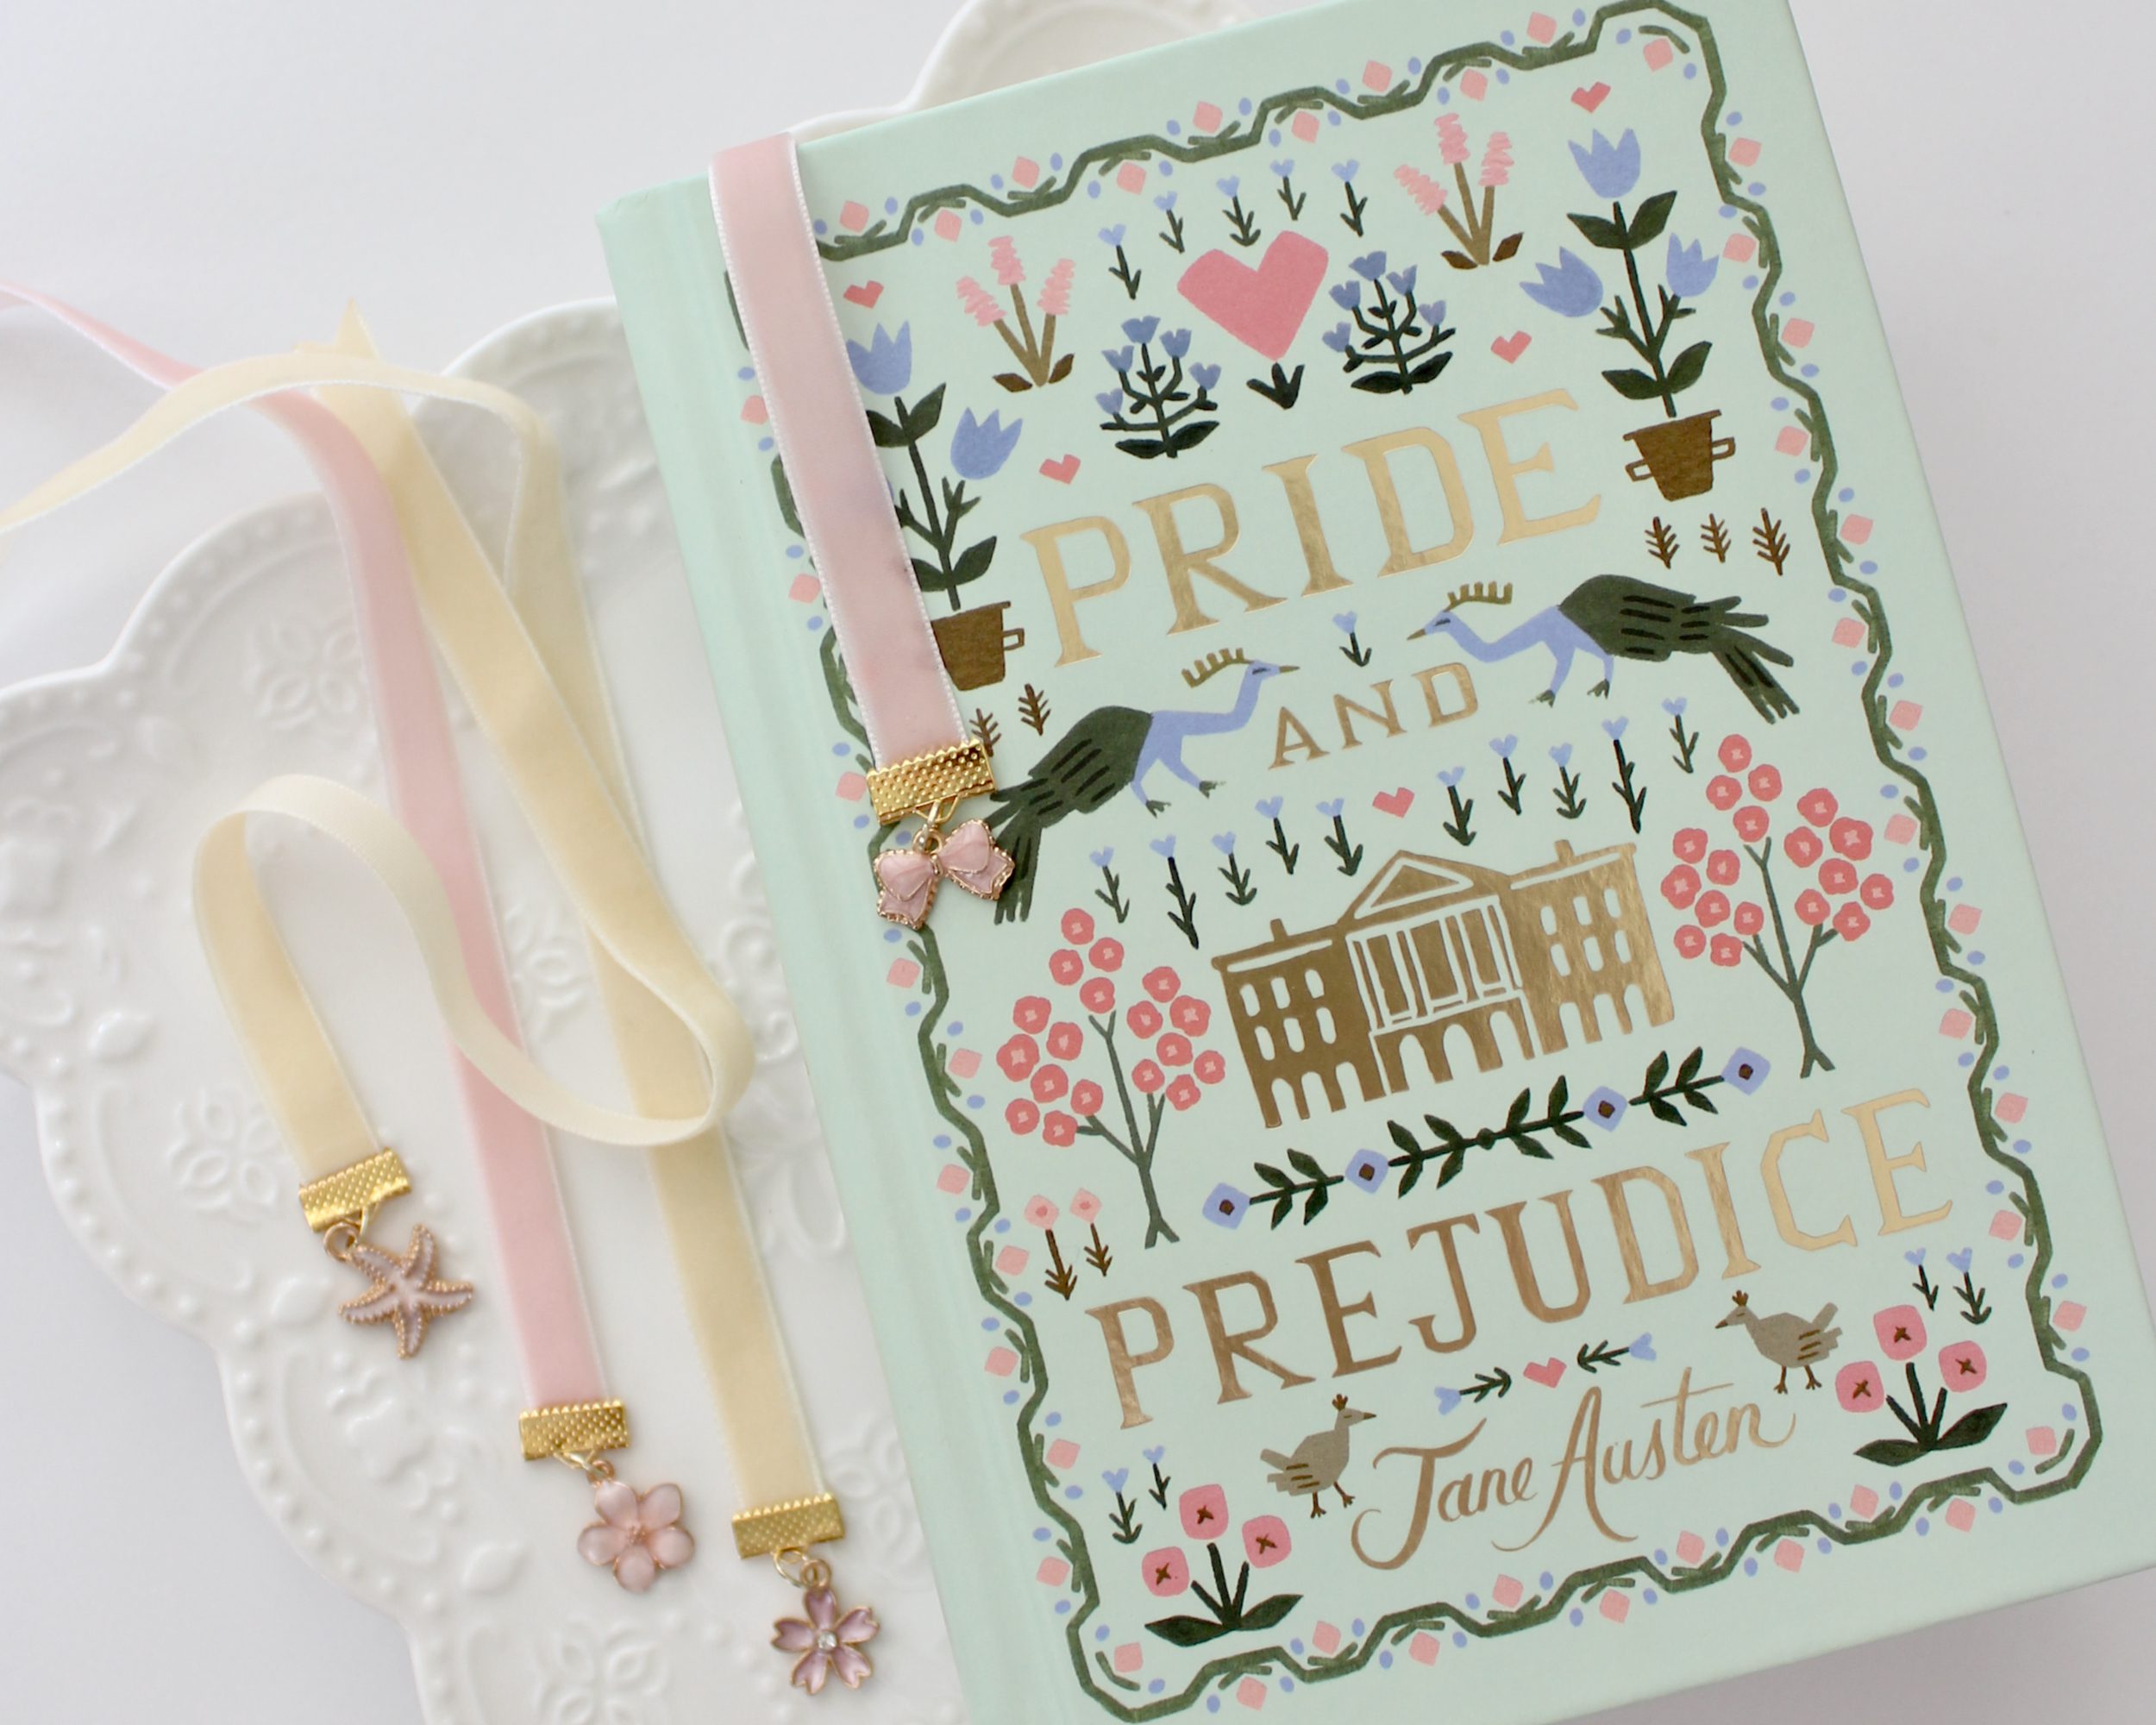
Follow the instructions below to create your own pretty page markers, like the ones pictured here.
To Make Each Page Marker You Will Need;
- 10” (25cm) of 3/8” (10mm) wide velvet ribbon (there are lots of colour options here).
- 1 x 3/8” (10mm) wide ribbon end clasp or crimp (like these here). Be sure they have a loop or hole at the folded edge.
- 1 x small jump ring (with a split). The size will depend on your charm size. Mine were 5mm but you can can buy a range of sizes in a kit here.
- 1 x small charm less than 3/4” (2cm) wide (there’s a huge variety of colours and types available HERE).
- Needle nose pliers to pull the jump rings apart and squash the ribbon clasps / crimps.
- Lighter to heat seal ribbon ends.
- Felt or fabric scrap to protect ribbon and clasp or crimp from being damaged by the pliers.
TIP: Make sure your clamp, charm and jump ring metal colours are all the same. I chose gold but you might prefer a different look.

*This post includes Affiliate or Ad Links. If you make a purchase using an affiliate link, I will earn a small commission that doesn’t change your purchase price, but helps me to continue to bring you this content. Thanks for your support!
Make the Pretty Page Markers
Cut your ribbon length to 10 inches or 25cm long. This length is ideal for book marks for novels, but you may wish to make longer book marks for larger books.
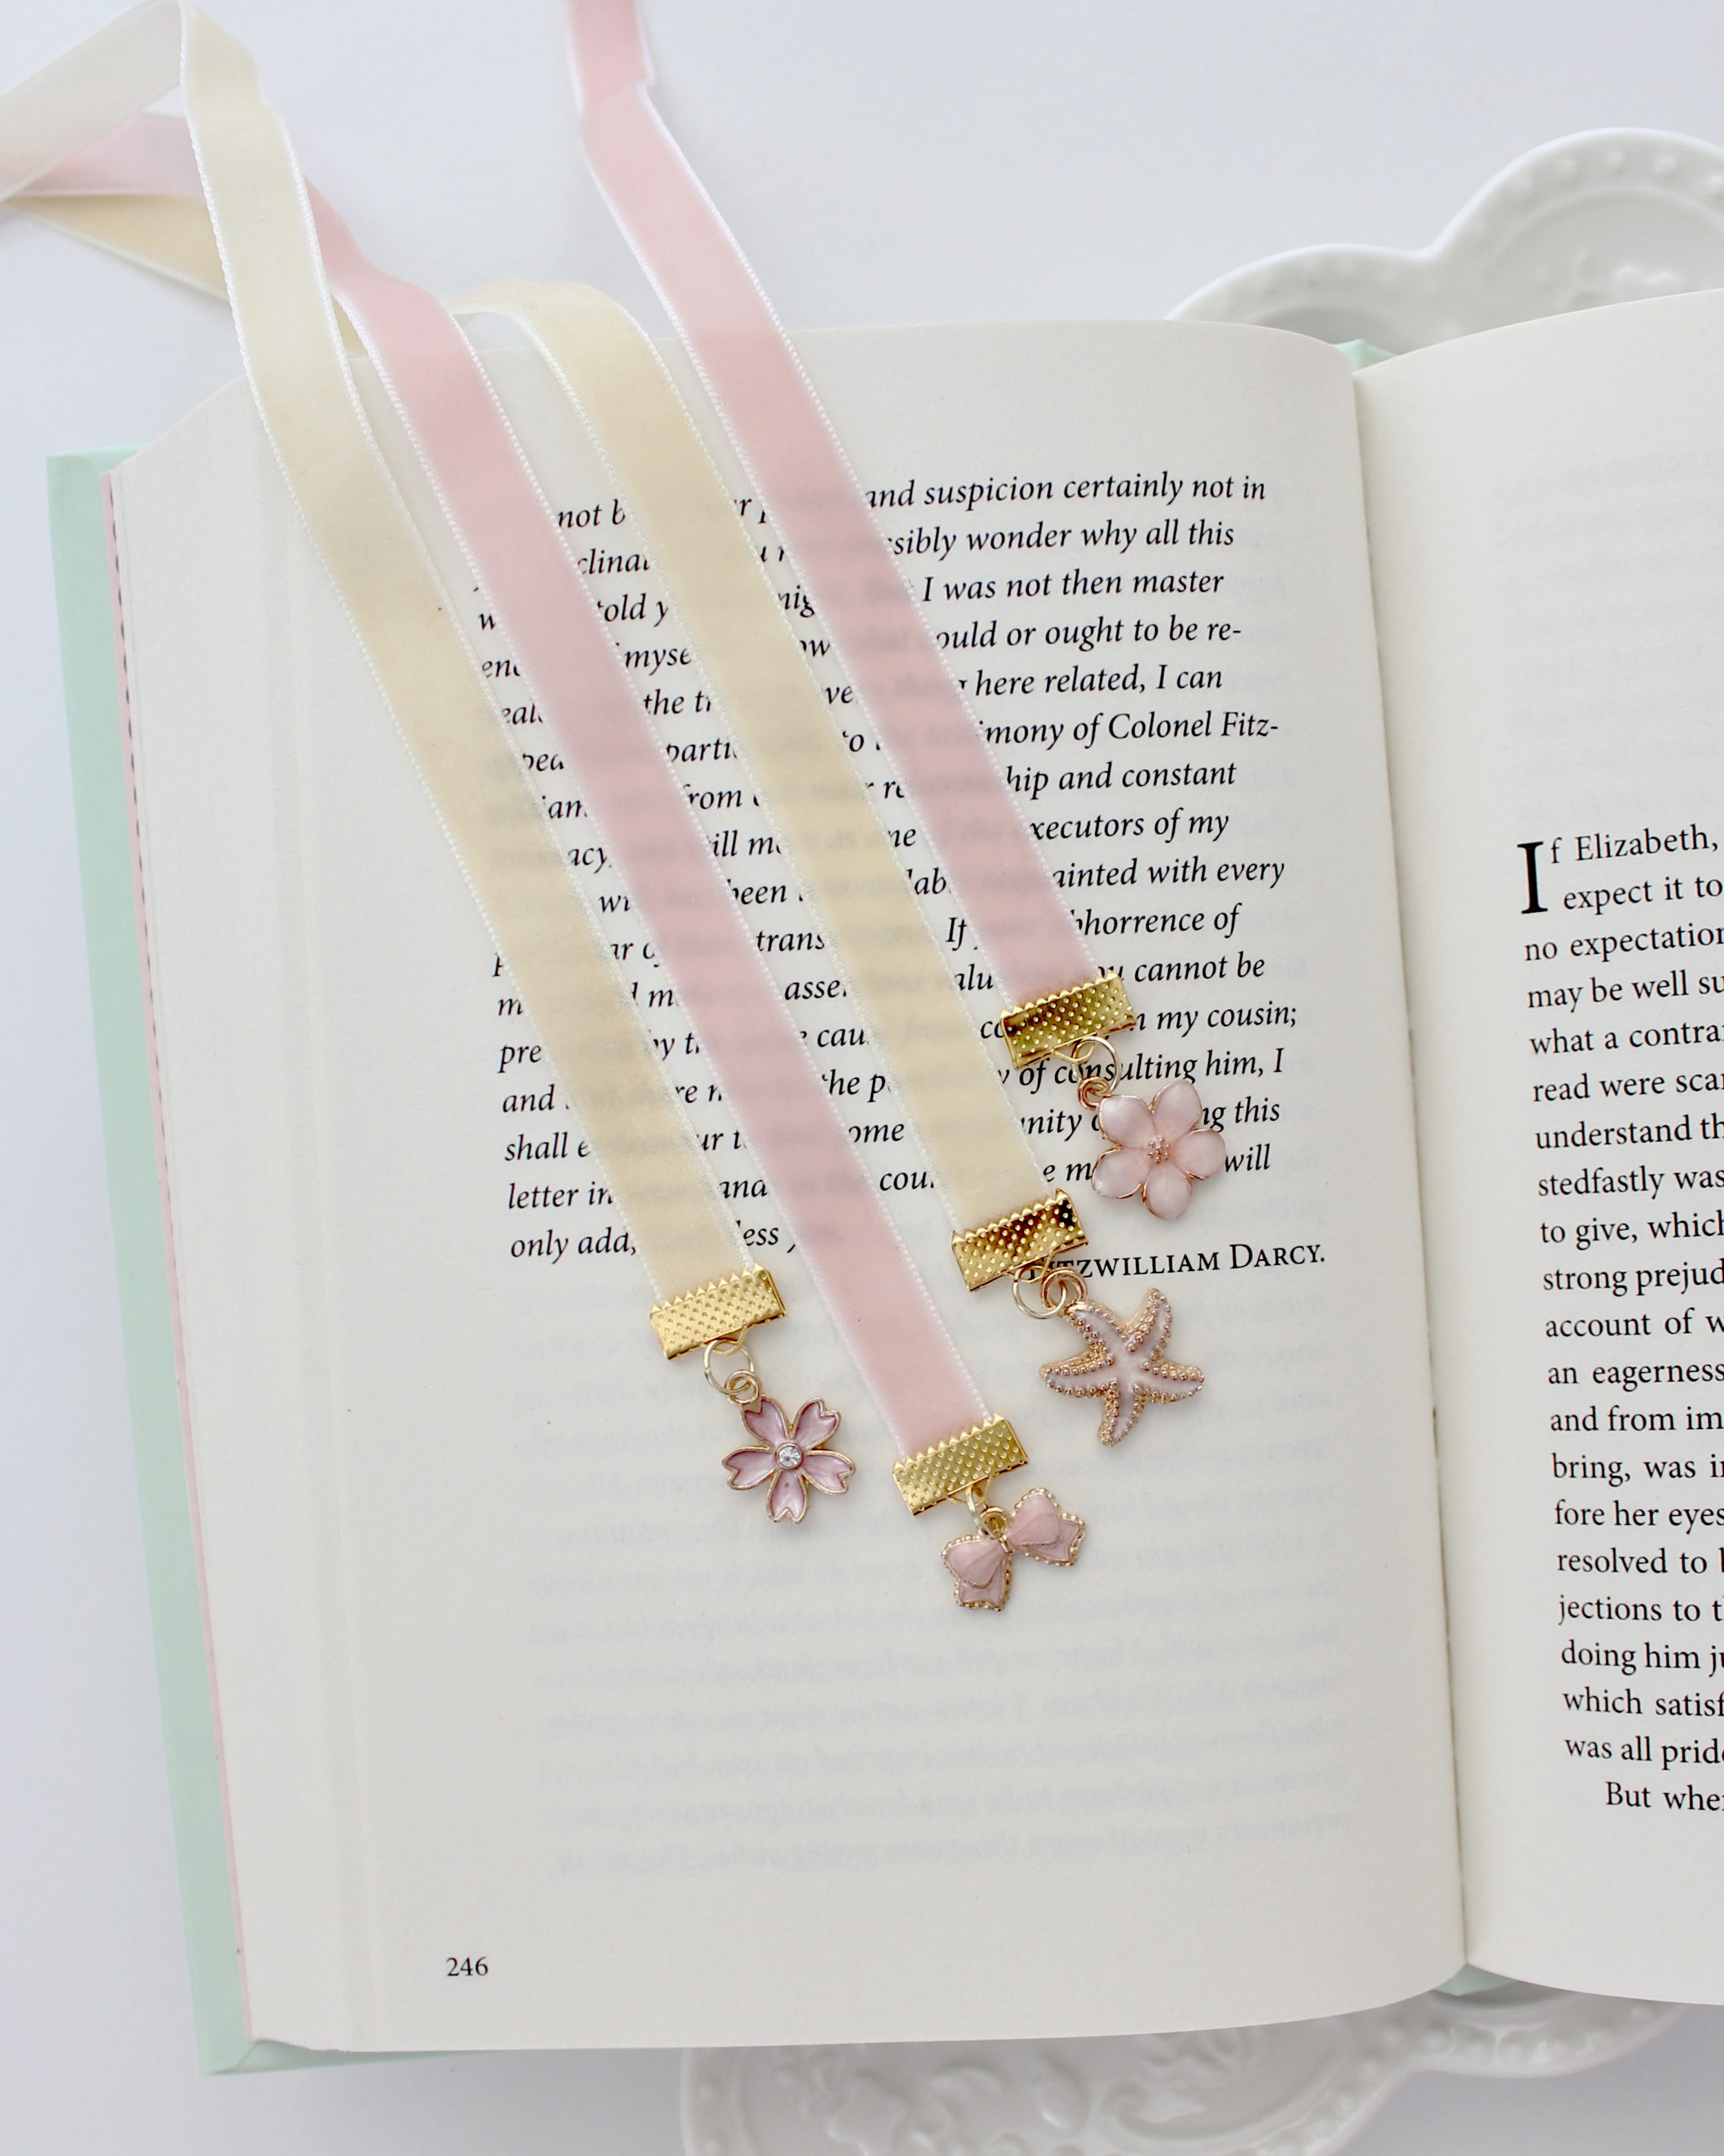
Fold one end in half and snip on the diagonal from the fold and down to the ribbon edge, so that the ribbon end is forked like a swallowtail you can see this in the first image). Alternatively, cut it on a diagonal angle.
Use a lighter to heat seal both ribbon ends. Carefully run the flame along the raw edges of the ribbon to melt the fibres and prevent fraying.
Position the straight end of the ribbon inside the serrated opening of the ribbon end clasp. Use the flat inside edge of the pliers to push the clasp ends together, over the ribbon. Be sure to cover the clasp with a felt or fabric scrap to help protect it from being damaged by the pliers.
Use the nose of the pliers to pull open the jump ring. Take the ribbon with the clasp on one end and make sure the velvet is face up. Slide the jump ring onto the loop or hole on the clasp. Then slide on the charm so that it’s also face up.
Carefully use the pliers to bring the jump ring ends back together again.
Your book mark or Pretty Page Marker is all ready to use with your current favourite read!
I hope you enjoy making these sweet little book marks. I’m giving mine away as gifts!
Happy crafting, Lauren.