Molly and Mama

Studio for Pretty Stitches - Inspiring ideas for Felt, Stitchery and Patchwork

  • Home
  • Start Here!
  • PATTERNS
    • PDF Pattern Shop
    • Paper Pattern Stockists
    • Pattern Corrections
  • TUTORIALS
  • Classes
  • BOOK
  • Contact

Tips for working with Wool Felt

July 27, 2014 By Lauren at Molly and Mama 39 Comments

Well Winter is finally on its way in Australia. And whilst it’s not quite as cold as many other parts of the world, it’s pretty chilly for us! The cooler months really lend themselves towards spending a bit more time indoors, stitching and hand sewing. And what better medium to use for handiwork than wool felt? It’s so versatile and very easy to work with.

SO WHAT IS FELT?

Felt is made by matting, rubbing, pressing and condensing fibres together. Different fibres are used for this process, including acrylic, rayon and wool. The result of this process is the creation of a non-woven textile fabric. Because the fibres lock together in the felting process, this fabric won’t unravel like woven fabric does. This makes it ideal for sewing, and it’s especially suitable for hand stitched projects.

WHAT IS FELTED WOOL?

Wool felt is not to be confused with felted wool. This is actually wool fabric that has been washed and then dried with heat. The drying process shrinks the fibres, thickens the fabric and gives it a soft and fluffy appearance. Felted wool is still a fabric though, so it doesn’t lend itself to hand sewing as much. It’s great to use for machine-sewn toys and appliqué though.

WHAT IS NEEDLE FELTING?

To add to the confusion, there is also needle felting. Special barbed needles are used to transform regular fibres (like wool) into felted fabric, by tangling the fibres together. The maker can create something flat, or even a dimensional sculpture, using various fibre types in different shades. Wool felt can actually be used for this process. Needle felting however, is very different to sewing with wool felt.

TOP TIPS

So you’d like to stitch a felt pin cushion, make a soft toy or embroider a felt project you’ve been wanting to try for ages. Where do you start? At the very beginning!

Choose Good Quality Wool Felt

You’ve seen those wonderfully colourful squares of felt at your local craft store, haven’t you? They seem so bright and cheery and come in such an amazing array of happy shades. So you’d be forgiven for thinking that this sort of felt would be great for your toy making or hand stitching. This acrylic felt certainly has its place, and is great for kids craft projects. But if you’re going to spend your precious time stitching up something special, you want it to last. Be sure to honour your work, by using the best materials you can afford.

I recommend wool felt. And the higher the wool content, the better your creations will be! Products may be described as wool felt, but are often a blend of wool and another fibre such as rayon. Blended wool felt is still great to work with and a little more cost effective. But if you’re only creating small projects, and you’d like your creation to last, then 100% wool felt is the way to go! It is such a beautiful medium and it really makes a difference to the look and feel of every piece you’ll make. It will last longer, and keep its shape better. It’s strong and durable. It’s less likely to pill or bobble, so it’s great for hand-making toys or pin cushions. It cuts well, doesn’t fray like fabric and can be easily shaped and moulded. Wool also has a natural resistance to staining, fire, water and mildew, so it’s great for those projects that you really can’t clean by throwing them in the machine.

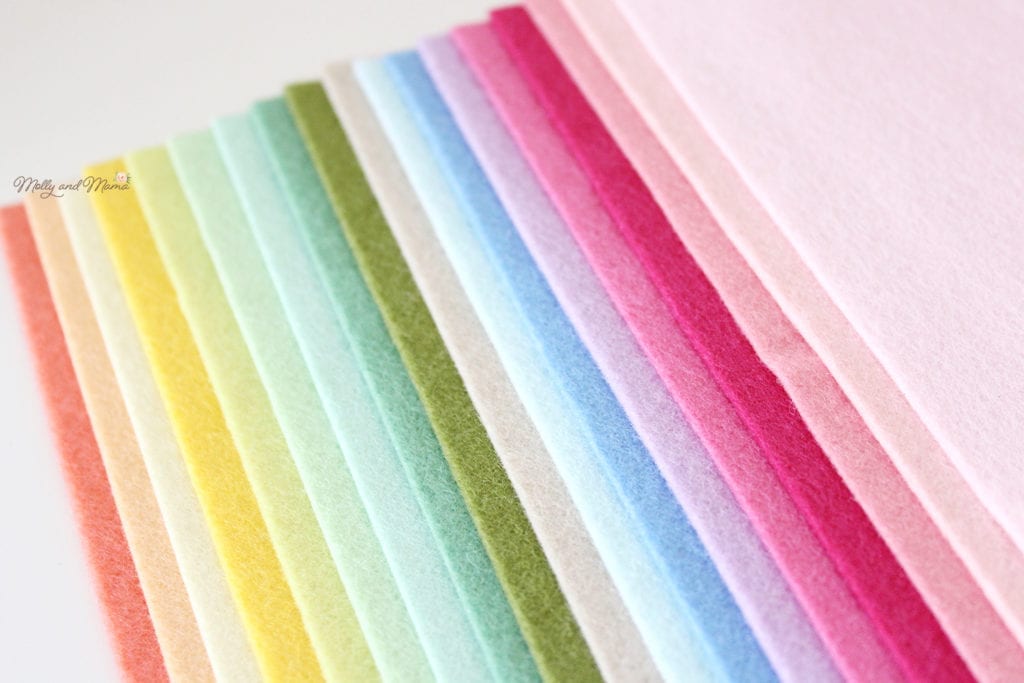
The range of colours that wool felt comes in these days is truly inspiring. You can find deep and vibrant hues and pretty pastel shades, and lots in between. So you’re sure to find a collection of colours that suits the needs of your project, or that inspires your imagination.

Look for wool felt at your local sewing or quilting store (it’s always lovely to support the local small businesses in your area). Or, see what you can find online. I love buying my felt from My Felt Lady. Having bought felt from a varied range of sources, I have to say that you do really get what you pay for. Sometimes it’s worth spending that little bit extra, to get just the right colour or the best look for your softie, pin cushion or special piece. Once you’ve stitched with 100% wool felt, it’s hard to go back.

Tips For Care

Whether you have purchased pre-cut felt squares or felt by the yard, be sure you store it well. It is best to keep it flat. If possible, place it in a lidded container to be sure its protected from nasties, like wool moths (or little ones who love to ‘help’ mummy cut shapes for sewing!).

You can iron 100% wool felt if you need to. Just use a wool heat setting and cover the felt with a press cloth so you don’t damage the wool fibres.

Don’t use wool felt on a project you wish to machine wash. Wool felt and washing machines don’t mix! Dry cleaning is your first option. Spot cleaning wool felt is also recommended. If dry marks don’t brush off, use a damp cloth to gently dab away at them. Don’t rub the felt, or add soaps or cleaning products. These will affect the look of the wool felt fibres.

Tips For Cutting

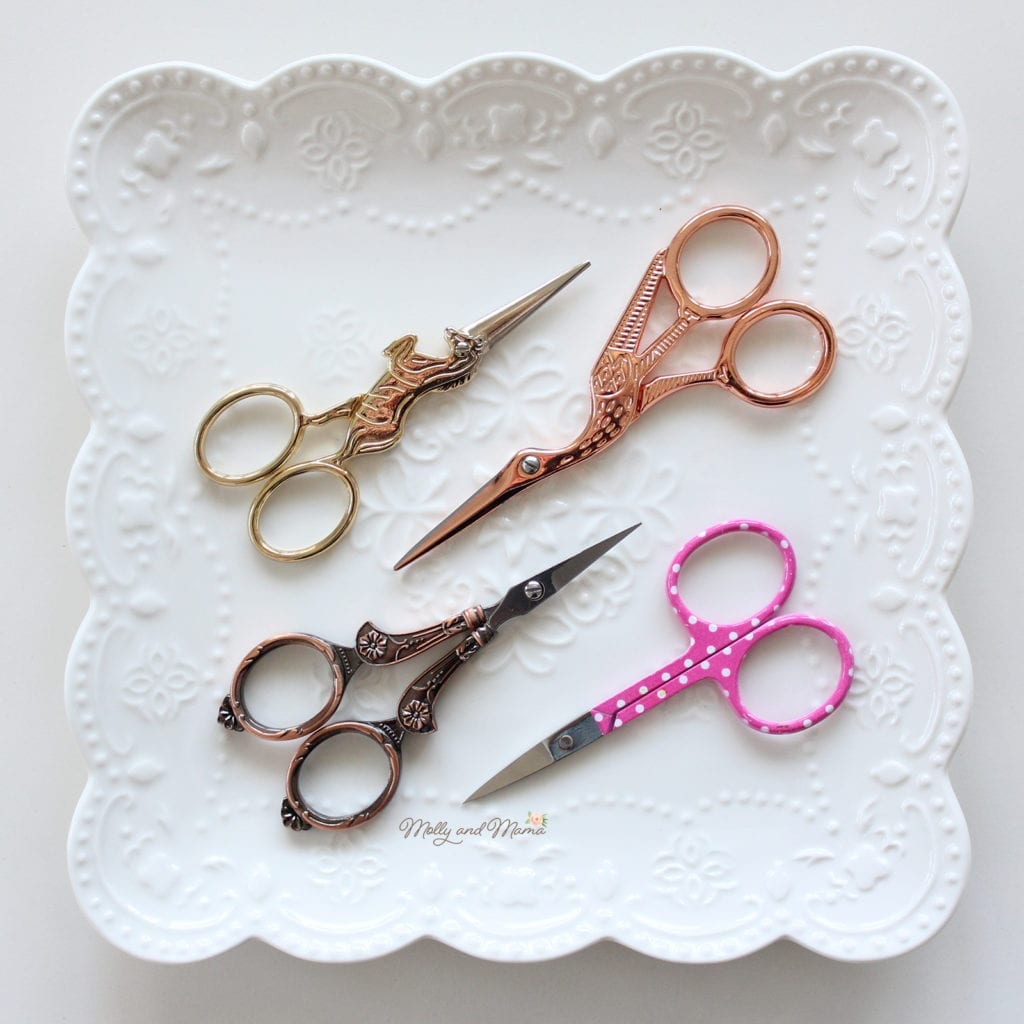
The best way to ensure you have a beautiful felt creation, is to be careful when you’re cutting. Precision is the key. Use small sharp scissors with a short blade and pointed tip to get a neat finish and those wonderfully crisp edges (embroidery scissors work well!). You don’t want to pull the felt pieces out of shape by using blunt tools. A sharp blade on your rotary cutter is also a must.

When cutting shapes from a pattern, there are several methods you can use. The most popular by far, is to trace your template piece onto a product called ‘freezer paper’. The shiny side of the paper will adhere to felt when ironed, making it easy to cut around the outline of your shape. You can then just peel the paper away. For a more detailed description of the Freezer Paper method and other ways to transfer templates to felt, please see THIS TUTORIAL.

But what do you do when ‘freezer paper’ isn’t readily available ?

Traditional paper templates can also be effective. Don’t cut the paper template out on the line before you start, but leave a small border around the template edge. Pin the paper template to your felt and cut out your shape on the line. If you need to cut more than one shape from the same template, use the piece of felt you just cut as a template, rather than the paper. You’re more likely to get more uniform shapes that way.

What if your paper template is too small for pins? Invisible Sello tape (that seems less tacky than sticky tape) can also be useful for sticking the template down for cutting. Carefully remove it after use.

And if you really want to cheat, you can also purchase pre-cut die cut shapes online! Or use a cutting machine like the Brother Scan-N-Cut or Cricut.

Tips For Hand Sewing Felt

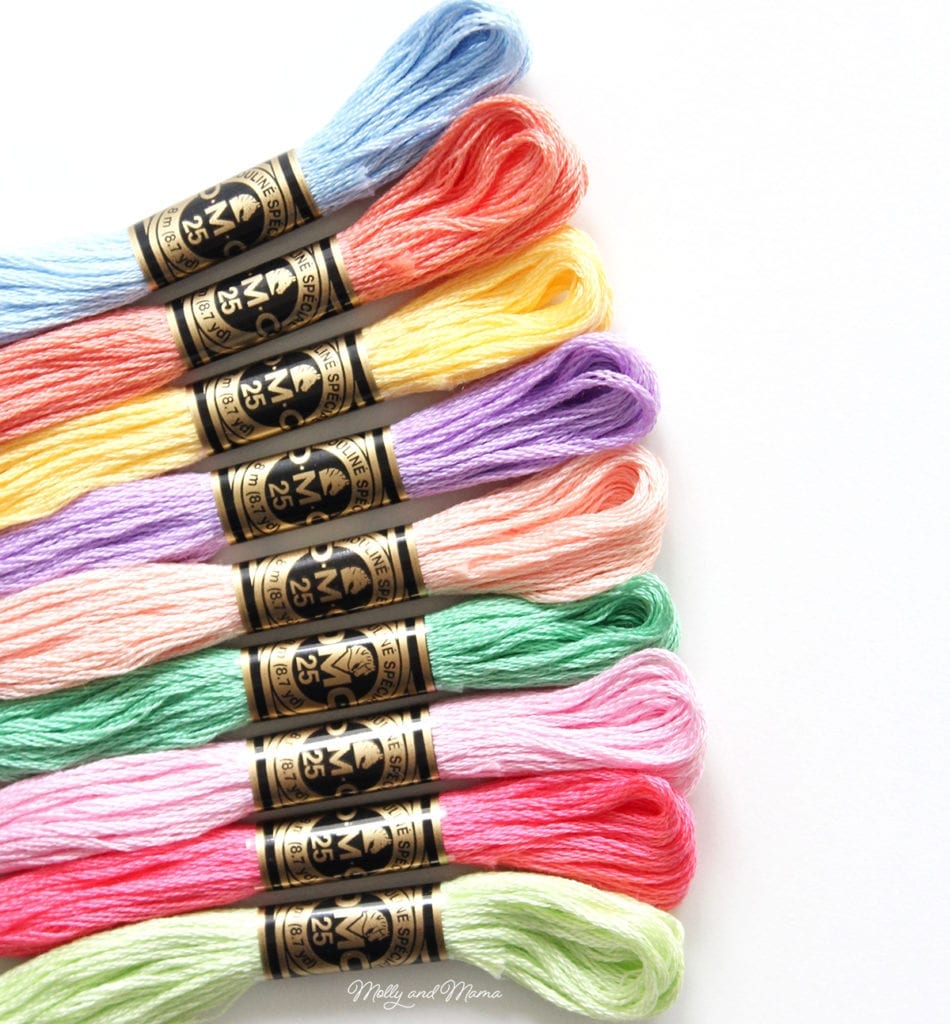
Choose the best thread for your project. If you’re just starting out, a fabulous product to use is cotton embroidery floss like DMC. It’s readily available and comes in a huge array of colours. The skeins of floss or thread are made up of six strands which you can separate according to the needs of your project. Two or three strands of floss work really well.

Which thread colour do you choose? I love to coordinate my thread with my felt colour. If you can’t get an exact match, choose a thread colour that is a shade darker than your felt. Or select a contrasting shade to really stand out!

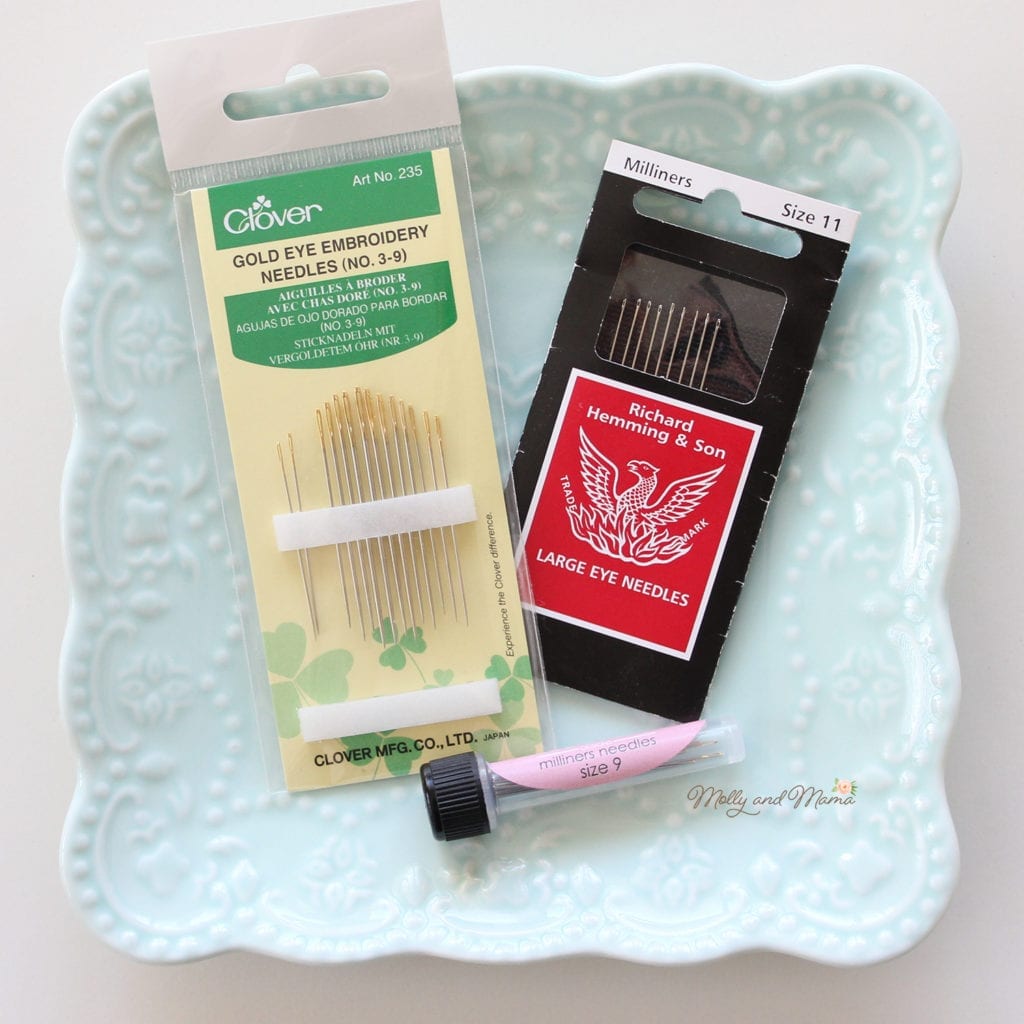
Choose the right sized needle. Large needles can leave holes in your work, so choose a needle that accommodates your thread type, but also treats your felt well too. Embroidery needles are great for felt. They have larger eyes so they can fit larger floss through them.

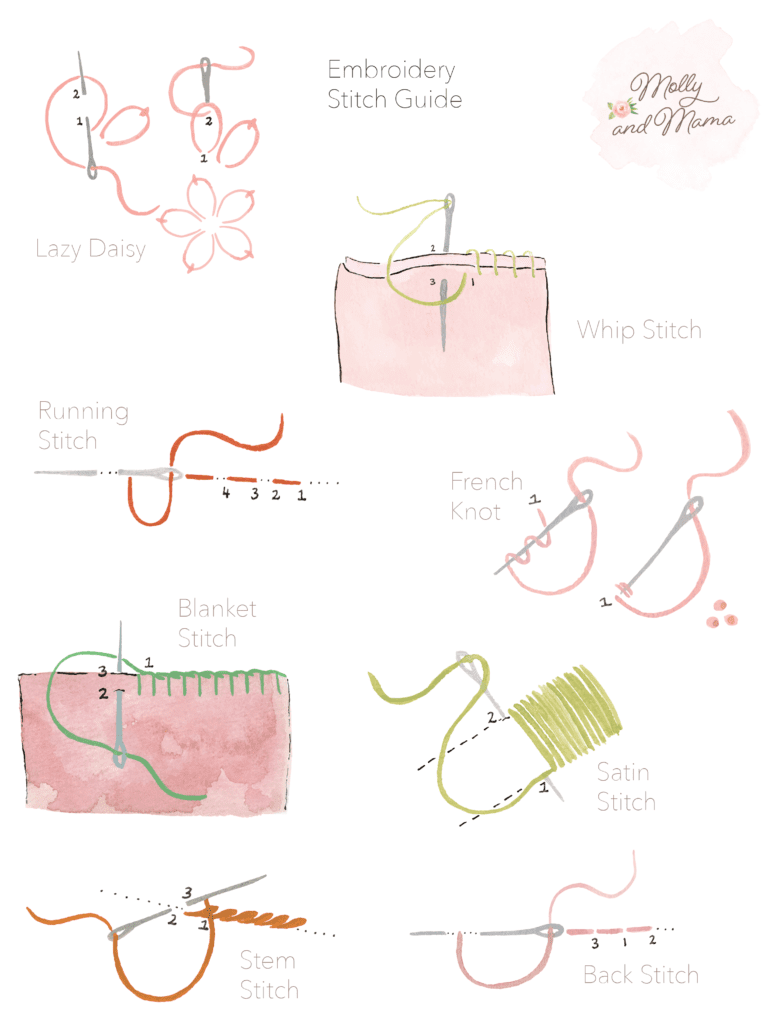
Learn to master ‘whip stitch’ and ‘blanket stitch’. They are terrific stitches for felt. Whip stitch joins two felt pieces together. Blanket stitch gives a decorative finish and can edge fabrics by forming a ‘hem’. For this reason, it’s a great stitch to use to create a strong bond between two felt edges. It’s also wonderful for appliquéing one piece of felt onto another.

You’ll need to master a few embroidery stitches if you want to give your work some personality too. But these can also be very simple. Straight stitch, back stitch and French knots are some wonderful stitch types to start with. They’re quick to master and very effective. Here’s a link to my Embroidery Stitch Basics Tutorial which gives you a run down on all the basic stitch types.

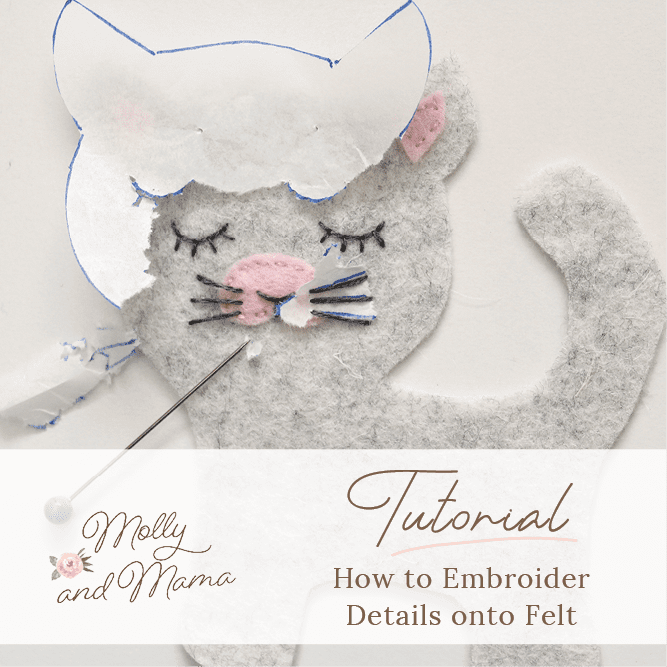
How do you transfer embroidery designs to felt? How do you add special details to your felt projects with accuracy? I love to use tracing paper and I actually sew through it to transfer the design. For more information about this process, please visit the How To Embroider Details Onto Felt Tutorial.

As with all sewing, practise makes perfect. Be careful about your stitch size, length and consistency. If you’re not happy with the finish of your stitching, don’t be afraid to pull it out and start over. Wool felt can be very forgiving like that!

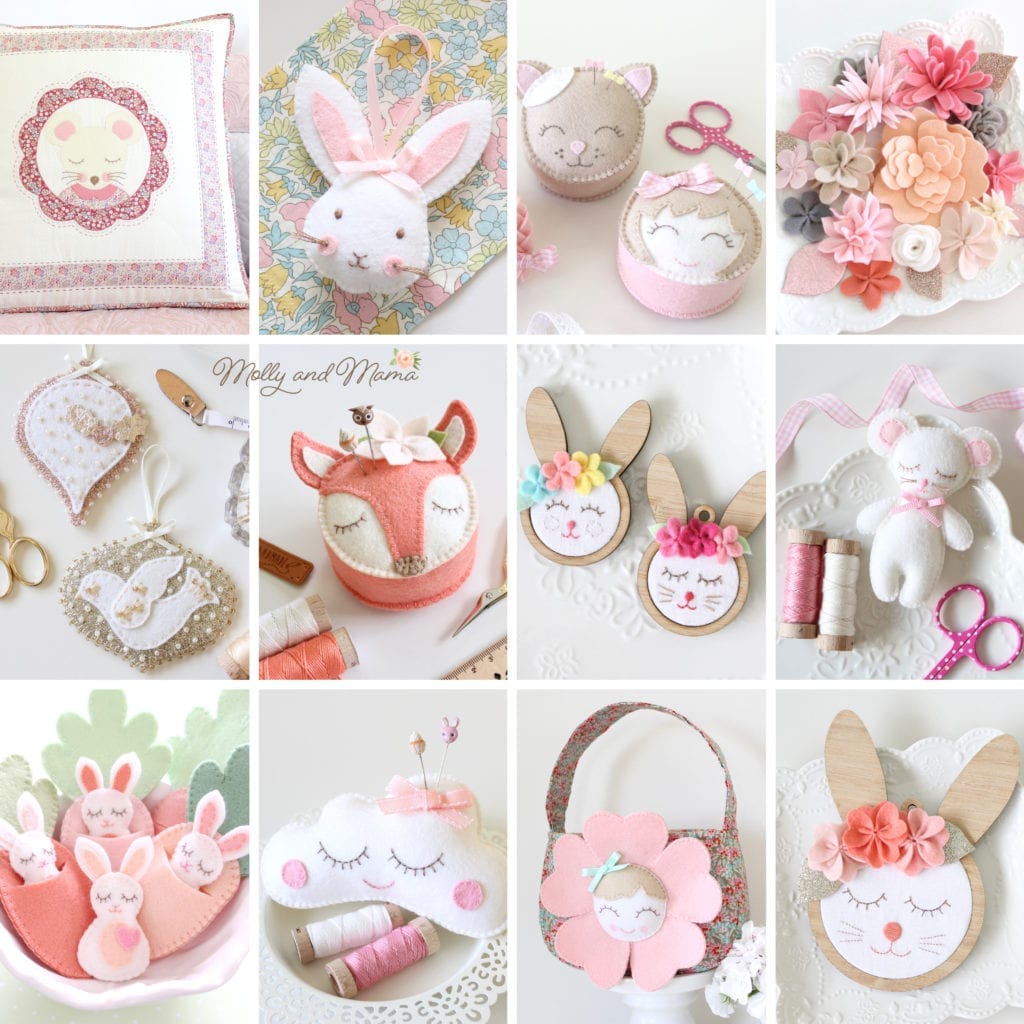
WHAT CAN YOU MAKE WITH FELT?

What can’t you make with felt? I love this medium so much I have designed a lovely range of sewing patterns for beginners that are made completely with felt, or feature it in appliqué or the accessories attached to some of the projects. You can see more in The Store.

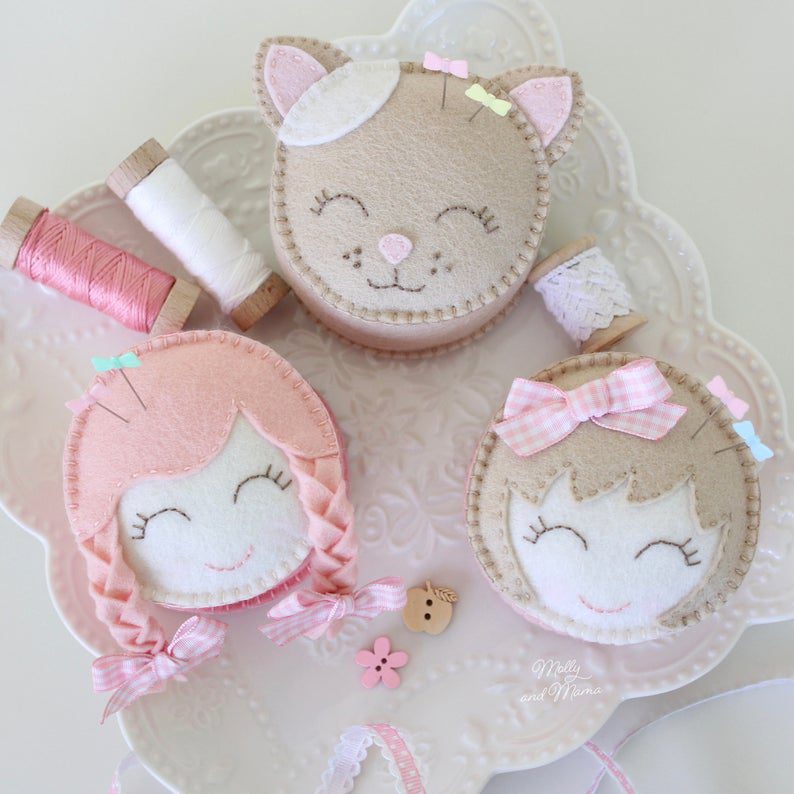
The ‘Miss Molly’ pin cushion was my first PDF pattern and still remains my most popular. This pattern is great for beginners and an easy project to start with. Miss Molly is now paired with two friends, so there’s lots of options in this pattern! You can pick up a copy HERE.

Fifi Fox is a super sweet felt pin cushion pattern that can be stitched in as little as an afternoon. Learn how to make the felt flower too! You can see more in the store. Or check out the free Fifi Fox Needle Book Tutorial.

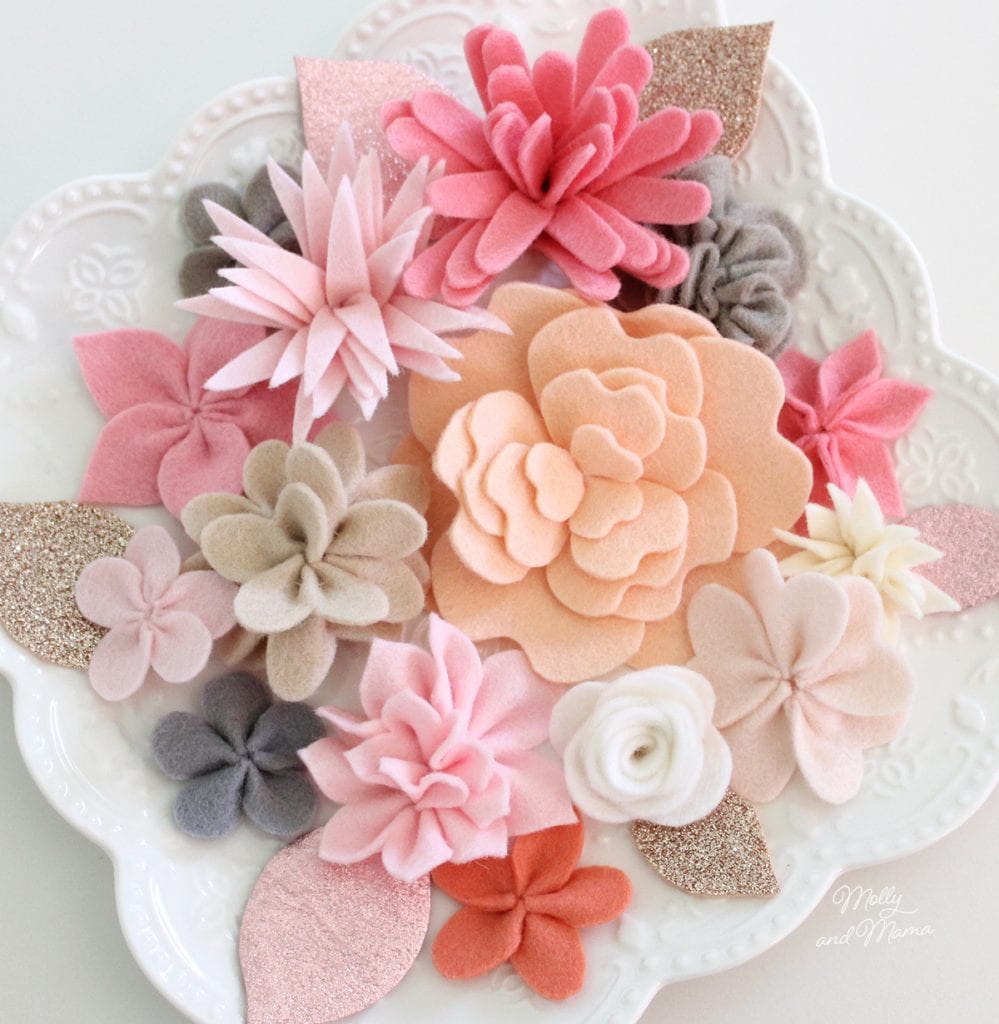
Another firm favourite is the ‘Coco Flower Crown‘. You can make a huge range of felt flowers and succulents with this pattern. You’ll learn how to make a flower crown, wristlet and hair clip. But you can also use the flowers to adorn your sewing projects, make a door wreath, hoop art, potted plants… the list goes on. This pattern is great value and will save you hours of Pinterest browsing!

Looking for FREE TUTORIALS? Head to the tutorial page for more ideas!

You could try these sweet and simple felt toadstools!

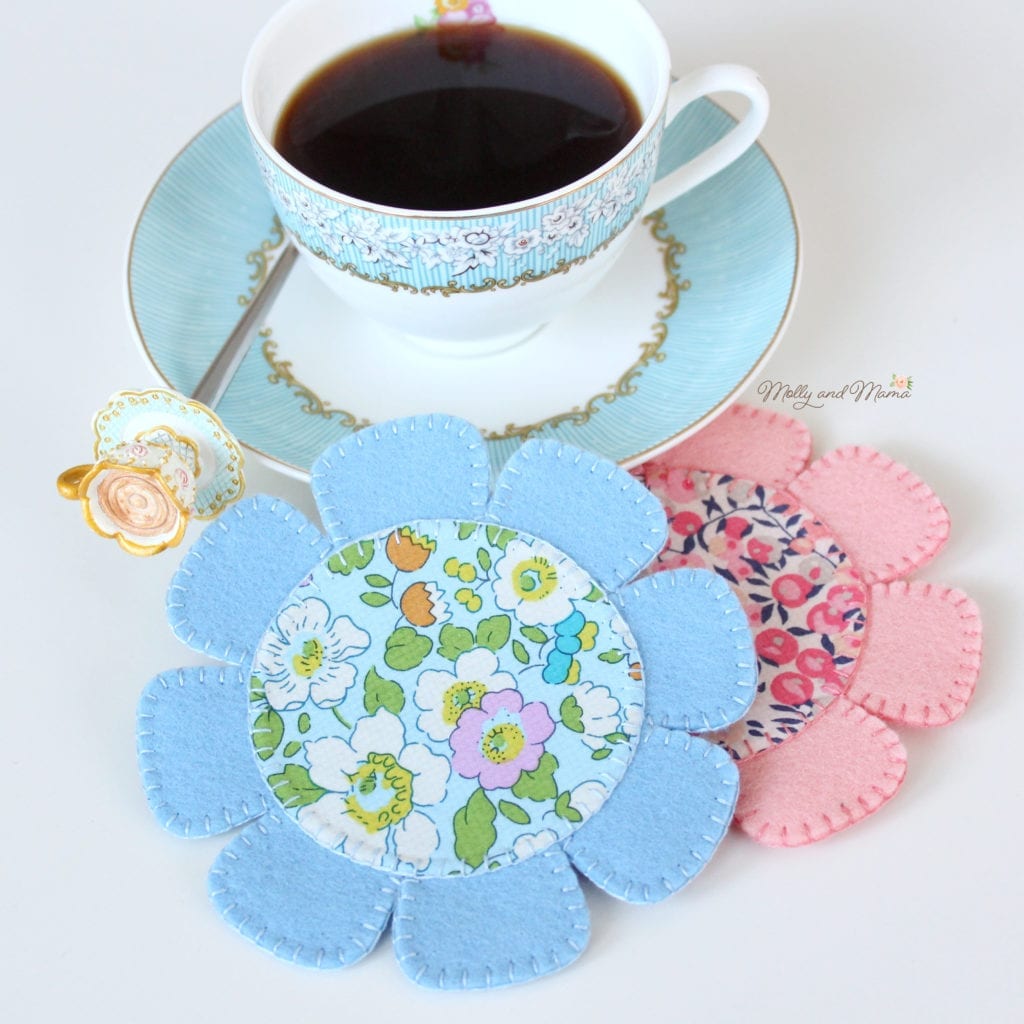
These pretty fabric and felt coasters have been popular…

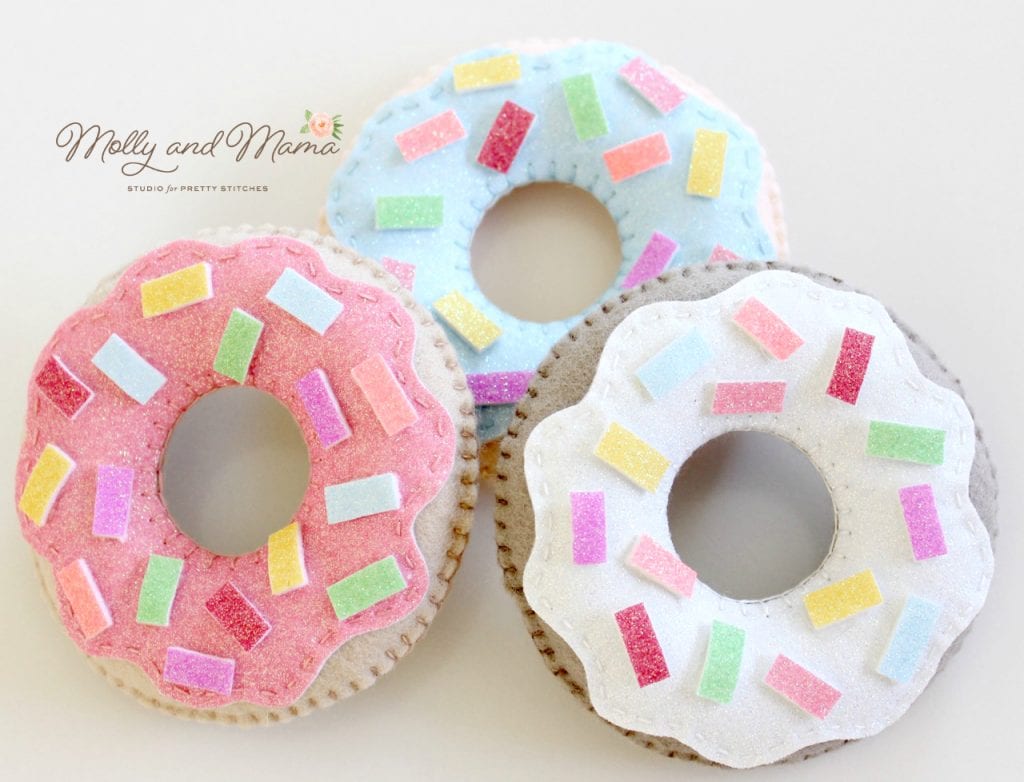
And these felt donuts are always a hit!

Looking for more felt inspiration? I have founds lots of lovely ideas on Pinterest. So feel free to have a browse through my FELT FUN album, and be sure to follow Molly and Mama on Pinterest if you don’t want to miss future pins! You can also see new and upcoming projects on Instagram. I’m there almost every day (please tell me I’m not the only one!)

I hope you’ve found these tips helpful. If you’ve got more tips to share, please leave me a comment.

Happy stitching, Lauren x

This post was written by Lauren Wright and appeared first on Molly and Mama http://www.MollyandMama.com.au

Filed Under: Felt Fun, Tutorials Tagged With: felt, tips, tricks, wool felt

Comments

  1. Madeleine (That Healthy Girl) says

    July 27, 2014 at 10:05 pm

    What beautiful felt creations! Thanks for the tips.

    Reply
  2. Madeleine (That Healthy Girl) says

    July 27, 2014 at 10:05 pm

    What beautiful felt creations! Thanks for the tips.

    Reply
  3. Katharine S says

    May 13, 2015 at 10:51 pm

    Your photography is stunning, and sewing is exquisite!

    Reply
  4. Lauren at Molly and Mama says

    May 13, 2015 at 11:24 pm

    Thank you Katharine!

    Reply
  5. Ridley Fitzgerald says

    August 26, 2017 at 4:36 am

    You have some great tips for working with felt. My mom always loved felting, so I thought I’d give it a try, to see if I like it. Using an embroidery needle sounds nice, since it’d be easier to thread.

    Reply
    • Lauren at Molly and Mama says

      August 31, 2017 at 1:24 am

      Thanks Ridley, I hope you enjoy working with felt!

      Reply

Trackbacks

  1. Make a Sleepy Cloud Pin Topper | Molly and Mama says:
    October 9, 2014 at 4:16 pm

    […] SLEEPY CLOUD is one of my favourite felt creations. I just love working with 100% wool felt (you can read why here). And I also love making pin […]

    Reply
  2. Make a Sleepy Cloud Pin Topper | Molly and Mama says:
    October 9, 2014 at 4:16 pm

    […] SLEEPY CLOUD is one of my favourite felt creations. I just love working with 100% wool felt (you can read why here). And I also love making pin […]

    Reply
  3. Make a Pretty Felt Flower Crown | Molly and Mama says:
    November 4, 2014 at 12:36 pm

    […] you enjoy working with wool felt, you may like the tips I’ve posted HERE. For more free hair accessory ideas, you can visit my other TUTORIALS […]

    Reply
  4. Make a Pretty Felt Flower Crown | Molly and Mama says:
    November 4, 2014 at 12:36 pm

    […] you enjoy working with wool felt, you may like the tips I’ve posted HERE. For more free hair accessory ideas, you can visit my other TUTORIALS […]

    Reply
  5. Make a Felt Pear Pin Cushion | Molly and Mama says:
    November 4, 2014 at 10:29 pm

    […] to sew ‘pin cushion’ projects. Because I really LOVE pin cushions! Being a huge fan of wool felt, this Pear Pin Cushion pattern I found on Pinterest looked ideal. It is completely hand stitched […]

    Reply
  6. Make a Felt Pear Pin Cushion | Molly and Mama says:
    November 4, 2014 at 10:29 pm

    […] to sew ‘pin cushion’ projects. Because I really LOVE pin cushions! Being a huge fan of wool felt, this Pear Pin Cushion pattern I found on Pinterest looked ideal. It is completely hand stitched […]

    Reply
  7. Sew a Felt Christmas Mouse | Molly and Mama says:
    November 12, 2014 at 10:50 pm

    […] in felt. In fact, I love 100% wool felt so much, I wrote some tips and tricks for working with it HERE. It’s just so versatile! And […]

    Reply
  8. Make a Pretty Posy Pin Cushion | Molly and Mama says:
    November 22, 2014 at 3:39 pm

    […] more tutorials HERE. I love writing about Pin Cushions and have some great tips for working with Wool Felt. I have a gorgeous collection of inspiring ideas on Pinterest too. I even have Pin Cushion patterns […]

    Reply
  9. Christmas Projects For You To Try | Molly and Mama says:
    December 12, 2014 at 5:32 pm

    […] For tips on working with wool felt, you can read more HERE. […]

    Reply
  10. Make a Koala Hair Clip - Molly and Mama says:
    June 5, 2015 at 12:44 pm

    […] The finished koala only measures 6cm (or 2.5″) across and fits neatly on a 48mm ribbon-lined alligator clip. She’s made from wool felt. If you haven’t already guessed it, I’m obsessed with this medium! You can see more tips for using wool felt HERE. […]

    Reply
  11. What's in store for Molly and Mama in 2015 - Molly and Mama says:
    June 5, 2015 at 6:22 pm

    […] out so much better than I thought. It was wonderful combining my three loves; hand stitching, wool felt and Liberty […]

    Reply
  12. 'My Little Felt Busy Book' Pattern Review - Molly and Mama says:
    July 14, 2015 at 11:00 am

    […] no secret that I love working with felt. So much so, that I’ve even written an article with Tips for Working With Wool Felt!  You can see it in the current issue of One Thimble magazine* on page 90. So it should be no […]

    Reply
  13. Stitch A Felt Christmas Ornament - Molly and Mama says:
    November 10, 2015 at 3:34 pm

    […] *A note about felt – I LOVE using wool felt for all of my felt projects. It keeps its shape, is easier to cut and sew, and doesn’t stretch or pill like acrylic craft felt does. To find out more, visit my Tips for Working with Wool Felt. […]

    Reply
  14. Felt Elf Tutorial from Molly and Mama ♥ Fleece Fun says:
    November 16, 2015 at 9:00 pm

    […] on working with wool felt, and to find out why I love it so much, you may enjoy this post – https://mollyandmama.com.au/2014/07/27/tips-for-working-with-wool-felt/ […]

    Reply
  15. Sew a Felt Christmas Mouse | Cloth 'n' Craft says:
    November 20, 2015 at 8:01 am

    […] in felt. In fact, I love 100% wool felt so much, I wrote some tips and tricks for working with it HERE. It’s just so versatile! And […]

    Reply
  16. Sew a Felt Koala Bookmark - Molly and Mama says:
    January 23, 2016 at 12:23 pm

    […] The finished koala only measures 6cm (or 2.5″) across (and you can make the book mark ribbon any length you like).  She’s stitched in wool felt. If you haven’t already guessed it, I’m obsessed with this medium! You can see more tips for using wool felt HERE. […]

    Reply
  17. Oh Christmas Tree QAL–Step 1 | OccasionalPiece--Quilt! says:
    February 2, 2016 at 9:03 pm

    […] Molly and Mama […]

    Reply
  18. Make Felt Flower Hair Clips / Daily inspiration from our bloggers says:
    October 24, 2016 at 5:47 pm

    […] that is a wool and rayon blend. If you'd like to know more tips, there's an excellent post about working with wool felt over on the Molly and Mama blog […]

    Reply
  19. Make Felt Halloween Hair Clips / Daily inspiration from our bloggers says:
    October 27, 2016 at 10:28 pm

    […] scraps of 100% wool felt in black, glitter purple and copper (or any other spooky colours you choose). The benefits of using wool felt is outlined HERE. […]

    Reply
  20. Make Felt Donuts for fun food play or simple hanging Christmas ornaments says:
    November 19, 2016 at 5:02 am

    […] to use only 100% wool felt (if you can) or blended wool felt. To learn more about why, head to my Tips for Working with Wool Felt. I source all my plain and glitter wool felt from my favourite local supplier Rose Petal […]

    Reply
  21. Sew a Felt Flower Coaster - Molly and Mama says:
    July 20, 2017 at 6:01 am

    […] Two x 5 1/2″ (14cm) squares of wool felt. See this blog post for tips on working with Wool Felt. […]

    Reply
  22. Felt Cat Tutorial - Sew A Softie 2018 - Molly and Mama says:
    July 3, 2018 at 4:02 pm

    […] 8 inches (20cm) x 4 inches (10cm) of cat coloured felt (preferably wool felt; here’s why – Tips for working with Wool Felt) […]

    Reply
  23. How to Transfer Templates to Felt - Molly and Mama says:
    November 14, 2018 at 8:01 pm

    […] The best way to ensure you have a beautiful felt creation, is to start with 100% merino wool felt. If you’d like to read more about this beautiful material, head over to my Tips for Working With Wool Felt. […]

    Reply
  24. How To Embroider Details Onto Felt - Molly and Mama says:
    November 19, 2018 at 6:20 am

    […] you’d like to know more about working with wool felt, you’ll enjoy this tutorial! There’s also some tips for Transferring Templates to Wool Felt for […]

    Reply
  25. Simple Hexie Keyring Tutorial - Molly and Mama says:
    December 15, 2018 at 5:55 pm

    […] For more tips and tricks for working with wool felt, please see my tutorial HERE. […]

    Reply
  26. Quilt Big - Blog Tour - Molly and Mama says:
    February 4, 2019 at 12:02 pm

    […] lots of tutorials, projects, reviews and ponderings about all things quilting, embroidery, wool felt and more. It’s great to have you […]

    Reply
  27. Make an Easy Felt Bunny - Molly and Mama says:
    April 15, 2019 at 7:49 am

    […] –       15 1/2″ (14cm) x 7″ (18cm) piece of wool felt in your favourite colour (you can visit my blog post to learn all about the benefits of working with wool felt) […]

    Reply
  28. Tilda Plum Garden Fabric Showcase - Molly and Mama says:
    July 16, 2019 at 6:12 pm

    […] The generously sized (20″ or 50cm) cushion is adorned with a cute little mouse appliqué made with one of my favourite mediums; wool felt. It’s such an easy material to work with and very forgiving when you are machine blanket-stitching. You can learn more about wool felt HERE. […]

    Reply
  29. Sew a Simple Felt Swan Softie - Molly and Mama says:
    July 29, 2019 at 1:56 pm

    […] can make this softie with any felt you like, but I love merino wool felt. You can read why HERE. All my felt supplies, including the incredible metallic and glitter felt, come from My Felt Lady […]

    Reply
  30. Sew A Felt Swan Hair Clip - Molly and Mama says:
    November 5, 2019 at 1:02 pm

    […] swan, you will need some basic supplies including felt. I love using wool felt and I explain why HERE. But you could use any felt you […]

    Reply
  31. 'Night Before Christmas Stocking' Sew Along - Molly and Mama says:
    November 5, 2019 at 6:21 pm

    […] you sew with wool felt? It’s addictive! Here’s some Tips for Working with Felt. You might also like to know how I cut out wool felt and how I transfer my embroidery details to […]

    Reply
  32. Week 1 - Stocking Sew Along - Molly and Mama says:
    November 18, 2019 at 7:58 pm

    […] sewing with felt, I prefer 100% merino wool felt. I explain all about it in my Felt Tips blog […]

    Reply
  33. Week 4 - Stocking Sew Along - Molly and Mama says:
    December 10, 2019 at 8:07 am

    […] Feel free to check out my tips for working with wool felt. […]

    Reply

Leave a Reply to Sew a Felt Christmas Mouse | Cloth 'n' Craft Cancel reply

Your email address will not be published. Required fields are marked *

Categories

  • Christmas (37)
  • Christmas Stocking Sew Along (6)
  • Easter (10)
  • Embroidery For Beginners (6)
  • English Paper Piecing (9)
  • Felt Fun (12)
  • Forest Family Quilt Along (10)
  • Holidays (11)
  • Molly and Mama Patterns (54)
  • Pattern and Book Reviews (38)
  • Projects (40)
  • Quilting Help (3)
  • This and That (49)
  • Tutorials (49)

Cart

mollyandmama

Studio For Pretty Stitches
🐝🌸 You’ve seen my pretty floral Serious Se 🐝🌸 You’ve seen my pretty floral Serious Sewist’s Set, but here’s a sweet Liberty Wiltshire version. I love @libertyfabrics tana lawn, especially when it’s paired with linen.

Find out more about this new pattern in the listing details. Tap the photo or head to the shop link in my profile. 

#mollyandmama #serioussewistsset #libertyfabric #libertytanalawn #iloveliberty #libertywiltshire #felt #woolfelt  #feltapplique #appliquebee #feltbee #scissorkeeper #scissorcharm #hexies #hexagons #englishpaperpiecing #epp #handstitched #slowsewing #aurifil #aurifloss #aurifilfloss #embroideryfloss #aurifilartisan
I’m loving @mabletandesigns new collection ‘B I’m loving @mabletandesigns  new collection ‘Birds & Blooms’ for @pbsfabrics. And hand quilting with @aurifilthread embroidery floss is a dream! Can you guess which of my patterns this will become? 

#mollyandmama #mabletandesigns #birdsandbloomsfabric #pbsfabrics #australianflorafabric #australianafabric #cockatoo #parakeet #parrot #stellacushions #fatquarterbundle #fabriccollection #fabricpull #aurifulthread #aurifloss #aurifilartisan #embroideryfloss #aurifilfloss
🐝🤍 It’s here! Thank you so much to those w 🐝🤍 It’s here! Thank you so much to those who have already purchased the Serious Sewist’s pin cushion and scissor charm pattern set. Tap the photo for a direct link, or head to my profile. 

#mollyandmama #serioussewistsset #felt #woolfelt  #feltapplique #appliquebee #feltbee #scissorkeeper #scissorcharm #hexies #hexagons #englishpaperpiecing #epp #handstitched #slowsewing #missrosesisterviolet #rileyblakedesigns #iloverileyblake #rileyblake #roseandvioletsgardenfabrics #aurifil #aurifloss #aurifilfloss #embroideryfloss #aurifilartisan #fatquarterbundle #roseandvioletsgardenfabric
🦜🌼 On the cutting table this week is this su 🦜🌼 On the cutting table this week is this summery fun Australiana collection called Birds & Blooms from @mabletandesigns for @pbsfabrics. It’s described as combining classical botanical illustration styles with a modern, trend-worthy colour palette. And it’s so true! Check with @pbsfabrics for stockists near you. 

I love all of Mable’s designs, this one especially! What should I make? 

#mollyandmama #mabletandesigns #birdsandbloomsfabric #pbsfabrics #australianflorafabric #australianafabric #cockatoo #parakeet #parrot #gumblossom #fatquarterbundle #fabriccollection #fabricpull #aurifulthread #aurifloss #aurifilartisan #embroideryfloss #aurifilfloss
How sweet does Miss Maisie Pin Cushion look sittin How sweet does Miss Maisie Pin Cushion look sitting here on this cute ‘I Spy’ style doll’s quilt?  It’s based on the Rising Sun mini quilt pattern from @blossomheartquilts’ book ‘Mini Masterpieces’. You can see more photos and find links to the book on my latest blog post (there’s a link in my profile). 

Miss Maisie is part of the Miss Molly And Friends Pin Cushion Pattern in my store. Tap the photo for a link. She’s quick to stitch, lots of fun to make and comes with two other friends; Miss Molly and Miss Kitty. 

#mollyandmama #missmollypincushion #missmollyandfriends #missmaisiepincushion #felt #woolfelt #feltpincushion #applique #appliqué #appliquequilt #ispyquilt #minimasterpiecesbook #blossomheartquilts #aurifilartisan #aurifilthread #aurifilfloss #aurifloss #blanketstitch #rawedgeapplique #quiltersofinstagram #makersgonnamake
🪡✂️💗 Thank you so much for your wonderfu 🪡✂️💗 Thank you so much for your wonderfully positive response to my Serious Sewist’s Set. The pattern is now live! Visit the link in my profile to head to the store 🐝💕.

#mollyandmama #serioussewistsset #serioussewistspincushion  #felt #woolfelt  #feltapplique #appliquebee #feltbee #scissorkeeper #scissorcharm #hexies hexagons #englishpaperpiecing #epp #handstitched #slowsewing #missrosesisterviolet #rileyblakedesigns #iloverileyblake #rileyblake #roseandvioletsgardenfabrics #aurifil #aurifloss #aurifilfloss #embroideryfloss #aurifilartisan #fatquarterbundle #roseandvioletsgardenfabric
💗 Have you started the year with some English p 💗 Have you started the year with some English paper piecing? The weekly #sipteaandepp party is continuing with the lovely Larisa from @stitchingnotes and this year I’m making way for the very talented Irina from @nordiccrafter to become the new co-host. Please go and visit the profiles of these clever creatives to learn all about what 2021 holds for #sipteaandepp. The girls have some exciting plans in place and I know you’re going to love it!

This week’s theme is all about Introductions, where you’re encouraged to share a few random facts about yourself. So here’s a little about me. 

🤍 Before starting this wonderful journey into sewing, I was a primary school teacher

🤍My first degree was a bachelor of Behavioural Science / Psychology

🤍 I’ve been crafty for as long as I remember but I also love art, illustration, gardening and baking

🤍 I’m not a traditional tea drinker (which was a little strange as the co-host of #sipteaandepp 😂 

🤍 I’m inspired mostly by colour and nature. I’m drawn to anything muted, delicate, pastel, pretty, dainty and floral. Yet nothing in my home or wardrobe would give you that impression! 

With so many new followers joining me in the new year, I’d love to know more about you. And if you have any questions for me, feel free to ask! Lauren 💗
🌸💚 I’ve had lots of requests for informati 🌸💚 I’ve had lots of requests for information about pattern releases and more. The best way to stay in the loop is to sign up for the fortnightly newsletter. That way you’ll also get the new release discount code. And you’ll even get this embroidery design as a FREE PATTERN! 

It’s just a friendly space where I share previews of my current projects, a tutorial or pattern, and some of your makes for added inspiration. I’d be thrilled to have you join me. I’m also working on the next free pattern, which gives you a taste for what my projects are all about - beginner techniques with beautiful finishes, so everyone can experience sewing success! 

Head to my profile for the sign up link. There’s a new felt freebie coming soon 💗

#mollyandmama #embroidery #freeembroiderypattern #freeembroiderydesign #handembroidery #handstitched #freepattern #freeproject #floralwreath #floralwreathembroidery #flowerwreath #flowerwreathembroidery #aurifil #aurifilthread #aurifilartisan #aurifilfloss #embroideryfloss #spoolofthread #embroiderersofinstagram #embroideryhoop #embroideryhoopart #stitchersofinstagram #makersgonnamake #makersgonnashare #craftersgonnacraft #happystitching #slowstitching
Honey bees are so amazing! I really wish I wasn’ Honey bees are so amazing! I really wish I wasn’t allergic. So while we gave my father in law a hive, we keep native Australian stingless bee hives instead. And they are the friendliest little creatures. I love finding sewing inspiration from our garden 🐝💐

This scissor fob is part of the Serious Sewist’s Pin Cushion Set. Find it in the store or tap the photo for a direct link 🥰

#mollyandmama #felt #woolfelt #feltapplique #appliquebee #feltbee #scissorkeeper #scissorfob #scissorcharm #hexies hexagons #englishpaperpiecing #epp #handstitched #slowsewing #missrosesisterviolet #rileyblakedesigns #iloverileyblake #rileyblake #roseandvioletsgardenfabrics #aurifil #aurifloss #aurifilfloss #embroideryfloss #aurifilartisan #fatquarterbundle #serioussewistsset #roseandvioletsgardenfabric
Follow on Instagram
© Copyright 2020 - Molly and Mama