How To Transfer An Embroidery Design To Fabric
Welcome to part two of my Beginner’s Tutorials for Embroidery. In the last post we looked at all the supplies you will need to get stitching. Now we’re looking at ways to transfer your embroidery design to fabric.
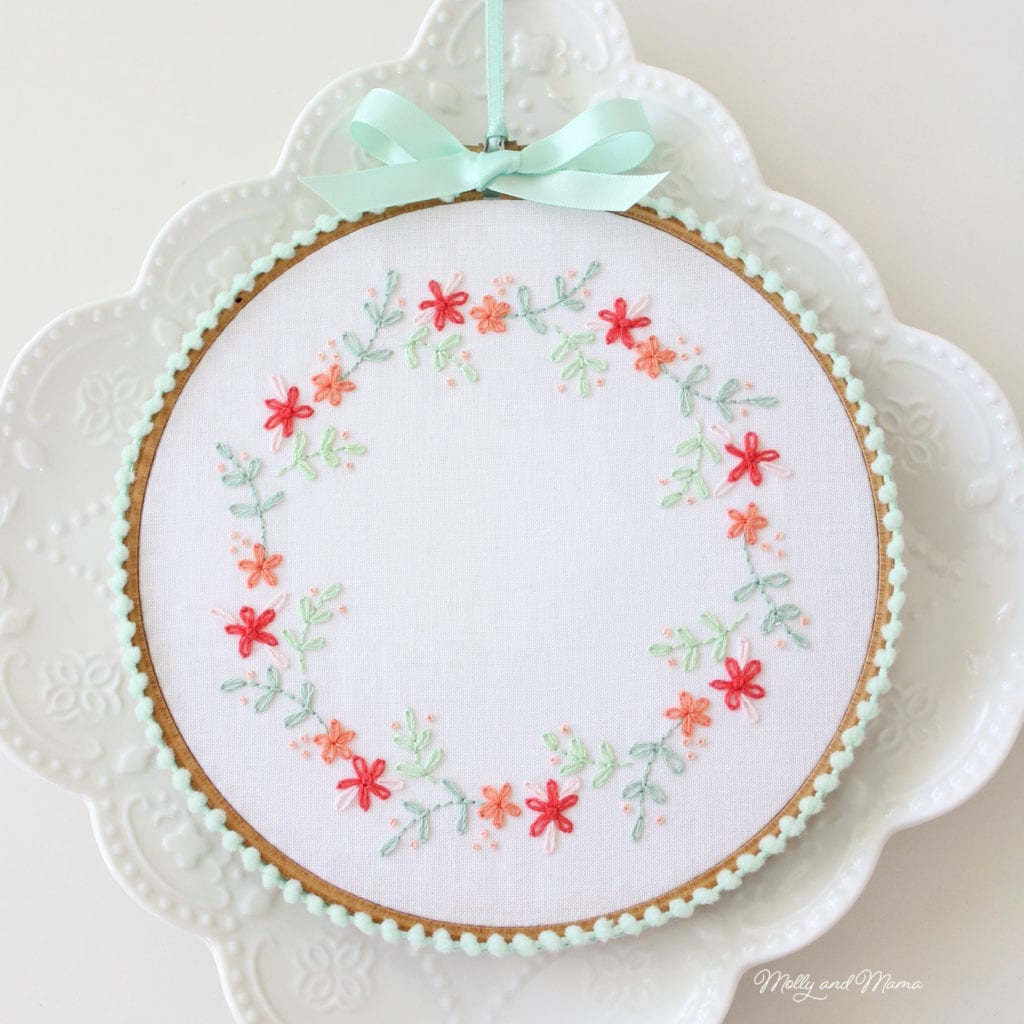
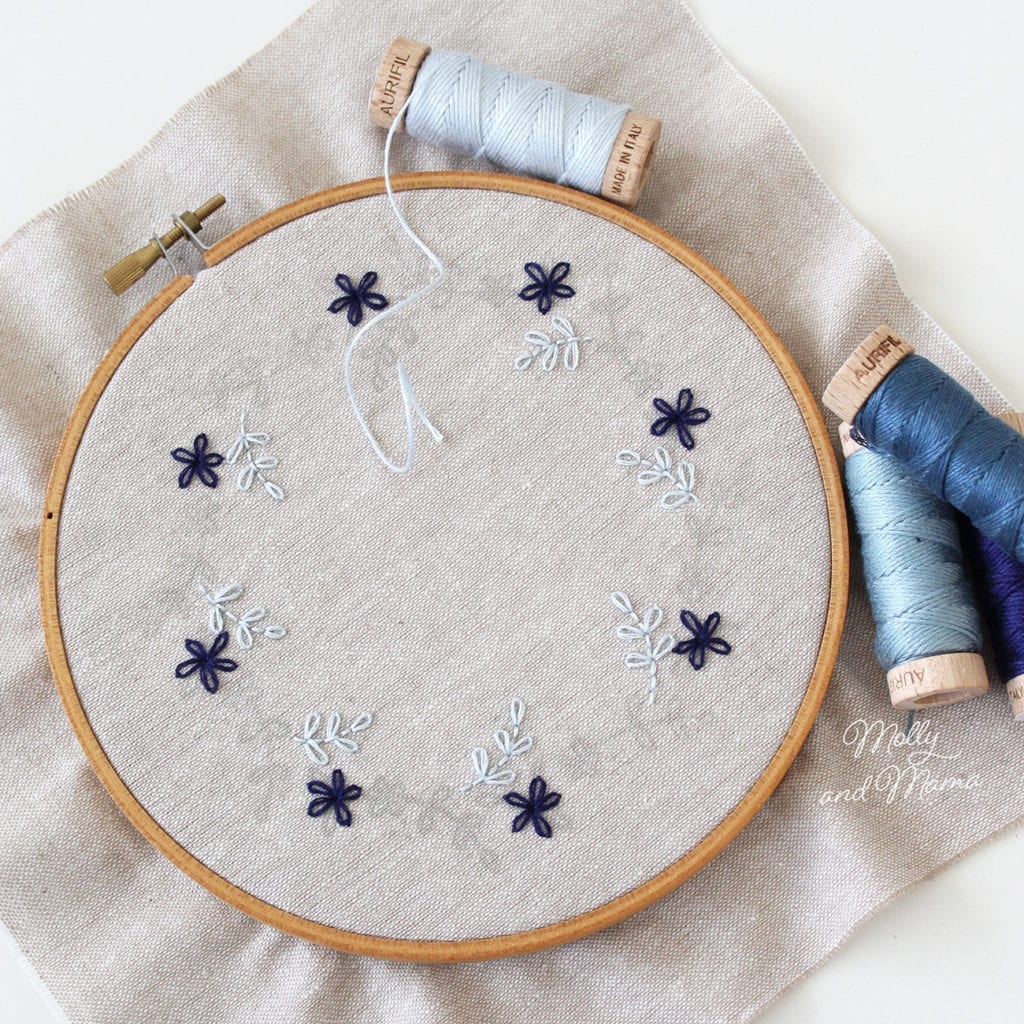
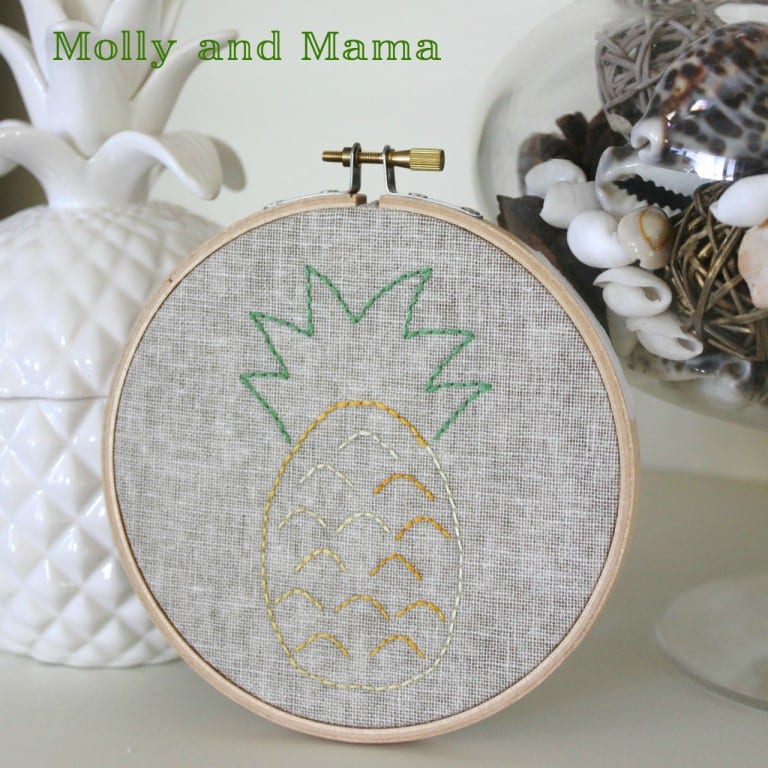
First you’ll need to decide on a design to stitch. This free design below has been used to illustrate the embroidery process in these images and is yours for free when you sign up to my newsletter list.
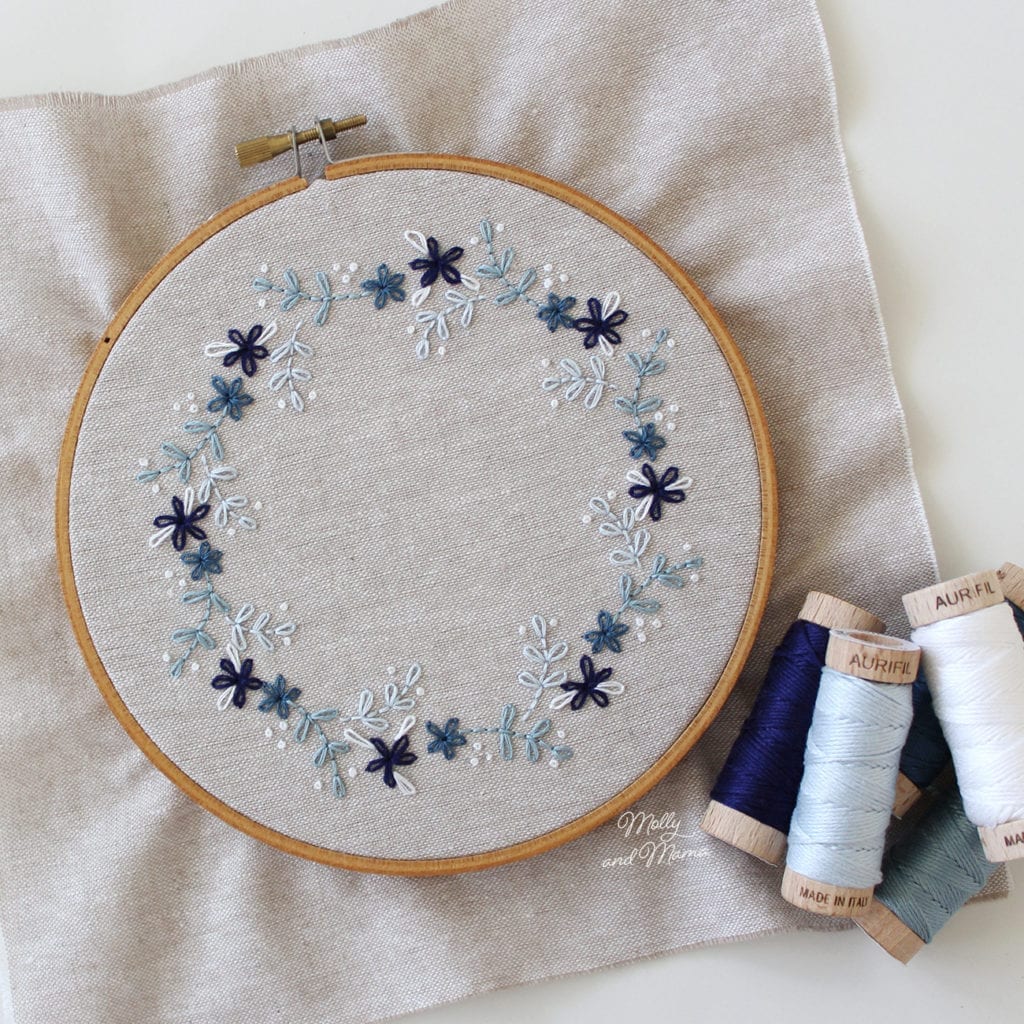
Here’s the same design, using a different colour palette and backing fabric.
Next, you’ll need to decide what fabric you’re going to embroider. Woven cottons are best. And light coloured fabrics are easier to transfer designs onto. But there are several transfer methods and several different pens you can use, so you are sure to find a method that works best for you.
Trim your fabric to a size that will fit nicely into the embroidery hoop you will be using to stitch with. You can use pinking shears to cut a zig zag edge, to help stop the fabric edges from fraying if you wish.
If you’re going to use fusible stabiliser on the wrong side of your fabric, it is a good idea to add it now. Though it does make it more difficult to trace an embroidery design through, it can be more difficult to remove the pen lines if they’ve been exposed to the heat of an iron. And they will erase completely if you have used a heat erasable pen (I have made that mistake once or twice before).
Cut a piece of stabiliser that is slightly smaller than the fabric piece you will be embroidering on. Follow the manufacturers instructions to secure the stabiliser to the wrong side of your fabric.
Find a Light Source
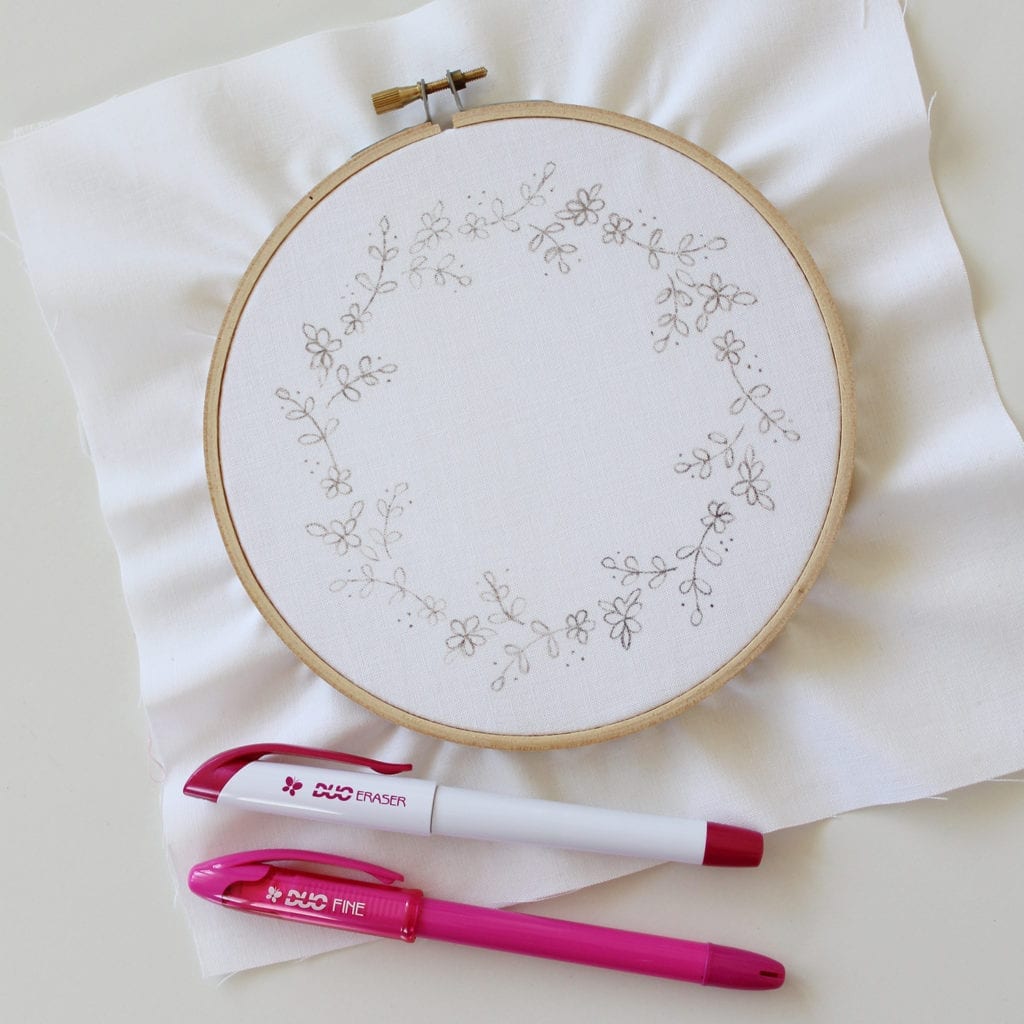
Have a print out of your embroidery template ready to trace. It’s easiest to trace a template that is back lit (has a light source behind it). I use an electric light pad that lights up. I place the template on it, and then centre the fabric over the light pad before tracing. I secure the template and fabric with washi tape or low-tack adhesive sticky tape.

You can make your own light pad by placing a light source like a torch into a large plastic container. Then sit a sheet of glass (like a cutting board or picture frame glass) on top of the container. This should provide you with a stable surface and good light source for tracing.
Alternatively, you can tape your template to a brightly lit window. Then tape the fabric in position over the template and trace the design using your favourite pen.
Which pen should you use for the design transfer?
There are a number of pens on the market and they all have their advantages (and sometimes disadvantages). They can also have varying results depending on the fabrics they are used with, the fabric weave, the fabric’s chemical content and the colour ink in the pen. I would recommend testing your pen or transfer method on a small section of your chosen fabric, before transferring the full embroidery design.
Sewline Duo Pen System
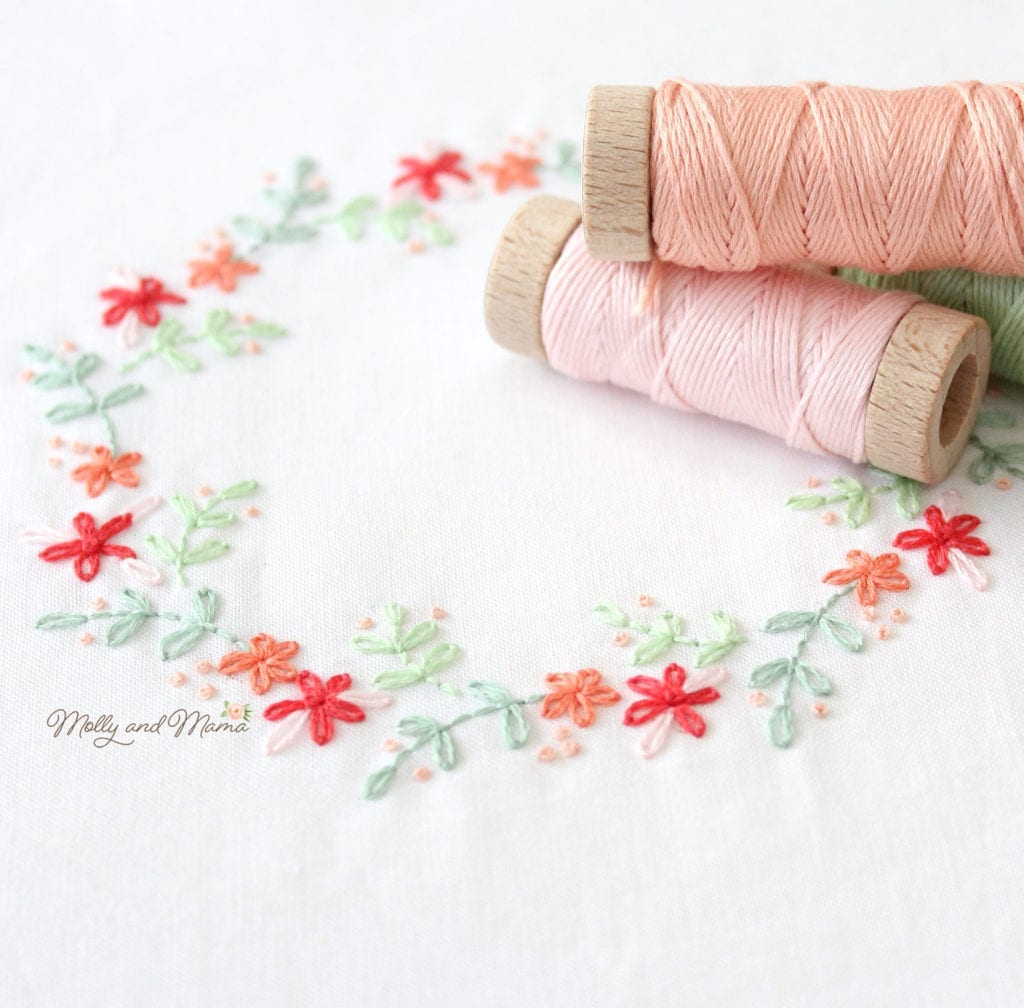
The Sewline Duo pen system has become my favourite way to trace embroidery designs. You use the hot pink, ceramic tipped pen to trace your design.

After you have finished embroidering your design, you can remove any unwanted lines by drawing over the ink lines with the wedge tipped eraser pen. The clear fluid in the pen dissolves the ink right before your eyes! This system is great for areas that are not too large.
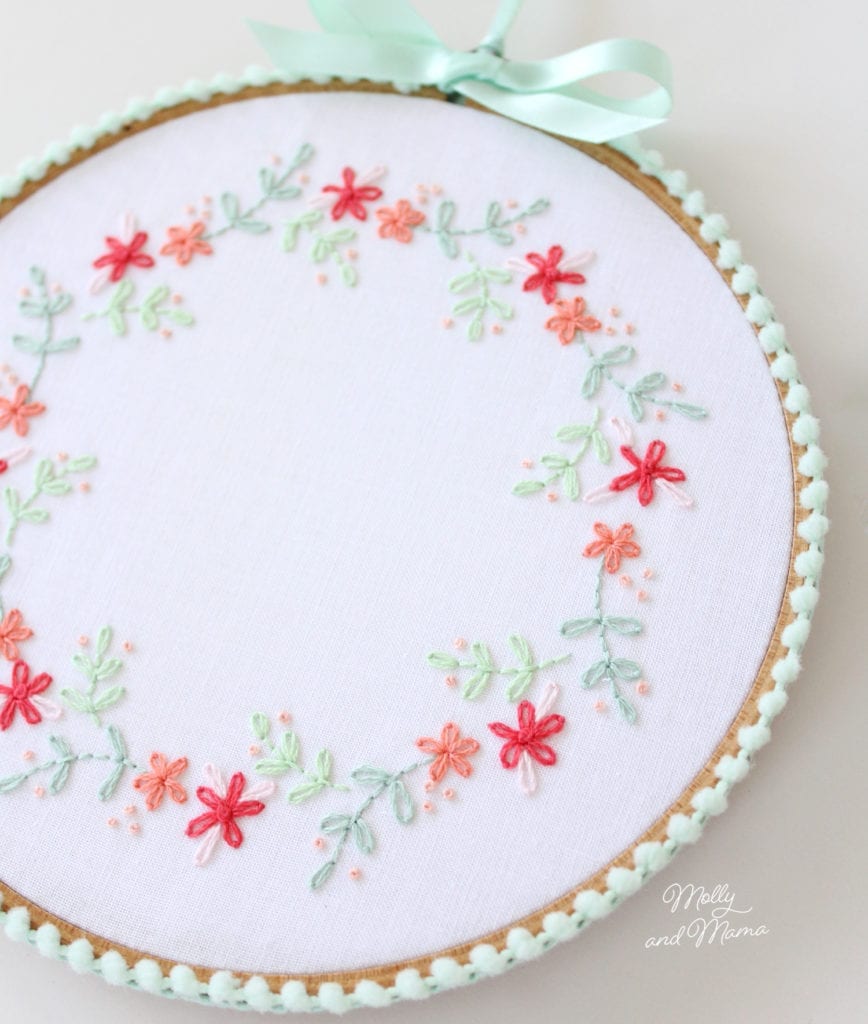
I enjoyed using this pen system to complete this pastel embroidery on a white background.
Heat Erasable Marker
Heat erasable markers are terrific because the lines can easily and swiftly be removed with the heat from an iron or even a hair dryer. So you can cover large areas like quilts, very quickly. However, be careful to keep your fabric away from heat if you haven’t finished your embroidery!
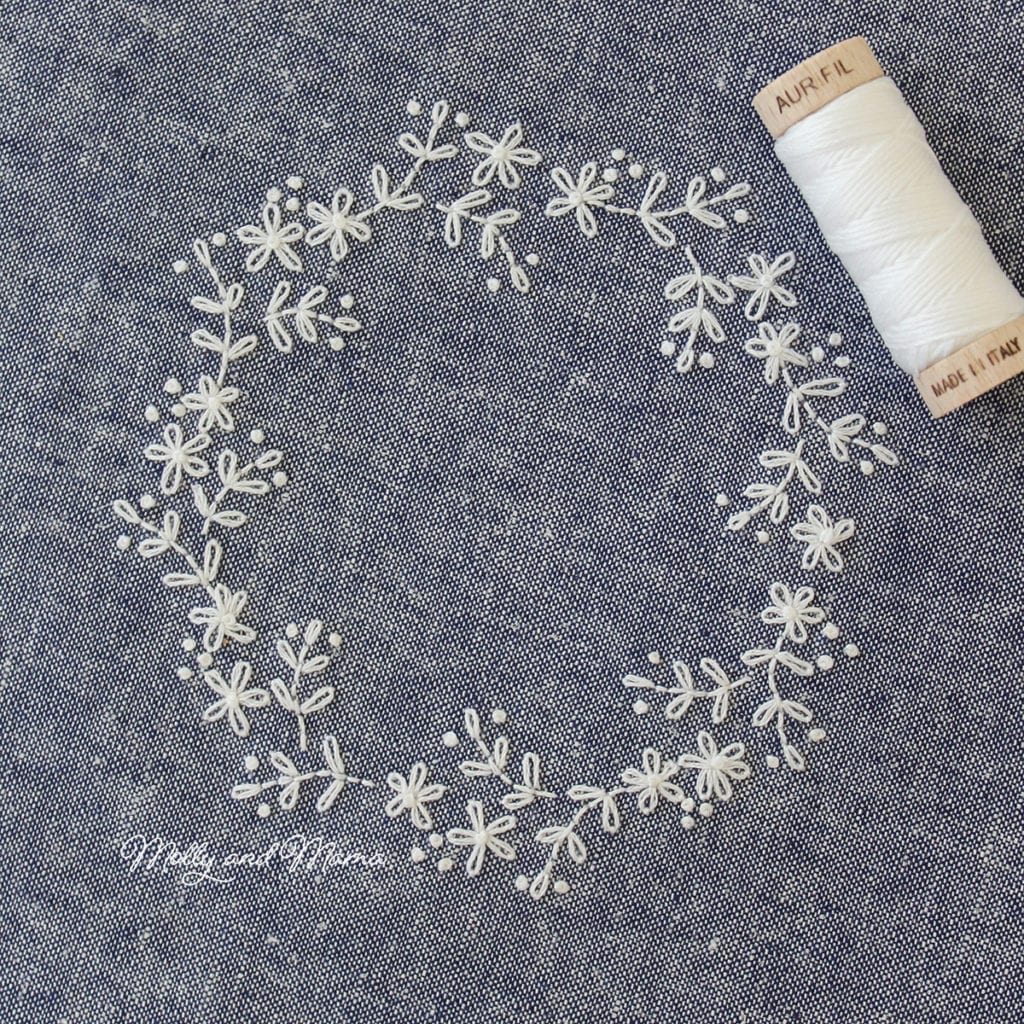
Pilot Frixion Pens are readily available, cost effective and come in a useful range of colours. I found the orange pen showed my wreath design well on this square of blue linen fabric.
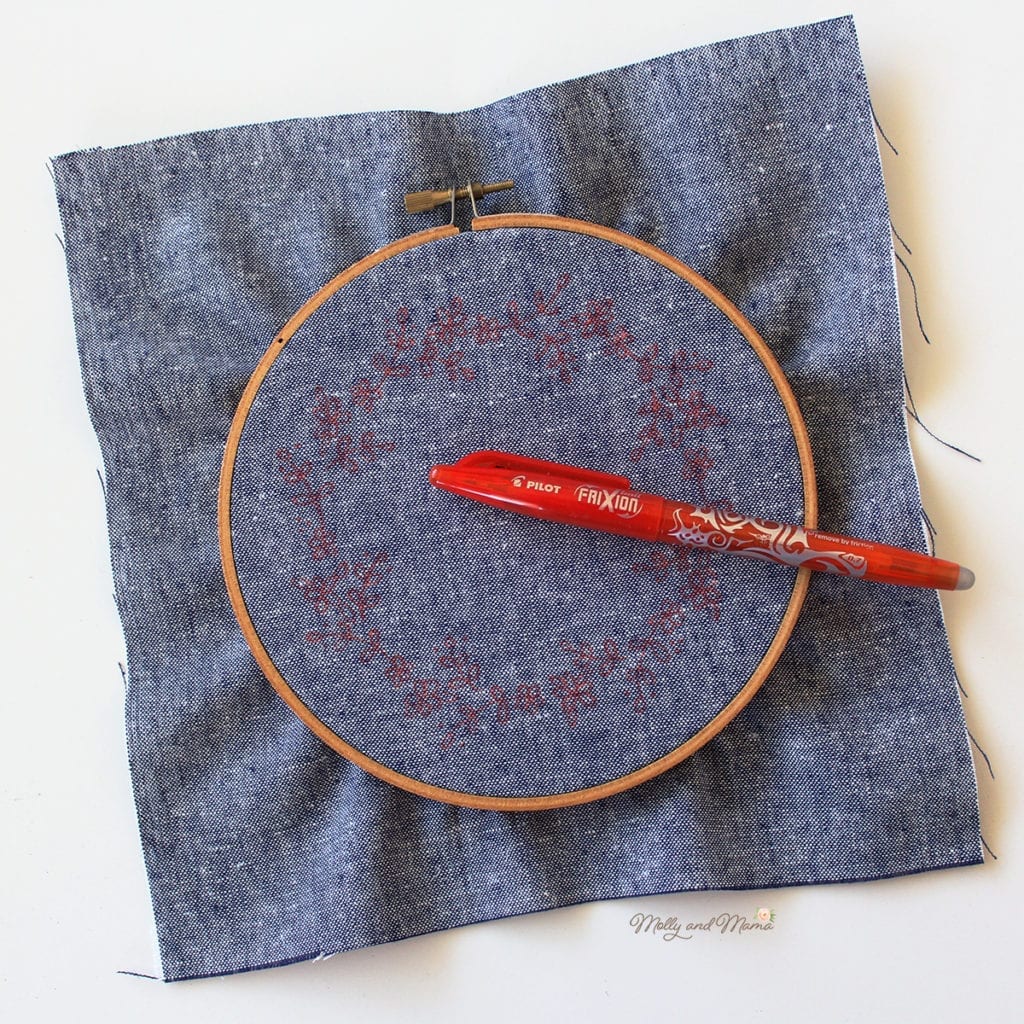
Here’s the finished design, stitched with only white thread, and then pressed from the back to remove the ink.
It is important to note that the ink from these pens does not dissolve completely, merely changes colour, which can lead to fine ghost lines remaining on your project, depending on the fabric colour used. So again, always be sure to conduct a trial on your fabric.
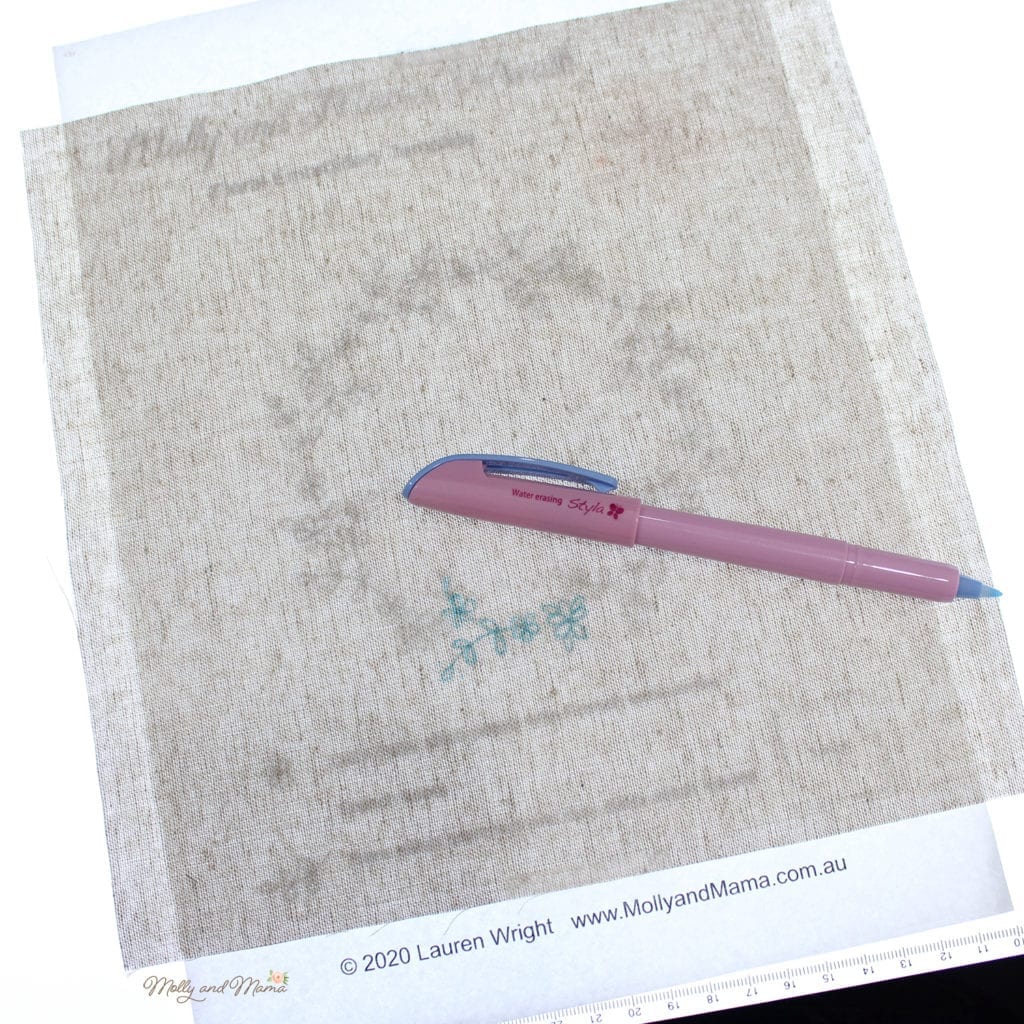
Water Erasable Marker
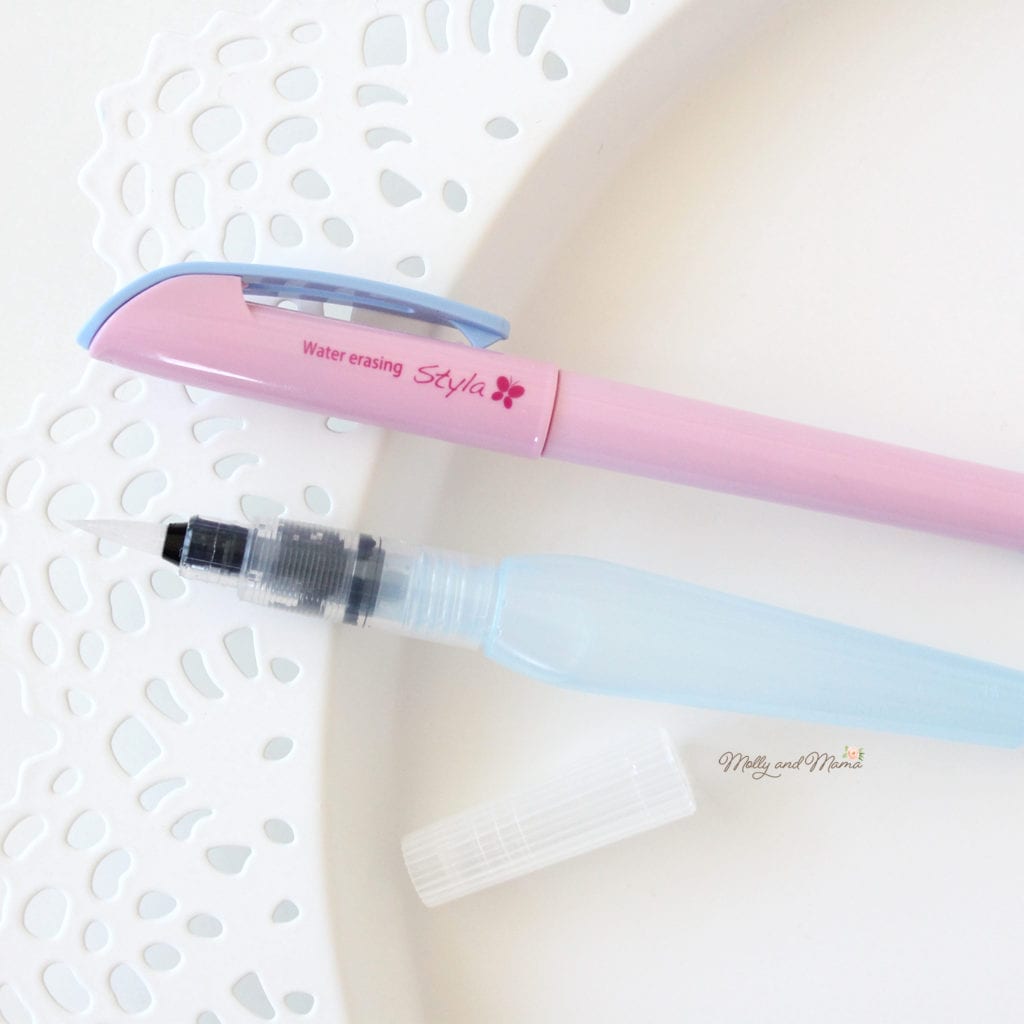
A water erasable pen can leave a lovely light and fine line to stitch, especially if the pen has a ceramic (instead of felt) tip. The pen pictured here is a Sewline Styla. However, if you iron the design after stitching, the pen lines can become difficult to remove. Sometimes I find the blue ink feathers out on the fabric and requires several attempts to remove all traces of the ink.
A clever trick for removing water erasable pen lines is to use a damp paint brush or a water brush (pictured below and favoured by artists). It has a water reservoir in the base that you can release into the brush tip by gently applying pressure to the sides. It’s a terrific mess and fuss free option.
Please note though that a water erasable pen would not be suitable for use on fabrics that are prone to water marking.
Iron On Transfer Pen
This is another clever (albeit permanent) way to transfer your embroidery design onto fabric. Trace the design onto a piece of printer paper.
Using the instructions that come with the pen, place the design face down over the right side of your fabric and iron the paper to transfer the design. Remember that your design will be transferred in reverse so you may need to print your template as a flipped mirror image, or flip your template before tracing. I find this method easy, though the transfer lines are thicker. This method worked wonderfully on this linen.
Here’s the stitching in progress.
Other Methods
There are certainly other methods for transferring embroidery designs and templates to fabric. You can always use a fine point permanent waterproof marker. This is great for projects that will be satin stitched, or where the guide lines for the design won’t be seen when the stitching is complete.
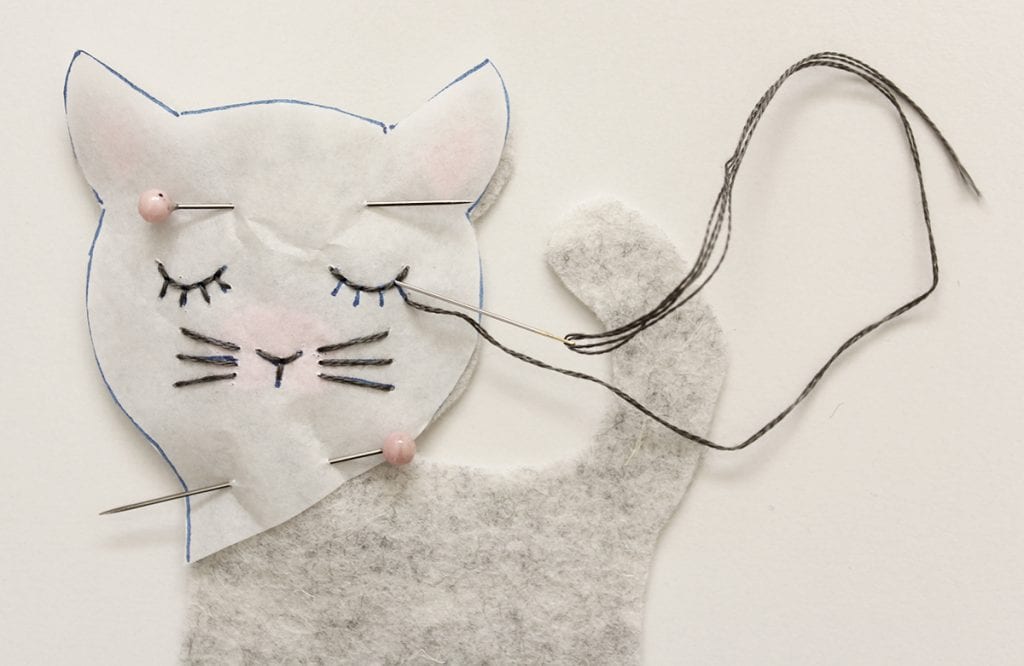
If you need to transfer embroidered details to felt (or other fabrics with rough surfaces), sewing directly through the design that has been traced onto tracing paper is a simple way to get really accurate results. I have written a blog post about it HERE.
If you’re using very dark fabrics, dress makers carbon paper is very useful. You can also print your design onto adhesive products that you can then stick to the front of your fabric, stitch through, and then dissolve in water after the embroidery is complete. The Sulky Solvy product is great for this.
Air erasable pens are also useful for marking designs that are going to be stitched swiftly.
I don’t like to use pencils as I find the graphite can be disturbed as you stitch the design and this can smudge on the fabric or muddy the floss colour. However, Sewline produces pencils specifically for sewing projects and I have found these to work well, especially the coloured pencils like white and pink.
If you have other methods, please be sure to share them. Get in touch or leave a comment. I hope you’ve found the suggestions helpful.
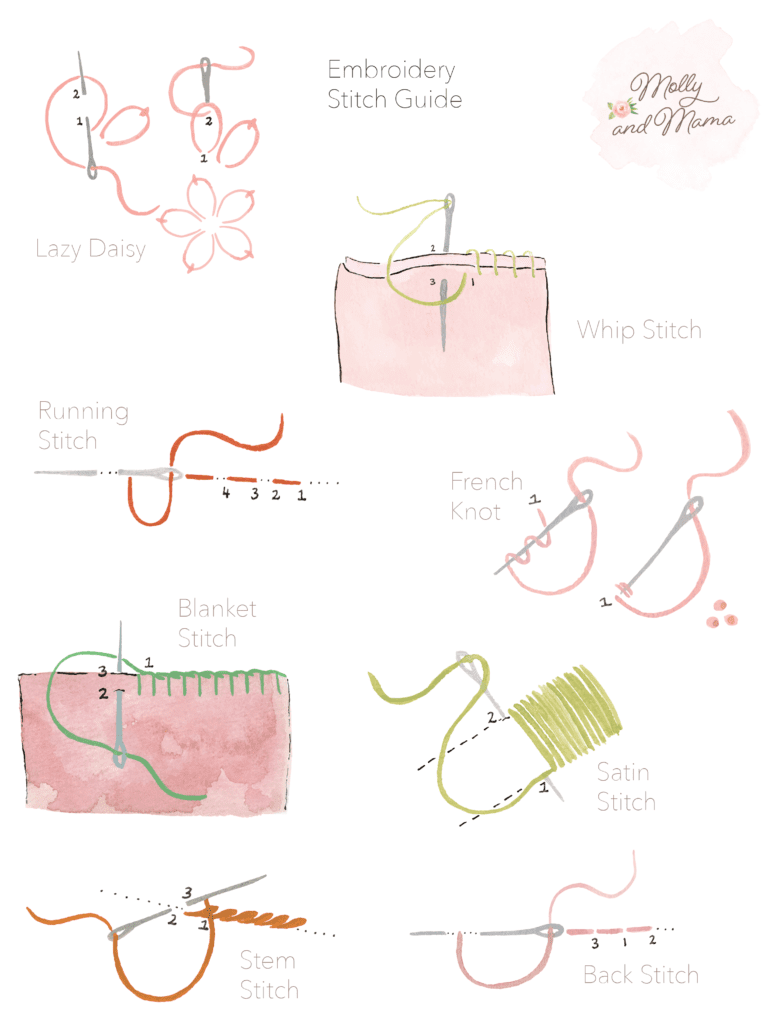
Now that your design has been traced onto fabric, you’re all ready for stitching. Head to my beginners tutorial to find out how to get started. You might also like my Embroidery Stitch Basics tutorial that outlines a range of the basic beginner stitches.
And don’t forget to sign up for the newsletter to receive this embroidery template for free!
Happy stitching, Lauren x
Explore more, easy to follow, instant download PDF sewing patterns in the Molly and Mama store.

This post was written by Lauren Wright and appeared first on Molly and Mama https://www.MollyandMama.com.au


I absolutely love embroideries! So classic
https://tinytwig.com.au/
They’re lots of fun, right?
Do you have any advanced tutorials, I have been embroidering for over 65 years self taught, just want to know that my work is as it should be,always eager to learn new,or change any of my embroidery style if it improves my work..
Thankyou,your information on design transfer was very helpful,those new pens seem to be a embroiders blessing.
Thanks Hilda
Hi Hilda, I’n not an advanced sewist, so I don’t have any advanced tutorials, sorry. Google will be able to list lots for you though! Good luck in your search and happy stitching, Lauren.
can you advise what paper is used for the iron on transfer pen method.
I just use ordinary printing paper. I hope that helps, Lauren.
Gorgeous!! Ive always wanted to give this a try!
Thanks Emma. Good luck. Please reach out if you have any questions!